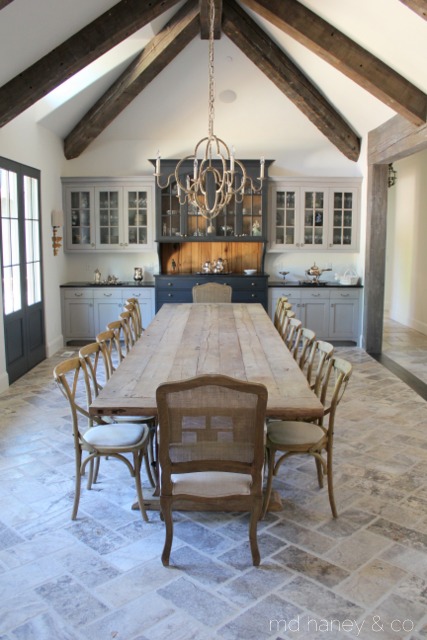
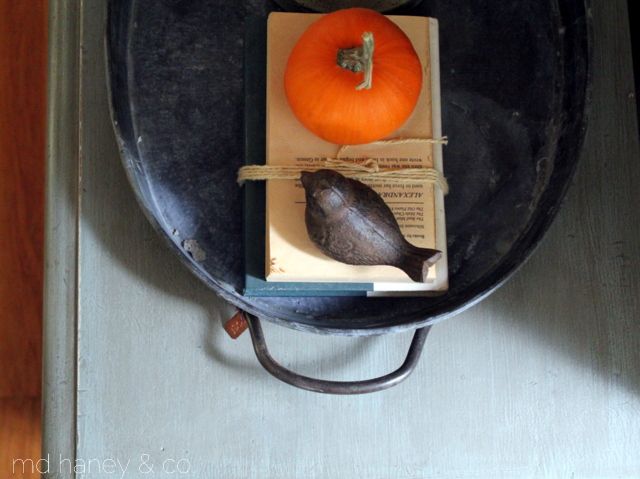
I know I am not alone in this....but I LOVE Fall! The cooler weather, the Fall colors, the desire to make my home warm and cozy, the list goes on and on! This is the view out our bedroom and living room window....
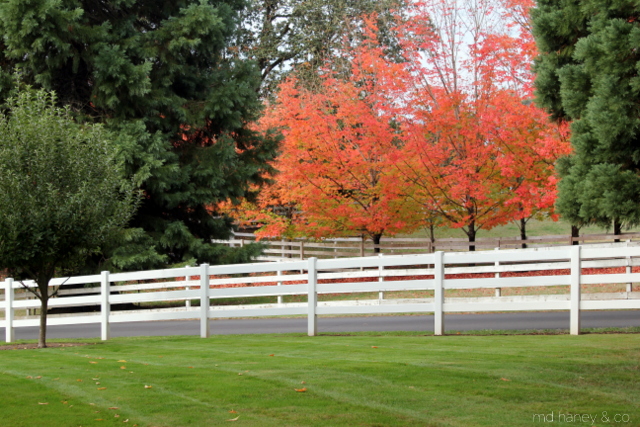
aren't those trees amazing? It's inspired us to plant some maple trees along the new pasture fence. We need a little Fall color down there!
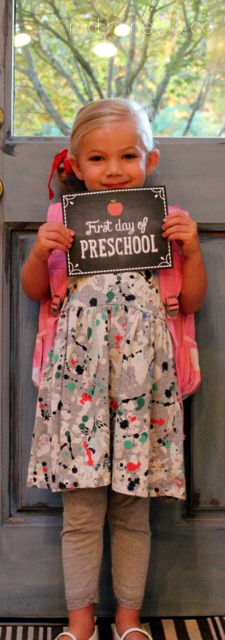
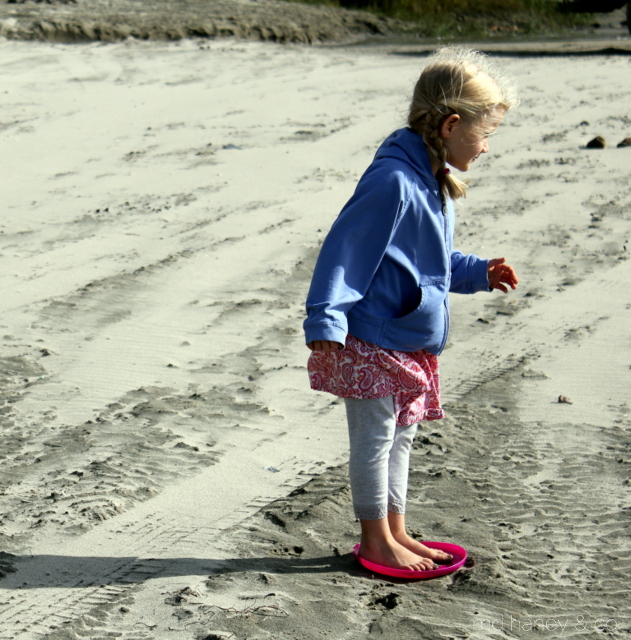
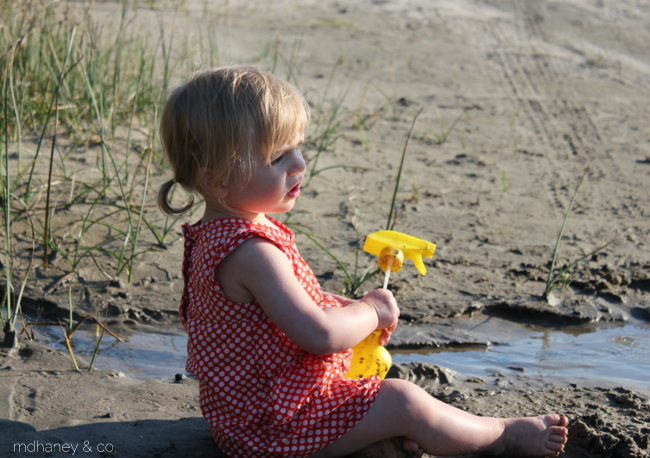
In 'family' news, my sweet pea started Pre-School this year! She is going two mornings a week and she loves it! I am really cherishing this time with my girls....2 1/2 and 4 1/2, it's such a fun age. They wear me out but they soften my heart every day!
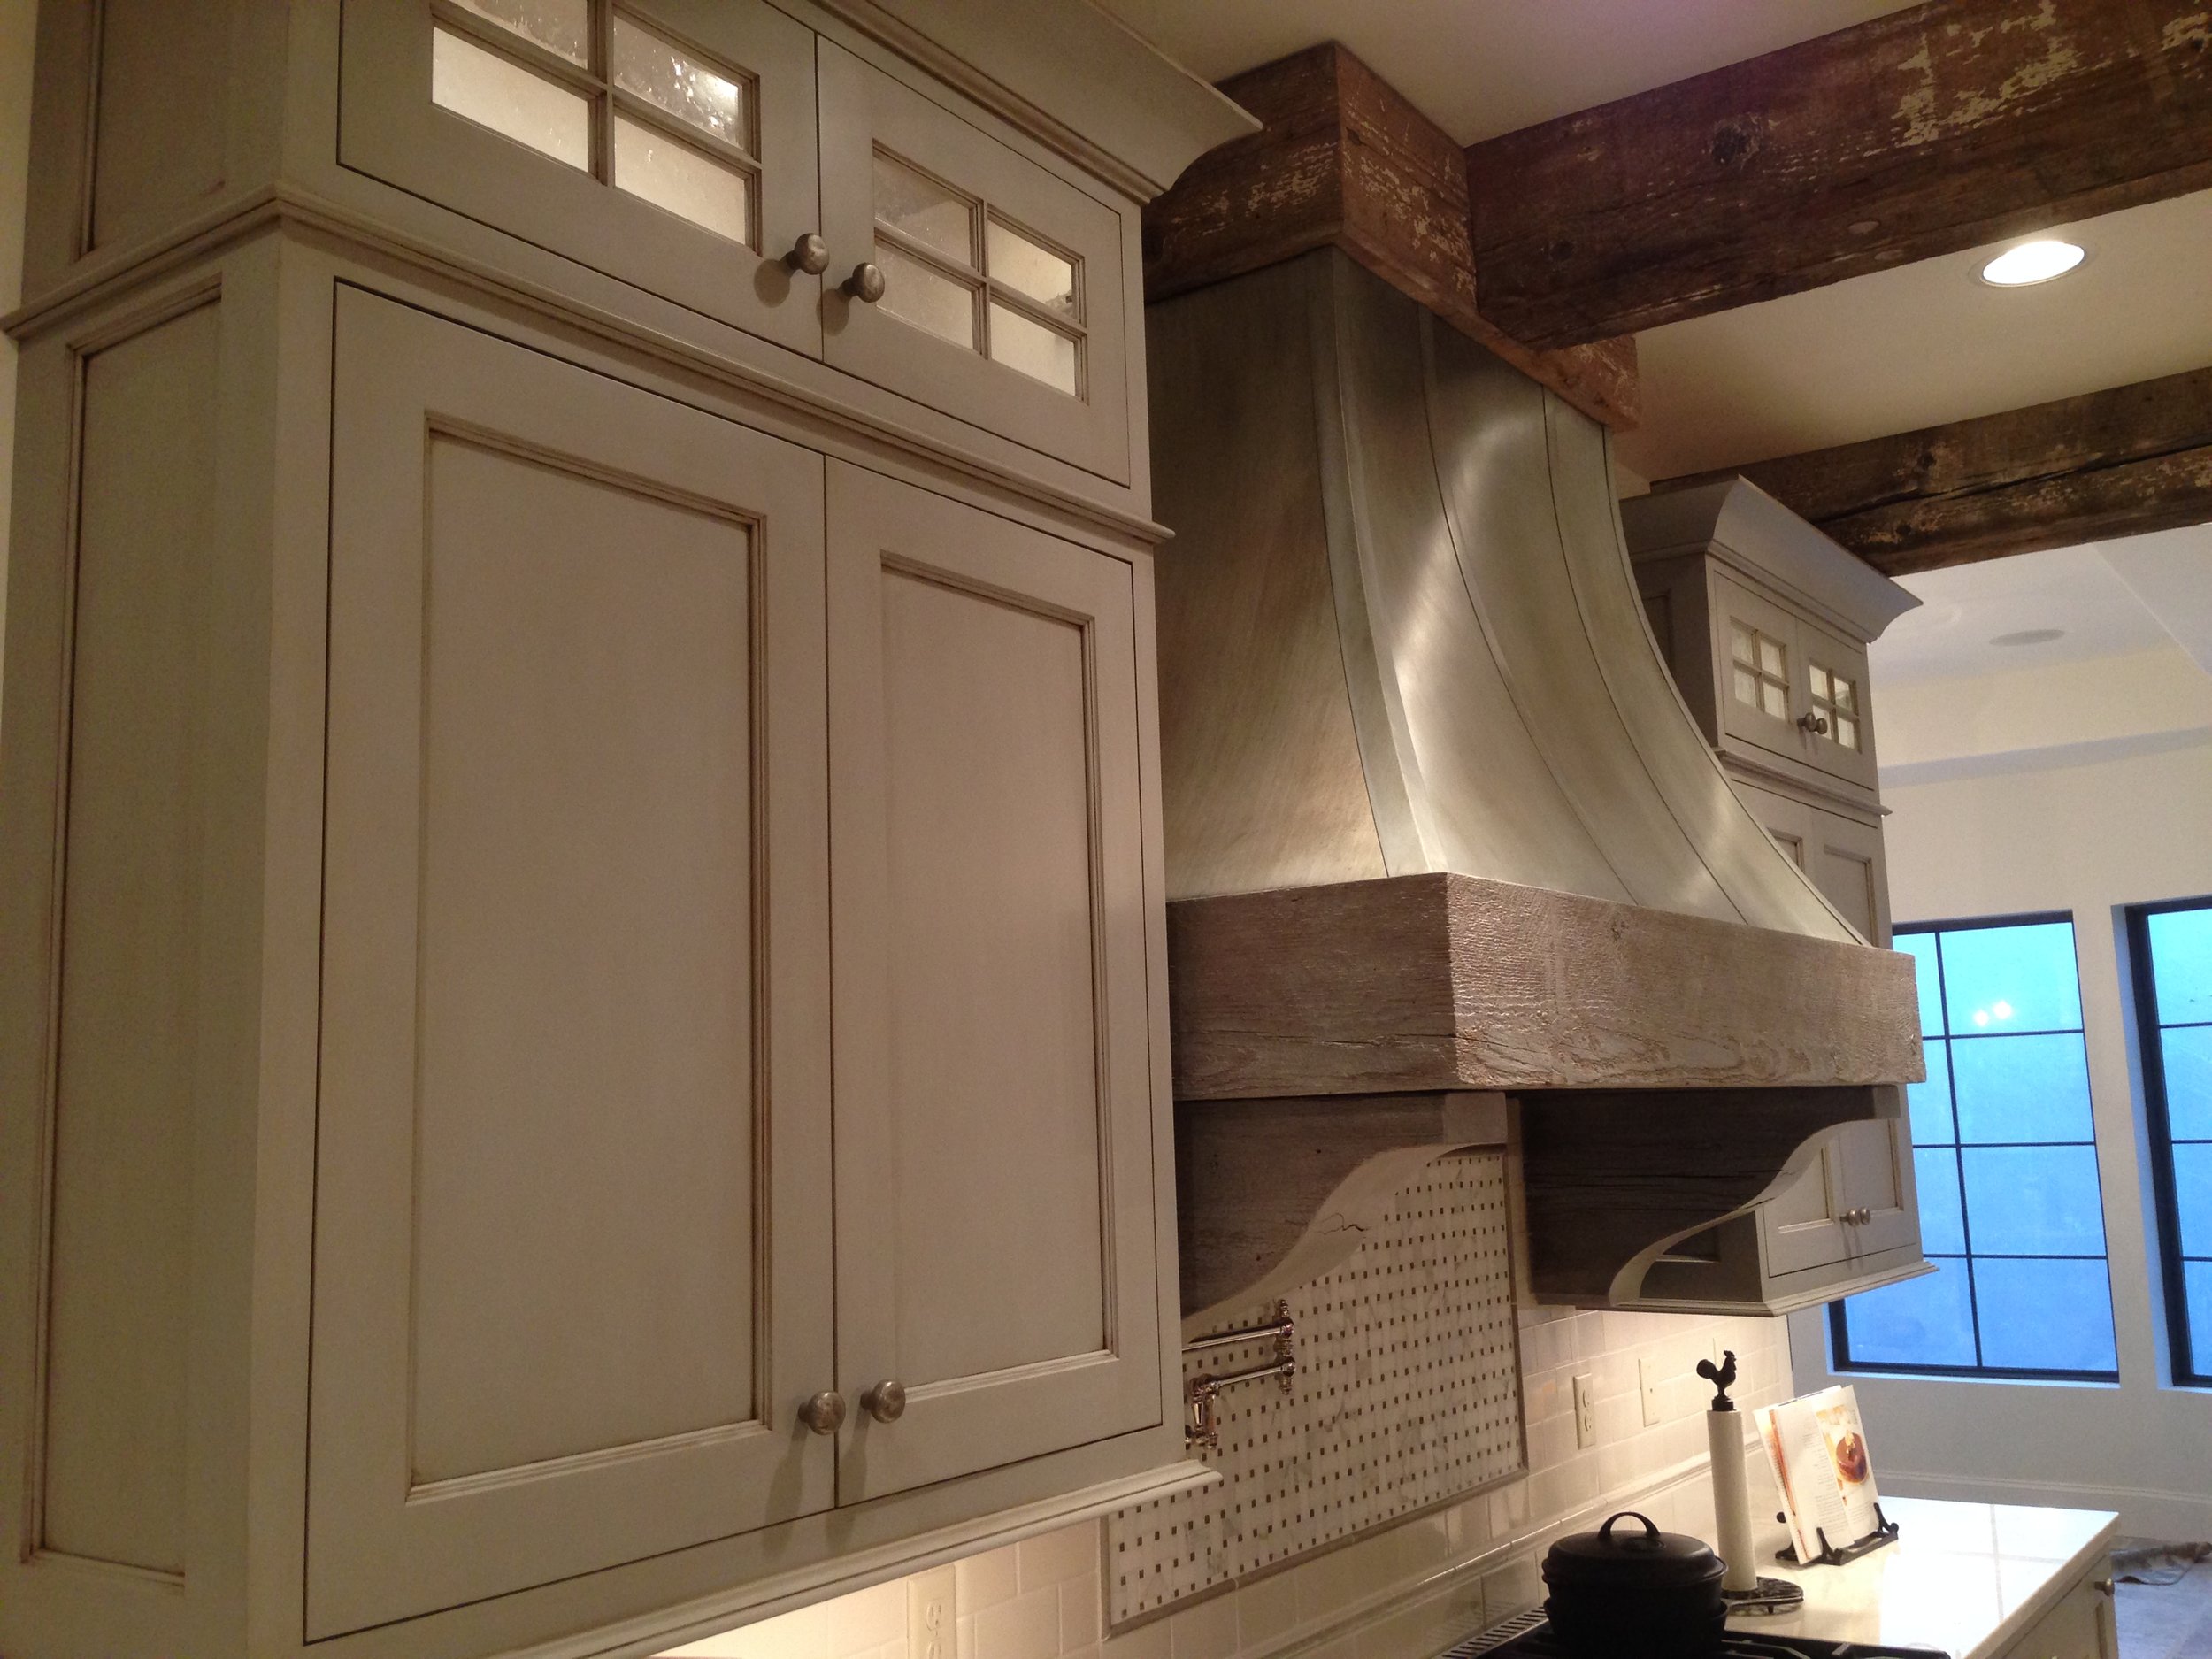
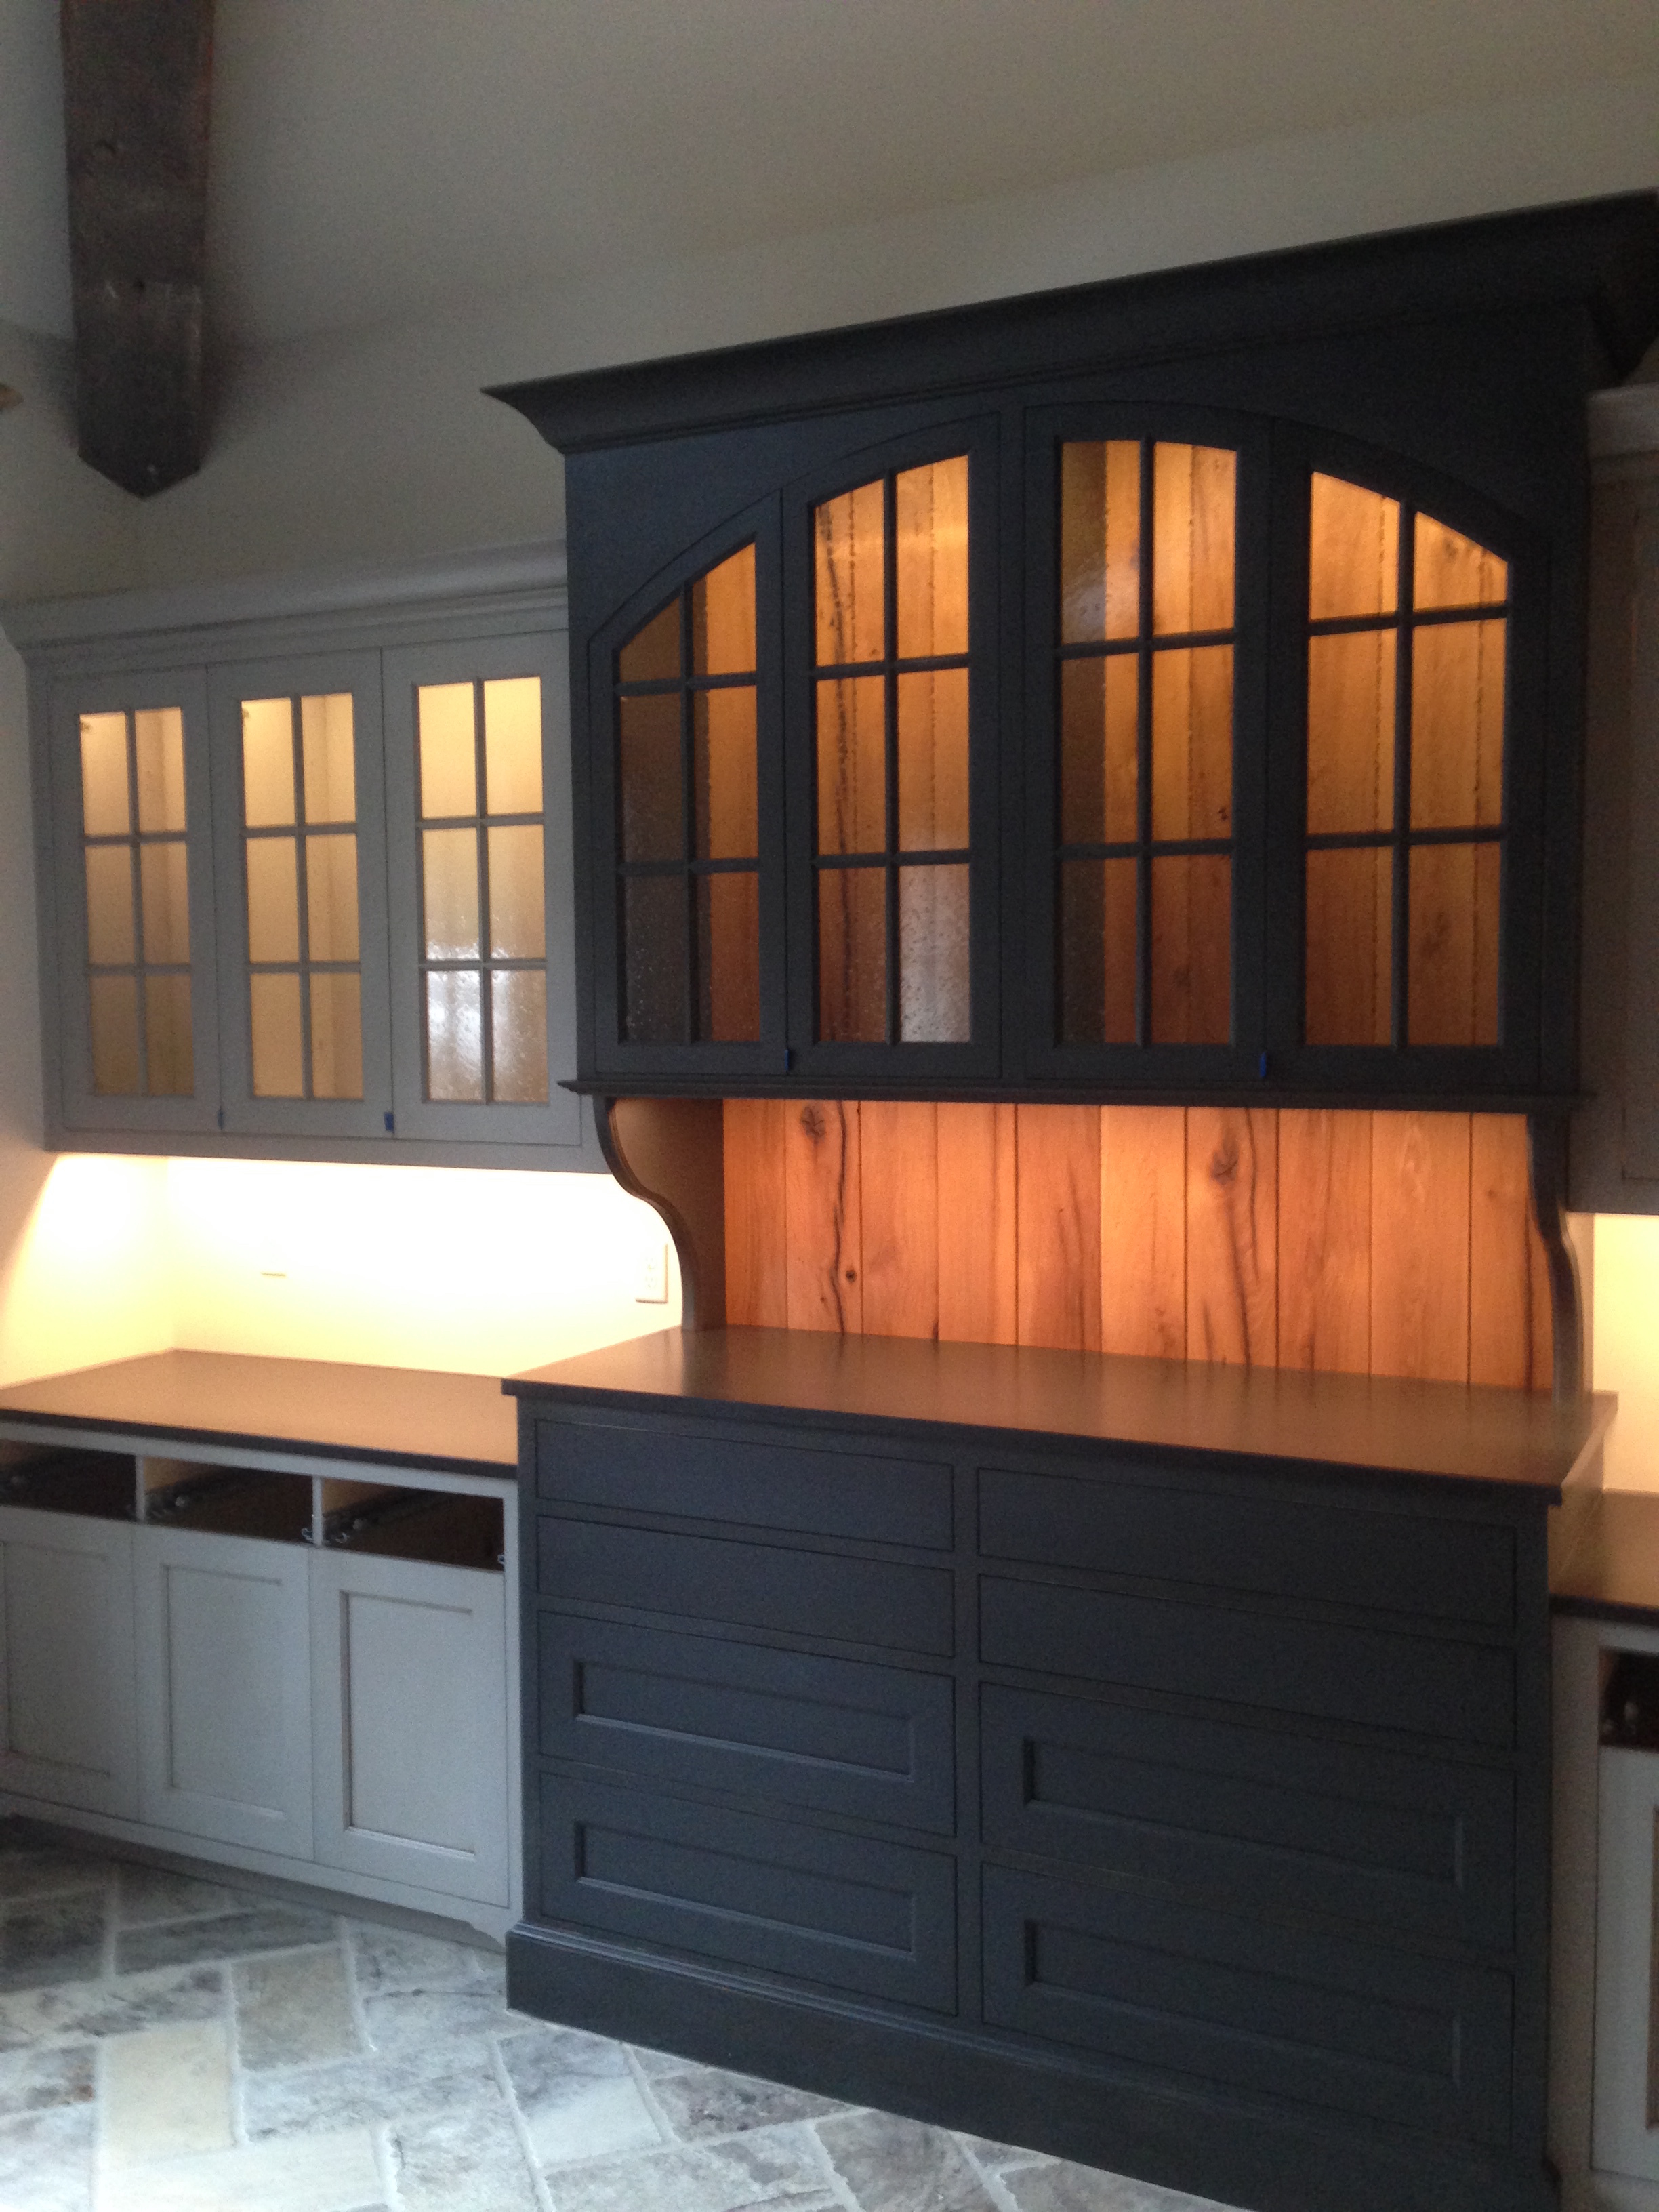
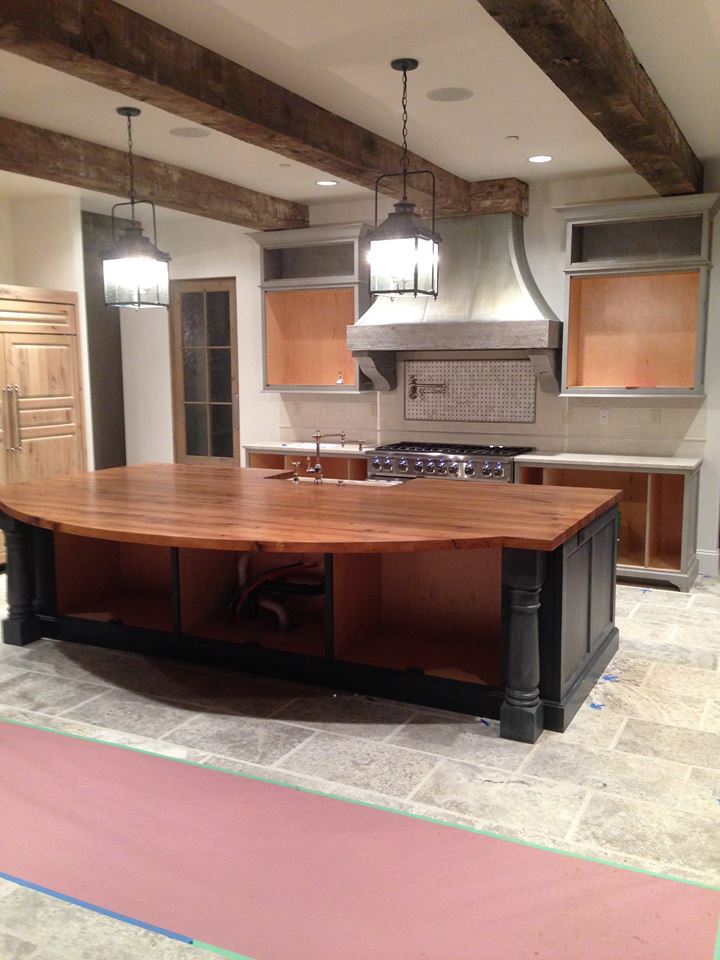
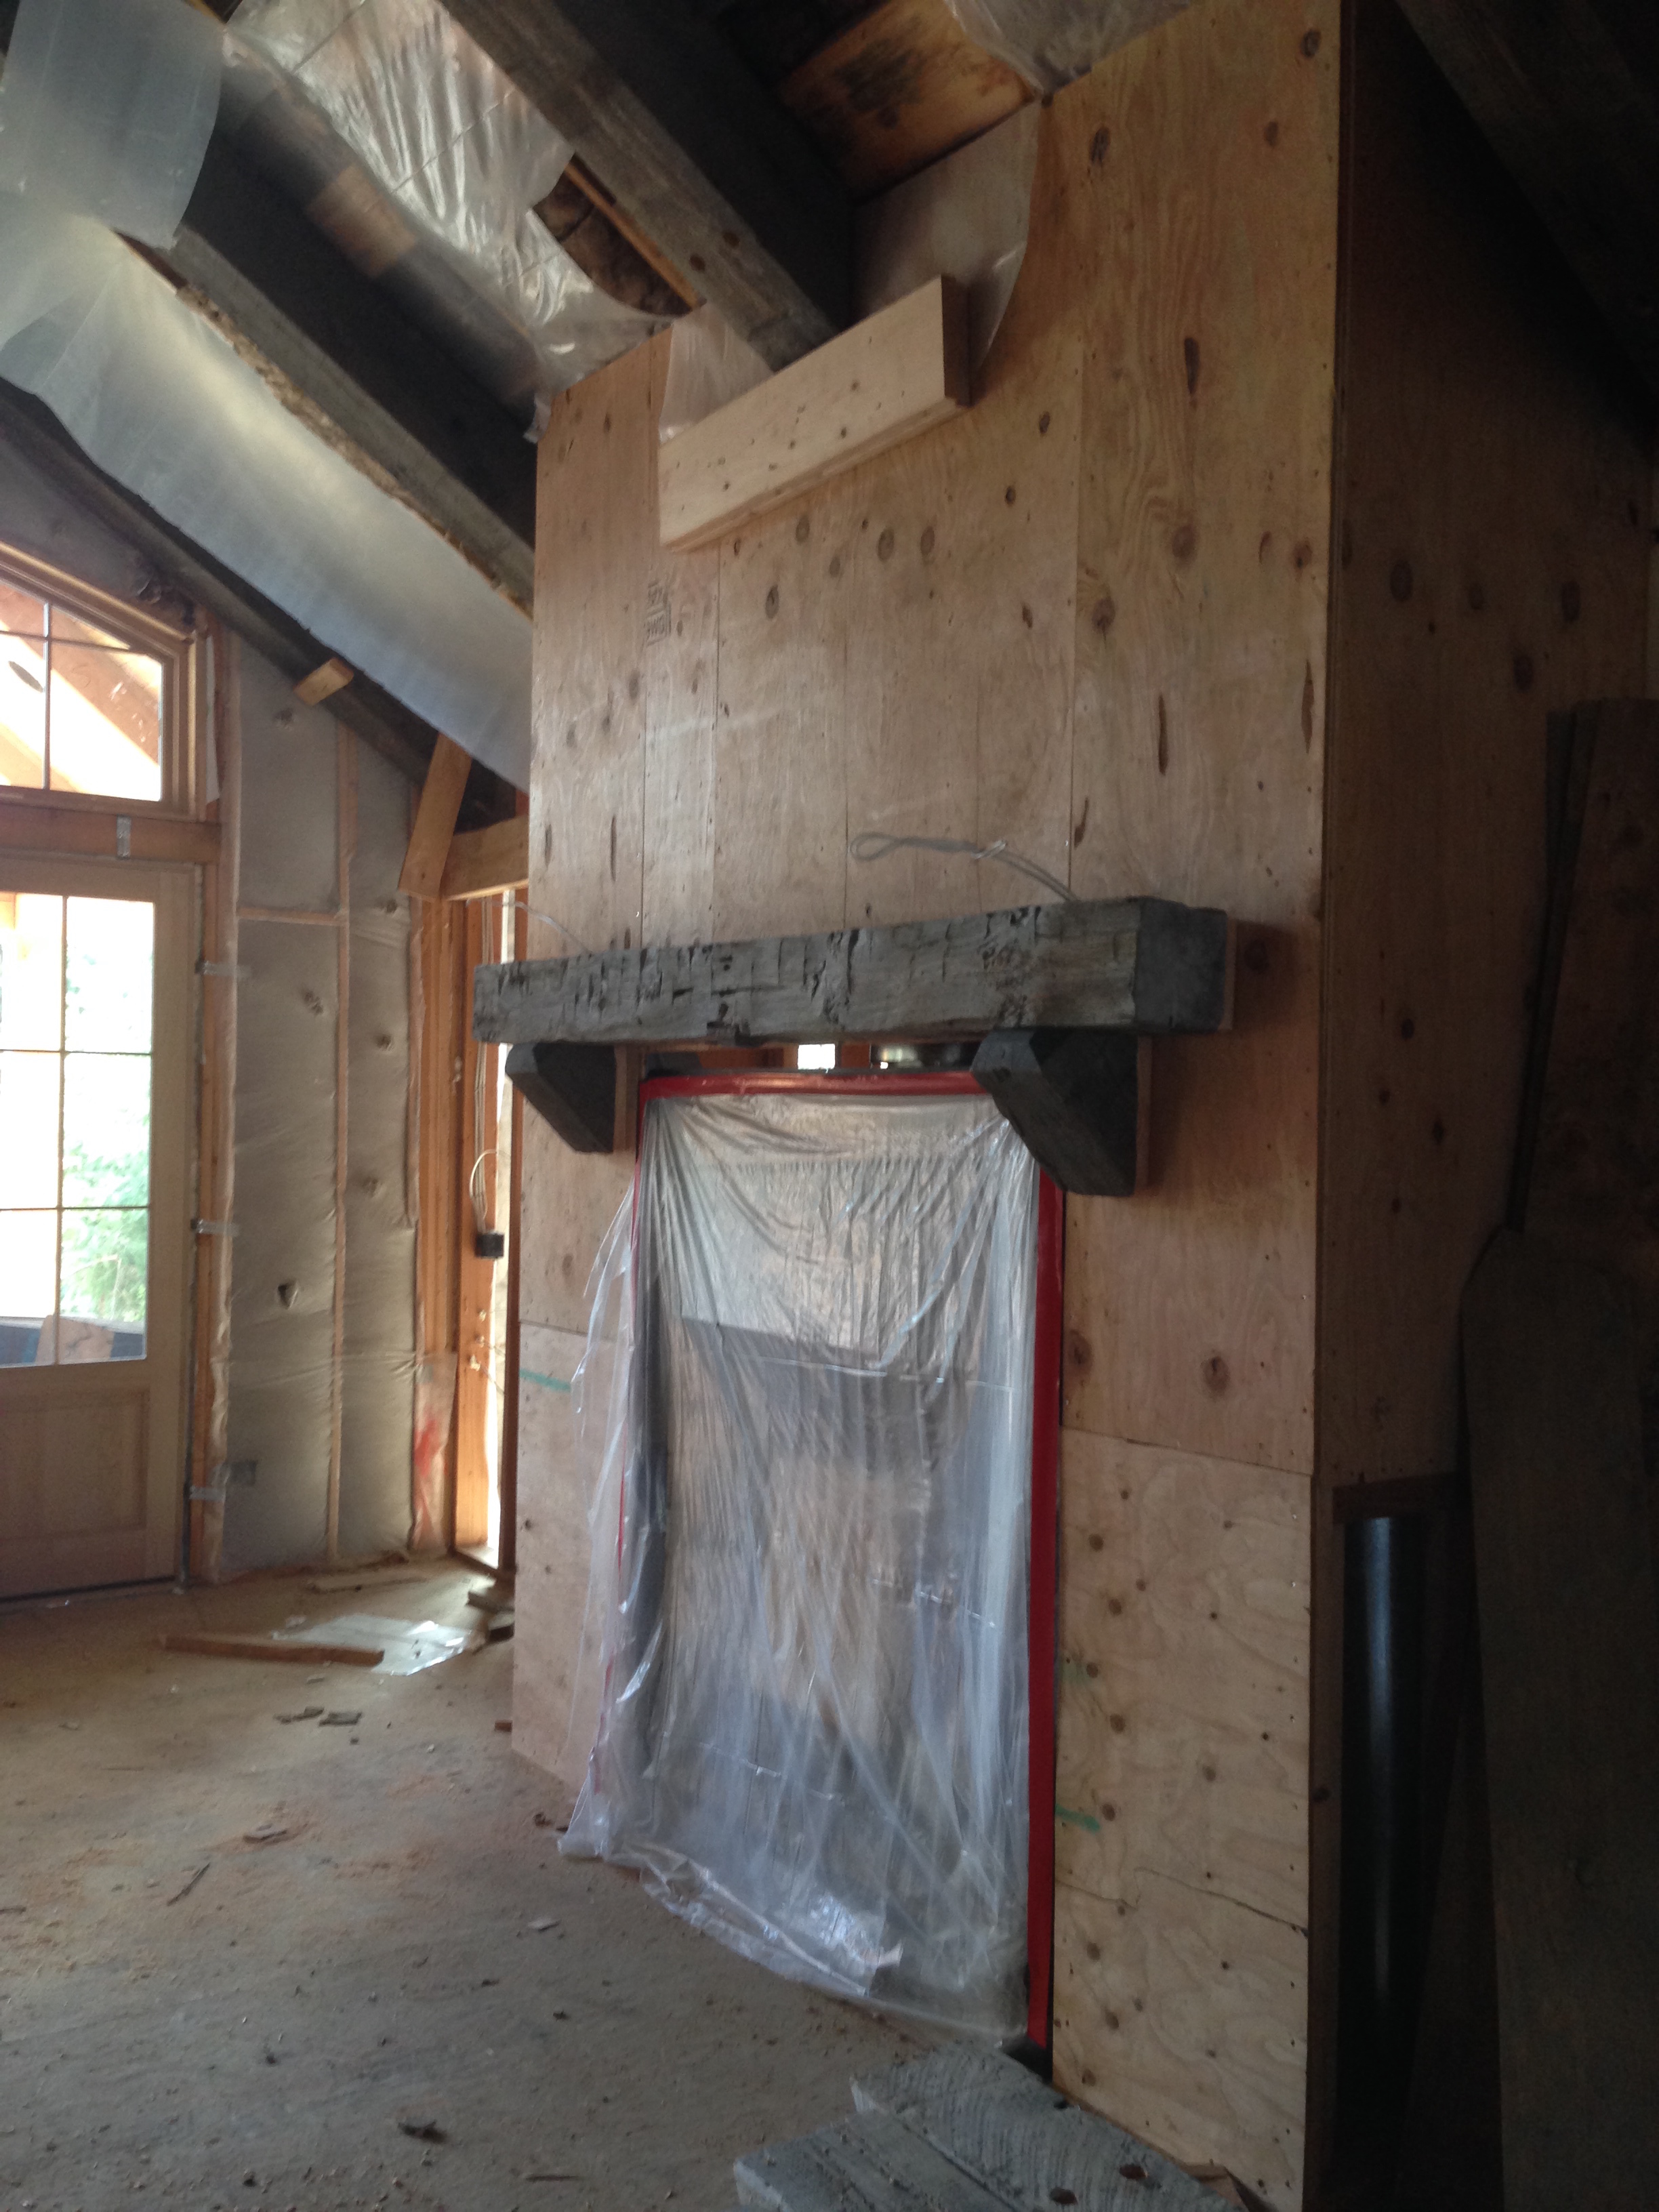
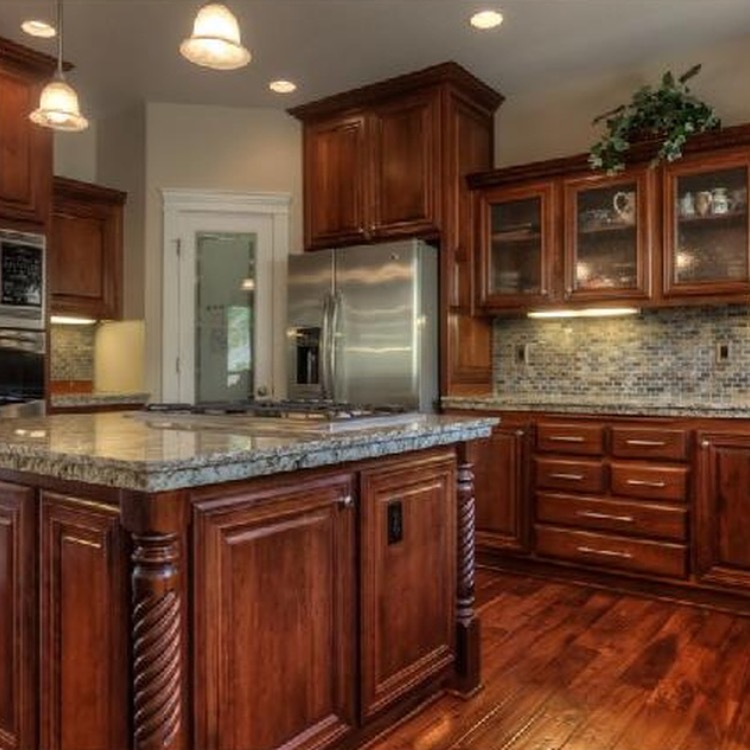
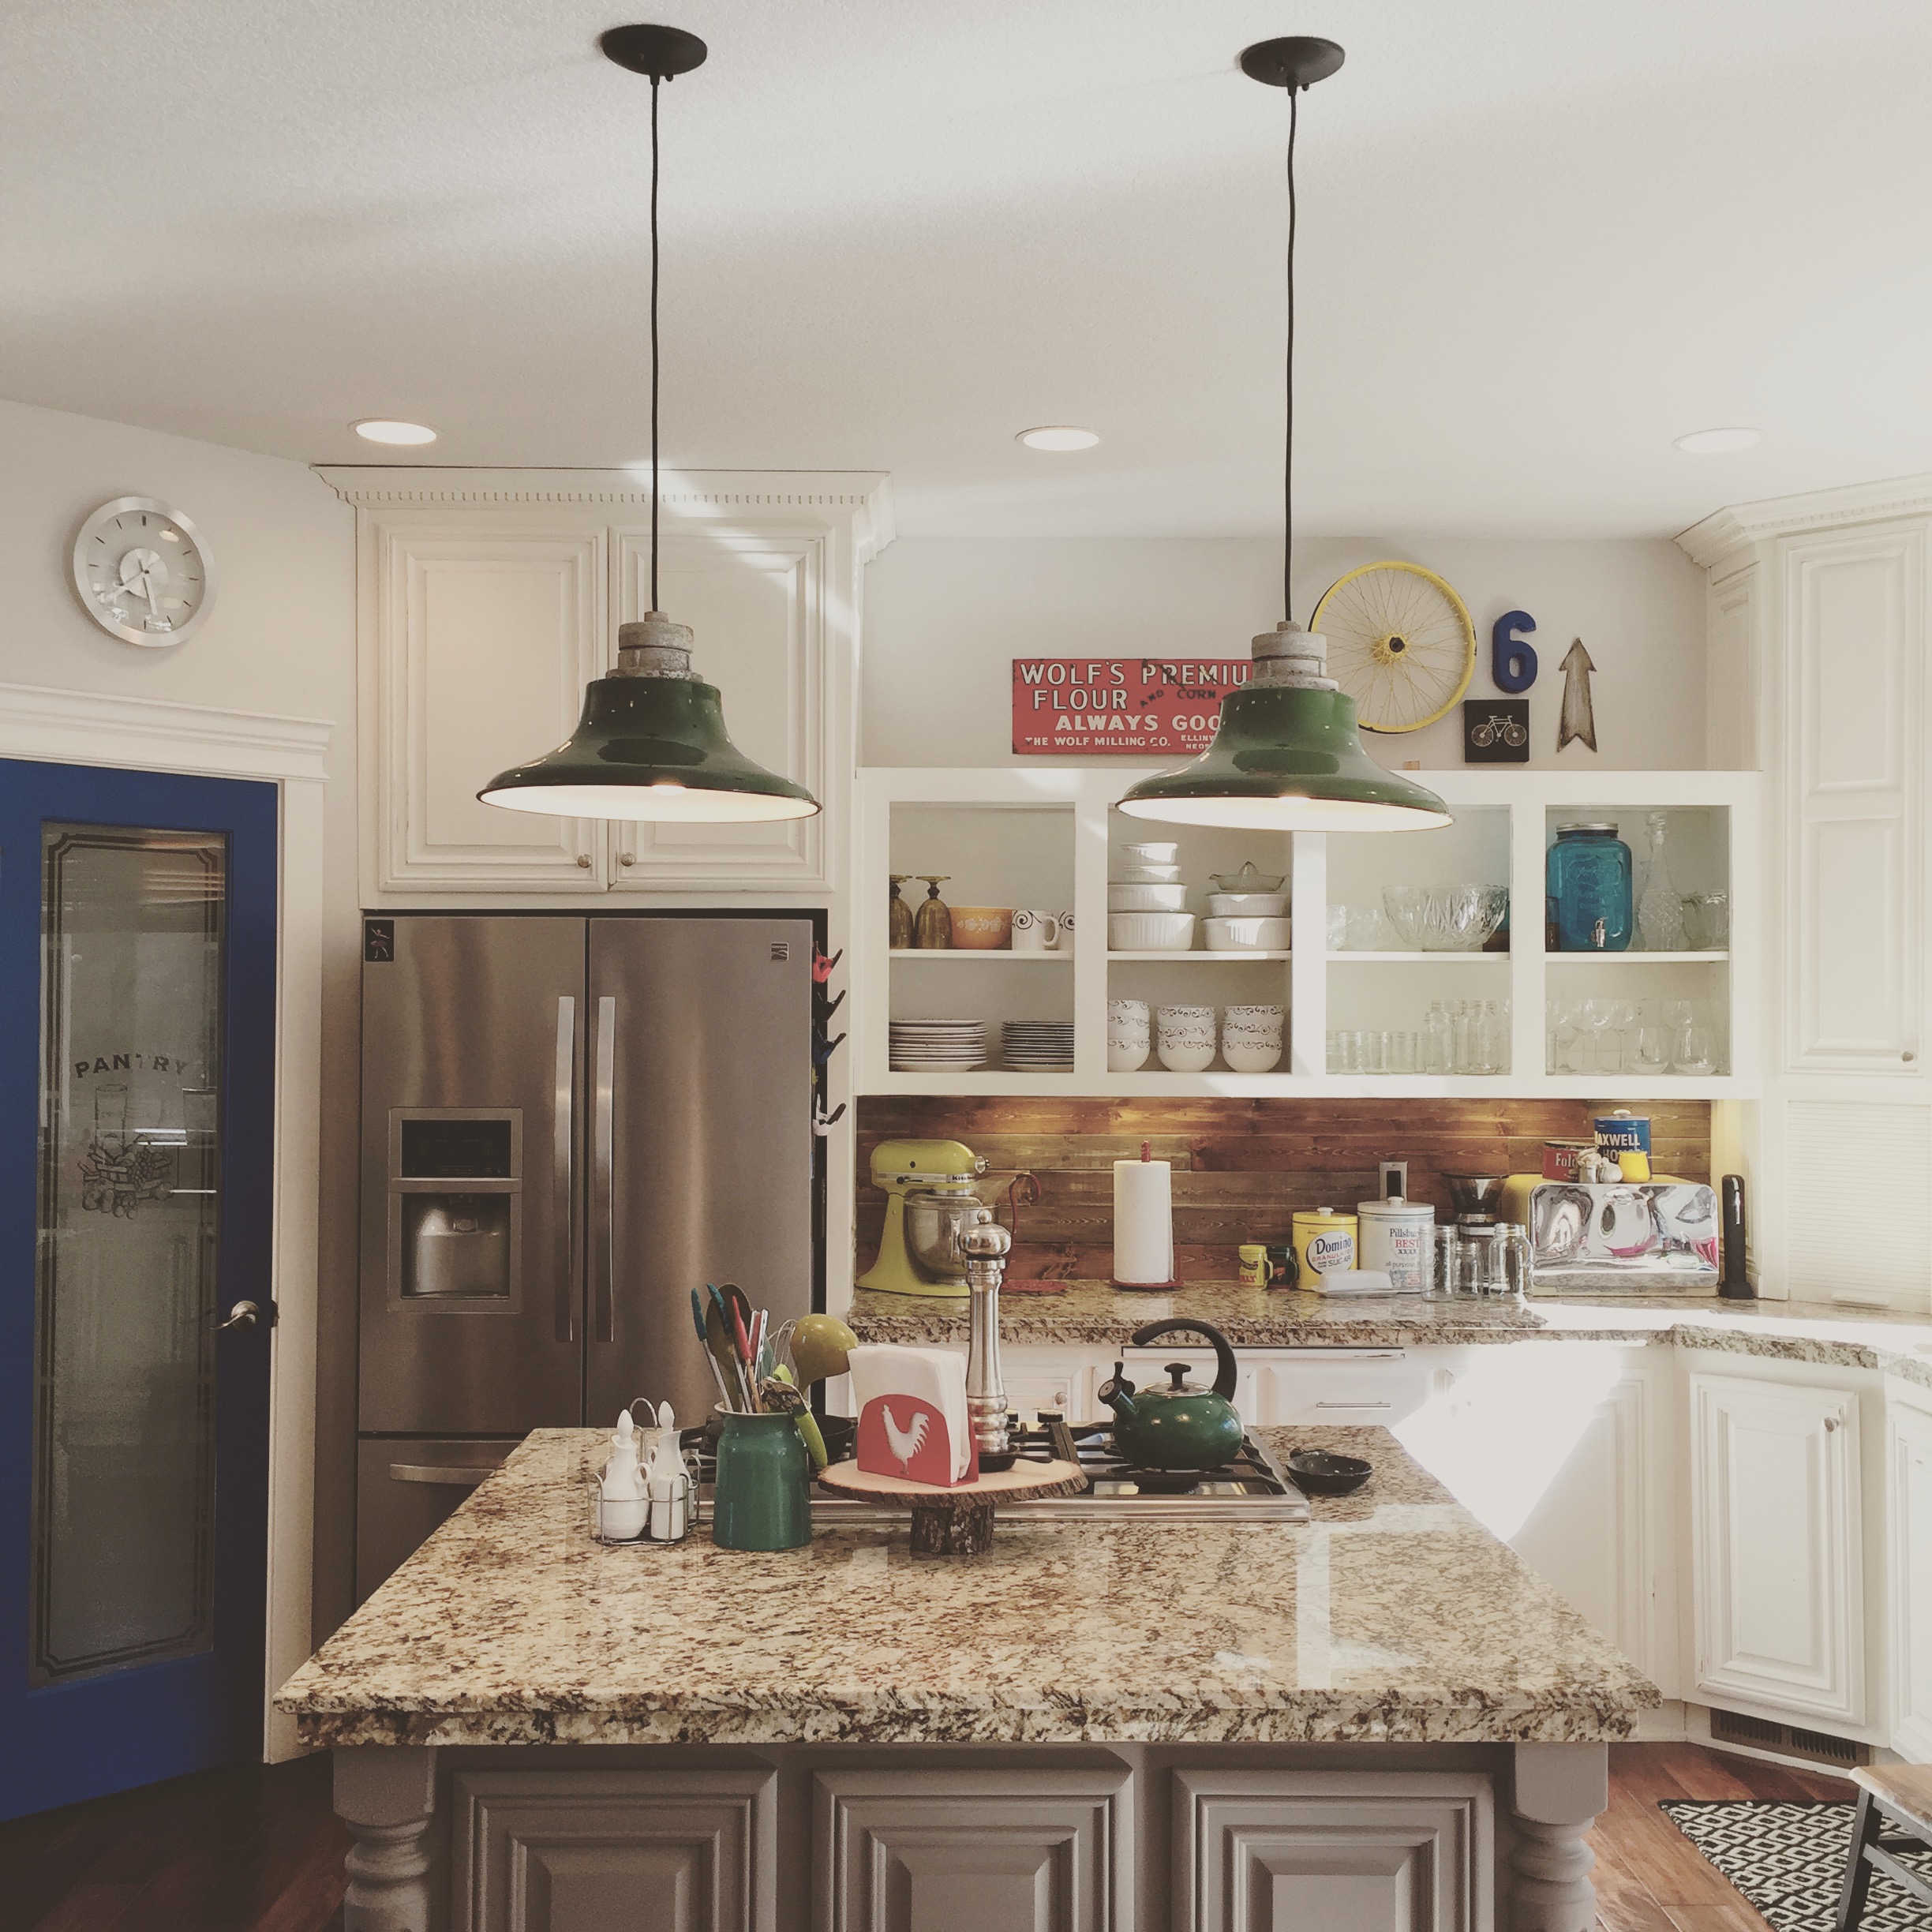
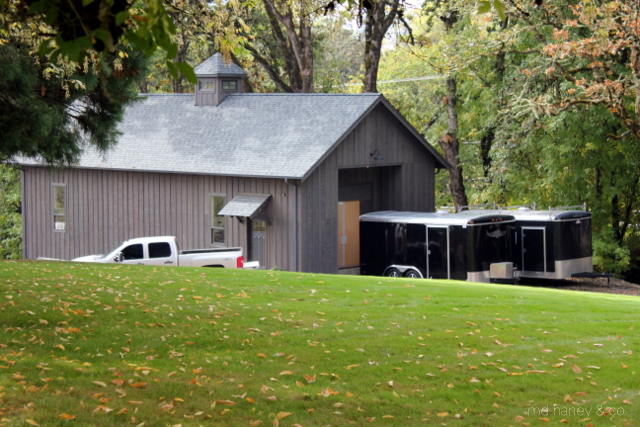
In 'work' news, in less than two years, we have already out grown our work spaces on our property! Matt builds cabinetry in the barn, and he turned what was going to be my studio space into a spray booth. This is what the front of the barn looks like....
 multiple trucks and trailers as he moves cabinetry form the workshop area to the spray booth area and then up to the garage when they are finished. And here is how my garage looks now....
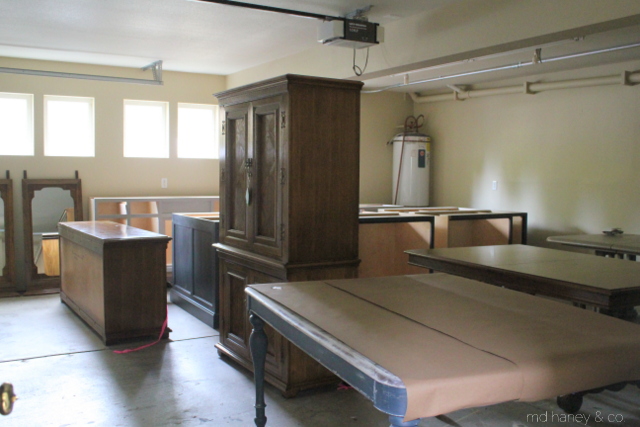
full of finished cabinetry, furniture pieces waiting to be painted and custom pieces that are finished and waiting to be picked up. I am definitely not complaining, just amazed at how we continue to grow!
Over the past year, we have been looking for a commercial spot in downtown McMinnville to move the retail and design side of the business. Nothing was a good fit and I wanted to stay working from home to be with my girls. Well, the perfect spot became available! It even has a huge basement that we can use for storage and a huge play room/creative area for the girls! It's just darling! Escrow closes January 5th. We plan on about one month worth of renovations, and plan on opening February 2016! I can't wait to share the plans we have for the space!
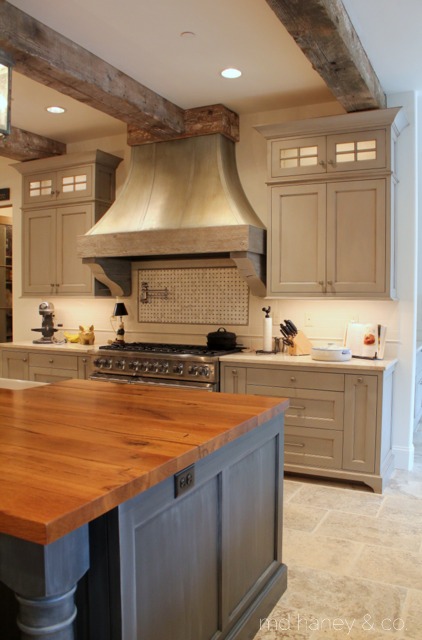
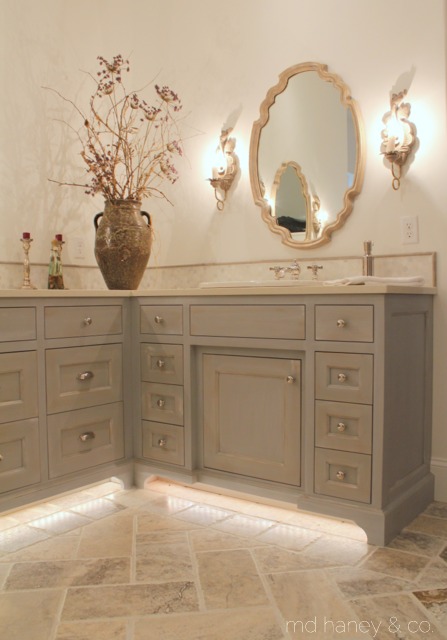
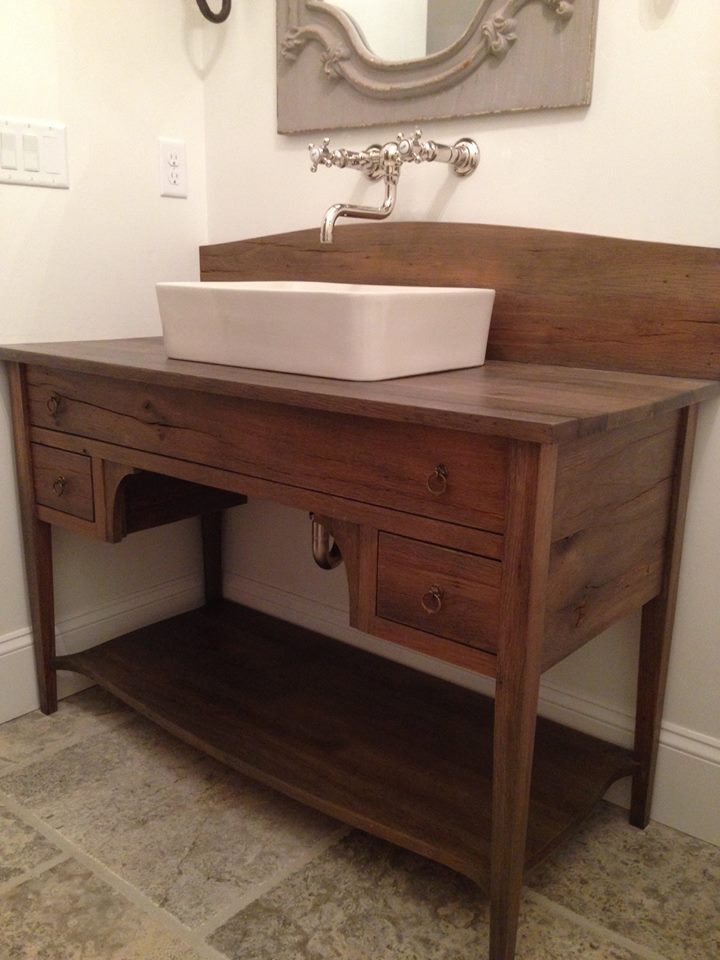
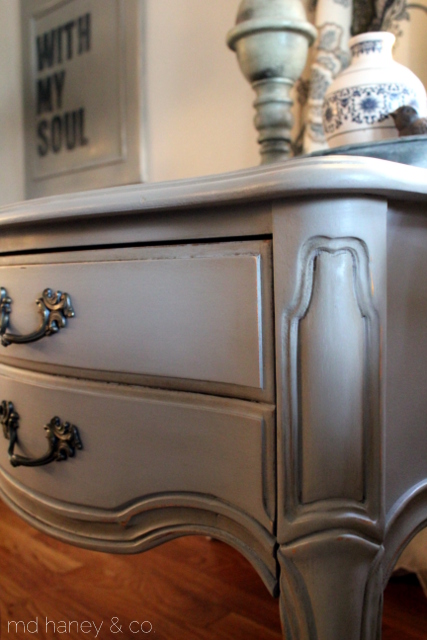
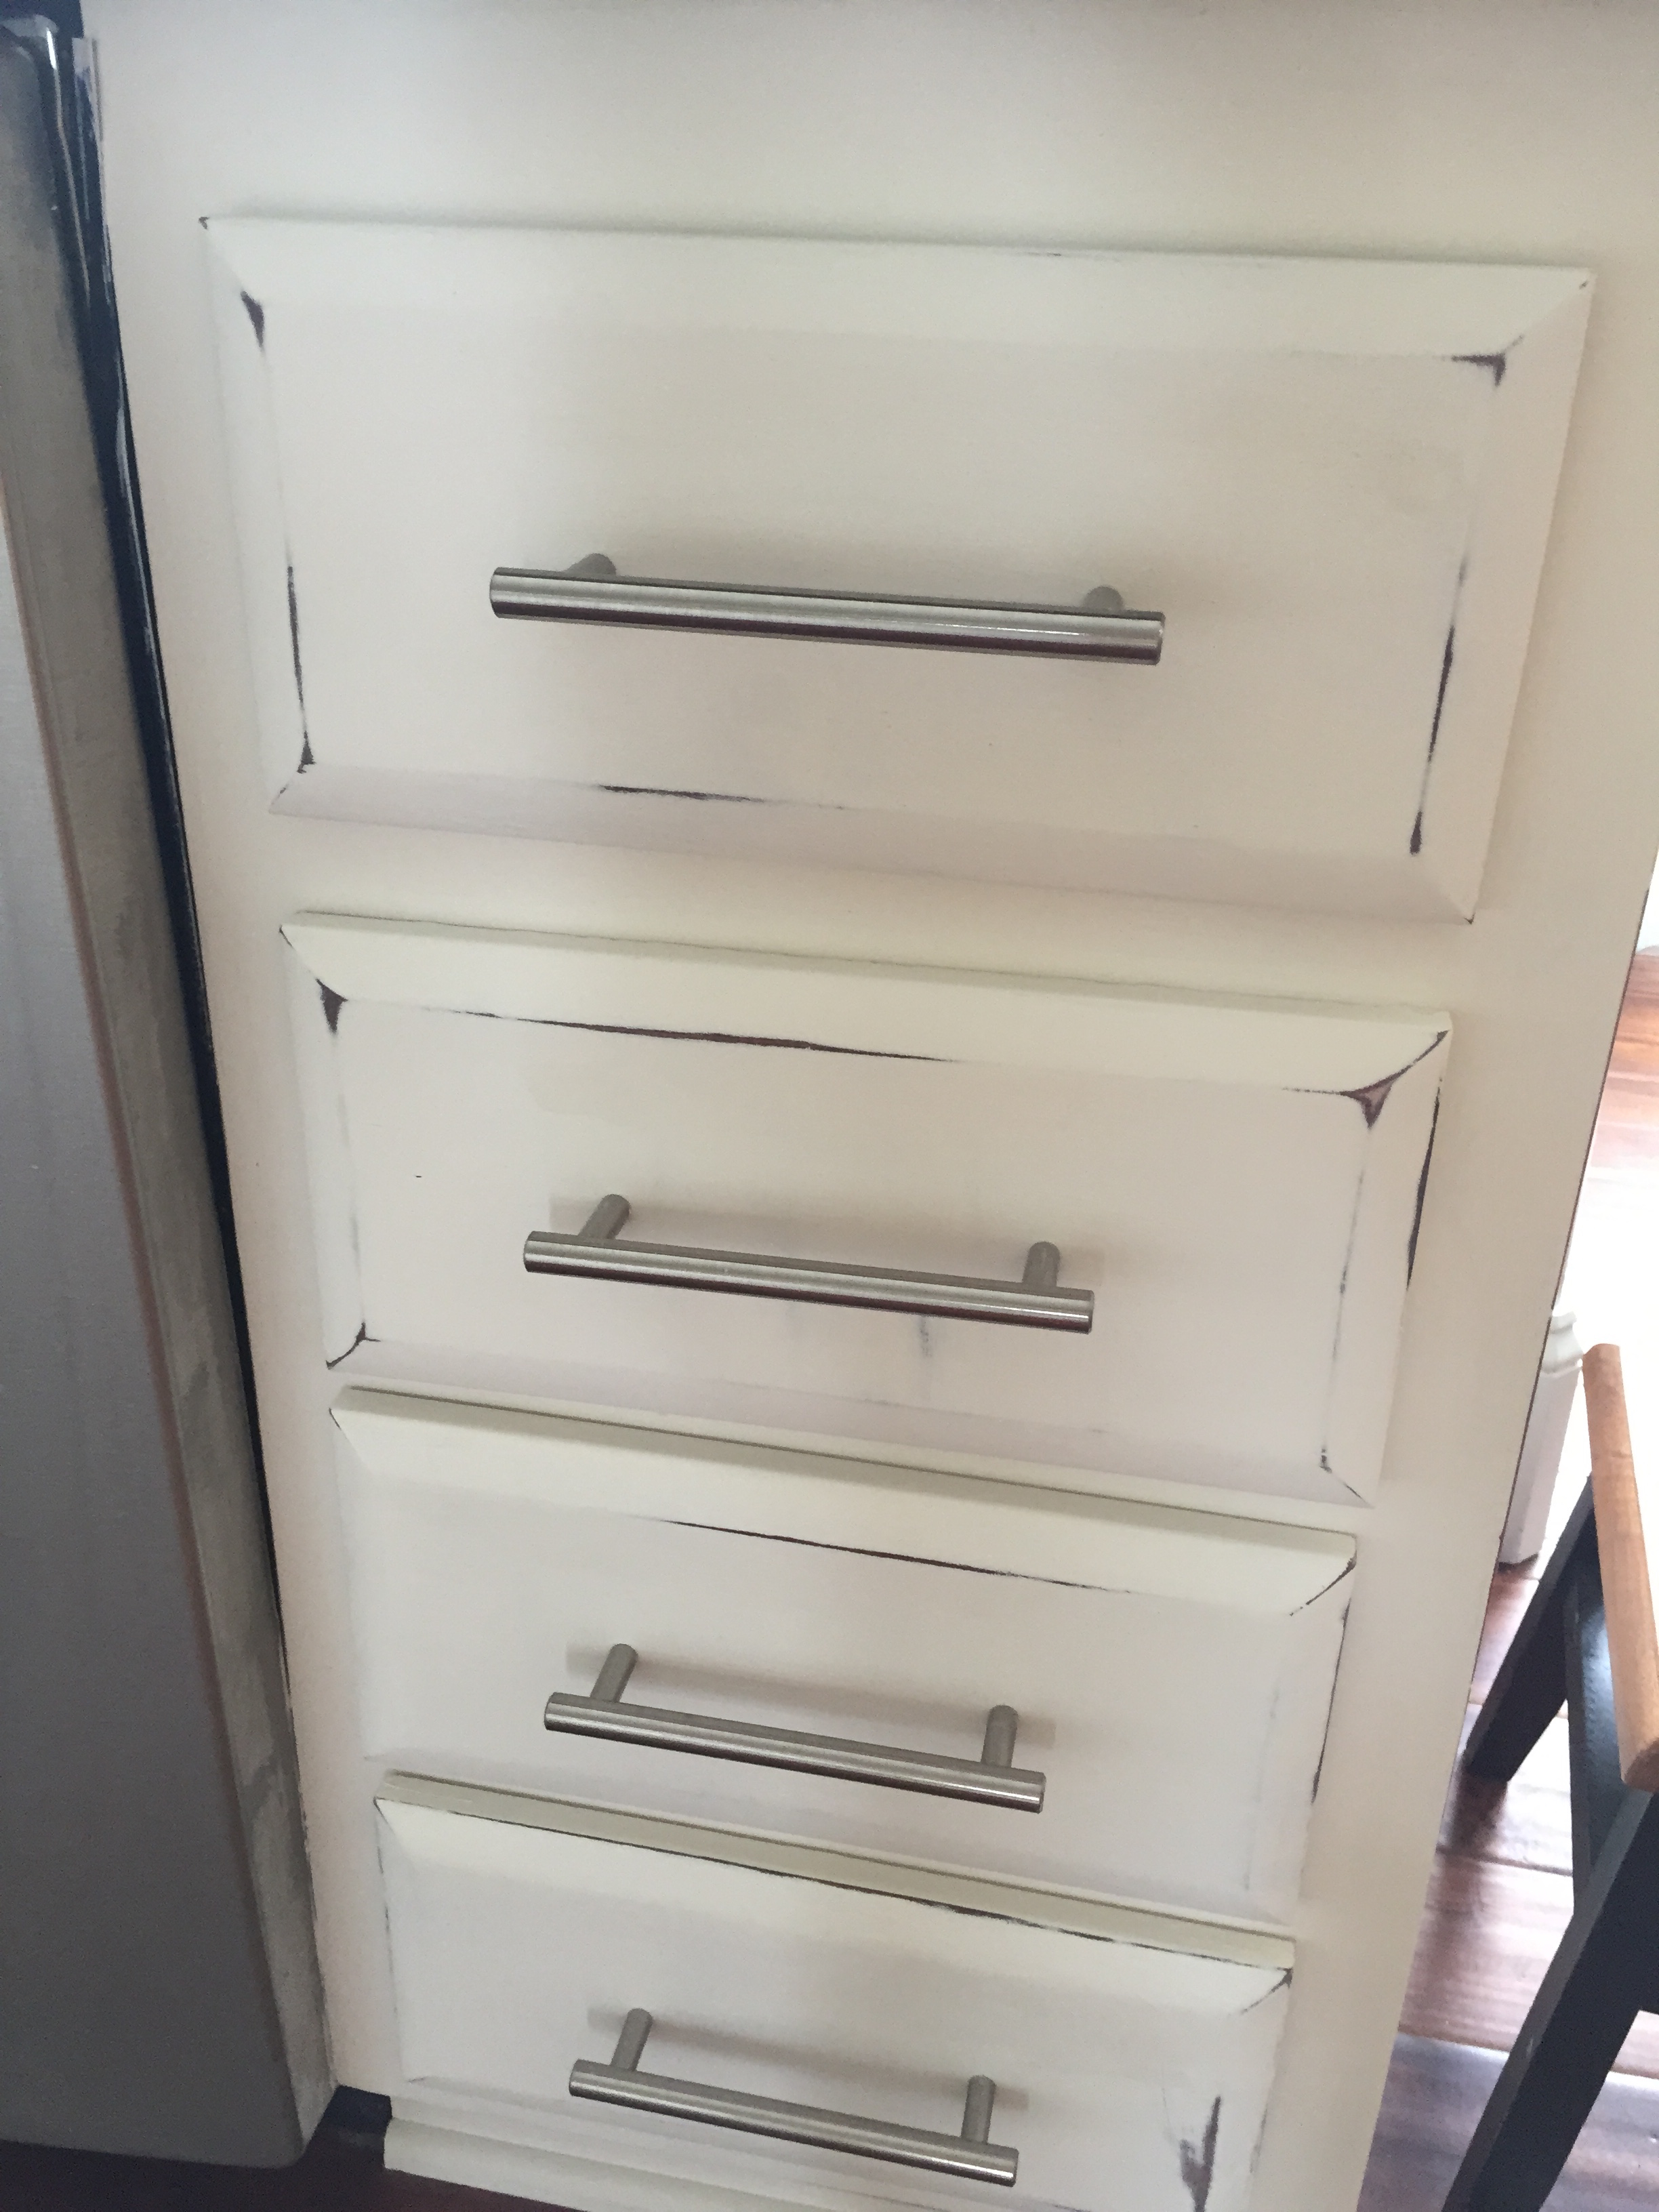
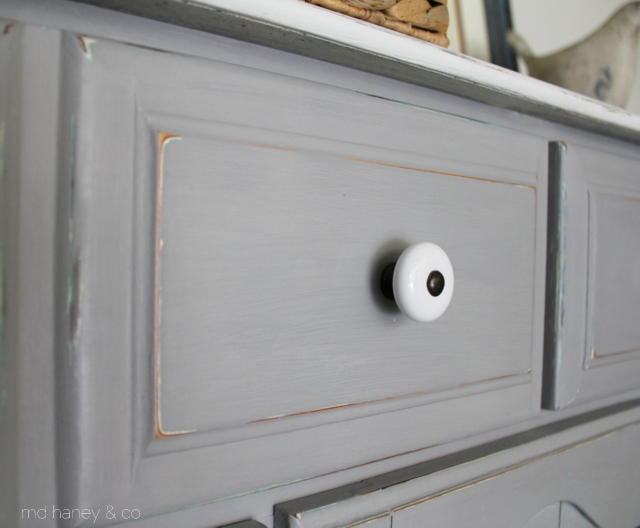
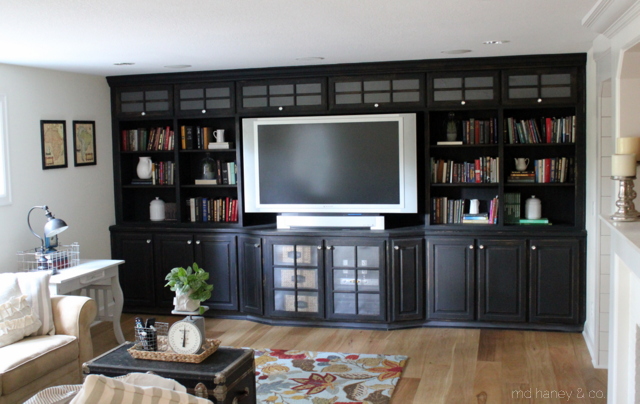
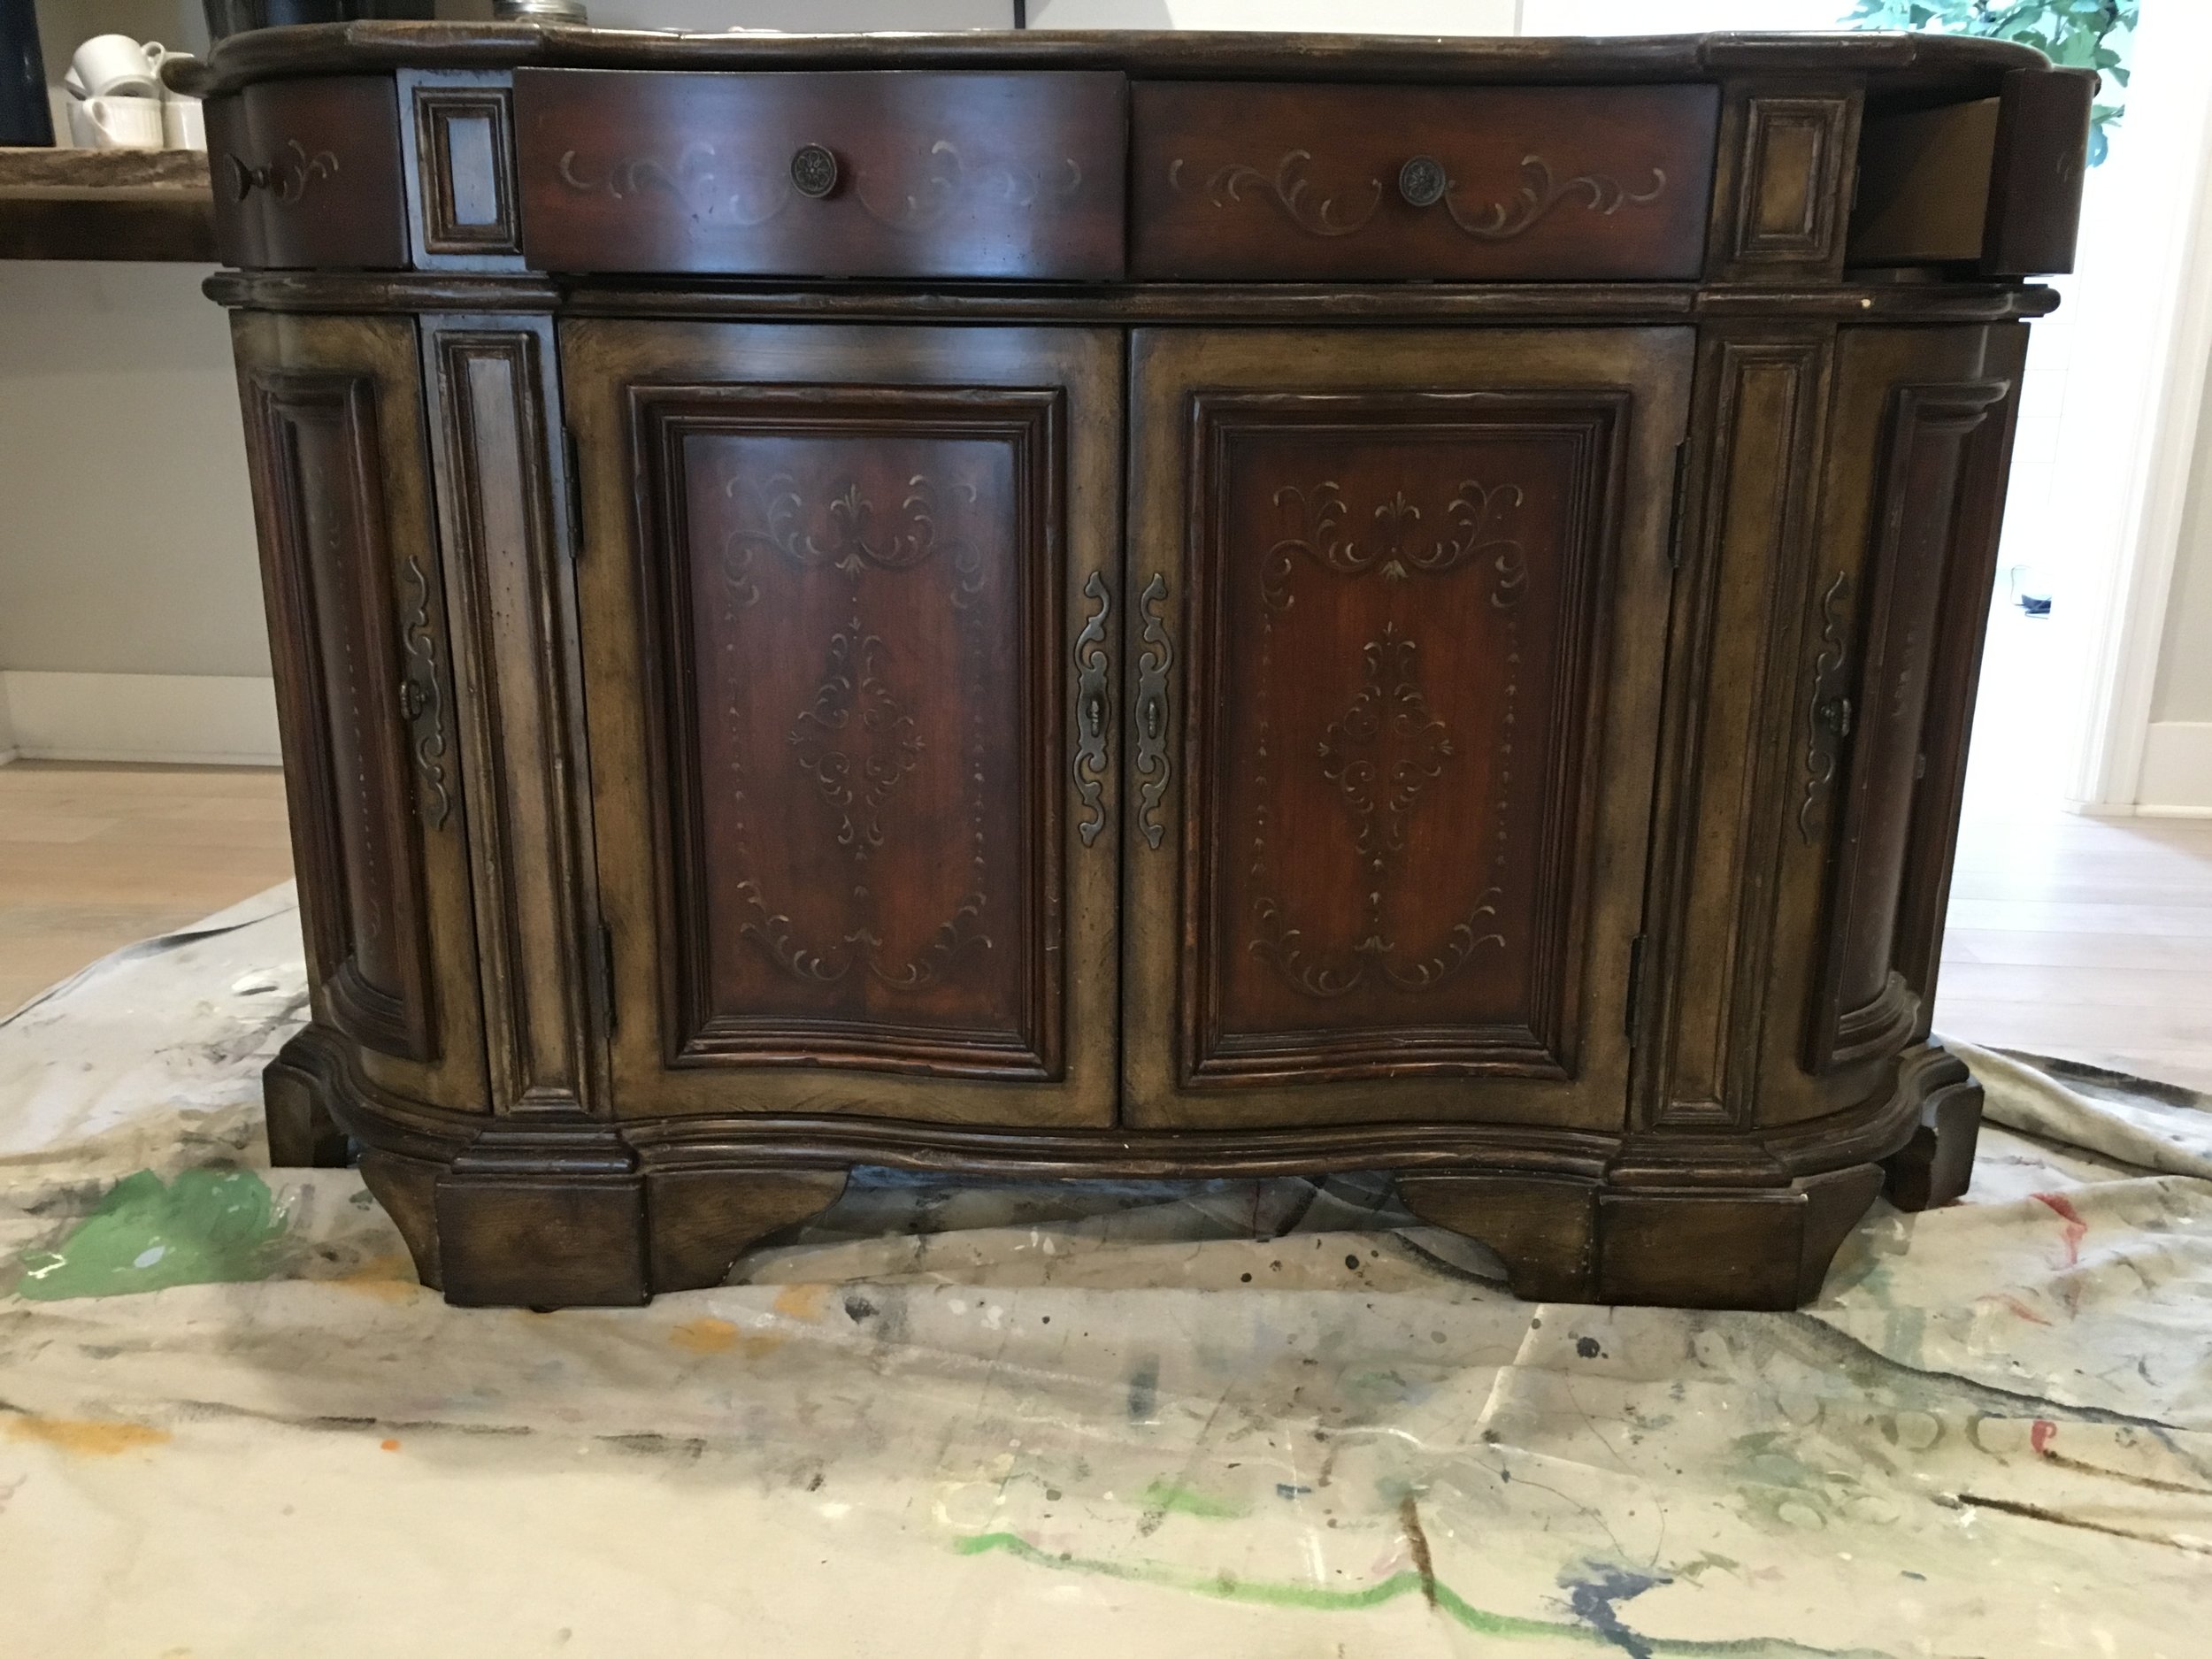
In "home" news, not much has been happening in the way of projects. Matt has been working 14-16 hour days, 6 days a week. Since he is the "brawn and talent", not a lot has been happening! He did finish the screen on the basement cabinetry and I love that it's finished! ;-)
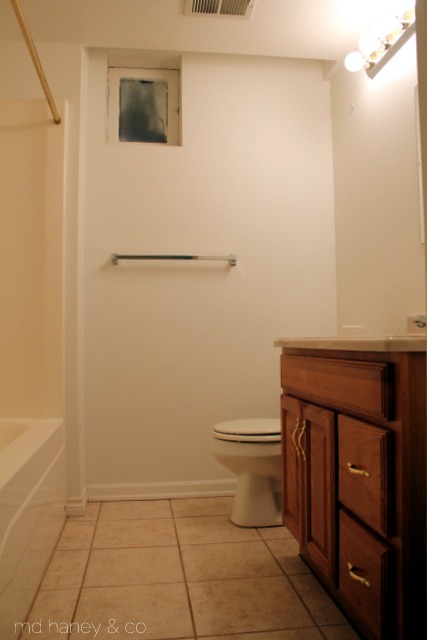
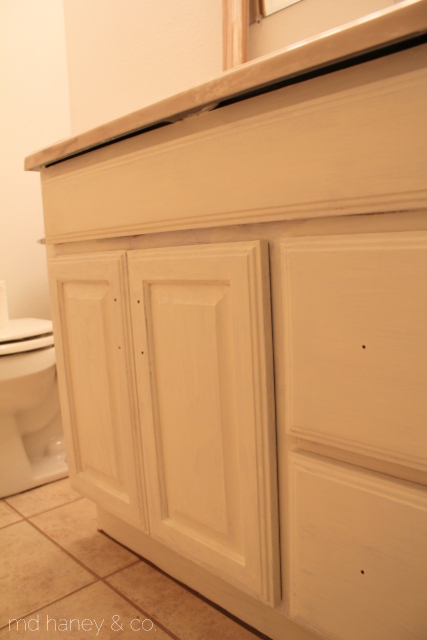
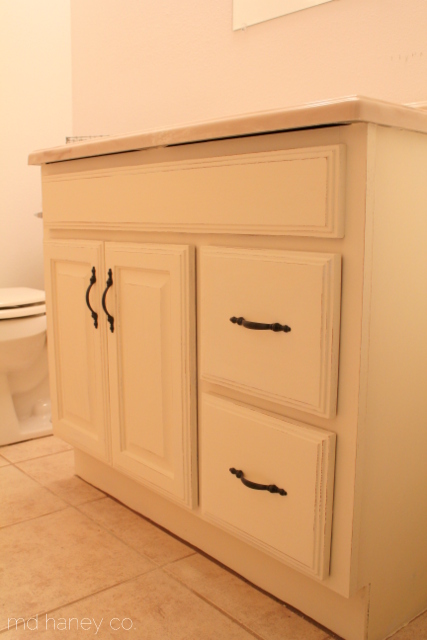
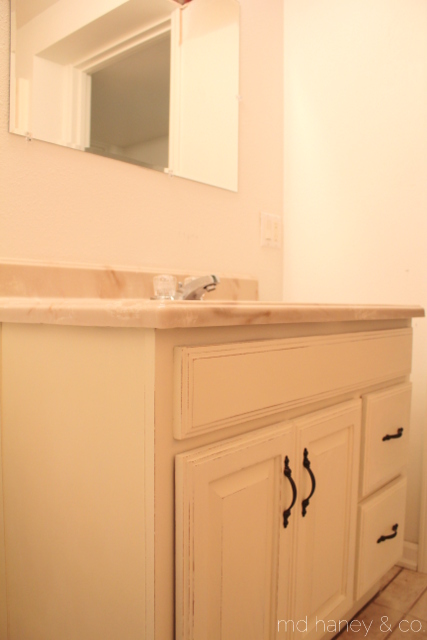
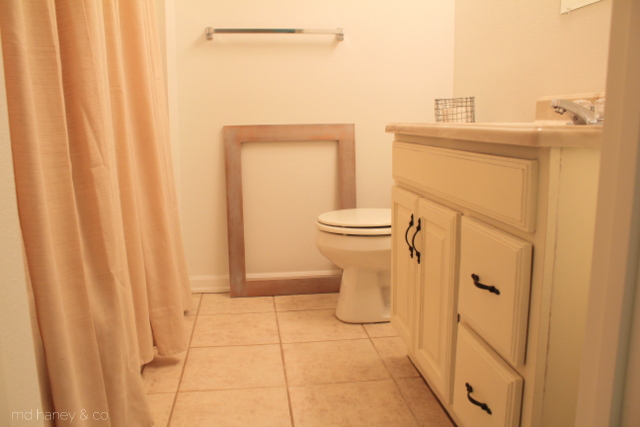
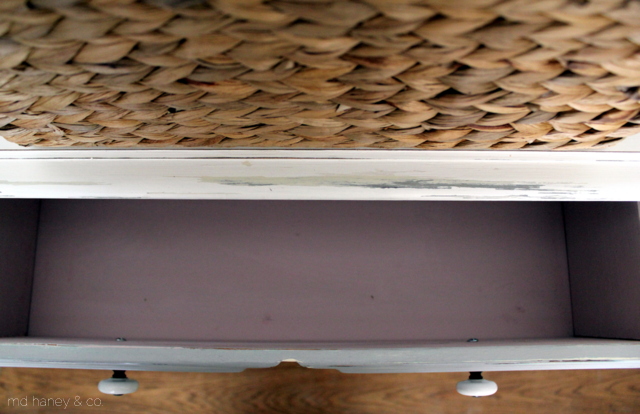
I have also started to slowly tackle the laundry room and basement bathroom. It will be a slow process because, big surprise, I need Matt's help.
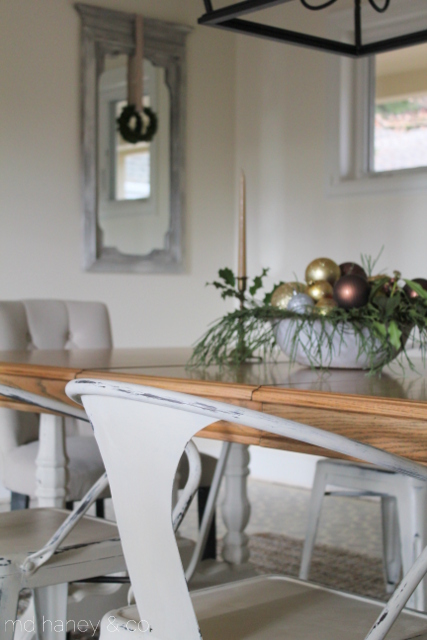
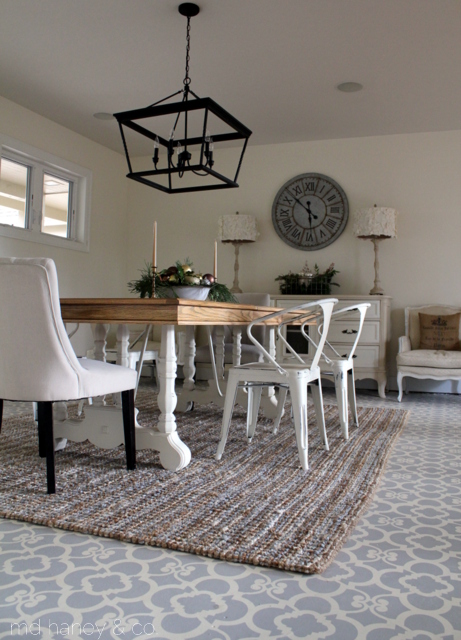
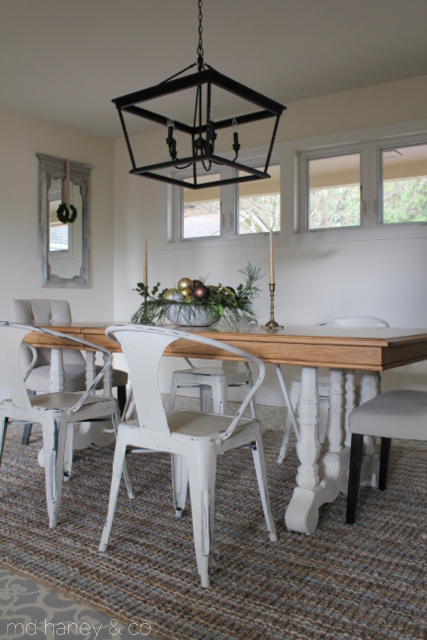
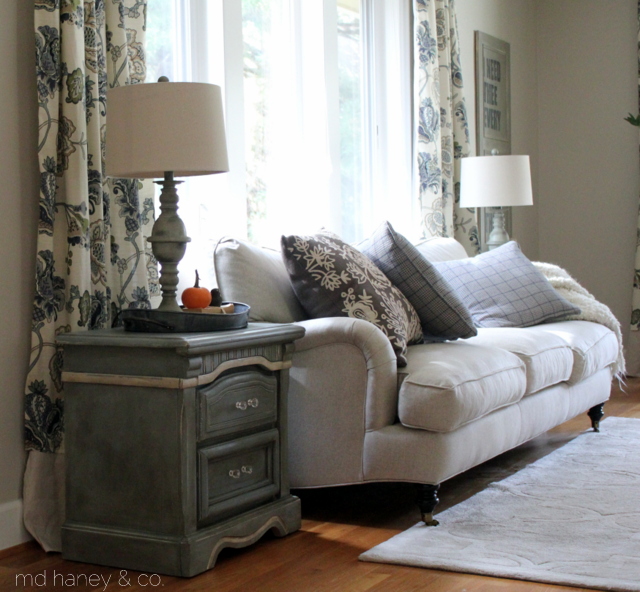
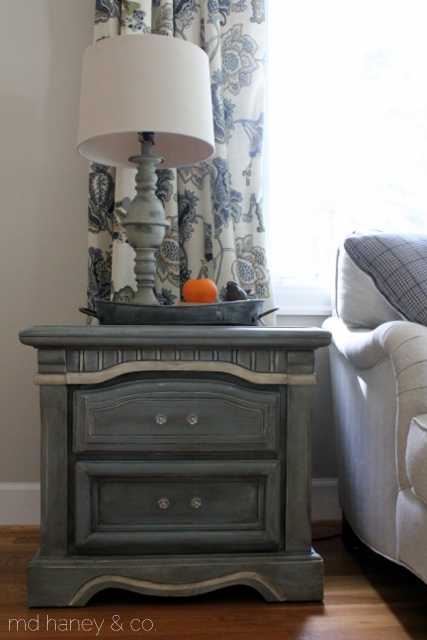
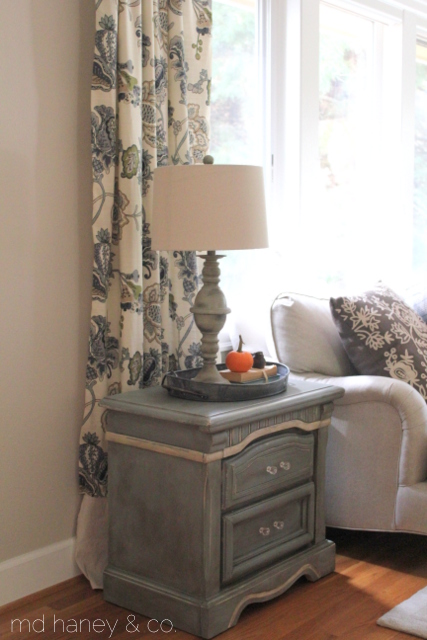
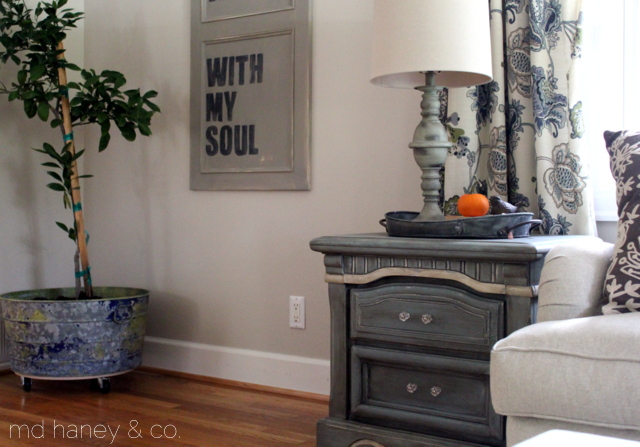
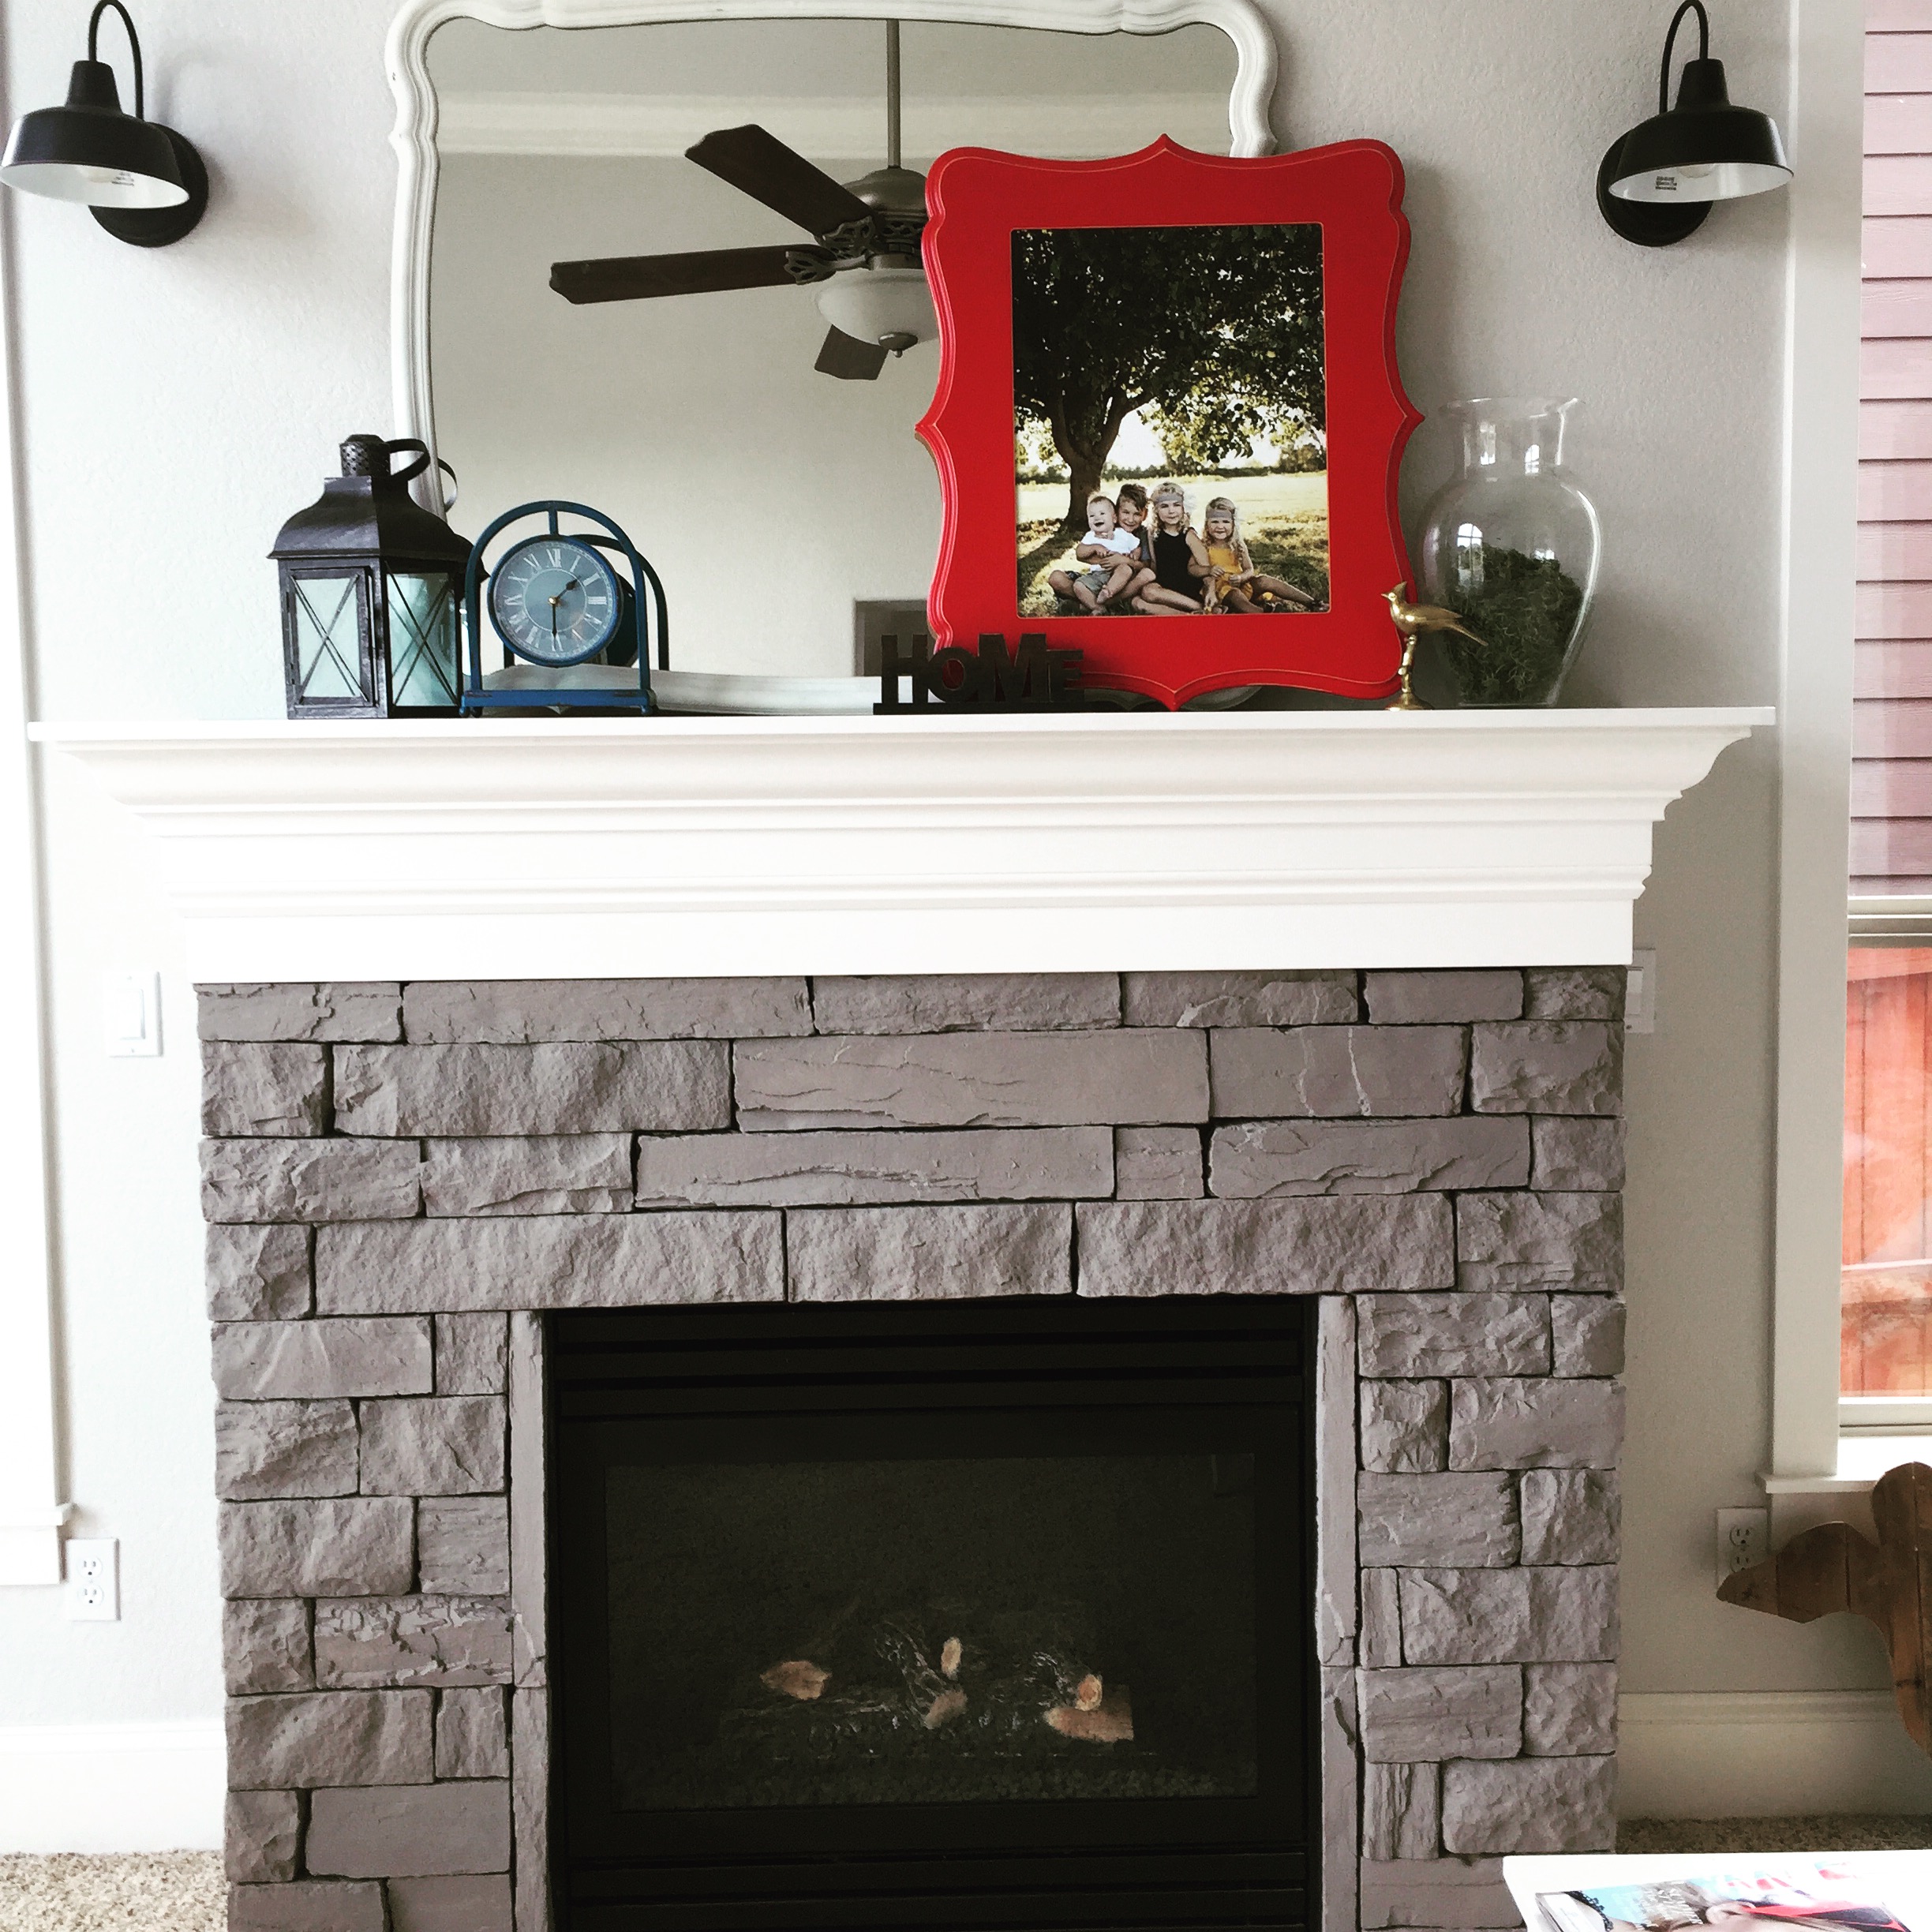
But, over the past 6 months I have found contentment in my home. It's not finished, and we have a lot of projects that we want to do. But, it's a warm, cozy and beautiful place to raise a family, share life with friends and make memories. And that's what's important to me, the rest is just the icing on the cake!!

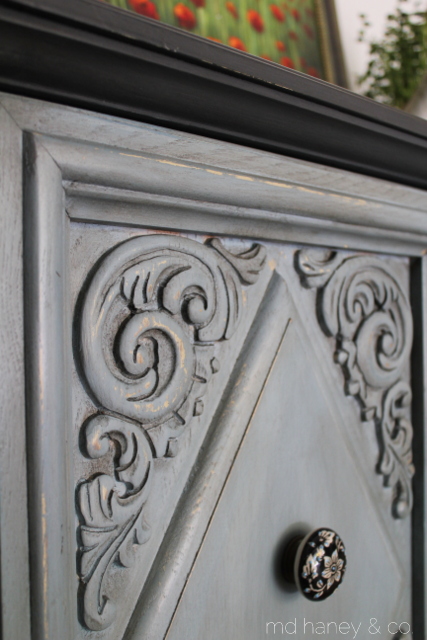
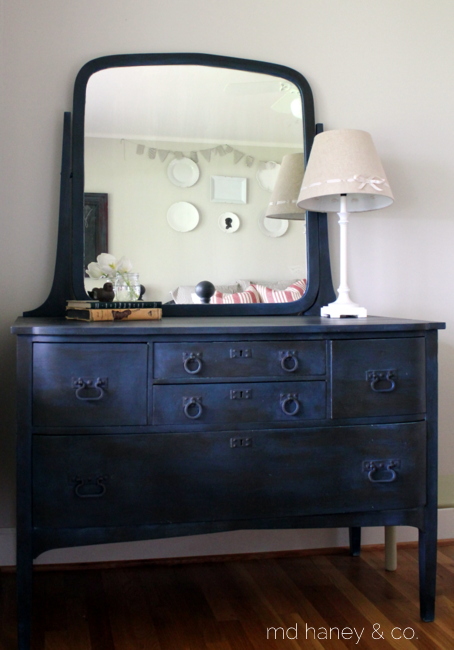
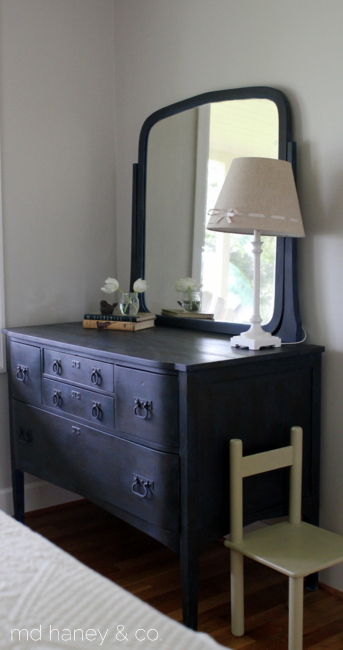
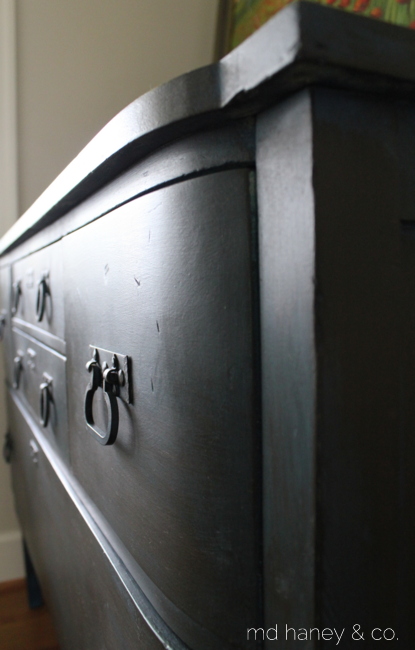
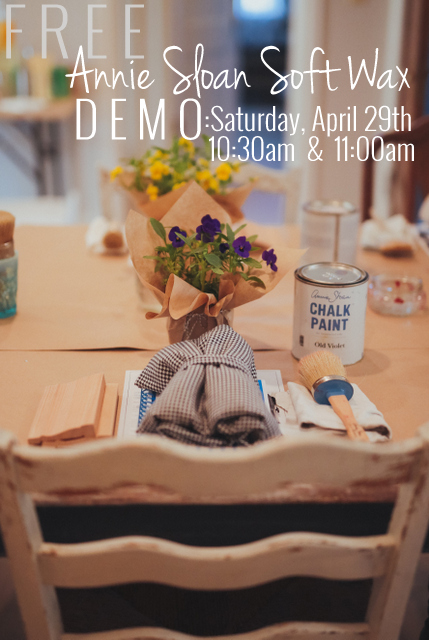 I would say the number one product we receive the most questions about, is Annie Sloan's soft wax. It is such a fantastic product! However, it can cause frustration if it's not applied properly. Next Saturday, I am going to offer two {free} demonstrations on applying soft wax. A little way to help customers who are struggling with the soft wax and for whatever reason can't attend a BASICS painting class. Here are the details for you local peeps!


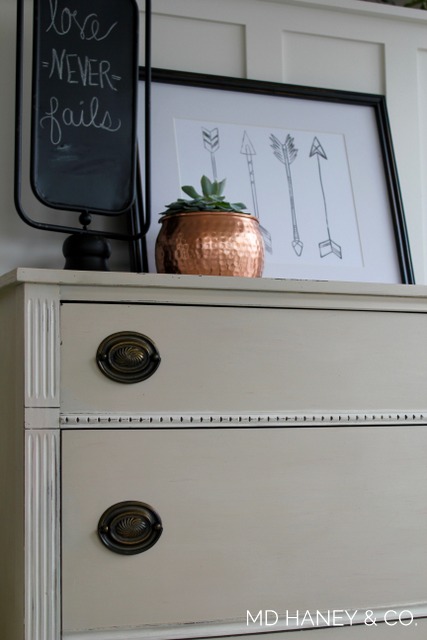

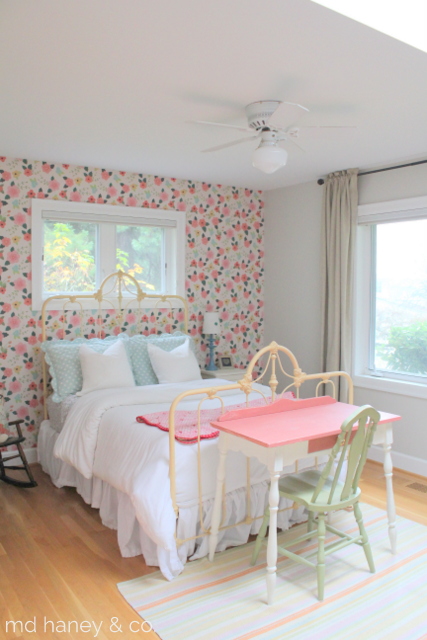
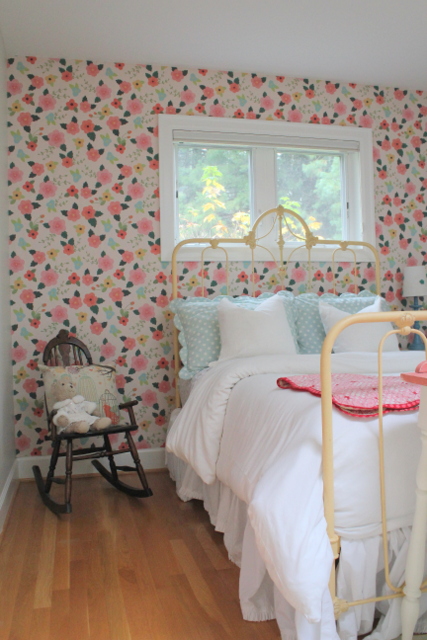
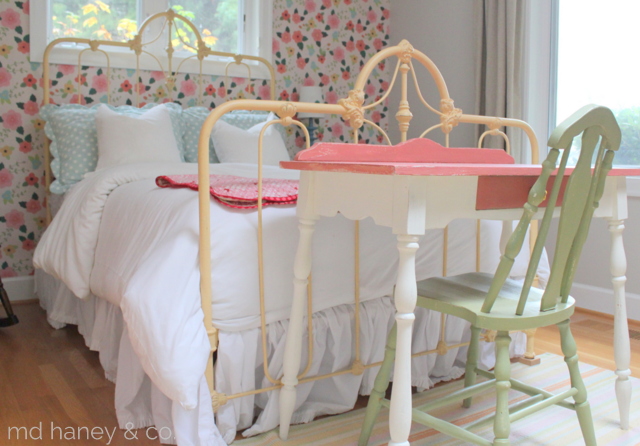
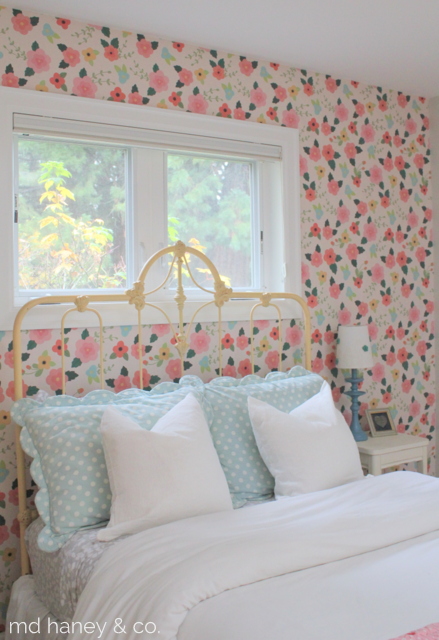
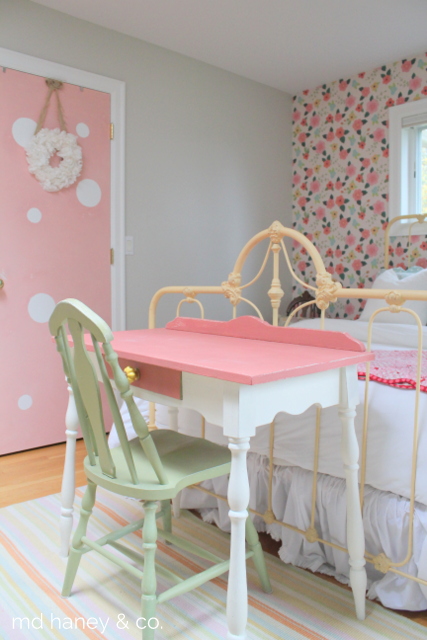
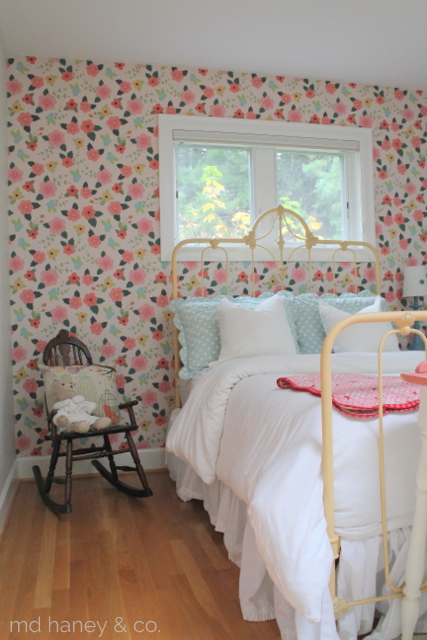
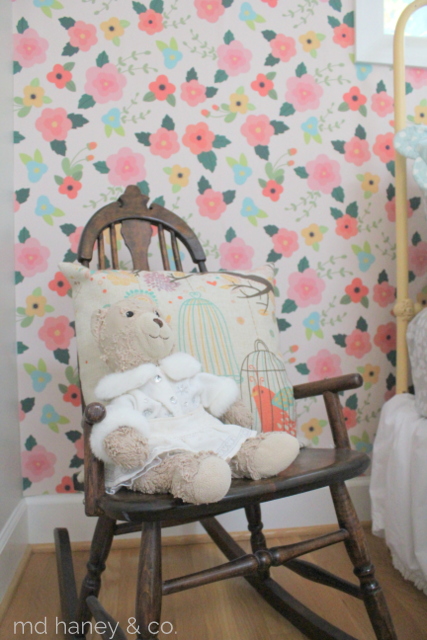
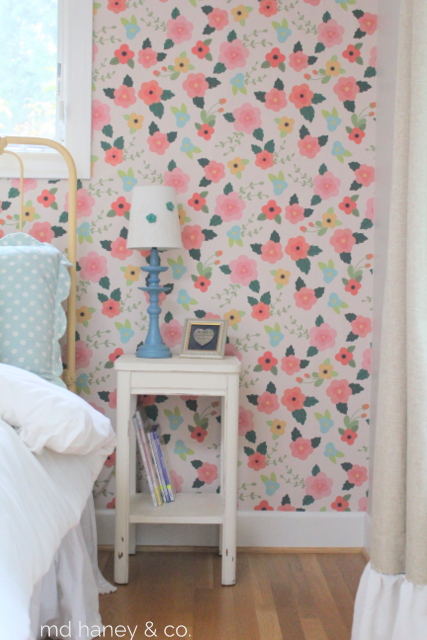
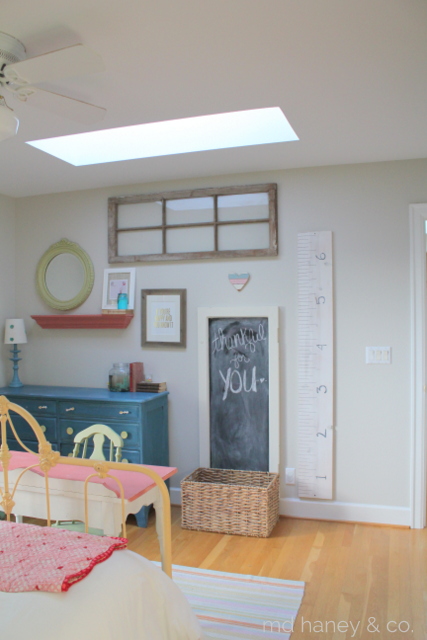
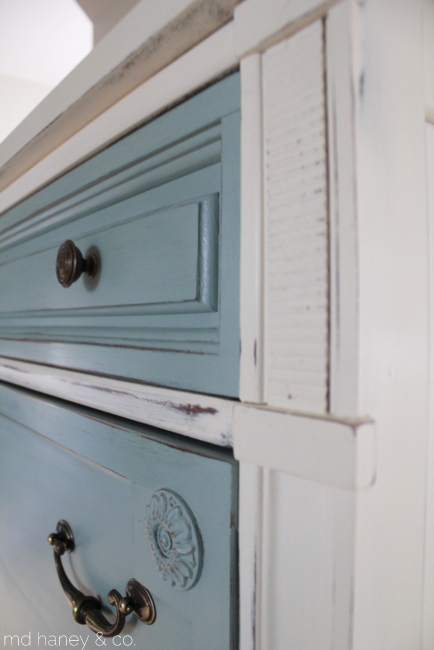
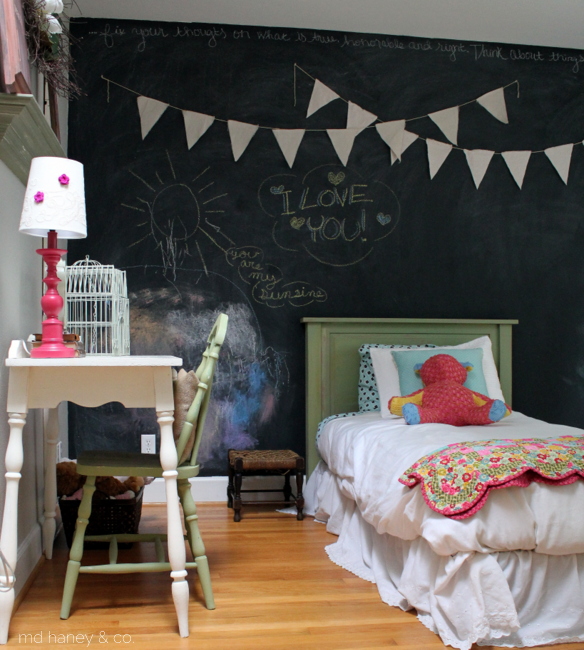
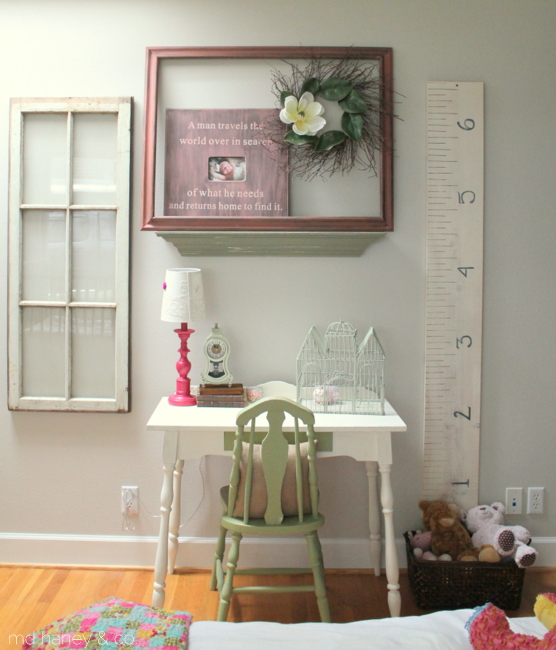
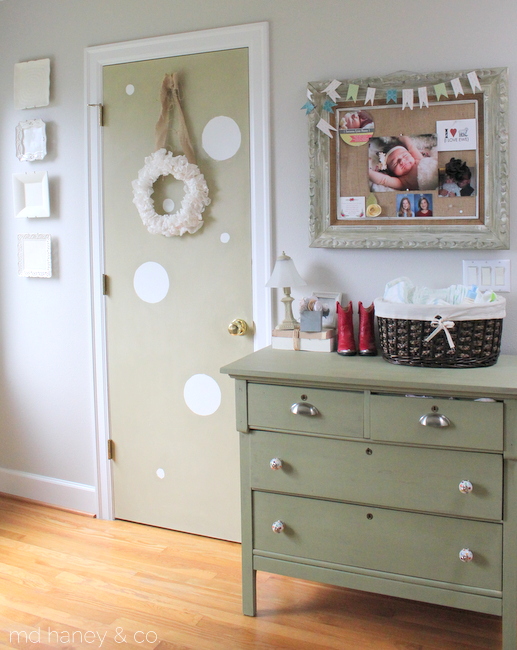
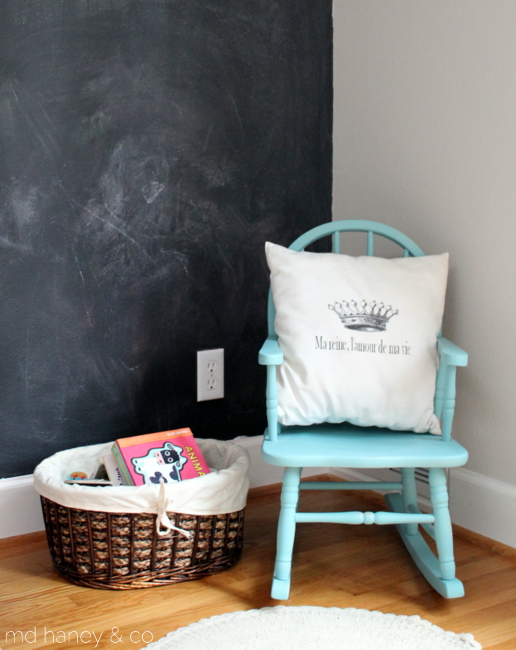
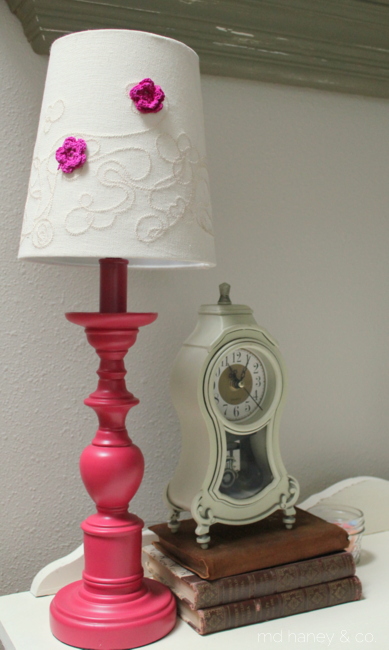
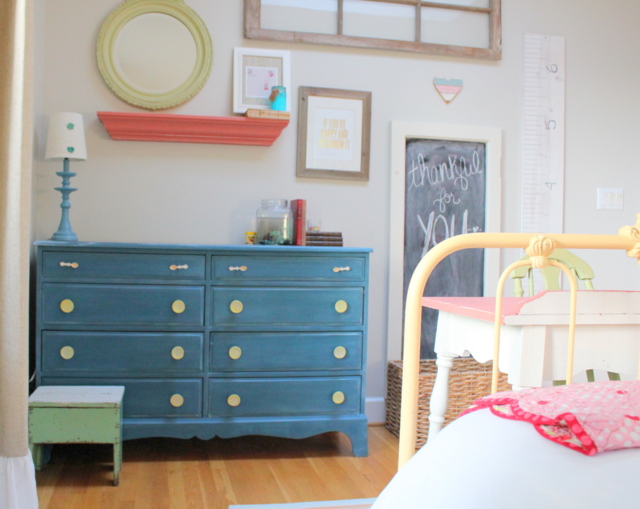 I just love how bright and cheerful her little room is. In case you are curious....