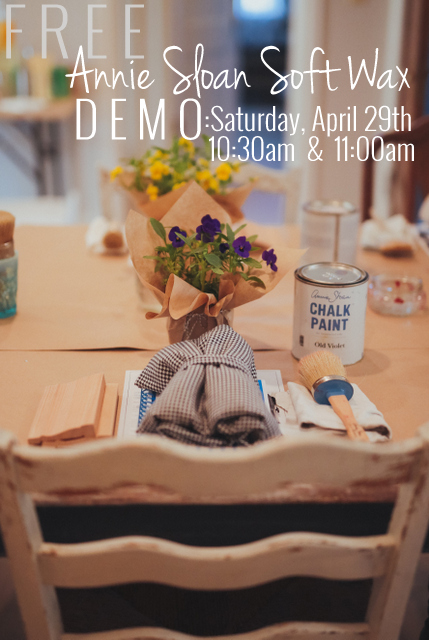
free demo || ANNIE SLOAN SOFT WAX

I would say the number one product we receive the most questions about, is Annie Sloan's soft wax.  It is such a fantastic product!  However, it can cause frustration if it's not applied properly.  Next Saturday, I am going to offer two {free} demonstrations on applying soft wax.  A little way to help customers who are struggling with the soft wax and for whatever reason can't attend a BASICS painting class.  Here are the details for you local peeps!

W H E N:  Saturday, April 29th, 2017

T I M E: 10:30am and 11:00am

W H A T: demo on applying Annie Sloan soft wax, 10% off your purchase of a wax brush, coffee + muffins

C O S T: free

Each demo is limited to 12 people.  Although there is no cost, you do need to sign up at the shop.  You can sign up by calling, emailing or stopping by the shop!

a paint party || ADDILYN'S 6th BIRTHDAY

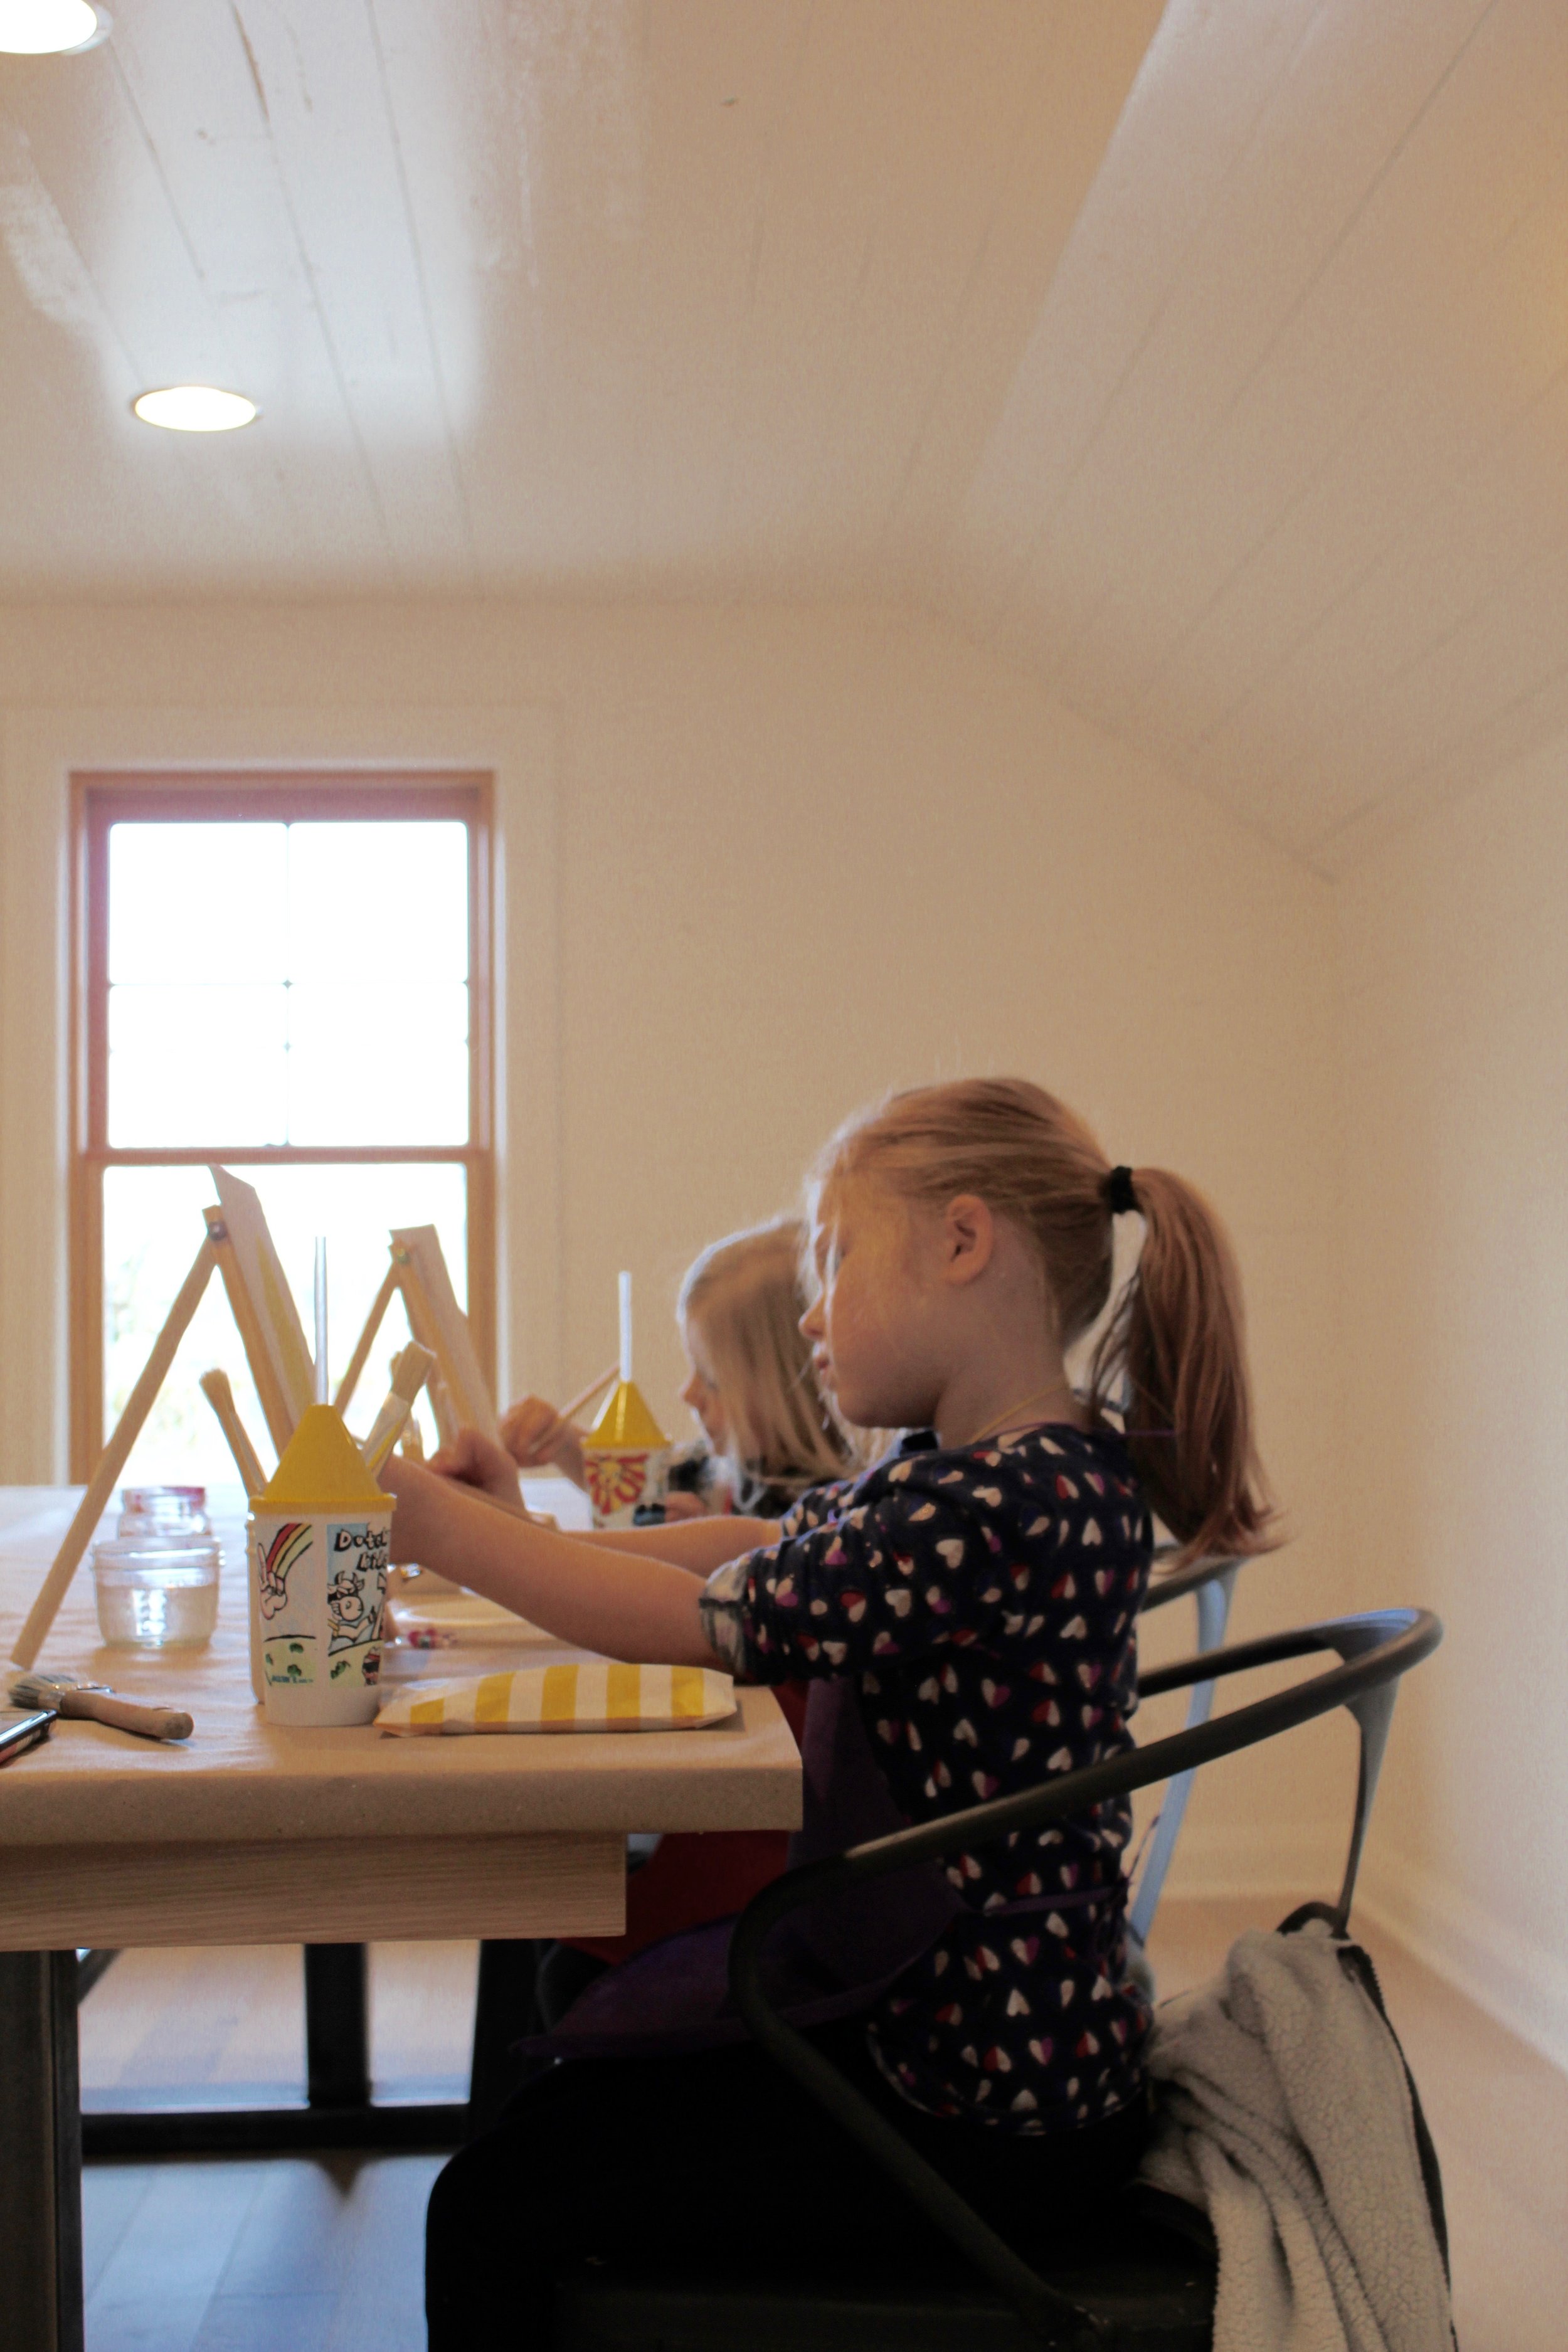
My little sweet pea turned 6 last week.  It's so true what everyone told me....'time flies when they are young'.  I have really enjoyed each season and phase, but this age is a lot of fun!!! She is not one for big parties and get togethers, so a very small party with just her closest friends was right up her alley.  I was sick so I honestly didn't put the time and effort into it that I normally would have, but the girls all seemed to have a fun time....and I did too!

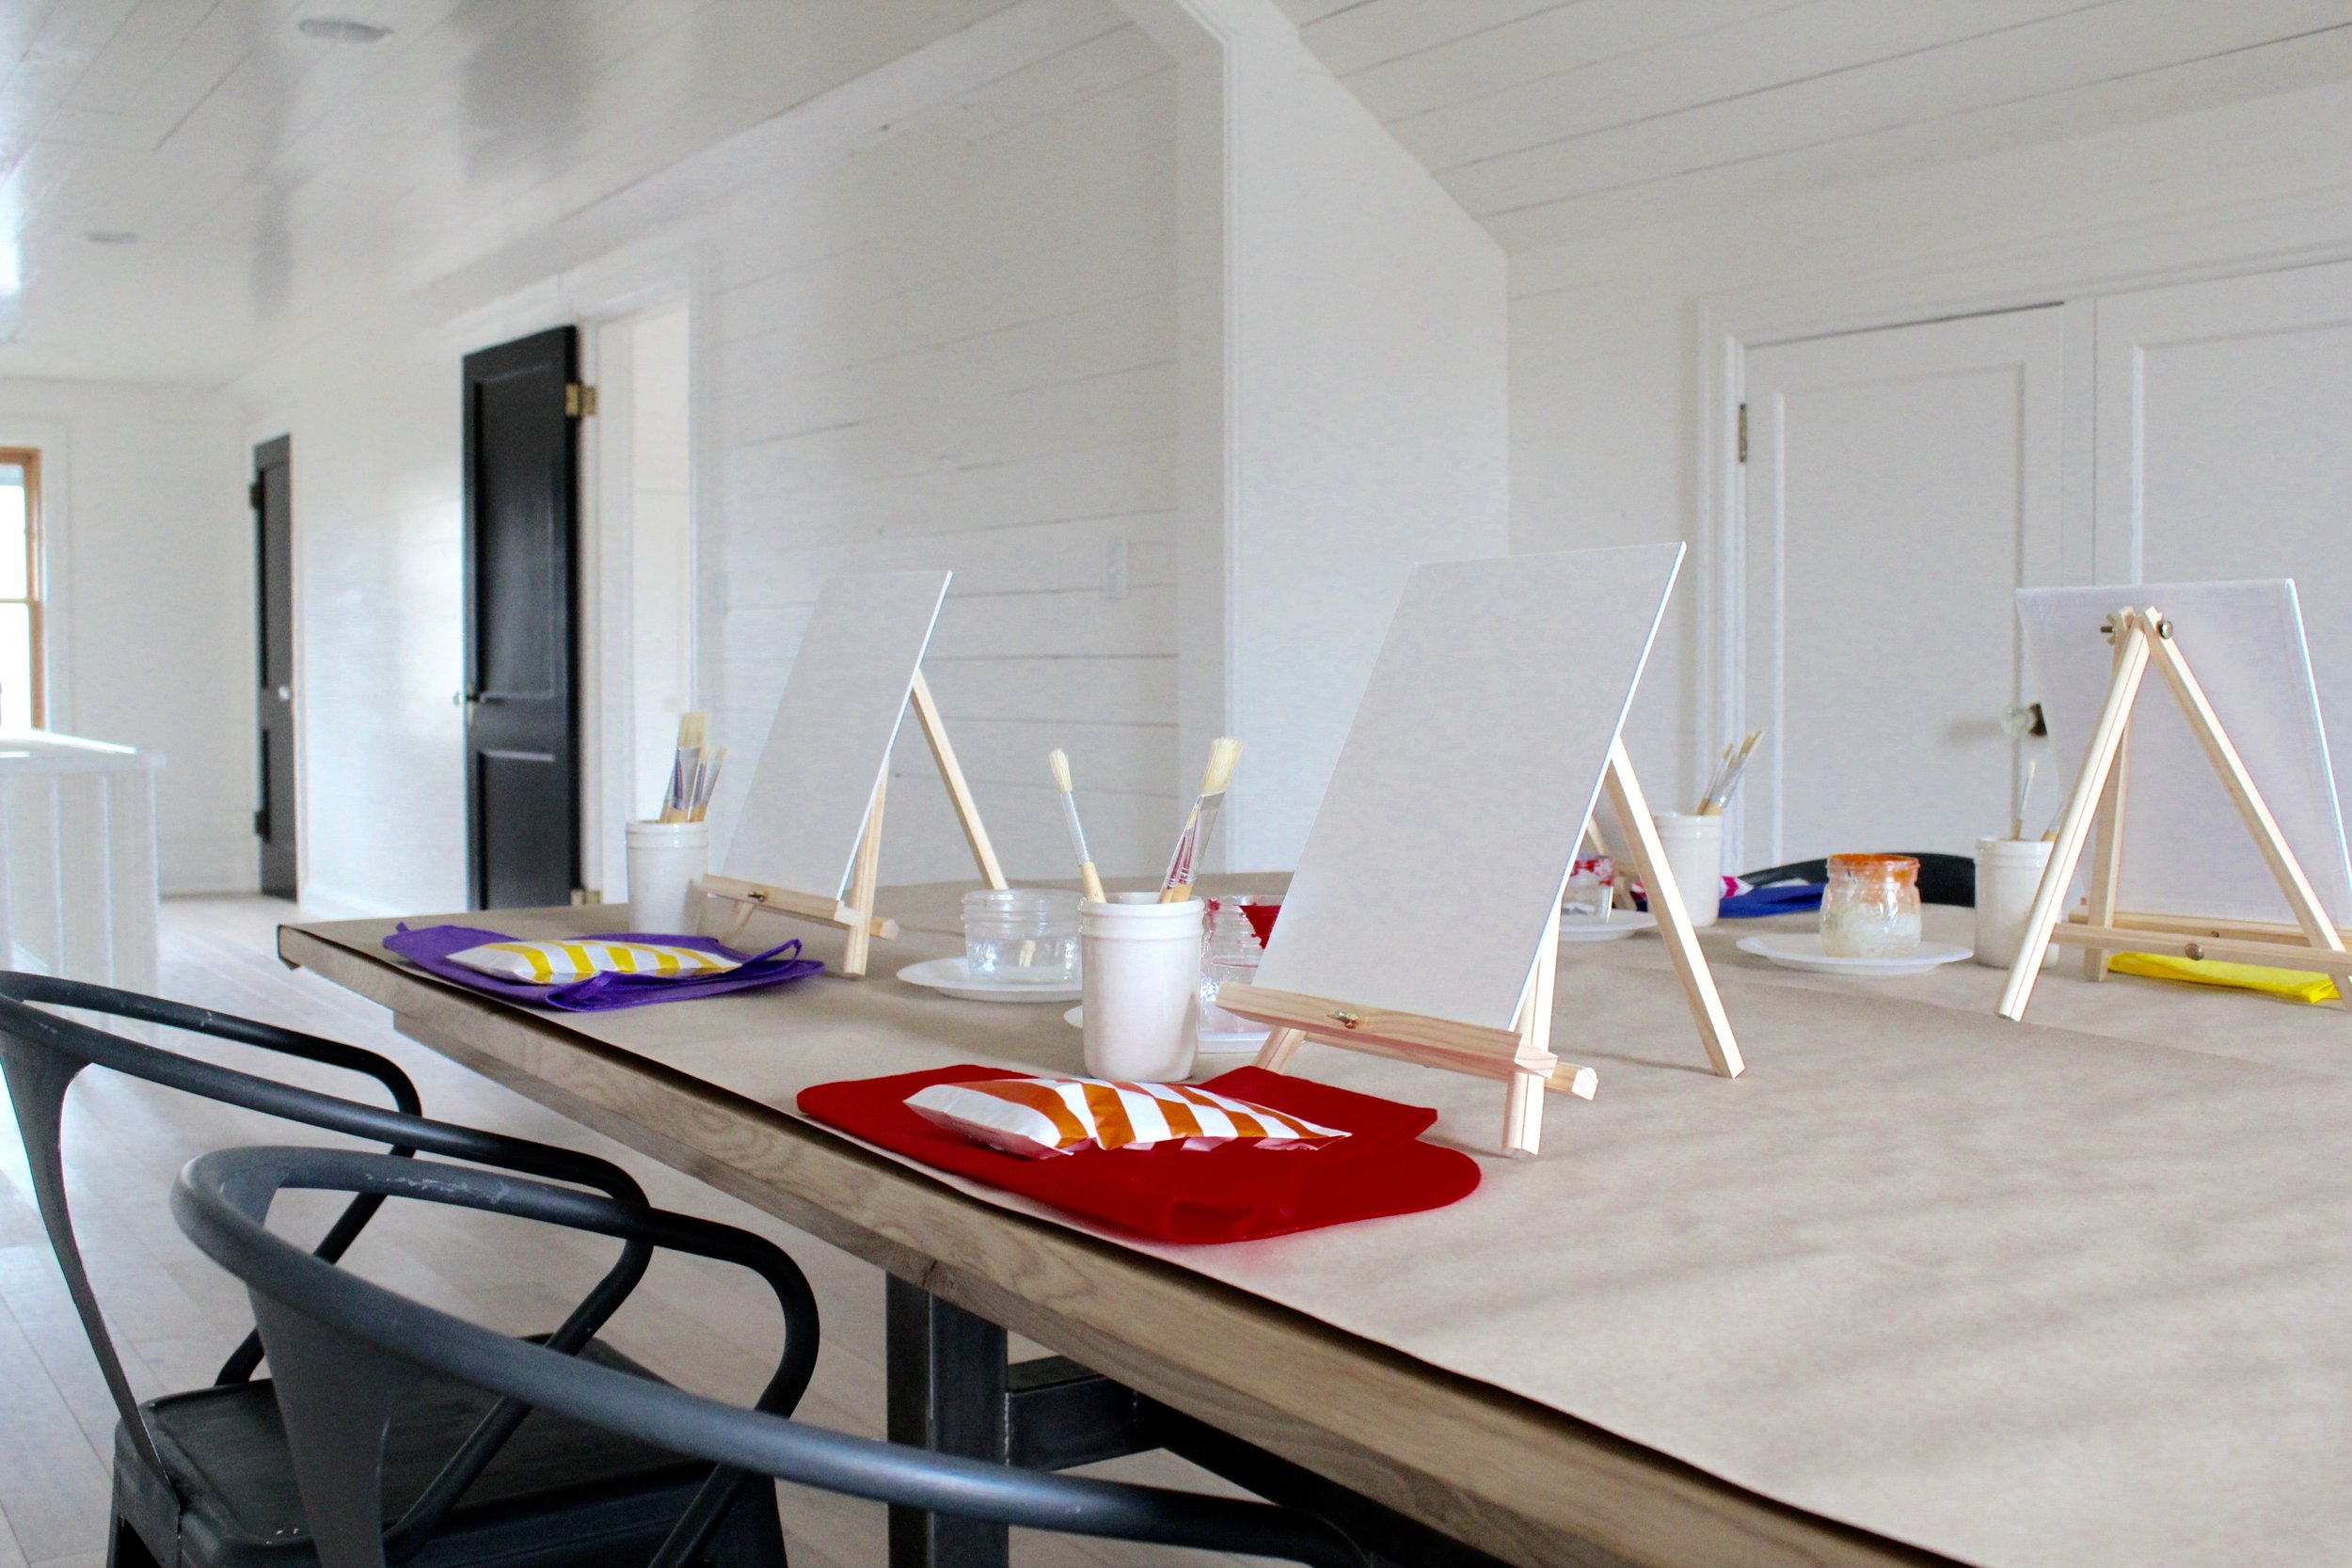
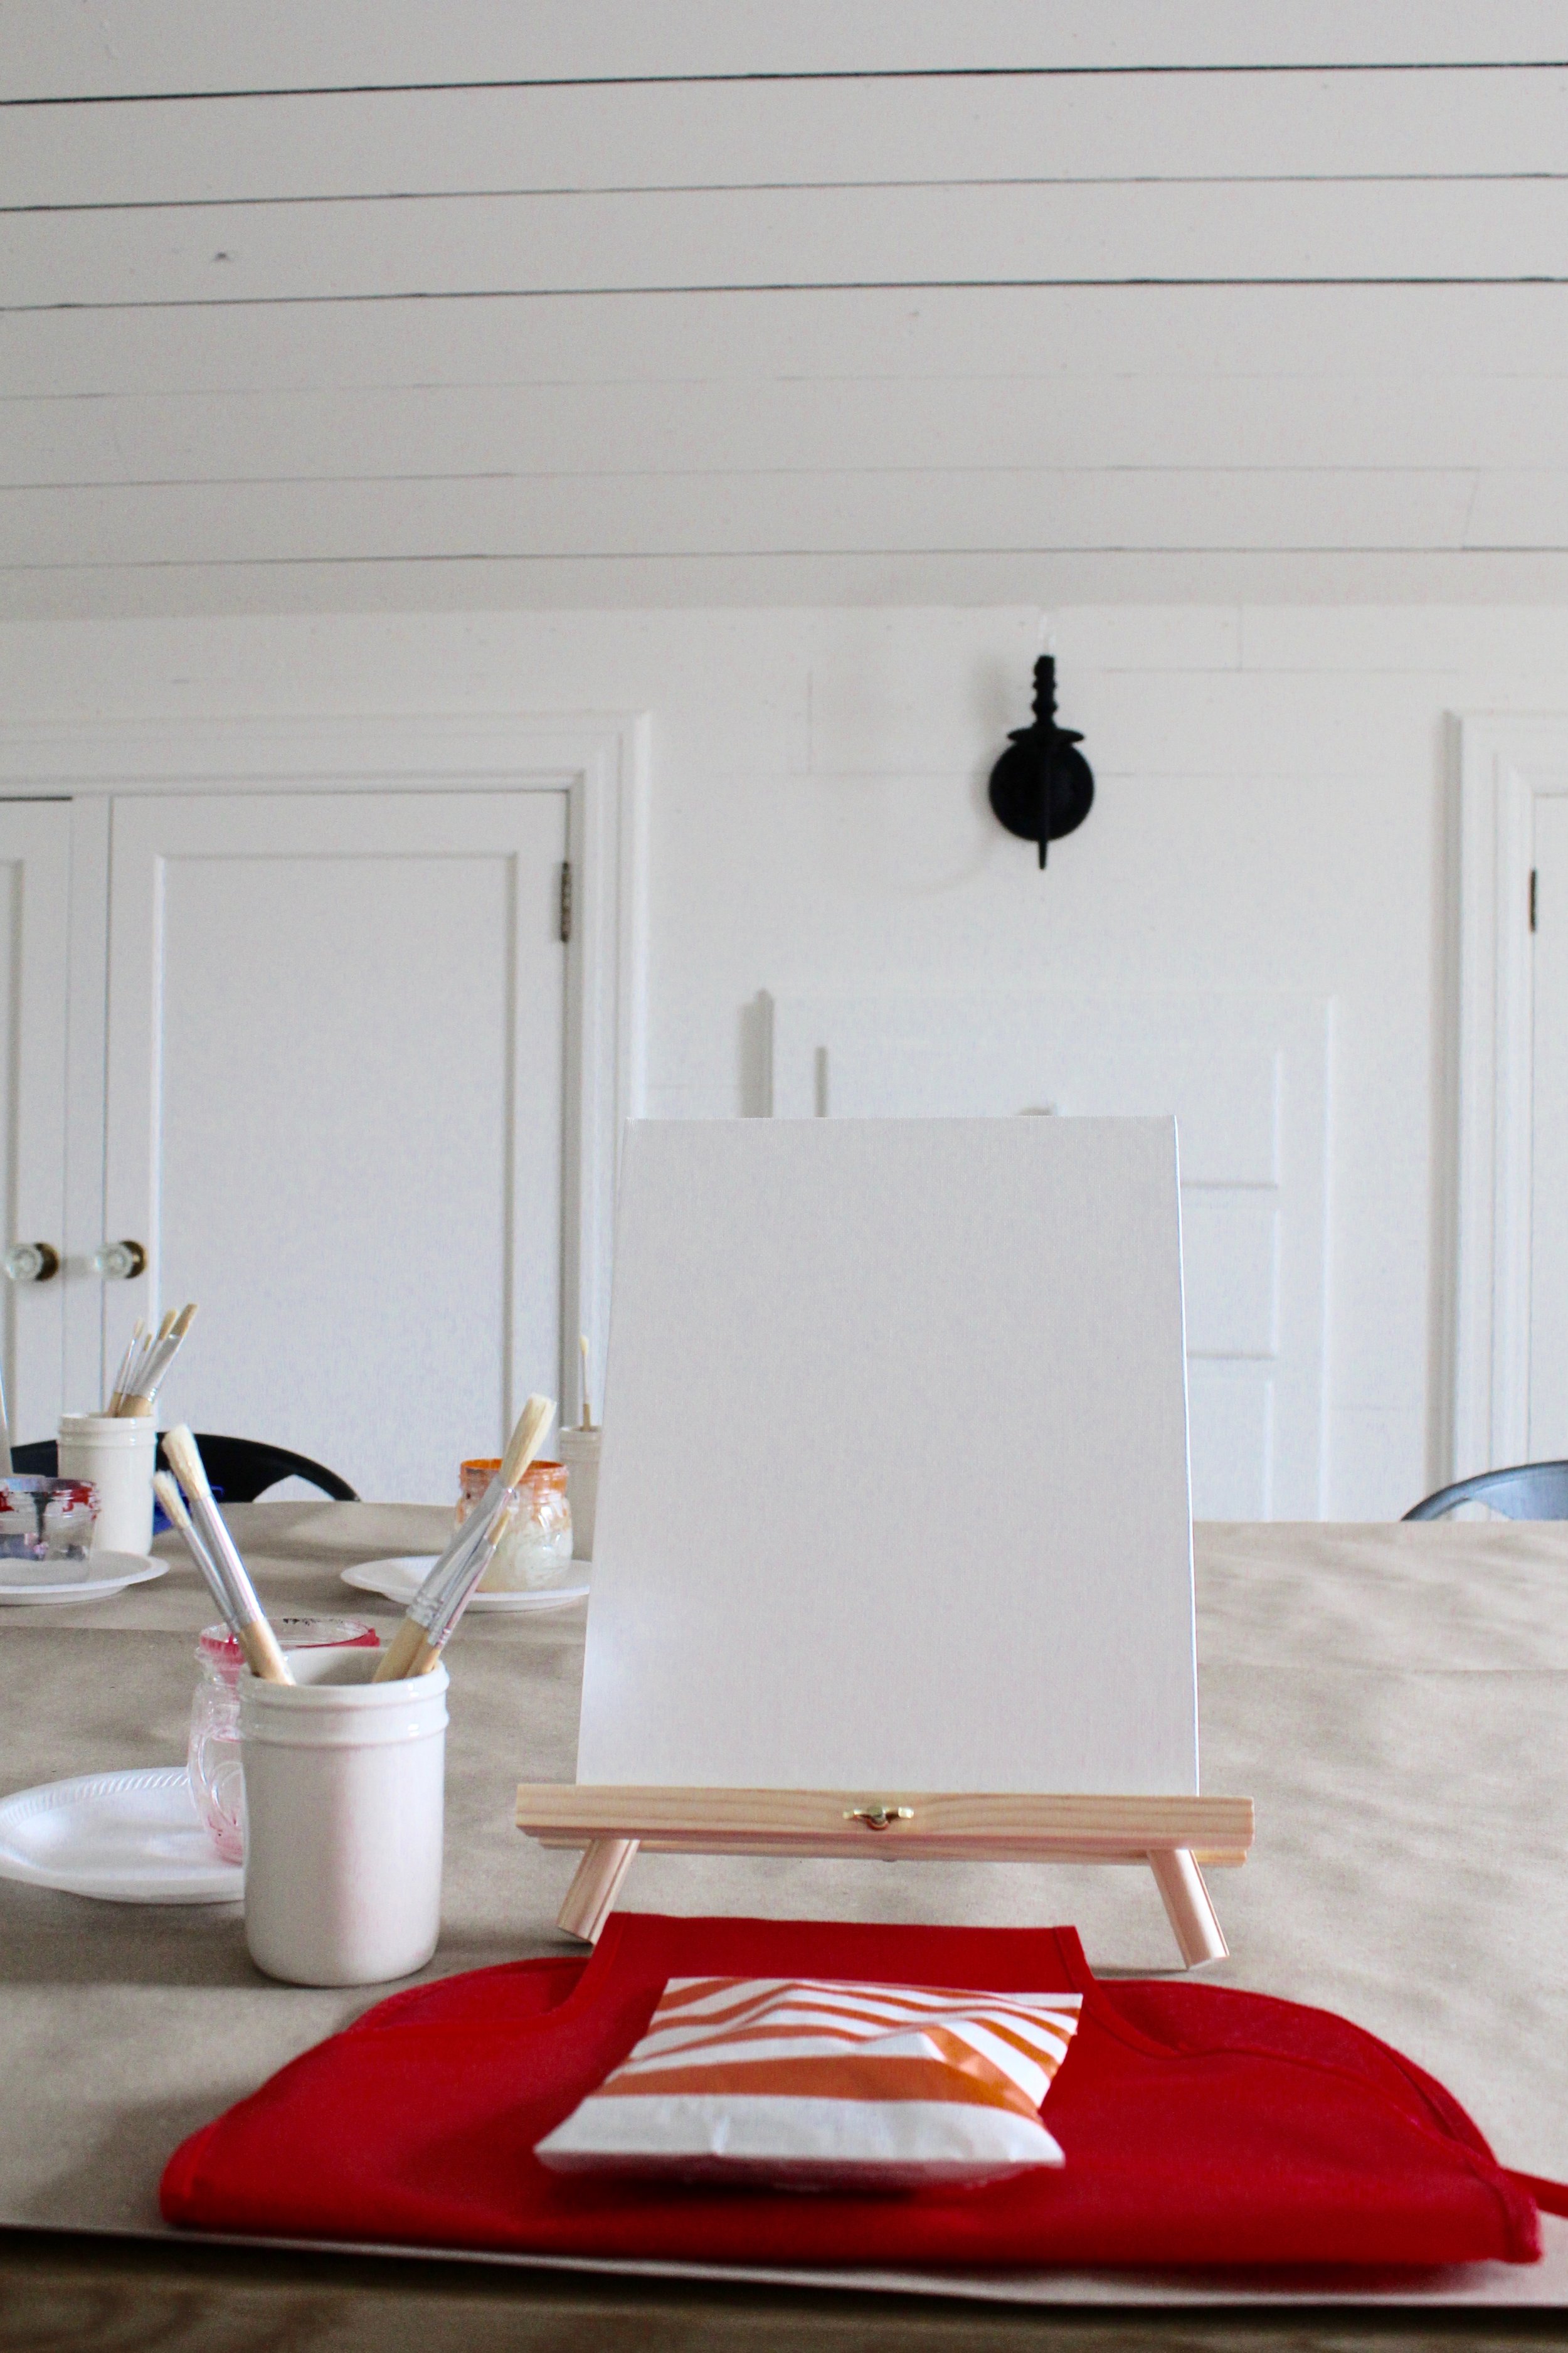
Just a simple set up in the workshop area of the shop....they each had an apron, 8 x 10 canvas, painting easel, paint brushes and paint.

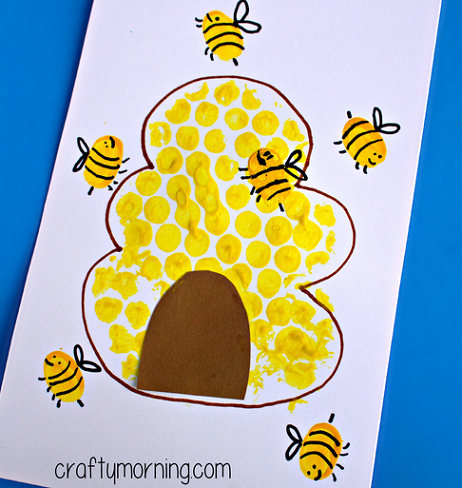
We made these sweet little honey bee hives from craftymorning.com.  They turned out darling and it proved to be just the right amount of time and skill because the girls seemed to enjoy themselves without getting frustrated ;-)

The party was suppose to happen Saturday morning but got rescheduled because of a sick friend and a sick mama ;-)  We still went with the doughnut and breakfast theme though!

It was a simple party but such a fun way to celebrate my little sweet pea.  It's so easy to get caught up in the world of Pinterest and Instagram and think that a simple party or get together is not enough.  That it always has to be 'Pin' worthy.  So not the case!!!  It's all about spending time together and loving on others.

painted dresser || Chalk Paint® + MMS Milk Paint

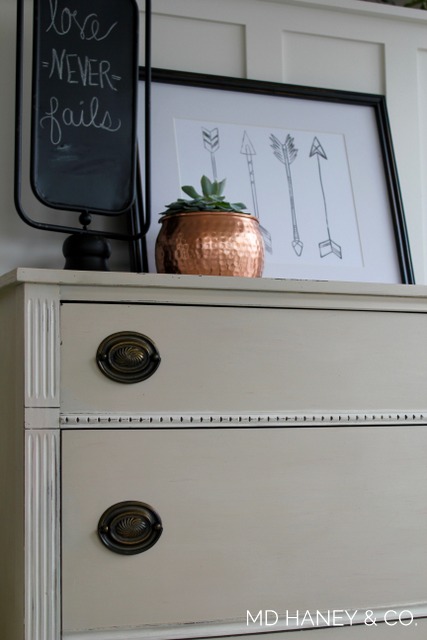
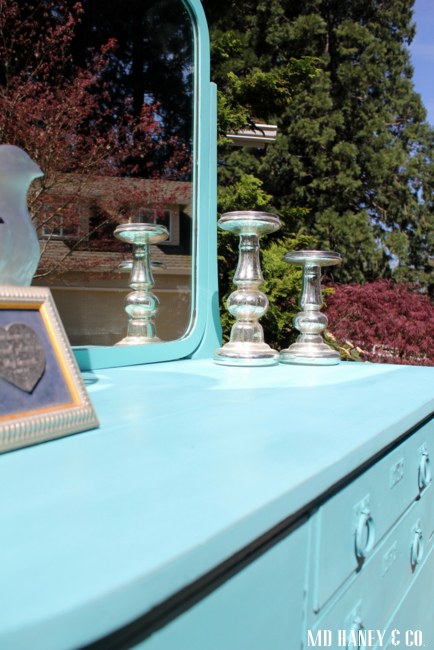
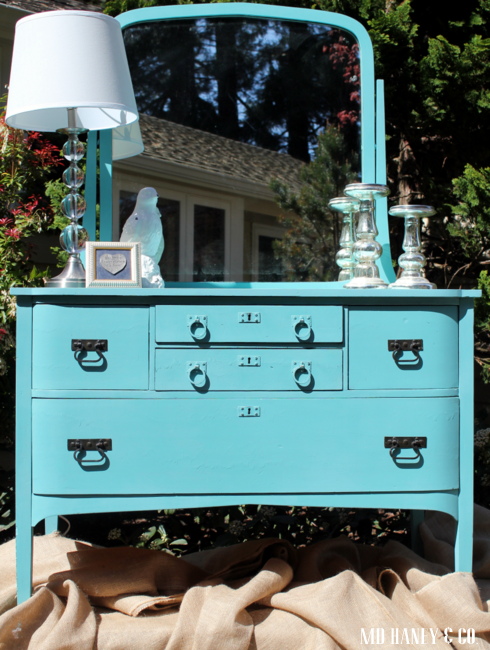
About a month ago I picked up this cutie of a dresser at Habitat.  I thought it had darling lines and it was in good shape, it just needed some paint!

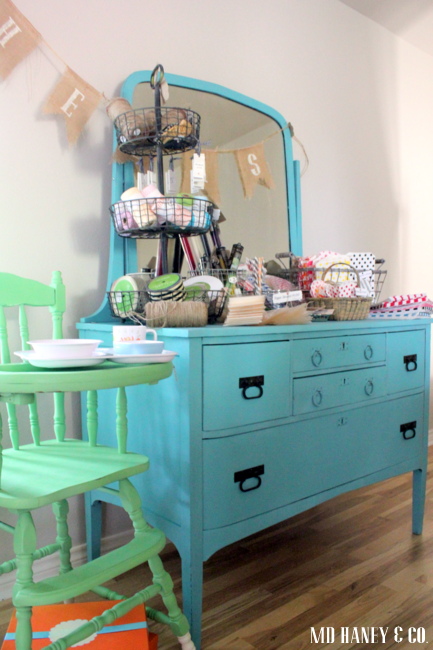
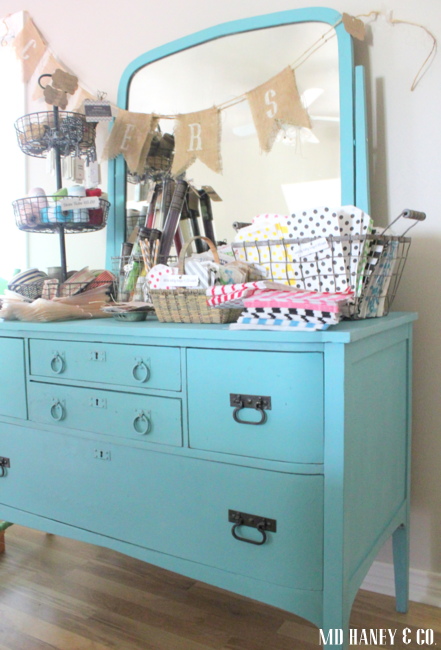
I kept the original brass hardware and I painted this dresser with 3 coats of Miss Mustard Seed Milk Paint, MARZIPAN.  I painted the sweet trim pieces with Annie Sloan Chalk Paint®, OLD WHITE.  I lighting sanded, just to distress the edges.  I sealed the entire piece with two light coats of Annie Sloan Clear Wax.

This cutie is for sale at the shop for $285.

painted furniture || ANTIBES GREEN CHALK PAINT®

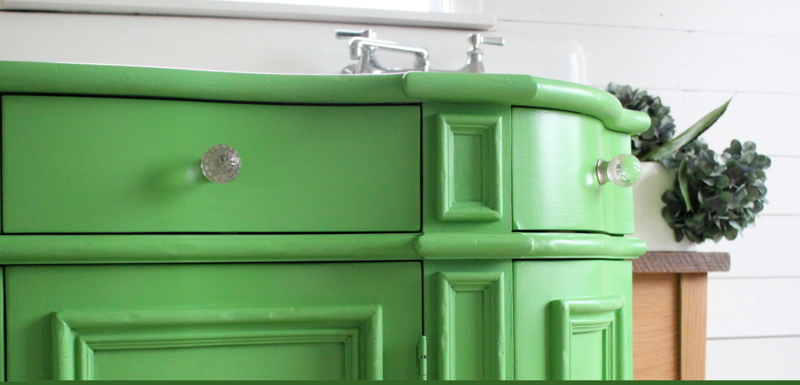
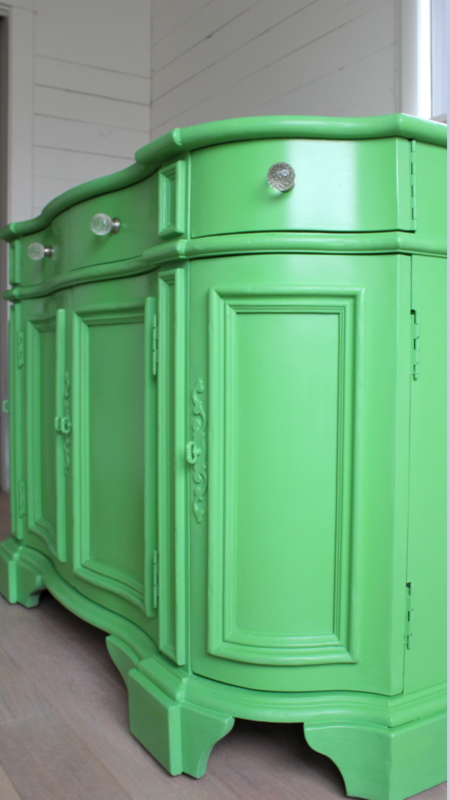
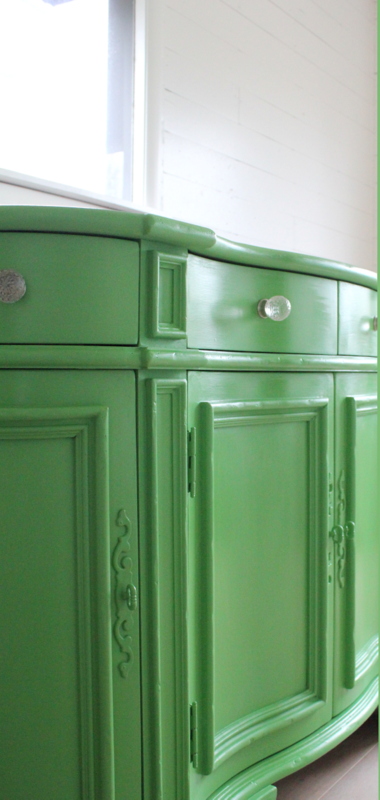
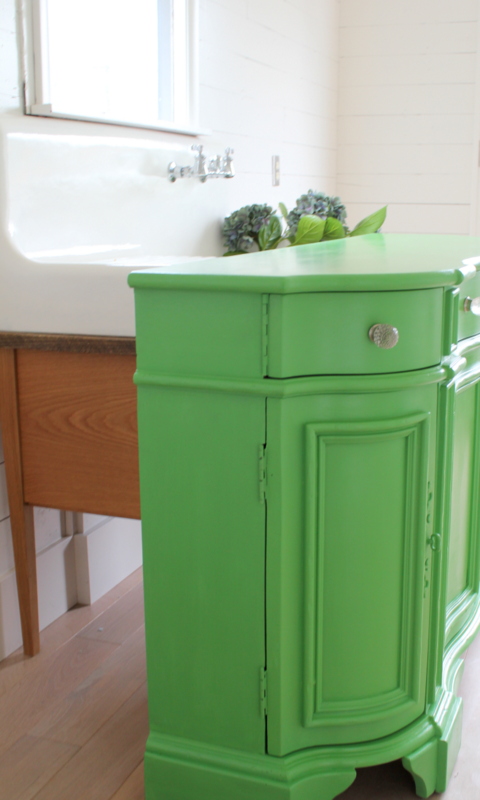
A dear friend of mine is giving herself a beautiful home office.  She has switched some rooms around and is making a space that is absolutely bold and beautiful, just like her!  She had a solid hutch that she wanted painted, it's going to be her pop of color in the new office.  We settled on Annie Sloan's ANTIBES GREEN..... hutchbefore

It is a beautiful piece of furniture.  Solid, well built and has some really great storage.  It was a lovely piece to paint!

hutch1

2017-01-09-23-00-53

2017-01-09-22-59-22

2017-01-09-23-01-30

2017-01-09-23-02-50

I used Annie Sloan Chalk Paint, ANTIBES GREEN, Annie Sloan lacquer and Annie Sloan Clear Wax.

The hutch was originally intentionally distressed.  It had manufactured worm holes, gouges and was made to look old.  She wanted the new look to be shiny and crisp, no sanded edges or distressing the paint.  This piece took four coats of paint (I watered down each coat, I wanted it smooth!) two coats of Annie Sloan Lacquer and one coat of Clear Wax.  I can't wait to see this beauty in her new office space!  I hope this has inspired you to paint something....maybe something bright and bold!

xoxo


French Country Farmhouse || custom cabinetry

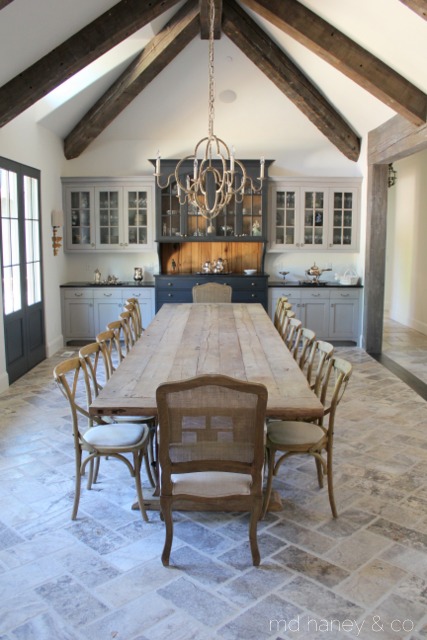
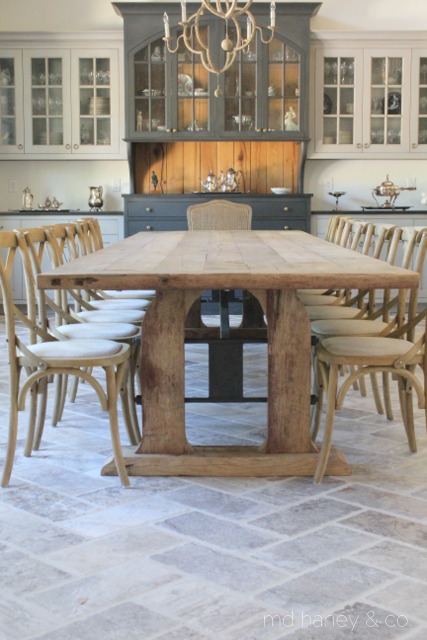
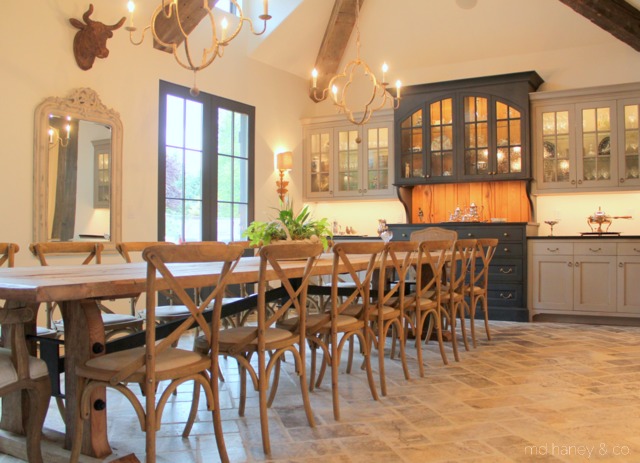
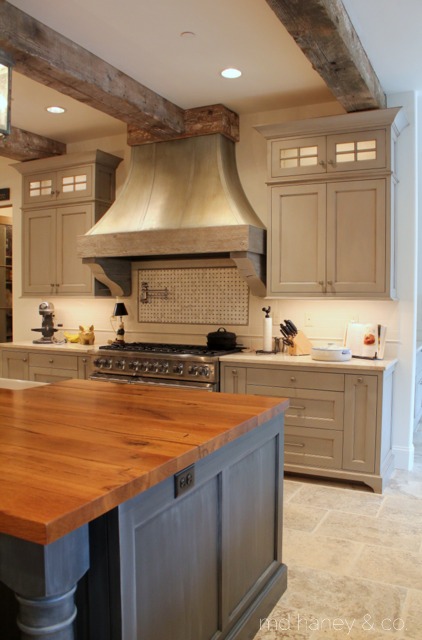
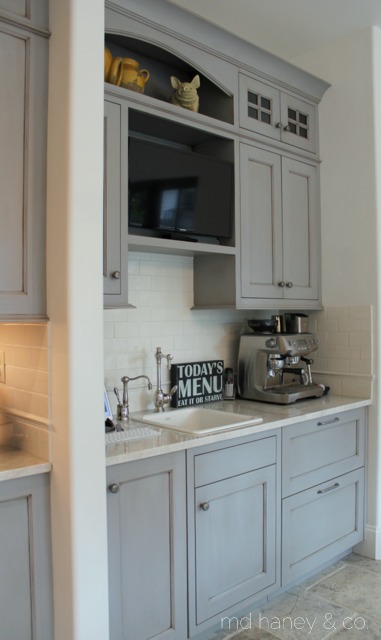
Last year we started to work with the greatest.clients.ever.  Truly, they are exceptional people and it has been an honor to work with them.  They built (actually, it's still under construction) their dream home and Matt was hired to build all of the custom cabinetry.  The clients were working with two sweet and talented designers.  My role was to help with paint colors and technique, as well as paint some of their existing furniture.  It was such a fun and challenging  collaboration! Hopefully we will have a professional photographer into photograph the home when Matt has wrapped up all of the little details.  But, the girls and I went to visit today and I snapped a few pictures.  I couldn't wait to share....

IMG_6695

IMG_6697

IMG_6703

When you walk in the front door, you are greeted by this amazing dining room.  Matt built the cabinetry, as well as the dining room table.  The cabinetry has some custom finishes and is painted with Annie Sloan Chalk Paint®.  The dining room table is made from reclaimed oak.  Can you believe the reclaimed beams in the ceiling?!?  The pictures do not do the space justice!

IMG_6747

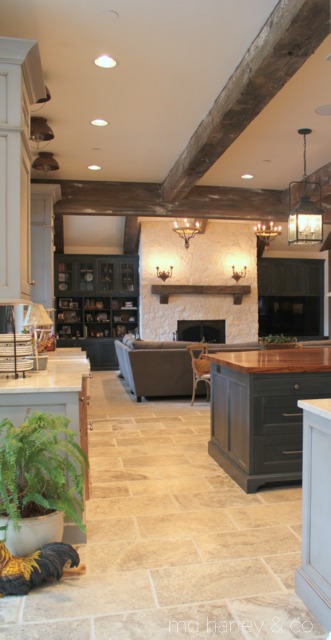
The dining, kitchen and living room are all open with large vaulted ceilings and reclaimed beams.  In this picture, you can barely see the cabinetry in the living room.  The cabinets are painted with Annie Sloan Chalk Paint and have a wash over them.

IMG_6732

IMG_6739

Matt is still working on the built-ins for the refrigerator unit so I didn't snap any photos of the other side of the kitchen.  Can you believe he made that ginormous island countertop in just two pieces?!?  The hood is one of my favorite features.  I could brag on my hubby all day!  He doesn't brag on himself, so somebody needs to ;-)

IMG_6713

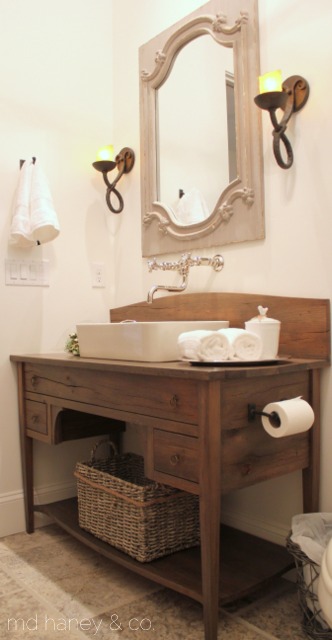
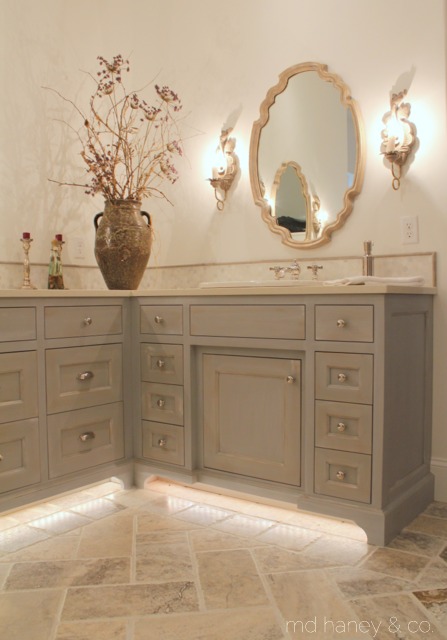
For the powder room vanity, the designers  showed Matt a picture and wanted something similar....didn't this turn out darling?!?

IMG_6719

IMG_6725

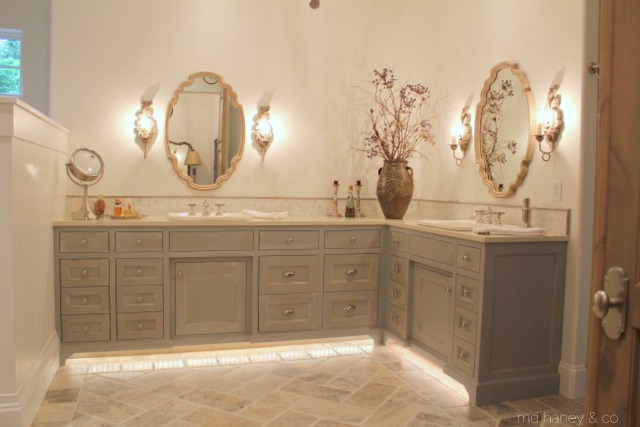
The master bathroom cabinetry is also painted with Annie Sloan Chalk Paint®.  A mix of three different colors with a wash and dry brush technique.

There are more beautiful rooms and more beautiful cabinetry.  I will show more soon, and go into more details on the cabinetry and rooms.

Thanks T & P.....it's been such a dream to work with you!


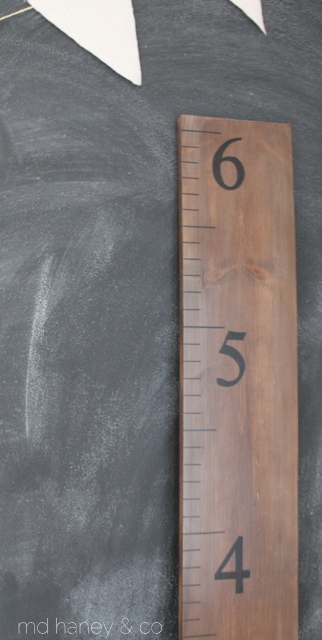
hand made growth charts

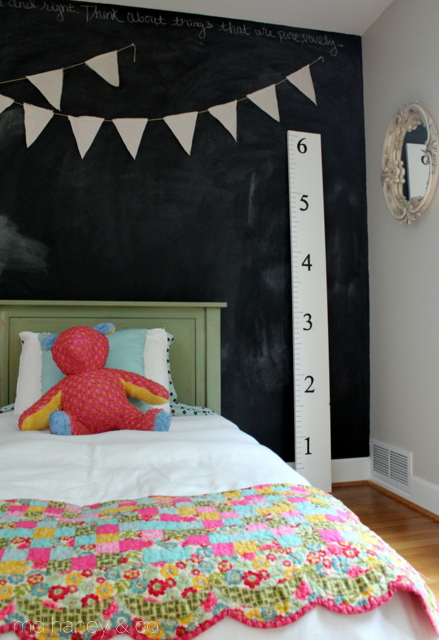
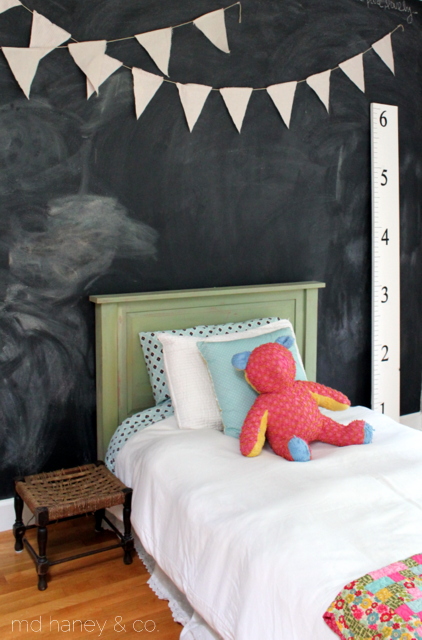
It must be the time of year, a few weeks ago I received requests for 4 custom growth charts, all within a two days.  The last time I made a growth chart was at least 4 months ago, it's so funny how things ebb and flow!

I know that there are a gazillion growth chart tutorials online, but I thought I would share the way that I make them, and hopefully inspire someone to make their own growth chart!  They take a few hours to complete, but I break mine up into stages and the results are so worth it!!

IMG_5629

IMG_5634

IMG_5636

IMG_5638

IMG_5640

IMG_5645

Supplies Needed:

~ 6' pine board, (the width can be whatever size you prefer)

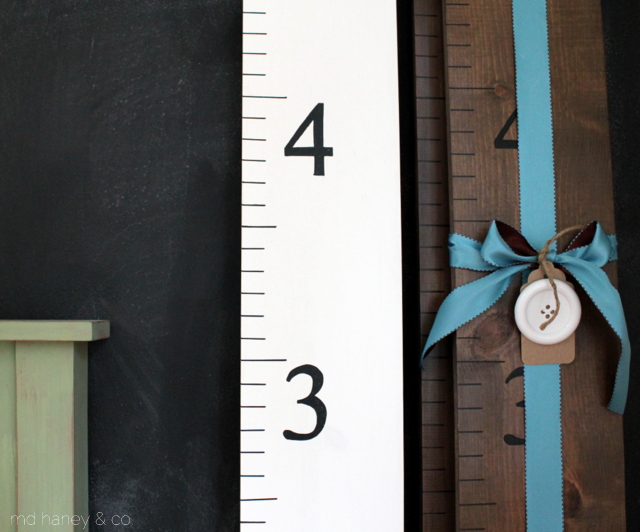
~ paint and wax (I used Annie Sloan Chalk Paint® for the white growth charts (Pure White) and Miss Mustard Seed Milk Paint for the dark growth charts (Curio).  I used Annie Sloan clear wax for both growth charts.

~ black paint pen

~ ruler 

~ saw tooth hooks

1. Paint the board, both sides.  Wax with clear wax.  

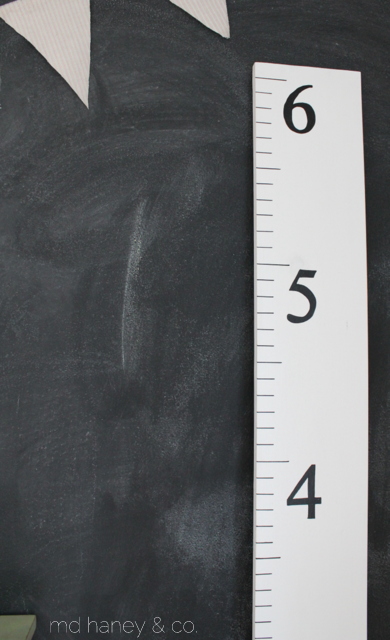
2. Using a sharp pencil and a ruler, mark the side of the board every inch.  The pine is soft enough that you can press the pencil into the wood and it will mark.  (I lay my board on the work table/counter, it's best to do this with the board horizontal.)   Once the inches are marked, go back with your straight edge and make a line at every inch.  I use the marks on my ruler as a guide.

3. Use a paint pen and a straight edge to go back over the pencil marks.  The paint pen gives crisp, bold marks.

4. Print off numbers 1-6 in your preferred font, I use TIMES NEW ROMAN.  Trace the numbers with a pencil.  Again, the pine is so soft that you will easily see your tracing line.

5. Color in the numbers with the paint pen.

6. Attach the saw tooth hook to the back and your growth chart is finished!

This would make a fun baby shower gift, new mama gift or just a gift to yourself ;-)  One of these days I am going to make some in fun colors!  What color would you choose?

PAINTED FABRIC || painting fabric with Chalk Paint®

A few weeks ago, I received a phone call from a lady; they were moving her mom to an apartment and needing to downsize.  She wanted to know if I would like to come look at the items they were needing move.  I loaded up the girls, picked up a girlfriend and we were on our way.  She had a beautiful table and chair set.  Absolutely beautiful!  But, it was a big set and I didn't have room.  So I came home with a pair of chairs and some smaller treasures.

IMG_4837

The chairs were in really good shape, and super comfortable.  Since I don't have the skills necessary to reupholster these beauties, I decided to paint them.

IMG_4957

IMG_4962

IMG_4963

IMG_4973

IMG_4970

Here are the details on how I painted fabric with Chalk Paint®.

- Vacuumed the fabric and trimmed the loose strings.

- Wiped down the wood with a warm, damp rag.  After allowing the wood to dry, I painted two coats of Milk Paint {Miss Mustard Seed Milk Paint ~ ironstone} on the wood.  I was fine with the paint chipping, so I did not apply the bonding agent.

- For the fabric, I added water to Chalk Paint®.  I added 4 parts {OLD OCHRE} Chalk Paint® to a mason jar and 1 part water.  Shake it good to thin the paint down a bit.  By thinning the paint down it helps the paint to cover easier, and it makes it a bit softer to the touch once it dries.

- Once the fabric was painted, I touched up the painted wood with an artist brush.  I didn't tape anything off, so naturally I had a bit of the fabric paint color on the wood details.  I sanded the edges of the wood to give the wood a distressed look.

- The last step was to apply clear wax to the wood and the fabric.  The wax helped to soften the fabric and also provides a protective barrier.

I am very happy with the results.  The fabric is not 'crunchy' or hard.  It's not super soft like cotton or linen, it feels more like an outdoor fabric.  One day I may have these chairs reupholstered, but for now I am very happy with how they turned out!  And no sewing skills were required ;-)

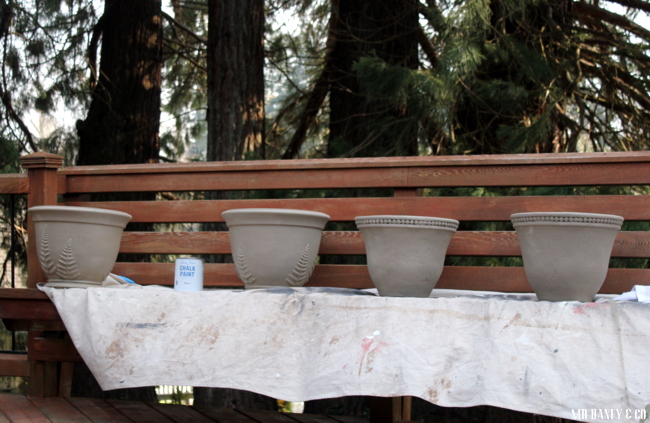
PAINTING FLOWER POTS

IMG_4088

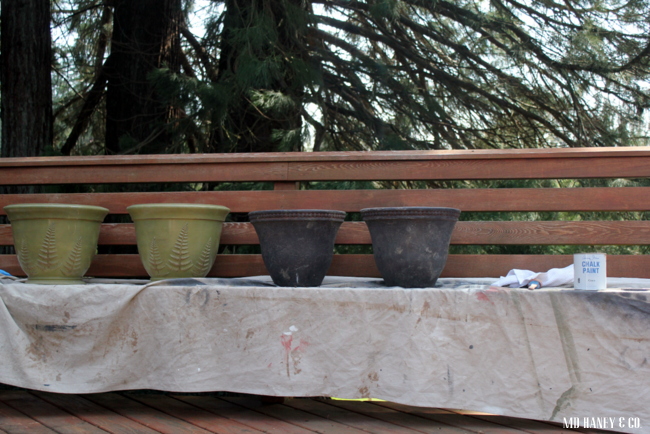
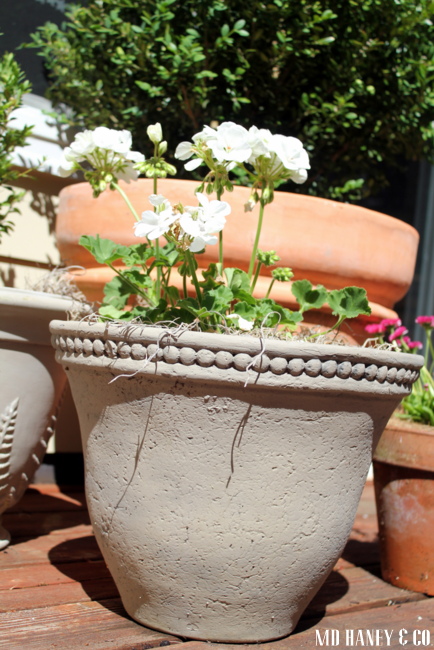
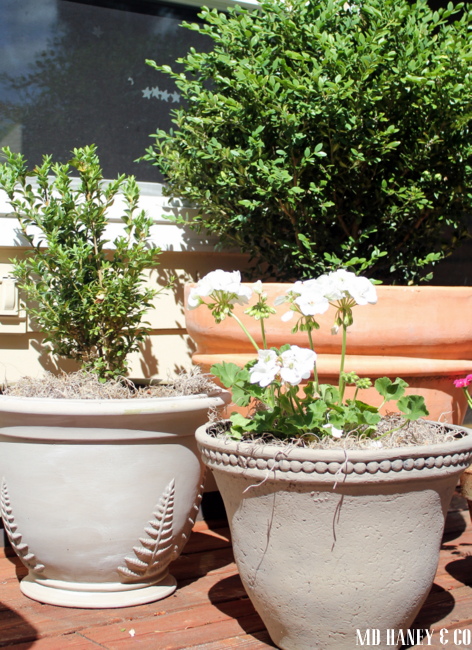
The sun started to make a more regular appearance a few weeks ago.  It was just the inspiration I needed to start sprucing up the outside of our home!  We have a lot of projects for this summer so I didn't want to rush out and buy new flower pots when I don't yet have an overall plan together.  So, I thought I would rummage through what I already have and just make some improvements ;-)  I have painted flower pots with Chalk Paint® before.  It's such an  easy way to spruce up an old pot!

First, I cleaned my pots and set them up outside to start painting.

IMG_4090

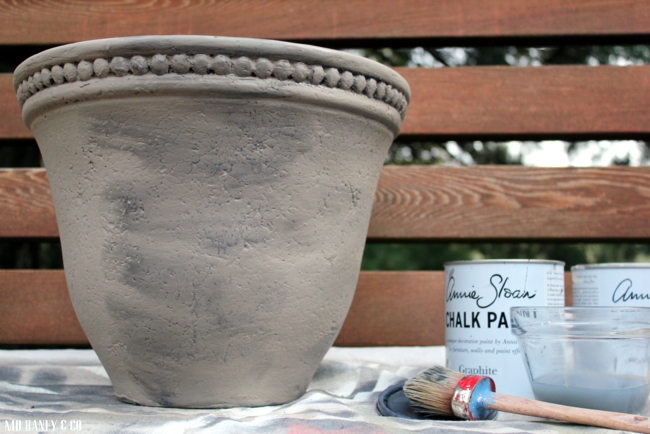
I used COCO.  My pots already had some texture, so I was going for a concrete/stone look.  After two coats, I realized they looked to 'clean and even', I wanted the pots to look a little aged…..like me ;-)

IMG_4091

I started with making a wash with the GRAPHITE (adding water to the paint to thin it a bit) but I didn't like that look so I repainted the section with COCO.

IMG_4093

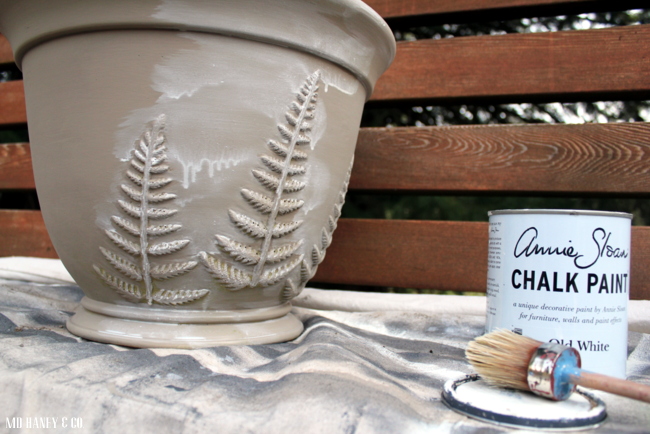
I ended up making a wash with OLD WHITE and I like the results much better.  I dipped the paint brush is the paint, them into a bowl of clean water.  There are a couple of different approaches when it comes to color washing, but this approach worked great for what I was doing!

IMG_4353

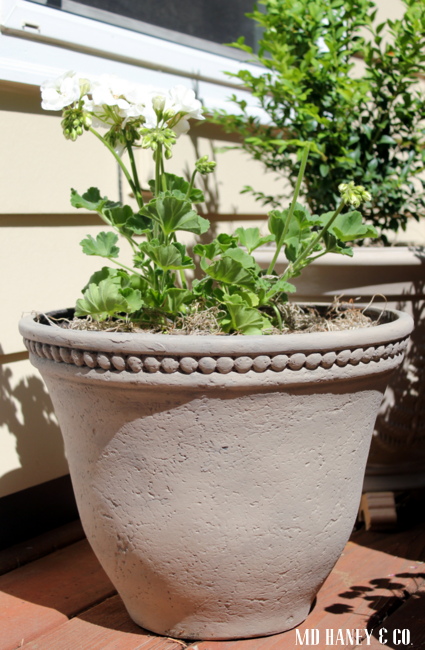
Now all of the pots look a little better grouped together and it only cost me an afternoon and a small amount of paint!

IMG_4356

I don't wax any of my outside pots.  Just paint, plant and set them out.  All of my painted pots (I have painted my flower pots for the last two years) have held up perfectly!

IMG_4355

Now you know what to do with all of those mis-matched flower pots you have laying around!

IMG_4357

With the weather being sooooo perfect (sunny and 70's) we have been spending a lot of time outside.

IMG_4318

The girls love exploring and helping me outside.

IMG_4331

We have this amazing (huge) front yard.  Hopefully in a few years we will fence part of it and add sheep and goats to our little family.  I am pulling for a few goats now, but I can't quite convince Matt of how great they will be.  Hmmmmm.

IMG_4327

Oh and there is a lot of 'this' that happens outside after the big guy gets home from work.

Melts my heart to have such a sweet guy who loves his three girls so fiercely!

IMG_4314

Have a great day friends…...and enjoy the sunshine!!!

A LIVING ROOM UPDATE

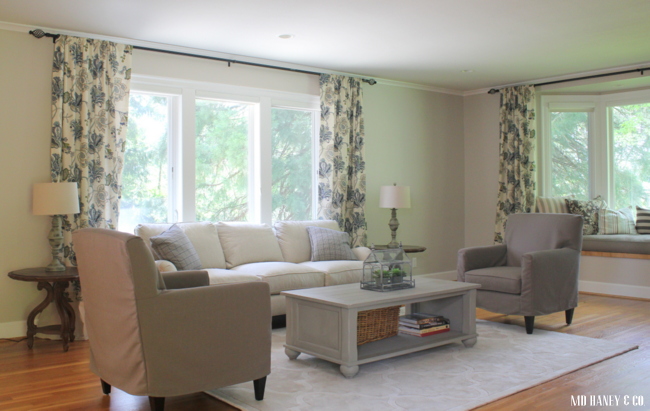
I thought I would post a few photos of the living room.  It's slowly coming together and I am loving everything about it!!

IMG_4291

Our living room furniture arrived a few weeks ago.  I still have  A LOT I want to do in this room.  I am amazed how fast time flies!  Kiddos and moving seem to make me realize it even more. :0) When I would tell someone that we moved 2, 3 and now almost 4 months ago, I realize how time is gone in the blink of an eye!!  And it doesn't seem like we have done much to our new space….the to-do list is long and we better get cracking!  With little people in our lives, we spend a lot more time playing and adventuring than just working on the house {like we use to}.  But, I wouldn't have it any other way!

IMG_3826

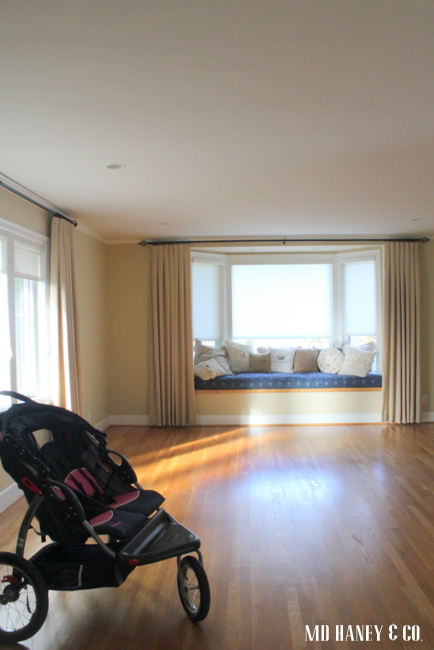
This was the living room when we moved in.  Clean, and great natural light.

IMG_4294

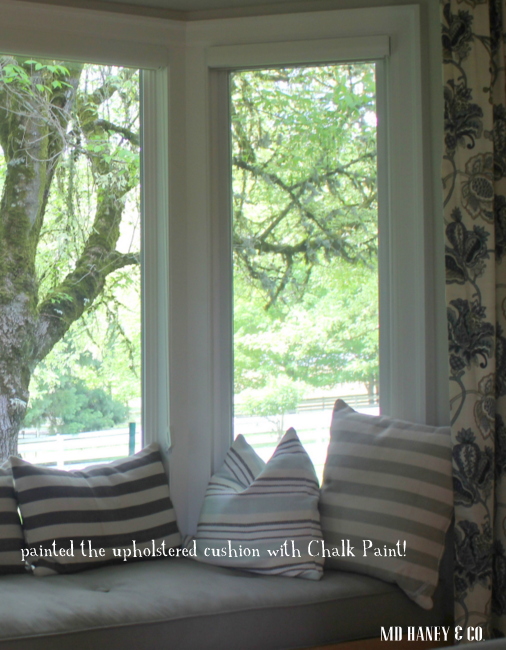
I painted the walls a soft gray, and added blue and green floral curtains and the room looked quite different with just those changes.  The bay window had an great upholstered cushion, however, the fabric didn't go with my new color scheme.  I knew I couldn't sew one, so I tried painting it with Chalk Paint!  It took three coats, but it covered beautifully! It isn't soft, I would compare the feel to that of an outdoor furniture cushion. But it doesn't crack when you sit on it and it serves is purpose beautifully!

IMG_4298

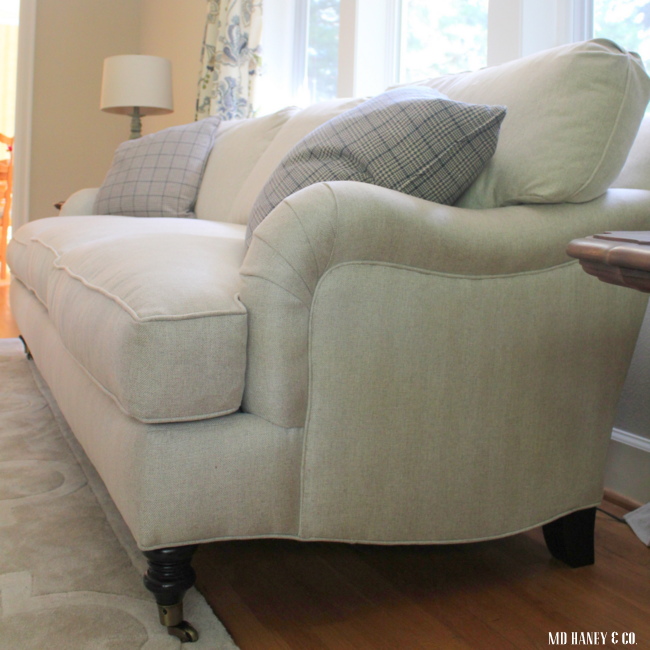
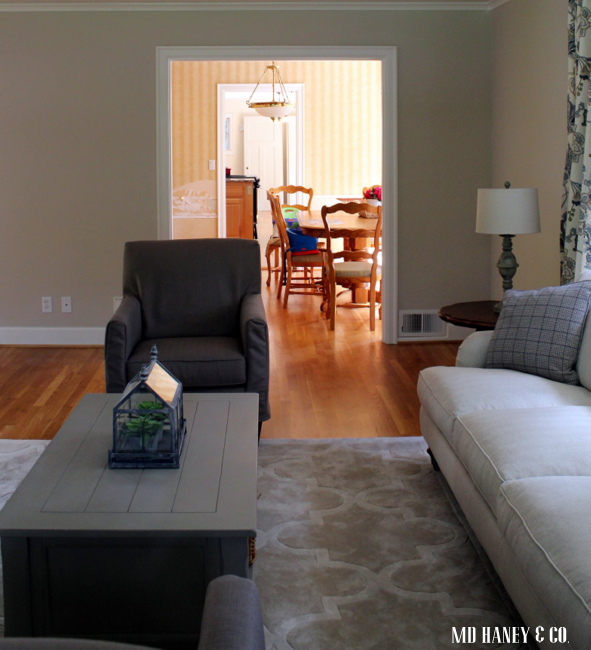
I am in love with the new sofa and chairs.  The cushions are down and super comfy, and the fabric is a soft linen color with a subtle herringbone pattern.  It has enough pattern that I don't worry about noticing every bit of dirt, but it's still light and keeps the room feeling lighter.

IMG_4197

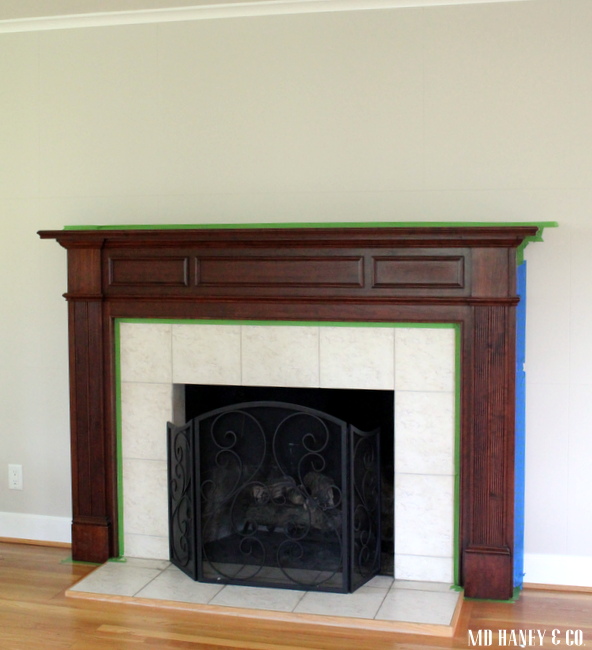
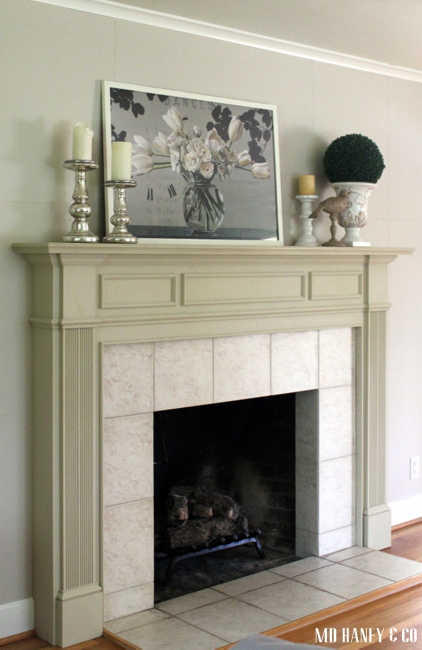
Remember our beautiful cherry mantel?  Matt really loved it but it was just a bit too dark for me.  While he was gone at work one day, I painted it with Chalk Paint®.  That's one of the beauties of Chalk Paint®…..I painted 3 coats of paint and waxed it in one day.  I didn't need to prime or prep the existing wood…..I love this stuff!!  I painted the mantle COUNTRY GREY, a soft grey with a bit of green.

IMG_4296

Matt wants to replace the stone and I want to add some art work above the mantel, we will see when that happens!

IMG_4300

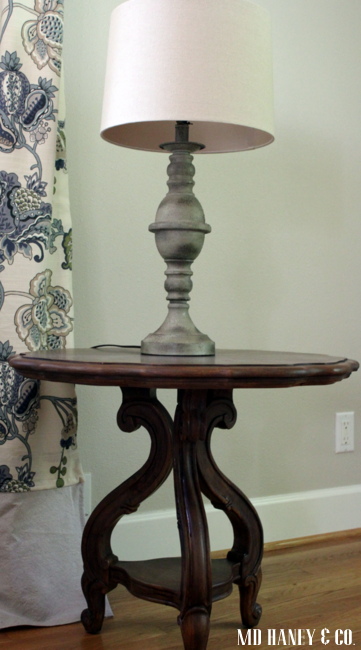
I bought two matching oak tables from this little hole-in-the-wall space.  They were in great shape, but very dated with a yellowed varnish- very 80's oak.  I wanted more of a chocolate brown color to compliment the oak floor.  I used MMSP MILK PAINT to act as a wash/stain.  I sill wanted the wood to show, I just didn't want to go through the hassle of stripping, sanding and refinishing the oak tables.  I used the color CURIO.  I applied one coat and sealed it with furniture wax.  It was done in less that one hour….love that!

IMG_4297

And we still have A LOT of work to do in the house!  This is the view into the dining room and kitchen.  You can see all the way through that we have all of our new interior doors stacked in the kitchen.  Matt needs a place to spray all of them, so they just wait.  We both really enjoy having projects. but there comes that time with every project that you just want to be done!  We haven't reached that point yet, hopefully we are a lot further along before we do ;-)

Enjoy the sunshine friends!!!!

THE BABY IS 1 || & I painted the high chair

My sweet baby turned 1 last week and we had a little party on Sunday to celebrate.

IMG_4230

This little one is sweet and spunky and getting easier by the day.

IMG_4235

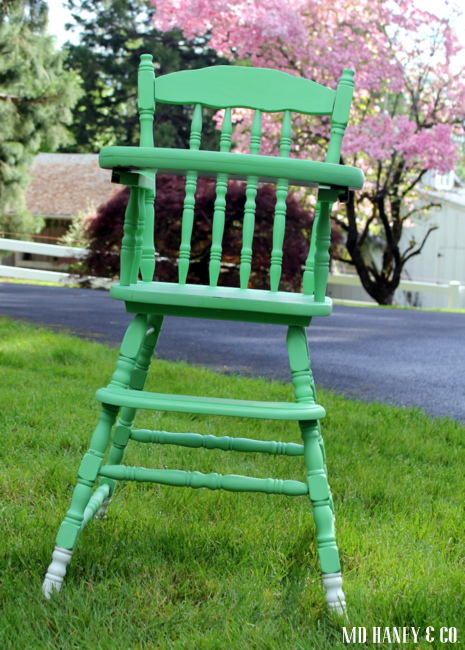
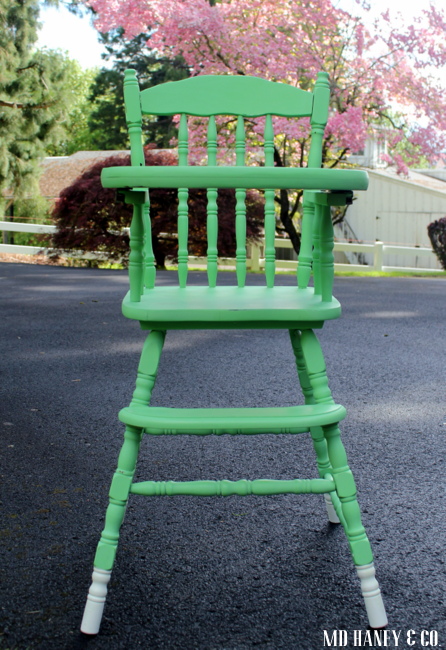
I had an old wooden high chair my mom gave me a few years ago.  It had a great shape, but the finish was worn and yucky {think 70's-yellowed-stain}.  I had wanted to paint it, but it fell low on the priority list.  With the birthday party coming up, I figured it would be a good excuse to paint it!

IMG_4264

I used Chalk Paint® {of course;-}.

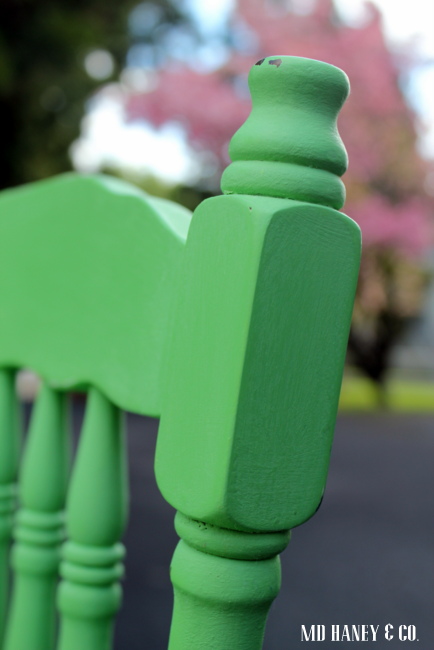
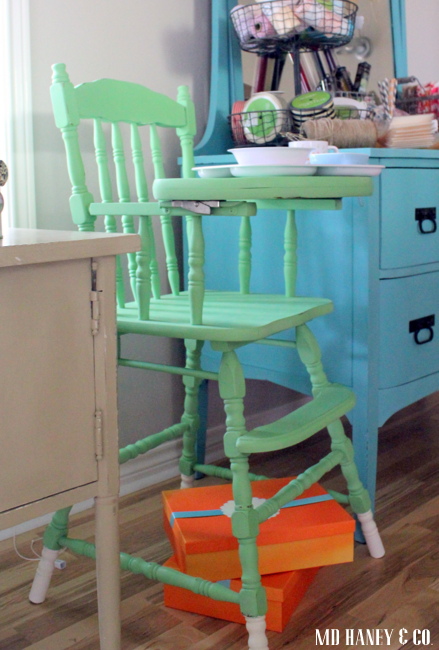
I mixed Antibes Green and Old White…..3 parts Antibes Green to 1 part Old White.  By adding the Old White, it softens the green.  It's cheerful but not too bright.

IMG_4266

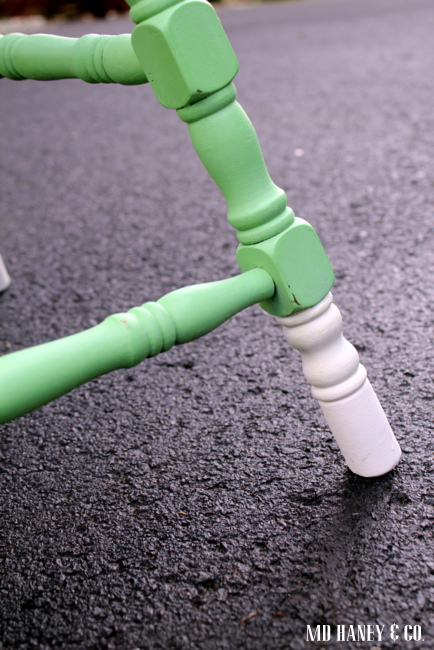
I distressed the edges a bit and 'dipped' the feet in Old White.

IMG_4270

I waxed it with Clear Wax and called it finished!

IMG_4271

For the 'dipped feet', I taped with masking tape for a crisp edge.

IMG_4261

I set the monkey in the high chair and tried to capture some cute poses.  I took a lot of photos, but none really seemed to capture her personality.  Next time!

You have probably noticed, but I am really getting hooked on mixing colors of the Chalk Paint® and Milk Paint.  Both lines of paint come in beautiful colors, but it really opens the door to color when you start mixing….so fun!


A NEW 'BASICS' CLASS || and a few projects

I hosted our first BASICS class this week and it seems to be a very popular class!

I had to turn a few ladies away {which I felt really bad about!} but I promised to host 1-2 BASICS class each month.

IMG_4203

The next BASICS is Wednesday, May 14th, 7-8:30pm.  I have 4 spots left if you want to join!

IMG_4204

The tuition is $45. At the class, we learn two different gorgeous finishes with chalk paint® and soft wax by annie sloan that you will use to transform your furniture, fixtures, cabinets and walls:  distressed and washed method.  You will leave armed with samples you’ve created of each finish, a notebook full of ideas,  and the confidence to tackle all your projects.  

IMG_4206

And, in other news, I have A LOT of half finished projects going on around the house.  The girls have been sick, Matt still isn't healthy and back to himself, and it's been so rainy…..to say the least, I haven't been too motivated to work on projects!

IMG_4197

While Matt was gone one day, I did paint the mantle. Matt loved the Cherry mantle.  It is beautiful!  But, I ordered darker furniture and I really want the room to feel light.  So I painted it ;-)  I think it looks really pretty, I will post pictures soon.  Matt actually likes it too!  There are some projects I just have to tackle when he is gone….then he can't stop me!  Ha….does anybody else have that problem?!?  I know there are other ladies out there who do the same thing ;-)

IMG_4200

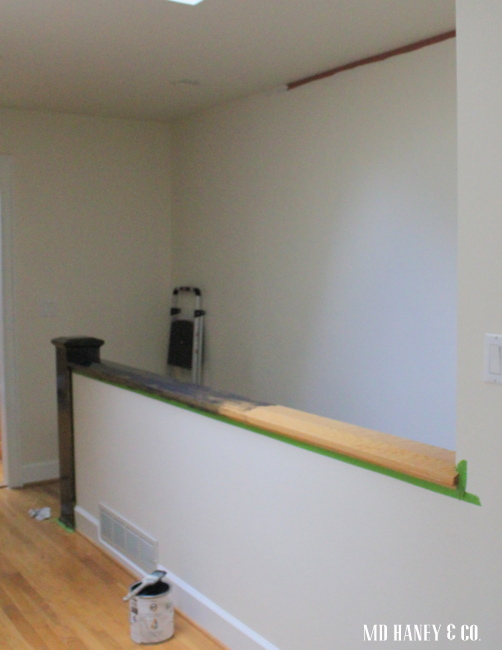
I also started painting in the entry way.  I am painting the railing to match our new, black, glossy doors.  I am thinking of wallpapering or hang in fabric on this big, blank wall leading to the basement.  Thoughts?  I have always wanted to hang wallpaper in my home.  I have chosen wallpapers for different clients, but never been able to commit for my own home.  I will let you know!

BEFORE + AFTER || a darling dresser

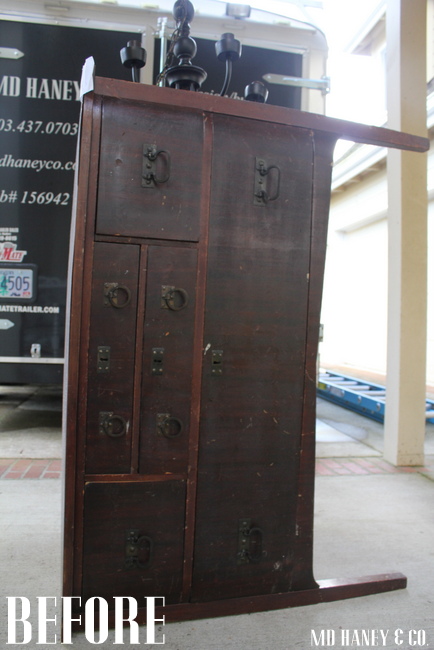
A few weeks ago I bought a darling dresser at a thrift store.  It wasn't necessarily a screaming deal, but I loved the lines of the piece.  I decided to purchase it and it has been sitting in the garage waiting for a little makeover.

IMG_3981

It is a heavy one, so pardon the picture of it on it's side!

IMG_4164

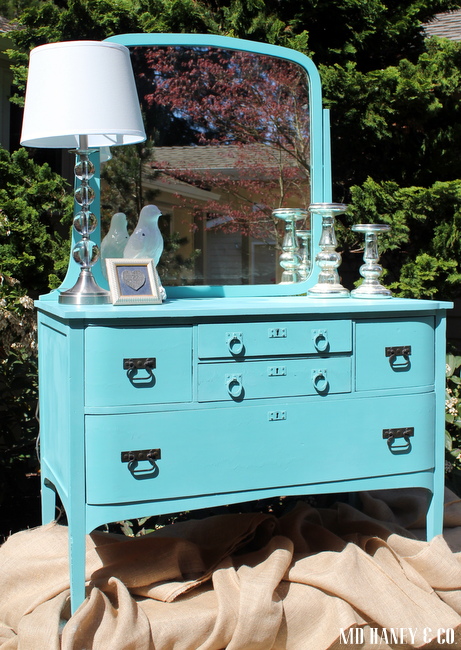
And here she is all painted and cleaned up.

IMG_4174

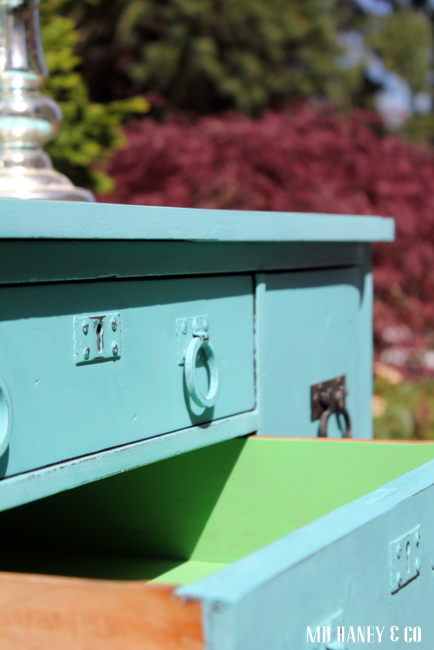
I painted the inside of the drawers ANTIBES GREEN {Chalk Paint®}.  I know it takes extra effort to paint the insides of the drawers, but I love how it really finishes a piece off.

IMG_4171

The pretty blue is actually a mix of three different Chalk Paint® colors.

2 parts Louis Blue

2 parts Provence

1 part Florence

IMG_4159

I finished it off with a coat of clear wax.  I am starting to work on pieces for my little Spring Sale, but it will be listed for $345 if you are interested in purchasing earlier ;-)

IMG_4168

And this was the scene outside while I was painting.  Little Miss was playing in the pond and my sweet hubby was recuperating from spending his birthday in the hospital.  Poor thing.  He had an accident with his table saw first thing in the morning.  The girls and I piled into the car to take him to the ER.   I didn't know how bad it was {he kept his hand wrapped in a towel}.  He ended up having surgery and finally coming home around 10pm.  It was a rough day but we are so thankful for great friends who stepped into help and for God's provision!

REFRESHING A VINTAGE OAK CABINET || an afternoon project

Whenever I have a few minutes of free time {girls are playing together and keeping each other happy, so not truly free time ;-} I sneak away to work in Matt's office.

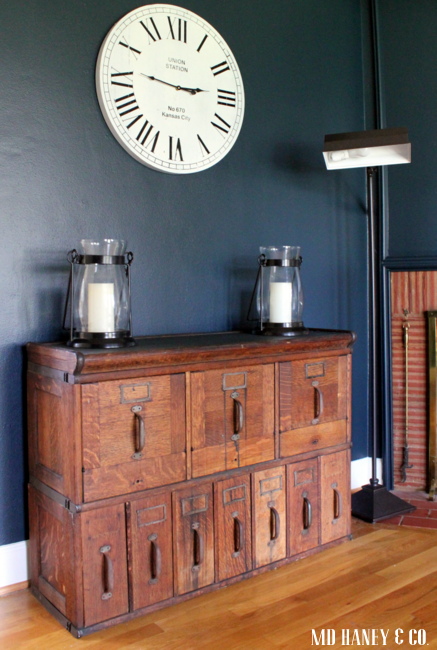
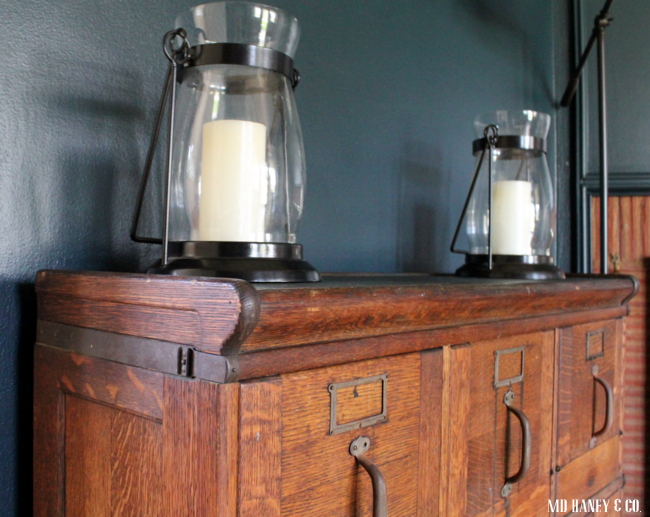
A few days ago, I purchased this great old oak cabinet from a friend.

IMG_4105

She had texted me a photo of it.  I knew it would be perfect for Matt's office!  I wanted something that didn't necessarily need to function, was darker and masculine, and was at a decent price point, this fit the bill!

Hemp-Oil-534x800-534x800

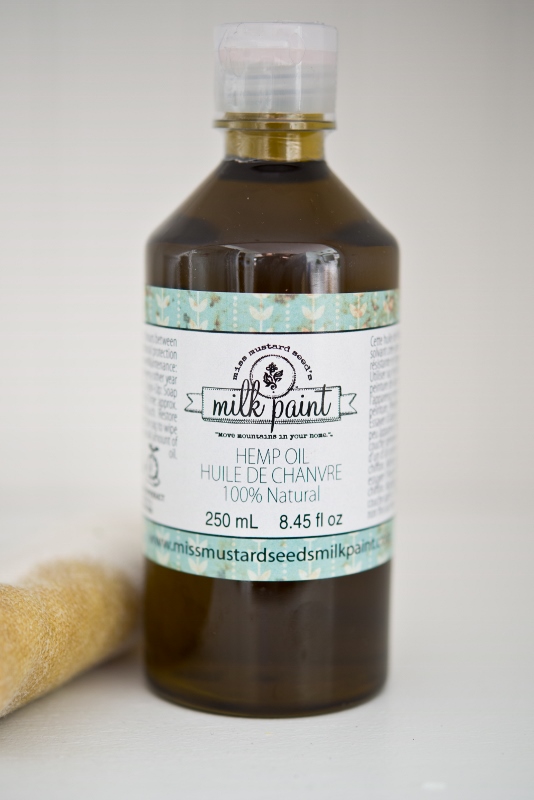
I wiped the entire thing {inside and out} down with a vinegar + water solution.  There were spider webs, a little mold, the usual things you find in  "old, funky furniture".  Once it was clean, I wiped it down with MMS Hemp Oil.

Hemp Oil is so simple to use.  Just pour some onto a clean cotton cloth and rub it onto the piece.   Just wipe it on and, since it’s all natural, it doesn’t have a strong smell.

Hemp Oil takes about 30 days to fully cure.  You can still use the piece during that time, but it might feel a little oily to the touch.

IMG_4102

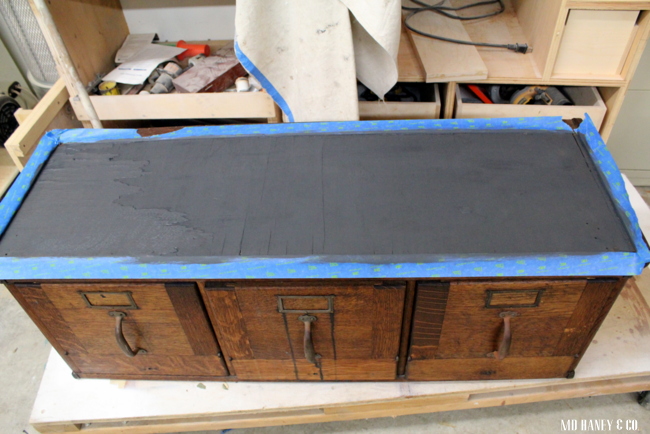
The top of the piece was in bad shape.  I painted it with Chalk Paint® {GRAPHITE}.  Once the paint was dry, I added a coat of clear wax and buffed it out.  I wanted the top to look a bit more aged, so I added a coat of dark wax.

IMG_4107

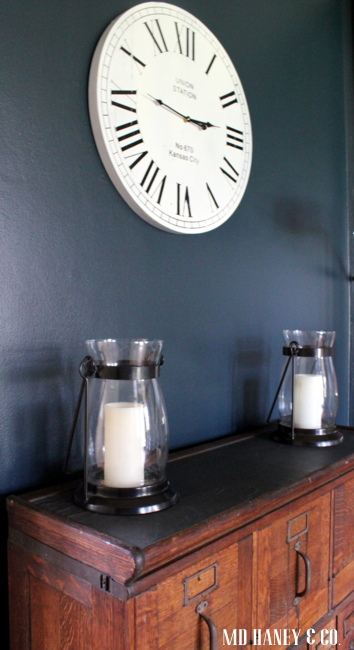
The top would look best if it was still the original wood.  But, it's not and I feel this in the next best thing.

IMG_4105

I have to replace a couple of the metal tabs, but other than that, it's good-to-go!

IMG_4104

Isn't it a fun piece?

IMG_4106

And the best part, it took less than 1 hour {total} and cost less than $100!

Have a great weekend!!

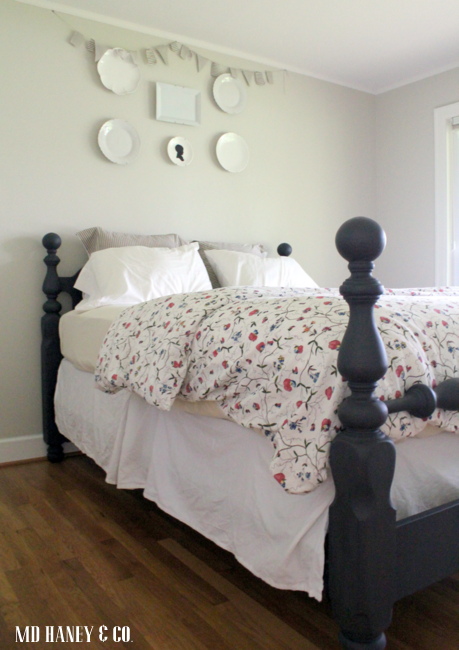
A QUICK BED TRANSFORMATION || and my baby turns 3

Good morning friends!!

I thought I would show you a quick furniture 'BEFORE + AFTER'.  And a testament to how easy Chalk Paint® is to work with!!

2014-02-112

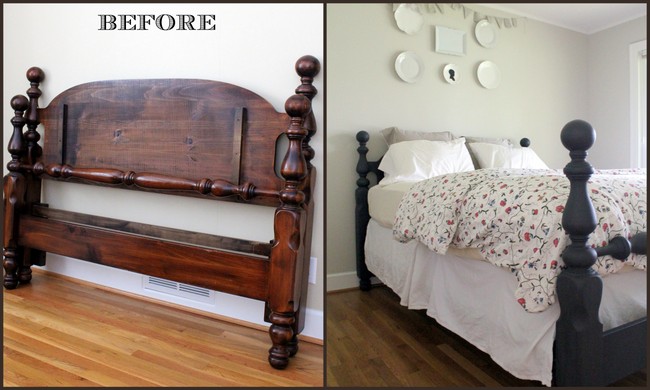
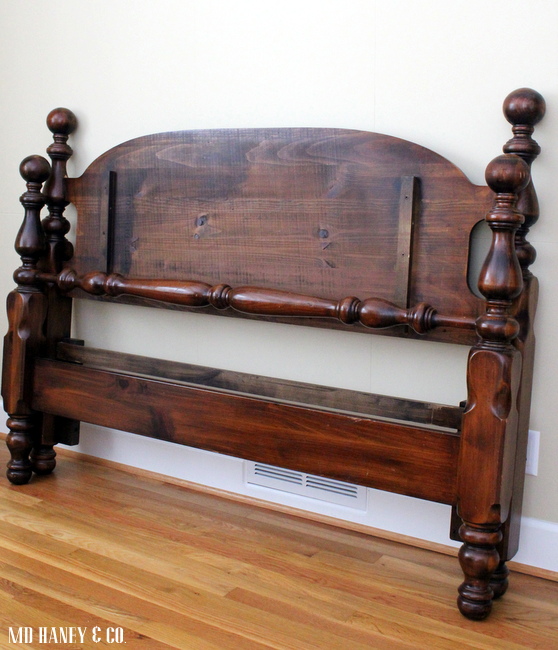
A friend was re-decorating her guest bedroom and asked if we wanted the Queen bed.  Of course I said yes!

IMG_3879

I loved the lines of it.  We wanted a Queen bed for the guest bedroom….it was just made to be :-)

IMG_3880

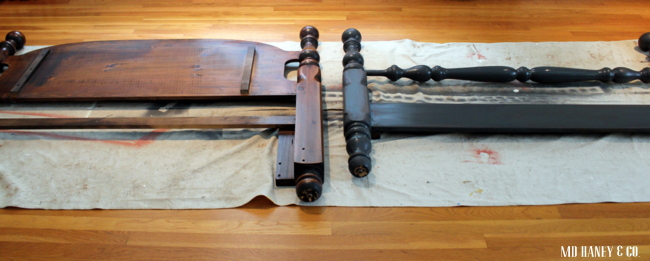
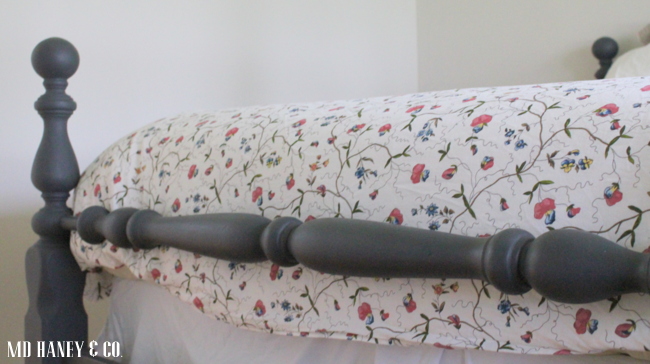
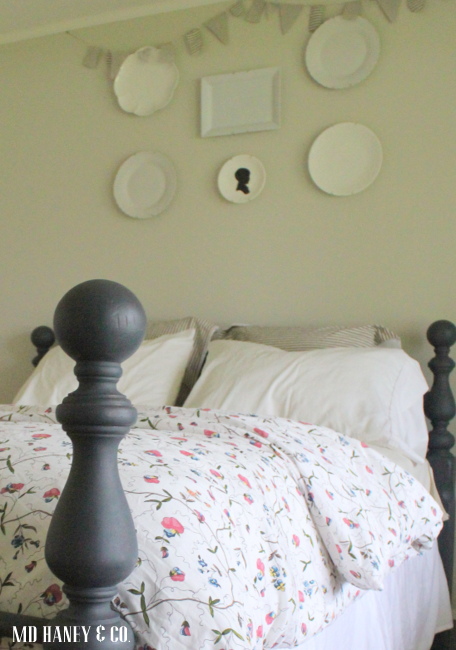
I painted it GRAPHITE.  I didn't sand or prime.  Just wiped it down with a clean cloth and started to paint.  It took two coats to get a really nice finish. I applied 1 coat of CLEAR WAX and it was ready to be set up in the guest bedroom the same day I painted.  Talk about instant gratification!

IMG_3933

The guest room isn't finished/decorated, but I wanted to show you how the bed turned out.

IMG_3936

I am addicted to this paint.  It makes painting so enjoyable and rewarding!

IMG_3935

Now I need to find a table and lamp.  I am thinking a red table could look really darling in this room…..don't you think?!?

IMG_3924

And, I thought I had some great pictures of my birthday girl.  Turns out, just a lot of videos and phone pictures.  This is a photo of when she crawled out of bed….her room was full of balloons when she woke up.  I got that idea from a friend {fill the bedroom with balloons while they sleep} and she was so excited when she woke up!

We spoiled her with lots of sugar, a new bike, and a trip to see her first movie at the theater.  Did anybody else cry like a baby at the FROZEN movie?  Oh I was a mess!  I think I can thank motherhood for that!

OK, off to {hopefully} finish up my chores at the vacation rental for the week!!

CHALK PAINT® CLASSES :: what's the difference?

Hello and happy {rainy} Thursday!

This is what has been consuming my extra time lately….
IMG_3741

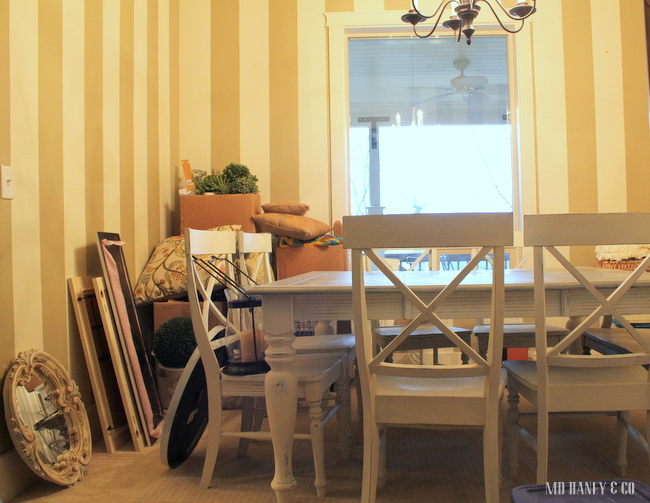
Packing, cleaning, and organizing.  It feels so good to go through everything!
IMG_3740

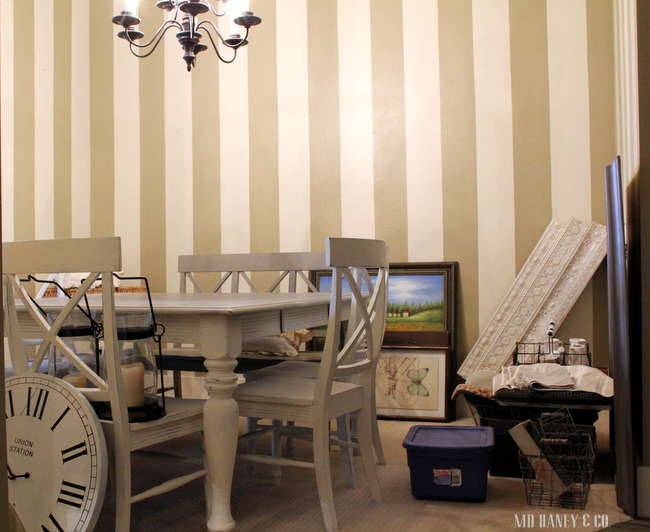
I am using the dining room as my packing and sorting room.  If I don't love it, or haven't used it in one year, it's donated or put in the garage sale pile.  It's hard to stick to my rule!!  I am always thinking 'someday I might use that'.  Yesterday,  I took six huge bags or little girl's clothing to the Blessing Room….and I still have two bags to give away and several outfits to sell at the garage sale! It feels soooo good to simplify!!
IMG_3742

Speaking of simplifying, some areas of my home are looking pretty bare!  I am having a garage sale tomorrow, and the buyers are coming by to see if they want to purchase any of our furniture.  My goal is to hardly move anything…..either sell it or donate it!

So, the point of this post is not to talk about me, but to explain the different Chalk Paint® classes and workshops we offer.  I get quite a few customers asking about the differences.  Good question!  Below are descriptions for our most popular classes.

bannerlinen

First Friday {which I am going to change to every Friday starting in March}!

The first Friday was something I started this year, and people seem to really love it.  As of March, I am going to offer this every Friday, instead of just the first Friday of the month.  I will be calling it OPEN WORKSHOP.
IMG_3532

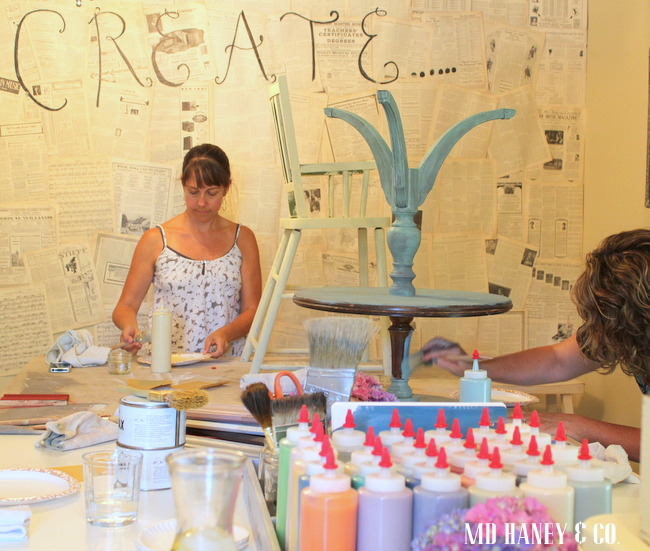
OPEN WORKSHOP is where you can bring your own project to paint, in our workshop.  We open our workshop from 1pm-5pm on Fridays.  

You bring your own paint and wax {or purchase when you arrive} and you can use our workshop space, brushes and tools.  I am happy to offer tips and advice, in between helping customers.  You can stay for the entire 4 hours, or just pop in for 45 minutes.  The goal is to provide an incentive {a fun and creative environment} for you to just start painting!

I have light refreshments and the cost is $10.  You don't need to rsvp, but just know we only have space for 5-6 people at a time.
IMG_3699

BRING YOUR OWN PIECE

BYOP classes are offered once a month.  The class lasts 3 hours.  Here we guide you through the steps to paint and finish your own pice of furniture {a tray, box or shelf are great, nothing larger than 2 feet wide or 2 feet long.}  We teach tips and tricks and help to build your confidence.  We provide the paint, wax, brushes and tools.

Light refreshments, drinks and a tote are included.  The 3 hour class is $75.  You do need to rsvp for these classes, the maximum number of attendants is 6.
IMG_2987

INTRODUCTORY TECHNIQUES

This is a fun class, meant to inspire your creativity and evoke confidence.  You will learn four techniques to understand the basics of this unique paint and proper wax application.  You will learn tips to achieving beautiful results on all of your painted projects.   You will paint and wax molding pieces that are yours to keep.

Light refreshments, drinks and a tote are included.  The 3 hour class is $75.  You do need to rsvp for these classes, the maximum number of attendants is 6.

To sign up for classes, you can call {503.857.8176} or send a note via our contact page.  I will send you detailed information about the class and add you to the list!

Happy Painting!
JANUARY GIVEAWAY :: a giveaway each month in 2014

Good Monday morning and Happy New Year!  I think with the new year right around the corner, it's a good excuse to start having monthly give aways!  Right?!?  I love to give gifts and I know we all like receiving them.    My customers and clients are the best.  Seriously, you guys are so supportive and I appreciate your business and the opportunity to get to know you!
Plus, it's an excuse to get more Chalk Paint® into the hands of my lovely customers!

IMG_3730

DISCLAIMER ::  OK, I will work on my photography skills. Since I have very few, this may take a while!  I apologize for the lousy pictures that follow ;-}

IMG_3731

1.  WARM AND COZY print from this darling website, and a red frame.

IMG_3734

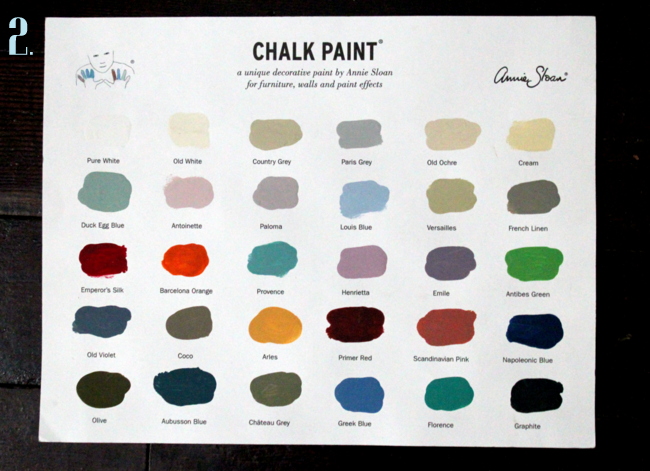
2. Chalk Paint® color card.  These sell for $5 at the shop and they are quite popular!

IMG_3735

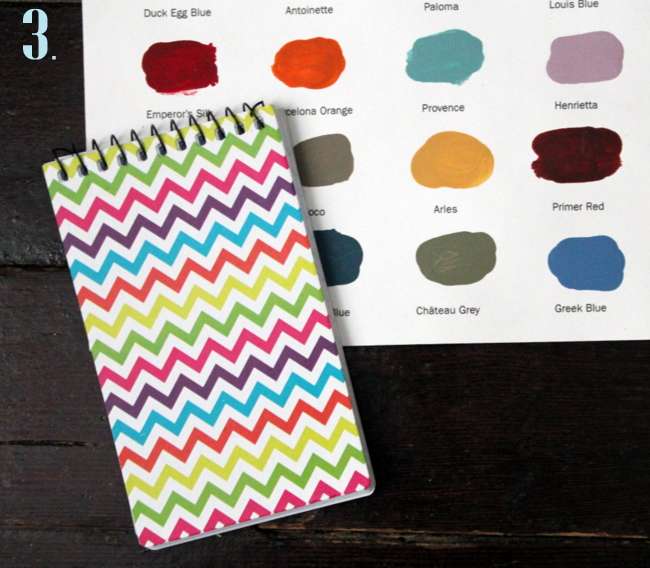
3. A cute little spiral notebook.  I have these little cuties stashed everywhere!  One for my ever growing grocery list, one for notes, one for little hands to color, etc.

IMG_3738

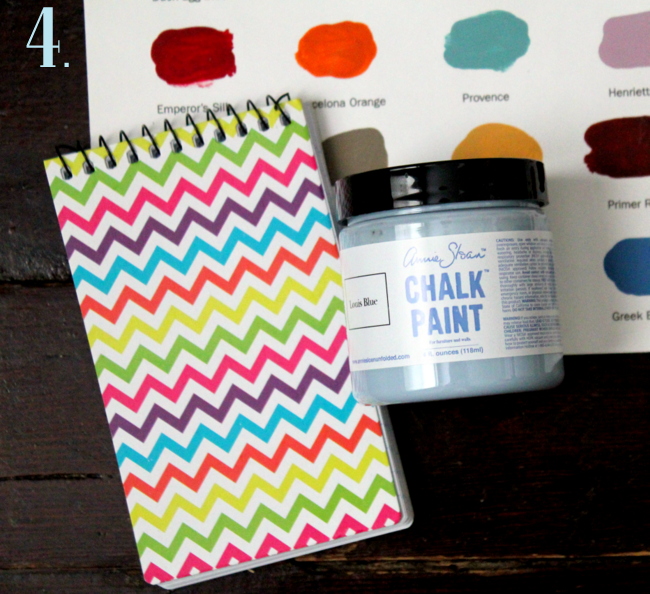
4. a 4 oz. sample pot of LOUIS BLUE Chalk Paint®.  These little guys sell at the shop for $11.95.  They are perfect for painting picture frames, a little side table, lamps and so much more.

5. not pictured ::  home made fudge to enjoy as you paint your little project!

2013-12-29

So, here it is.  A sweet little give away to get your creative juices flowing!

THE DETAILS ::

You have three ways to be entered!  You can do one, or all three!  If you already 'like' MD HANEY & CO. on Facebook and receive the blog posts via email, thank you!!!

1. If you are on the BLOG page of the website, at the top right hand corner you will see a spot to enter your email address.  When you fill that out, you will receive blog posts via email (2-3 times per week).

2.  Like MD HANEY & CO. on Facebook.

3.  Leave a comment at the end of this post, saying what you would paint with Chalk Paint®.

Easy-peasy and so fun!  The give away will be open for the entire month of January, the winner will be announced on the website and Facebook January 31st!

Have a great week and thank you for a wonderful 2013!!