painted dresser || Chalk Paint® + MMS Milk Paint

About a month ago I picked up this cutie of a dresser at Habitat.  I thought it had darling lines and it was in good shape, it just needed some paint!

I kept the original brass hardware and I painted this dresser with 3 coats of Miss Mustard Seed Milk Paint, MARZIPAN.  I painted the sweet trim pieces with Annie Sloan Chalk Paint®, OLD WHITE.  I lighting sanded, just to distress the edges.  I sealed the entire piece with two light coats of Annie Sloan Clear Wax.

This cutie is for sale at the shop for $285.

painted furniture || ANTIBES GREEN CHALK PAINT®

A dear friend of mine is giving herself a beautiful home office.  She has switched some rooms around and is making a space that is absolutely bold and beautiful, just like her!  She had a solid hutch that she wanted painted, it's going to be her pop of color in the new office.  We settled on Annie Sloan's ANTIBES GREEN..... hutchbefore

It is a beautiful piece of furniture.  Solid, well built and has some really great storage.  It was a lovely piece to paint!

hutch1

2017-01-09-23-00-53

2017-01-09-22-59-22

2017-01-09-23-01-30

2017-01-09-23-02-50

I used Annie Sloan Chalk Paint, ANTIBES GREEN, Annie Sloan lacquer and Annie Sloan Clear Wax.

The hutch was originally intentionally distressed.  It had manufactured worm holes, gouges and was made to look old.  She wanted the new look to be shiny and crisp, no sanded edges or distressing the paint.  This piece took four coats of paint (I watered down each coat, I wanted it smooth!) two coats of Annie Sloan Lacquer and one coat of Clear Wax.  I can't wait to see this beauty in her new office space!  I hope this has inspired you to paint something....maybe something bright and bold!

xoxo


removable wallpaper || little girl's bedroom

So, I have wanted to add some wallpaper to Addilyn's room for a while, it's just been low on the priority list.  Well, I finally pulled the trigger and on Sunday afternoon, the girls and I installed the sweetest, removable wallpaper.  Can you believe that?!?  It's removable.  No messing up the walls when you want a change and pretty easy to install!! wallpaper

wallpaper


desk

I have slowly collected and painted things for her room, all things that match her striped Dash + Albert rug.  It's just the sweetest rug with cheerful, fun, girly colors.  I wanted the wallpaper to match what was already going on in her room.....

pillows

deskanddoor

wallpaper

The girls are at such a fun and sweet age.  We sure have fun together!  Even hanging wallpaper....although we had our moments ;-)

teddybear

This is Ted.  Matt gave Addilyn Teddy Bear for her first Christmas.  She sleeps with Ted every night, so sweet.  Ted is quite worn and very well loved, and wears some pretty dresses....

nightstand

gallery

dresserI just love how bright and cheerful her little room is.  In case you are curious....

Dresser: painted with Miss Mustard Seed Milk Paint, FLOW BLUE.  Lightly distressed and sealed with clear wax.

Stool: vintage

Metal Bed: vintage.  Painted with Annie Sloan Chalk Paint, 1 part OLD WHITE and 1 part ARLES.  Sealed with clear wax.

Writing Desk: vintage. Painted with Annie Sloan Chalk Paint, OLD WHITE and SCANDINAVIAN PINK.  Lightly distressed and sealed with clear wax.

Chair: vintage. Painted with Miss Mustard Seed LUCKETTS GREEN.  Lightly distressed and sealed with clear wax.

Night Stand: painted with Annie Sloan Chalk Paint, OLD WHITE, lightly distressed and sealed with clear wax.

Wallpaper: removable wallpaper from WALLS NEED LOVE, LOTUS print.  

French Country Farmhouse || custom cabinetry

Last year we started to work with the greatest.clients.ever.  Truly, they are exceptional people and it has been an honor to work with them.  They built (actually, it's still under construction) their dream home and Matt was hired to build all of the custom cabinetry.  The clients were working with two sweet and talented designers.  My role was to help with paint colors and technique, as well as paint some of their existing furniture.  It was such a fun and challenging  collaboration! Hopefully we will have a professional photographer into photograph the home when Matt has wrapped up all of the little details.  But, the girls and I went to visit today and I snapped a few pictures.  I couldn't wait to share....

IMG_6695

IMG_6697

IMG_6703

When you walk in the front door, you are greeted by this amazing dining room.  Matt built the cabinetry, as well as the dining room table.  The cabinetry has some custom finishes and is painted with Annie Sloan Chalk Paint®.  The dining room table is made from reclaimed oak.  Can you believe the reclaimed beams in the ceiling?!?  The pictures do not do the space justice!

IMG_6747

The dining, kitchen and living room are all open with large vaulted ceilings and reclaimed beams.  In this picture, you can barely see the cabinetry in the living room.  The cabinets are painted with Annie Sloan Chalk Paint and have a wash over them.

IMG_6732

IMG_6739

Matt is still working on the built-ins for the refrigerator unit so I didn't snap any photos of the other side of the kitchen.  Can you believe he made that ginormous island countertop in just two pieces?!?  The hood is one of my favorite features.  I could brag on my hubby all day!  He doesn't brag on himself, so somebody needs to ;-)

IMG_6713

For the powder room vanity, the designers  showed Matt a picture and wanted something similar....didn't this turn out darling?!?

IMG_6719

IMG_6725

The master bathroom cabinetry is also painted with Annie Sloan Chalk Paint®.  A mix of three different colors with a wash and dry brush technique.

There are more beautiful rooms and more beautiful cabinetry.  I will show more soon, and go into more details on the cabinetry and rooms.

Thanks T & P.....it's been such a dream to work with you!


a customer's paint projects || BEFORE + AFTER

A couple of months ago I meant the cutest little paint customer.  She had just moved back to Oregon from Arkansas and was frantically trying to get her kitchen painted before the movers delivered everything.  She is just a cute little bundle of energy, and she has four kiddos to keep up with!!  You won't believe the transformation!

BEFORE:

blogbeforekitchen


AFTER:


blogkitchen


blogcabinet

Isn't it darling?  She painted with Annie Sloan Chalk Paint® and then waxed with the soft wax.  I want to move in, it's just darling!!

BEFORE:

blogbeforefp

AFTER:

blogfppainted

blogfp

blog2light

She even made this light fixture!  Darling, right?!?

I love, love, love getting pictures from customers!  These pictures made me want to move right on in!!  She is probably a great cook too!

Next week I will have pictures from the Dayton renovation.  Everything has to be wrapped up in two weeks which is CRAZY.  My poor hubby is working around the clock to get this job finished in time.  Next week I will be working on the job site, honestly, I haven't done any jobs 'on site' since having kids (4.5 years ago!)  I think all of Matt's subcontractors will agree with this statement...."if Matt's not happy, nobody is happy".  Wish me luck ;-)

Have a fabulous weekend!

growing girls and a newly painted hutch

IMG_5830

I feel so blessed to be able to stay at home with my girls.  Most of my work can be done early in the mornings, at nap time or when the girls play at Grandma's.

The other day, the girls and I were headed to the garden and Addilyn started the conversation…."my heart is so full right now. Savanna, do you love God with all of your heart, or just part of your heart?"  To which Savanna proudly replied "all of my heart."  Addilyn was pleased with her answer and replied "me too, that's why we have happy hearts.  Because we love God and He loves us even more".

The little conversation melted my heart and was the little piece of encouragement I needed.  I LOVE my work!  I could work all day long, every day of the week.  It can be a challenging balance to work (especially self-employed) and be with the kiddos, but for us, in this season we are in, it is so worth being home with the girls.  The girls even helped me paint this hutch…..

IMG_5842

IMG_5846

IMG_5848

IMG_5850

The top is painted with Annie Sloan Chalk Paint® (GRAPHITE) and waxed with two coats of clear wax and one coat of dark wax.  The inside is painted with Chalk Paint® (CREAM) and the bottom is painted with Miss Mustard Seed Milk Paint (BERGERE) and waxed with one coat of clear wax and one coat of dark wax.  This little beauty is headed to La Bella Casa this weekend so I can make room in the studio for more treasures!

Enjoy your weekend!  And your little ones!!

PAINTED HUTCH || painted with Chalk Paint®

I often forget to take pictures of different pieces I am working on.  I guess I just get side tracked, or I am just ready to move onto the next project ;-)  However, I did remember so here are a few pictures on a small hutch I finished last week….

IMG_5769

The top is has three different colors/layers (all Chalk Paint®)…..French Linen, Old White, and the top layer is Pure White.  The bottom is painted with Paris Gray.  I lightly distressed the entire piece and then sealed it with Annie Sloan's soft wax.  After applying two coats of soft wax, I applied Miss Mustard Seed's white wax in areas and allowed it to build up, giving the piece a bit of a bleached look.

IMG_5774

IMG_5775

IMG_5778

I added new knobs, painted the interior and called it 'good'.  It's a darling little hutch and it will soon be on it's way to La Bella Casa!

IMG_5784

Enjoy your week and happy painting!!!

behind the scenes work + a dresser

IMG_5329.jpg

Lately my work has consisted of A LOT of administrative/paperwork type work.  It always happens on the front end of larger jobs.  But, there is a light at the end of my paperwork tunnel, which means I get to move onto the pretty and fun part!  In the mean time, I have been puttering around the house and moving furniture here and there and organizing closets and such.

IMG_5348

IMG_5347

IMG_5336


I painted this dresser a few months ago and it sits in our guest bedroom.  The next room on my 'organization list' is the guest bedroom!  I want it ship-pity sharp for our summer house guests….and it will probably take me that long to get it ready!

** the dresser was painted and wax with Annie Sloan products.  first coat ~ Graphite. second coat ~ Napoleonic Blue. waxed with clear wax and then dark wax **


A PAINTED DRESSER || before + after

Last month I found this darling dresser.  I am slowly trying to accumulate furniture pieces for when I move the shop downtown.  (By the way, it looks like we may have found a great spot!  I will share the details within the next week or so, when everything is finalized.)

Here is the BEFORE photo…..darling little details on this dresser!

dresser copy


And after….

IMG_5248

IMG_5246

IMG_5244

IMG_5238

IMG_5240

I cleaned the dresser with a de-greaser cleaner and then wiped it down with warm water.  I scuffed it up a bit with 100 grit sandpaper, it was pretty shiny.

I painted the drawers DUCK EGG, and the frame OLD WHITE.  I distressed the edges and then gave it two coats of clear wax.  I left the original brass hardware because I just liked the look of the brass against the blue.

Once I move the shop downtown, I will list her for sale.  If I don't keep her for myself ;-)

Happy Painting!

THE BABY KEEPS GROWING || toddler's room

No matter how hard I try, I can't stop my baby from growing!  Some days can be really long with a 1.5 year old, just being honest, but I love her to pieces and really do cherish our time together.  We just moved her into a big girl bed so I thought it was a good excuse to post some updated photos of her bedroom!

savannaroom

IMG_5092

We do have the metal/mesh side rails, I just think for pictures it looks better without them ;-)

IMG_5076

IMG_5100

IMG_5095

IMG_5085

All of her furniture is painted with various shades of green, I used Chalk Paint® and Milk Paint {surprise surprise}.  One of the many things I love about Chalk Paint® and Milk Paint, is that I can just paint over the furniture when I am ready for a change.  No need to sand, strip or prime! Love the stuff!

IMG_4614

Just as she grows, I know her room will continue to change and grow with her.  Of course there is more I would love to do in her room, but for now it works and it's a fun space for her to play in!

xoxo

house updates + thanksgiving treats

I am sure enjoying these days leading up to Thanksgiving, it's one of my favorite holidays!  We are really trying to wrap up some projects around our home before the first of the year.  Come January, we both have some larger work projects and it would sure be nice to have some things finished around here ;-) You know how I showed pictures of our painted kitchen cabinets a couple of weeks ago?  Well, the blue that I painted my little office area just wasn't working for me.  I tried to like it, but I couldn't.  So, one afternoon I just started re- painting it and I am much happier.  It isn't permanent, but now I don't cringe every time I look at it!  I painted the desk with Chalk Paint® {OLD WHITE} and I painted the office chair with Miss Mustard Seed Milk Paint {KITCHEN SCALE}.  I lightly sanded the chair to distress it, and added a little antiquing wax to darken it.

IMG_5026

IMG_5021

IMG_5020

IMG_5035

IMG_5031

deskchair

Matt finished modifying the basement entertainment center and now it's my turn to paint it!  It will take me a while, but I love to see things starting to change in the basement!  Carpet for the play room is scheduled for December 16th, so we now have a deadline...

IMG_5047

And the barn is progressing!  Siding and roofing should happen within the next two weeks!  We keep changing material selections and colors, it really is such a process to build and remodel.  Having an endless budget would make it a lot more fun, but we don't, so we are trying to make smart decisions and still have a barn that has a bit of character.

IMG_5051

And here is the neighbor's barn across the street, I love it!  So fun to get to view both barns out of our windows!!

IMG_5049

And we are celebrating Thanksgiving with Matt's family.  I really love Thanksgiving and the slow paced day of reflecting on all we are thankful for.  We have some intense family situations on Matt's side and mine, but still so much to be thankful for!  Our contribution for the feast is home made rolls and then these fun sweet treats...

pumpkin-pie-640-dm-600x400

favorite pumpkin pie recipe

RecipeImage.ashx

seven layer bars

exps135372_TH132104D07_02_2b

acorn treats

Wishing you a blessed and memorable Thanksgiving with family and friends!

xoxo

PAINTED BATHROOM CABINETS || before + after

IMG_4992.jpg

A few months ago I decided to paint our master bathroom cabinets.  Although we hope to remodel that space eventually, it falls very low on the priority list.  It functions and it is clean, by clean I mean not falling apart ;-).  There is no need to move that project to the top of the list, we have plenty more 'urgent' projects that need to be tackled!  But, I still want to start making changes!

The original maple cabinets are in good shape and they were very easy to paint.  I used a rough grit sand paper to scuff up the cabinets.  I scrubbed them down well with TSP and warm soapy water.  I wiped the damp cabinets with a dry cloth and waited for everything to be completely dry.  Easy-peasy!

IMG_4540

IMG_4541

IMG_4542

I knew that I wanted to slightly distress the cabinets.  I wanted black to show through when I distressed.  Instead of painting the entire cabinet black {GRAPHITE}, I painted one, thin coat along the edges, where I planned on distressing.  I rubbed the edges with a hard beeswax so that when I sanded the second color, the black would show through, not the original maple.

IMG_4991

IMG_4995

IMG_4996

IMG_4998

I applied two coats of FRENCH LINEN and then lightly sanded the edges to reveal the black paint underneath.  I waxed with Annie Sloan's clear wax.  The original hardware was a bit modern for my taste.  They must have been a custom size because I couldn't find any knobs or pulls that would match the existing drilled holes!  Instead of filling and sanding the existing hardware holds and then re-drilling new holes, Matt cut down a sheet of metal to make metal plates.  We sprayed them with a matte black textured spray paint and we used that to attach the new hardware.  Still time consuming, but not as time consuming as filling/sanding/drilling new holes would have been!

There is a lot we want to do to this space with the timing is right.  But for now, I will keep making simple changes and 'tweaking' it here and there ;-)

OUR KITCHEN || before + after

Last weekend I finished painting our kitchen cabinets.  I got the 'bug to start painting" about two weeks ago and worked on painting the walls and cabinetry during nap times and in between making meals.  One of the many benefits of Chalk Paint® is the ease of use!  I truly was waxing cabinet doors while my little ones sat on the counter top and helped me make dinner.

IMG_4814

IMG_4823

IMG_4820

Above are the 'BEFORE' photos.  Now, in all honesty, we plan to do a major kitchen renovation next winter.  New cabinets, countertops, new walls/laundry room/pantry, etc.  With that, I feel there is extra freedom because if I don't love the colors, we will be changing things.  Plus, I was a little less careful with the painting than I would have been if this paint job was going to last me longer {I didn't paint the inside of the cabinets or take the doors off of the hinges to paint.}

IMG_4929

IMG_4923

IMG_4933

IMG_4930

IMG_4941

IMG_4922

IMG_4927

IMG_4954

I chose black {Annie Sloan's GRAPHITE} for a majority of the cabinets because we have black appliances in almost every cabinet.  I distressed the edges and applied the dark wax over the entire cabinet.  I am really please how it turned out and the appliances now blend into the cabinetry.

I painted the upper cabinets next to the sink white {Annie Sloan's OLD WHITE} only because I didn't the kitchen to start too feel to heavy with so much black.  I left the cabinets doors off of the uppers and distressed the edges.  I also painted the walls a soft cream, and that helped to lighted the space as well.

IMG_4822

We have a little nook area off of the kitchen and that is temporarily housing my computer/home office area.  We took these cabinets from the office of our vacation rental, people vacationing don't need an entire wall of built-in file drawers!  We will build new cabinetry for this area when we remodel, but for now this serves a great purpose.

IMG_4947

IMG_4944

IMG_4952

Although this will all be changing in a year or so, I just needed to give it some color.  I am a firm believer in the fact that our homes should be inviting and reflect our personality.  Not that our homes are perfect or designed perfectly, but that our spaces help to make being in our homes more enjoyable.  By just adding a bit of color to our kitchen, I am enjoying cooking and baking so much more!  Color really does make a difference!

Next week I will post more details about the paint colors and applications I used!  Until then, enjoy your weekend!!

PAINTING KITCHEN CABINETS || part 1

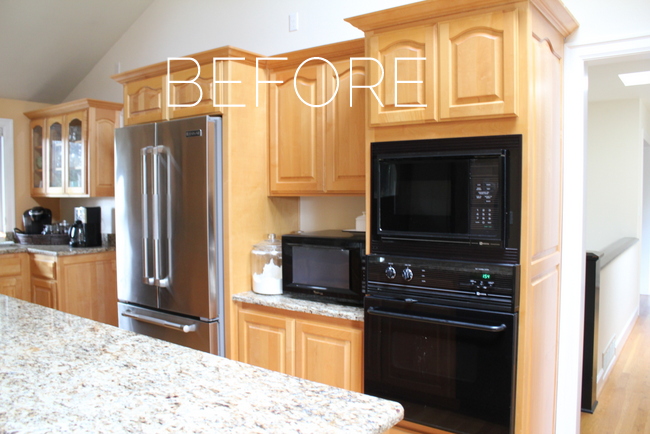
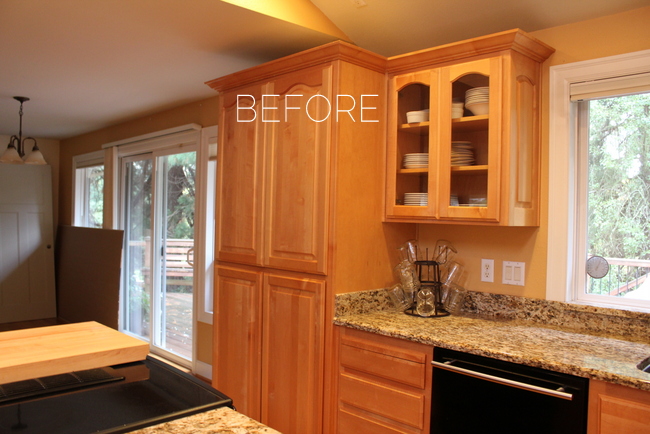
It has already ben eight months since we moved!  We haven't done any major renovations on our own home, since having children {about four years ago}.  It's not that we forgot how time consuming it is to do a renovation on our own home, it's that we can't find the time to do it…..without little people helping. 
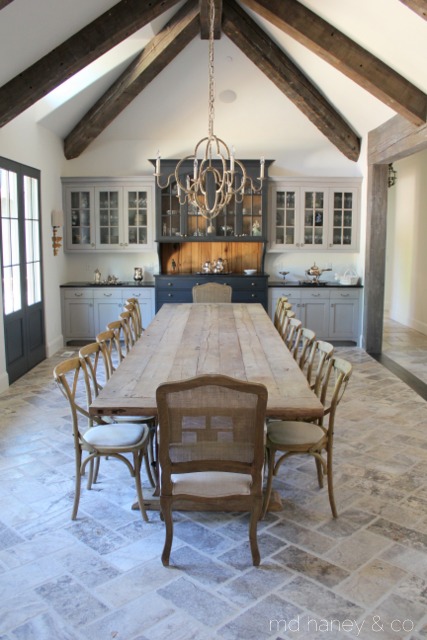
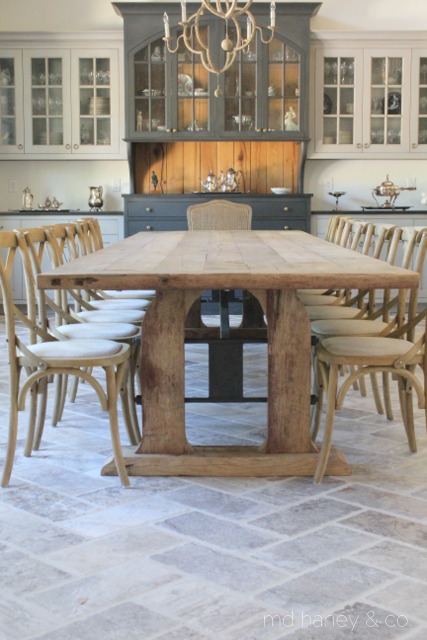
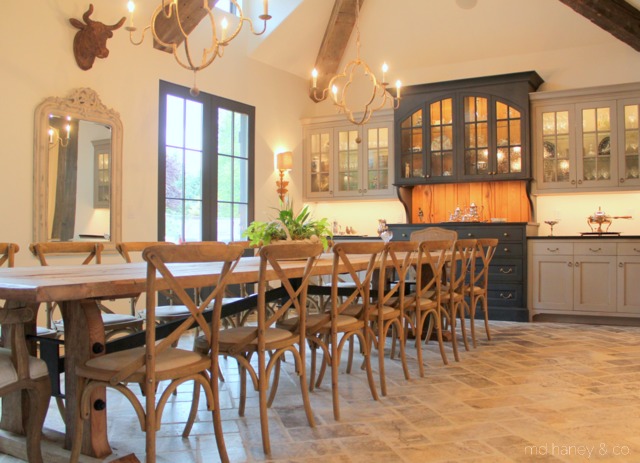
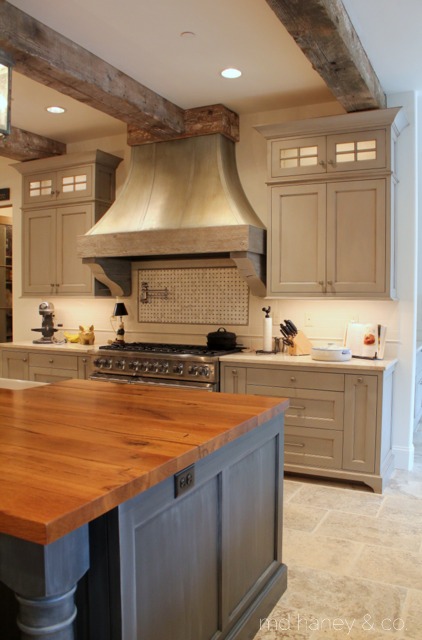
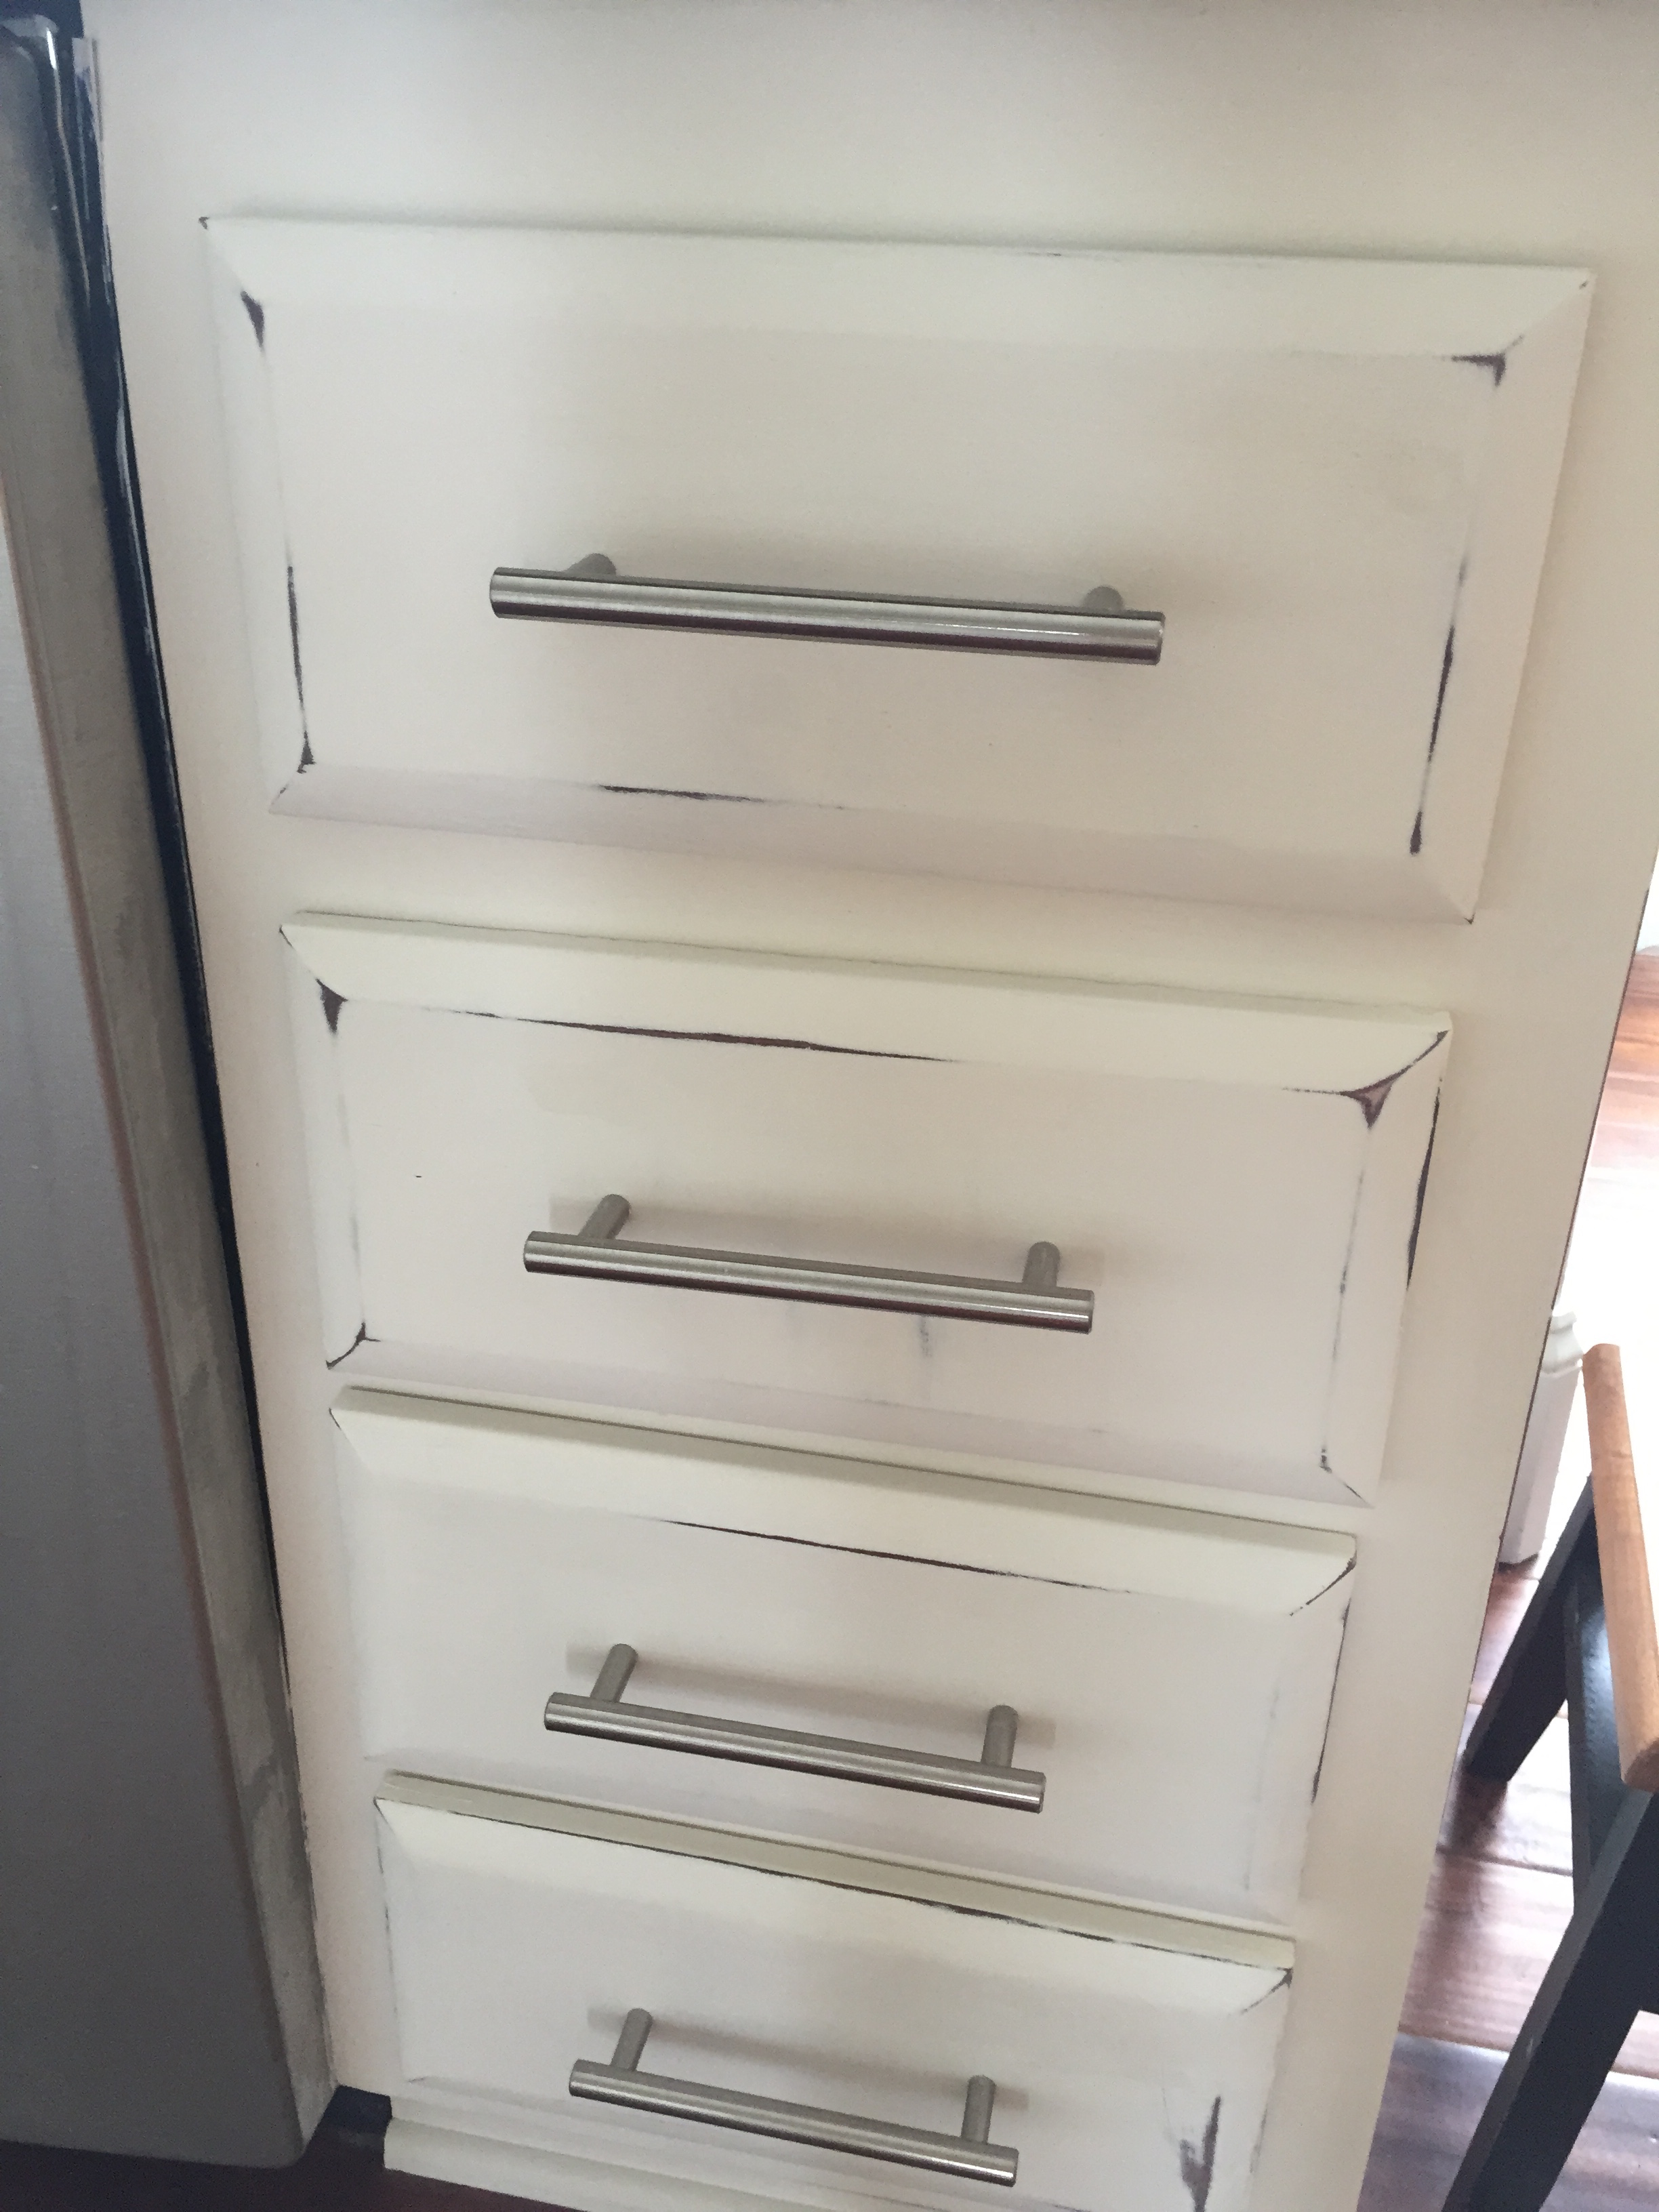
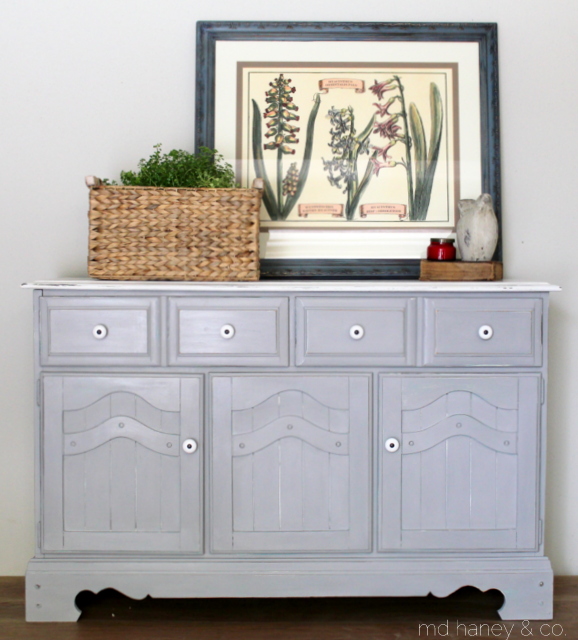
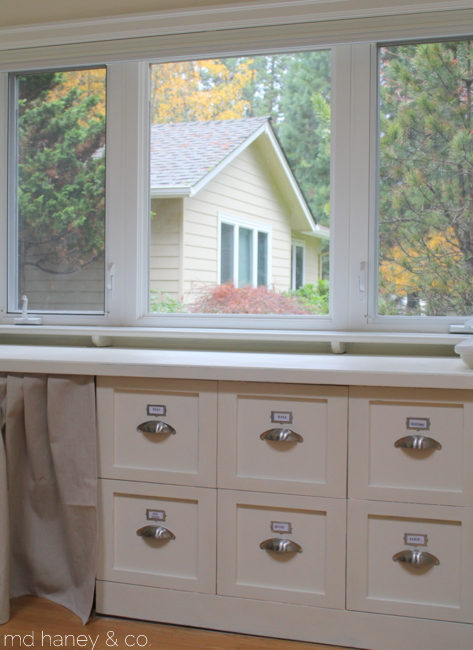
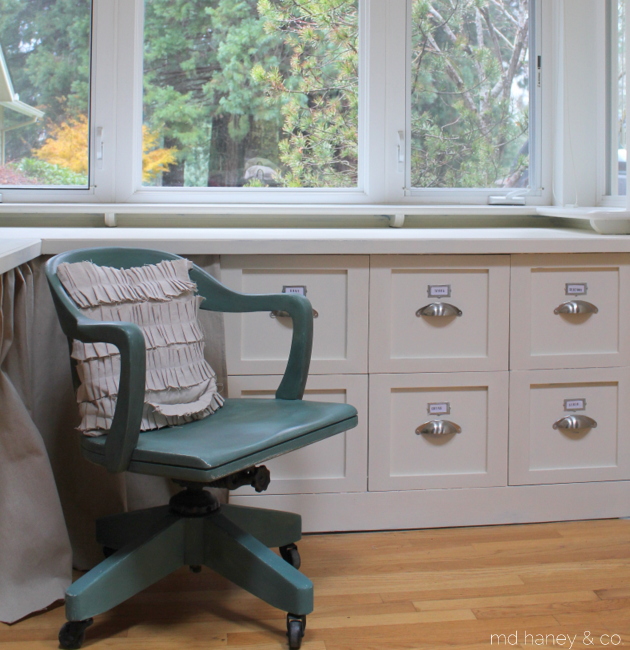
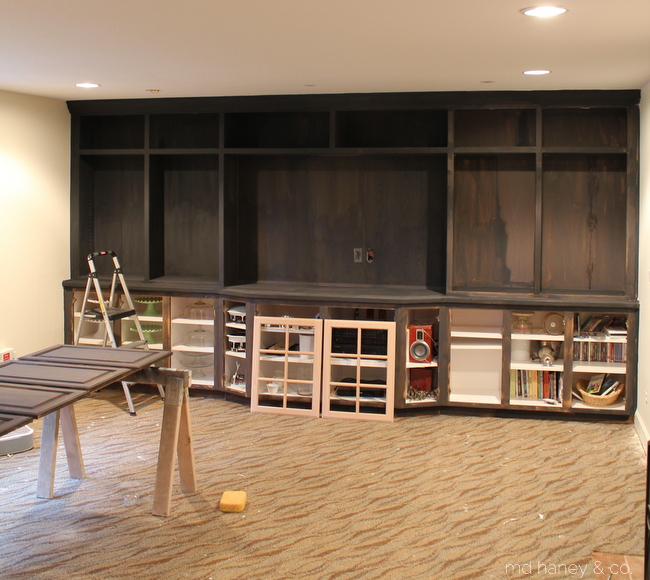
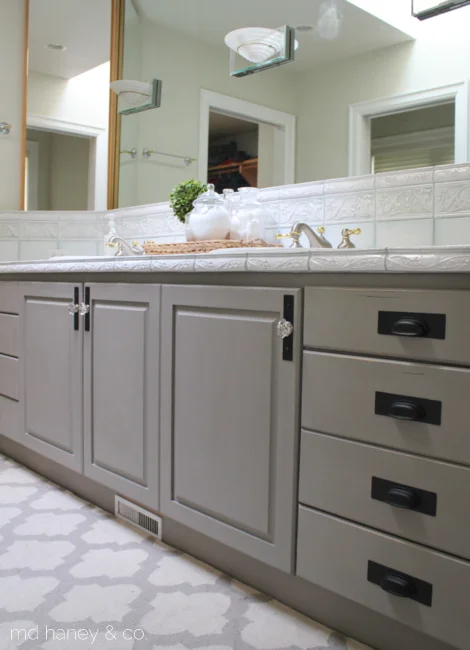
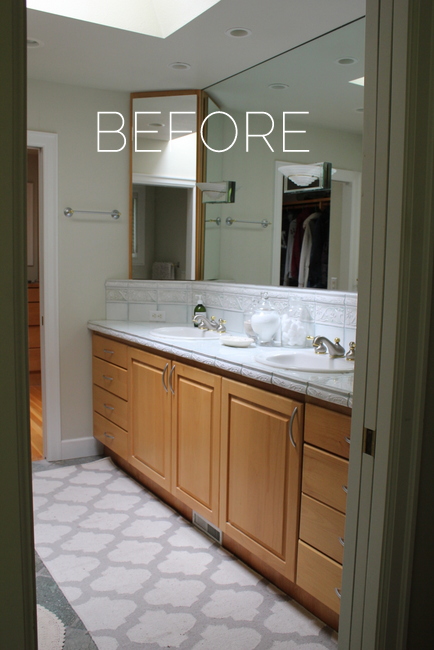
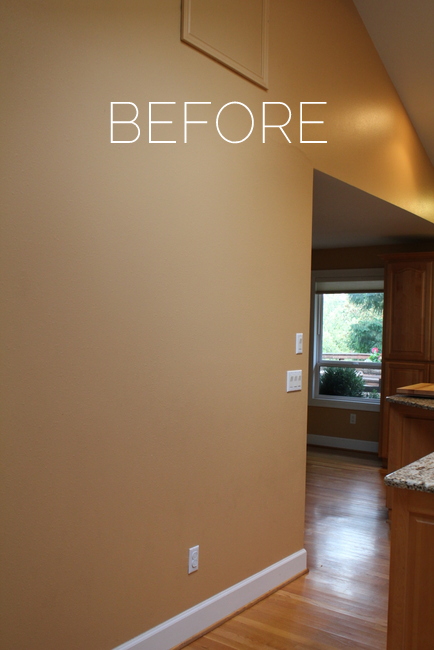
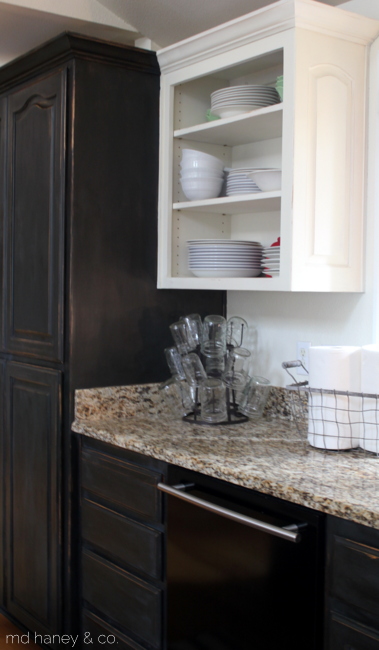
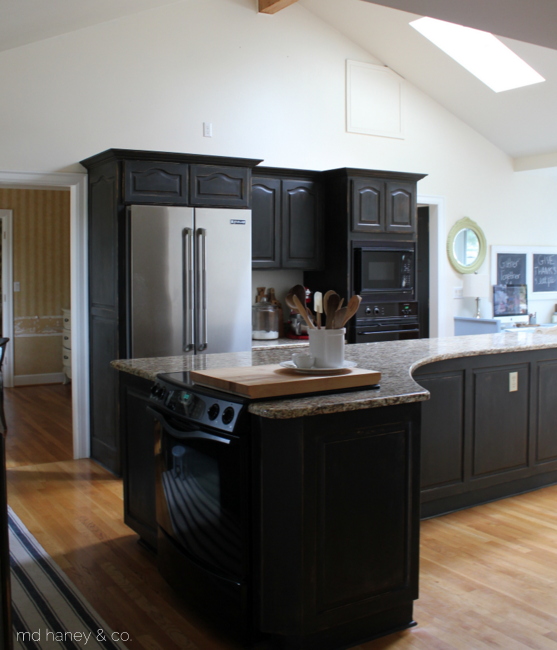
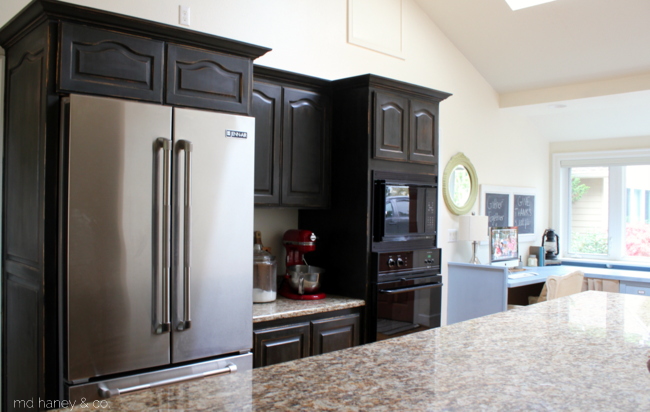
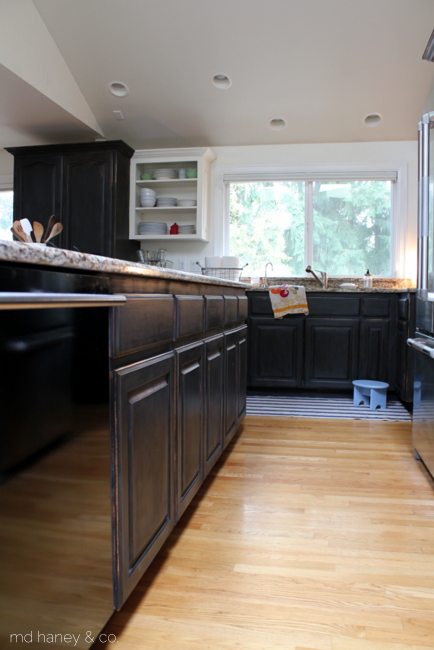
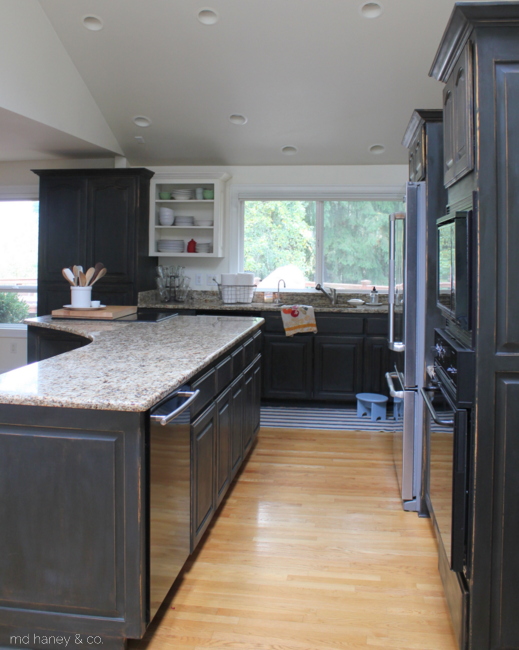
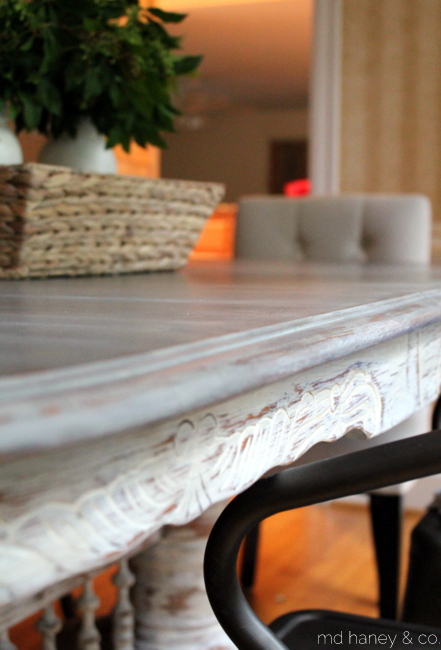
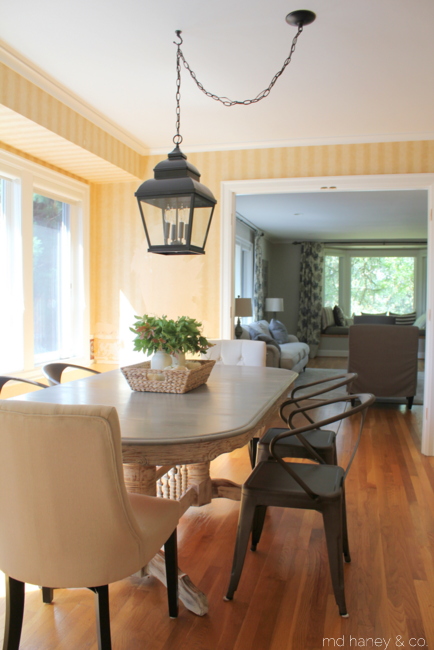
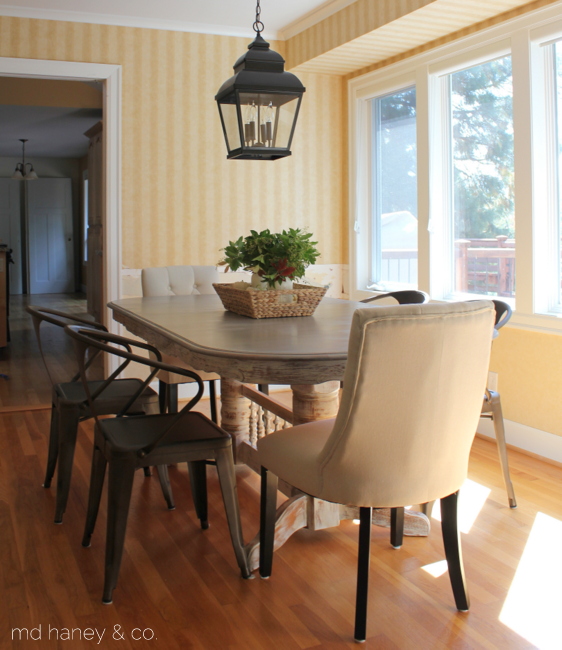
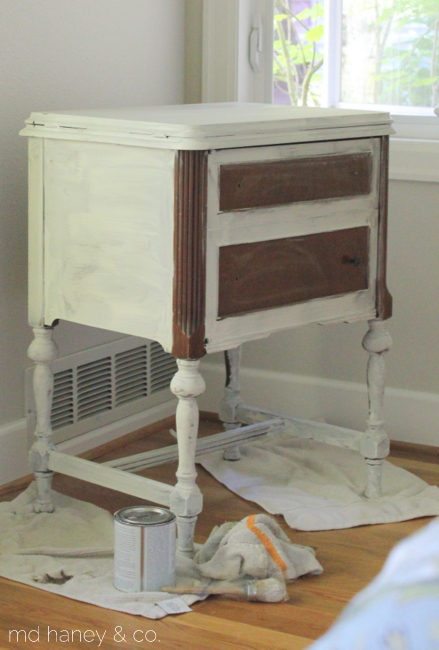
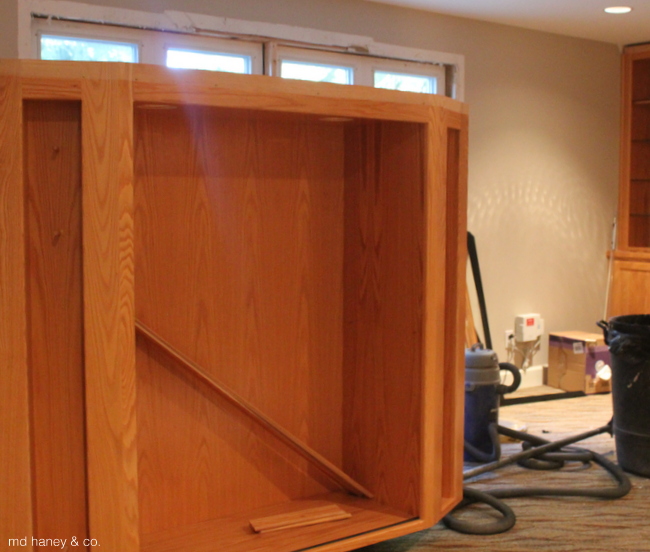
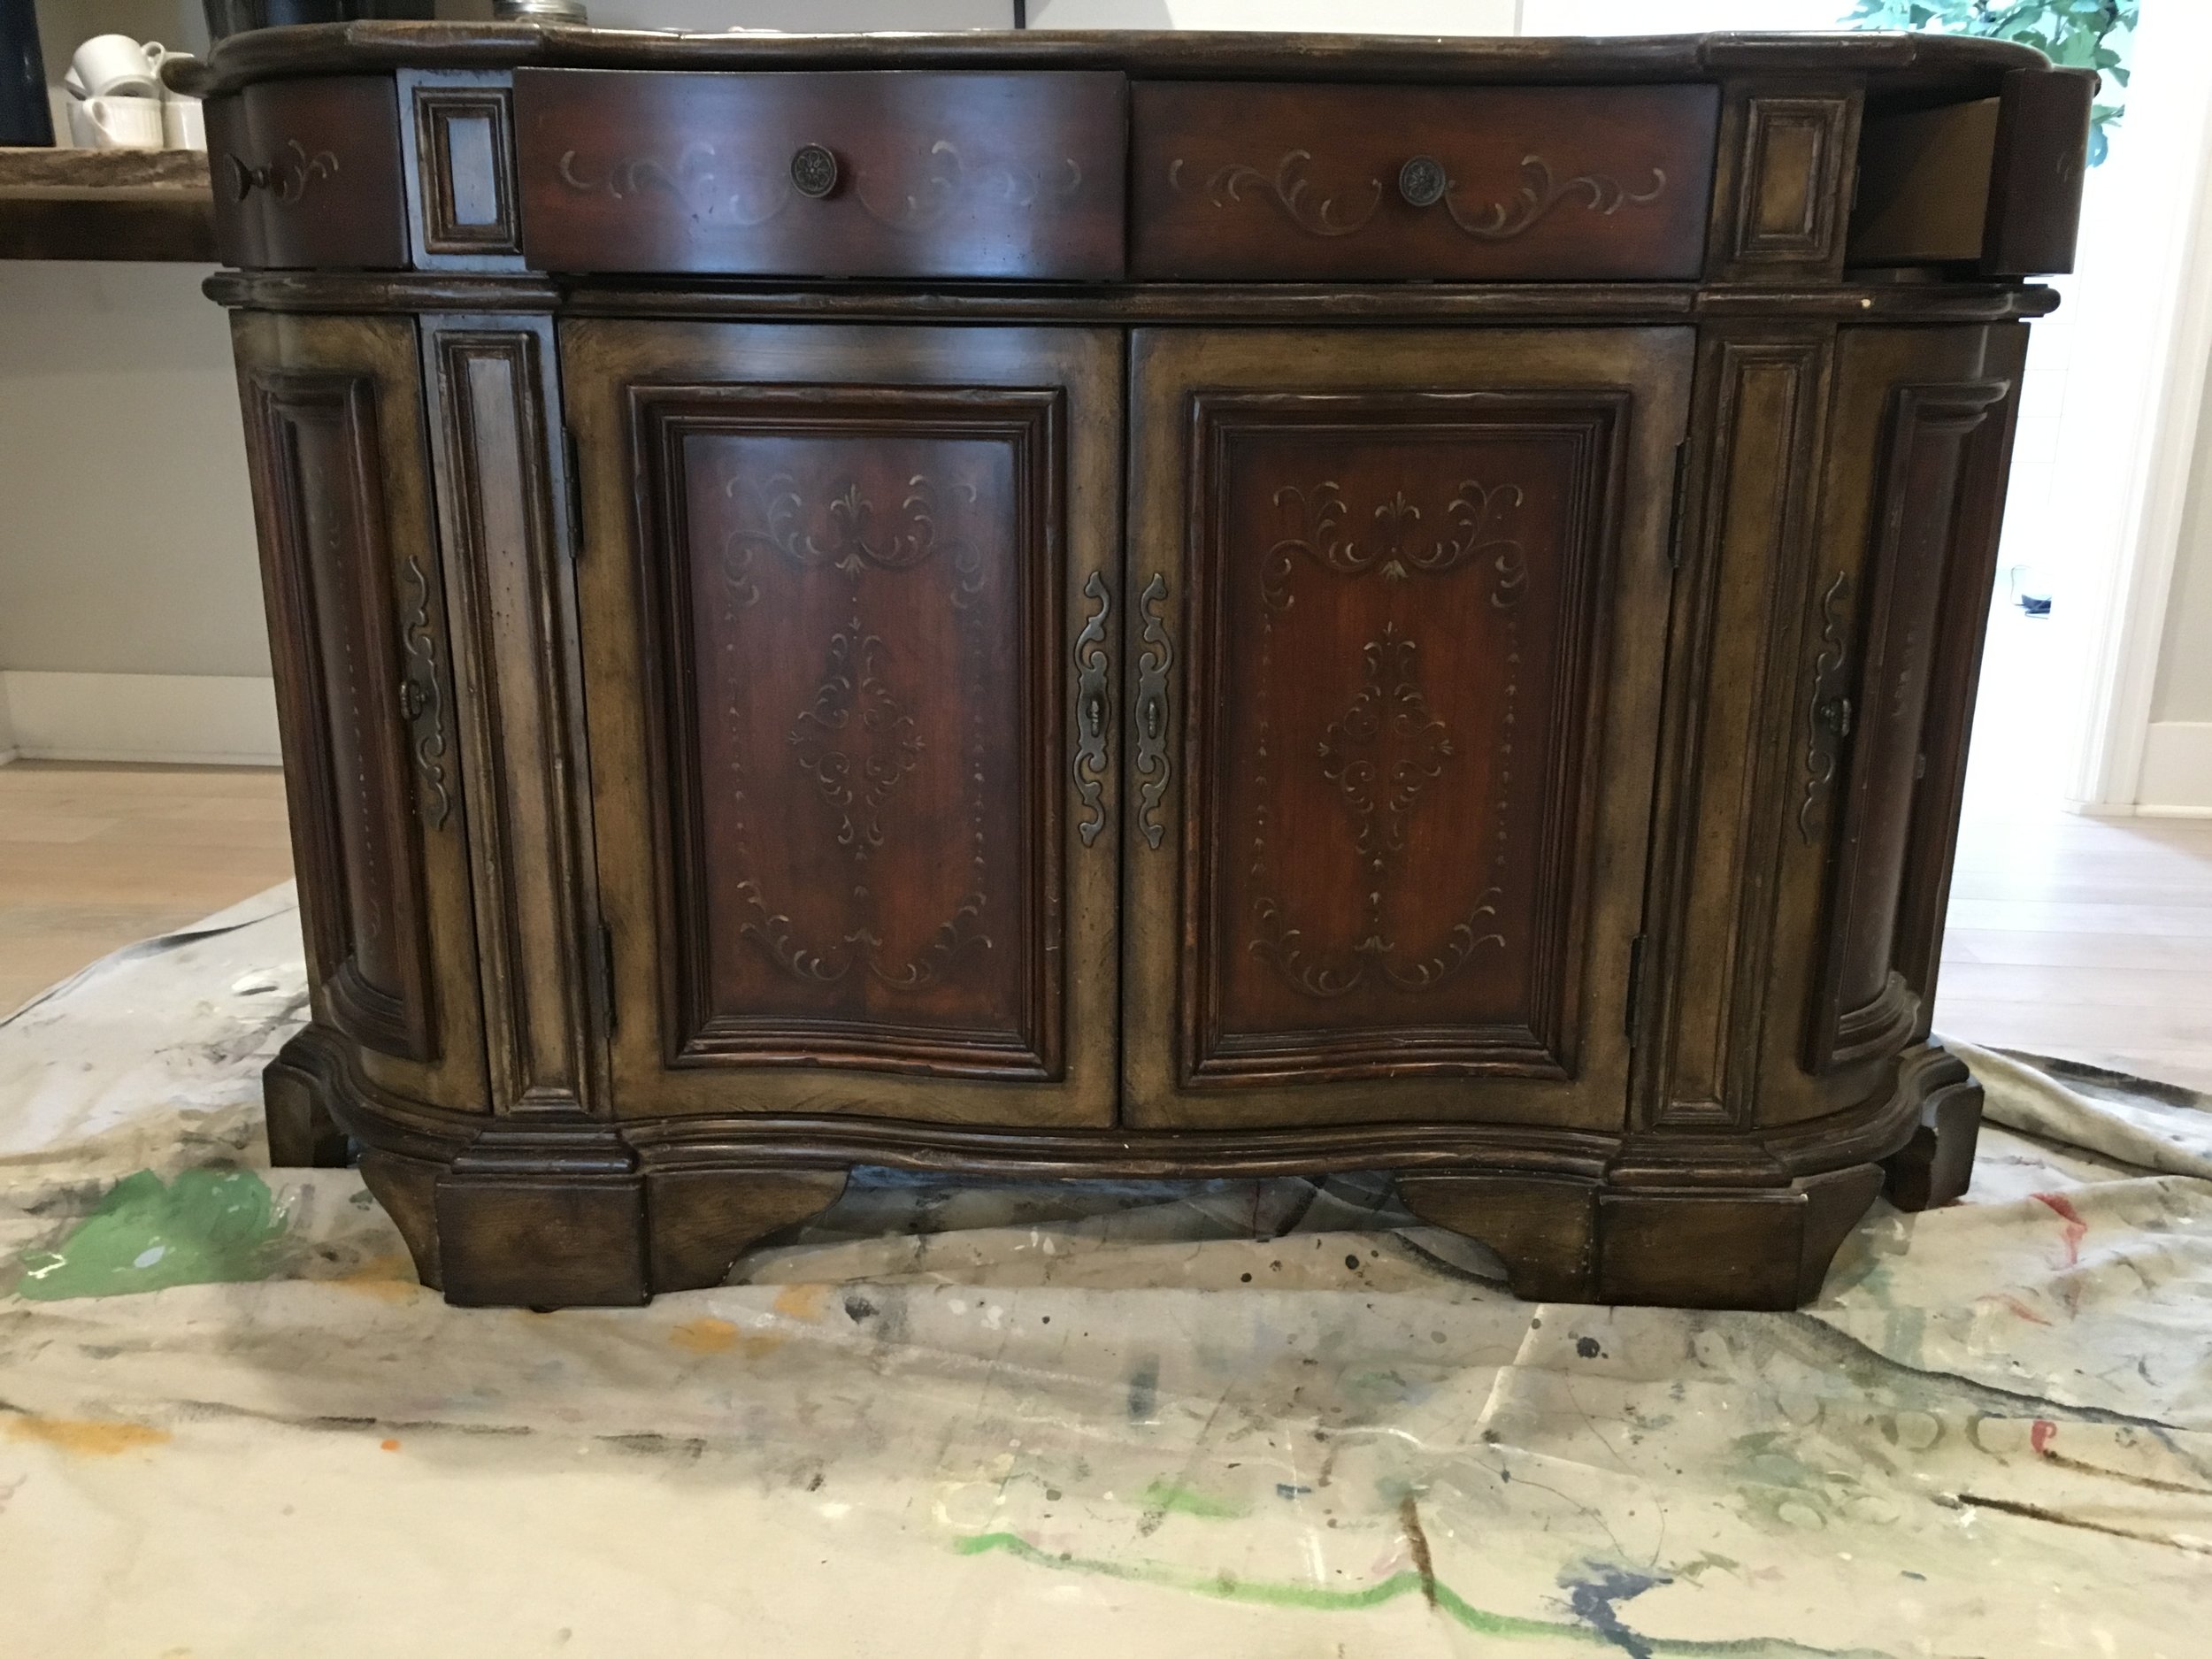
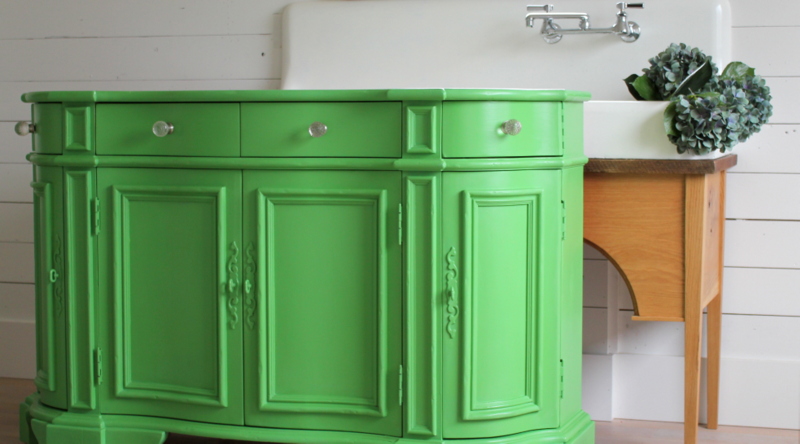
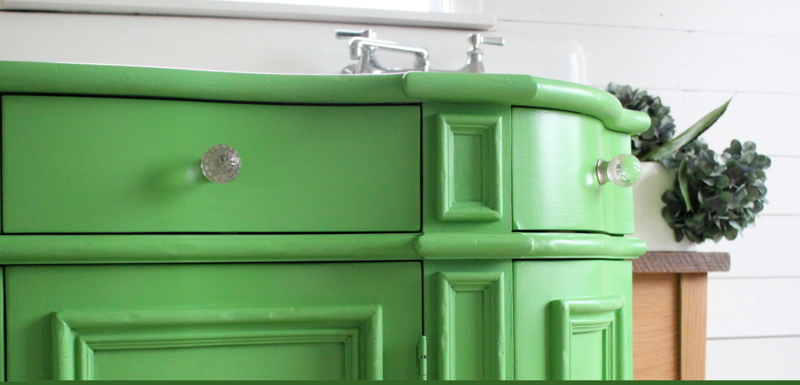
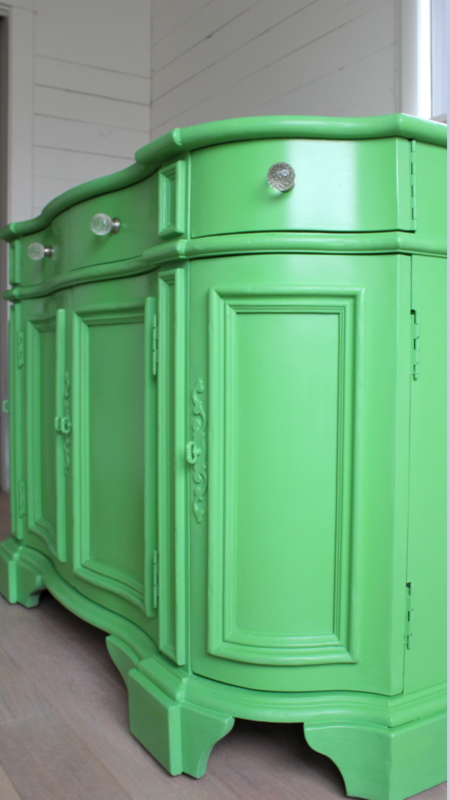
We thought we would have the basement completely finished before football season started.  Nothing has changed in the basement for two months, and we still have a ways to go!  Anyways, the point is…..we plan on doing a major renovation to our kitchen next winter.  But, I am quickly realizing that it may be a couple of years before we renovate.    Since we moved into this home, I haven't touched the kitchen.  Well, the rain came this week and I decided to start painting the kitchen!  I started with the walls, and yesterday I painted the kitchen island.  I was reminded of how much I love Chalk Paint®!  It truly is an amazing product!  I still have more cabinetry to do, but I thought I would share some tips and tricks for painting kitchen cabinets.

IMG_4813


IMG_4825

Use steel wool or a scotch bright pad to remove gunk, spills and food.

IMG_4827

Wipe down cabinetry with low-odor mineral spirits or a degreaser cleaner.  Finally, wipe cabinets with warm water and a clean rag, let cabinetry dry completely.  Tape any area that need to stay 'clean'.

IMG_4828

IMG_4829

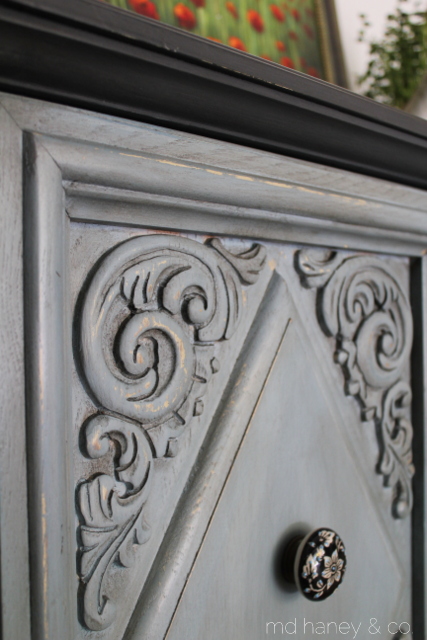
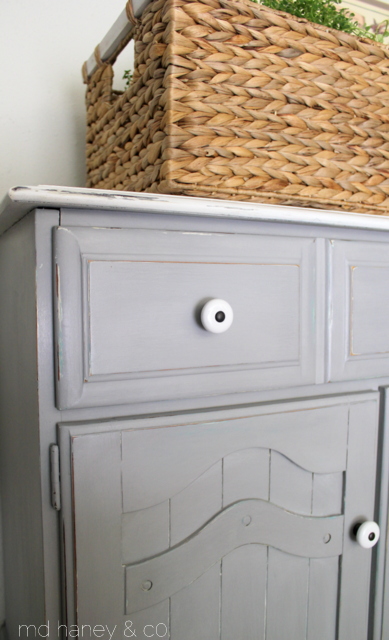
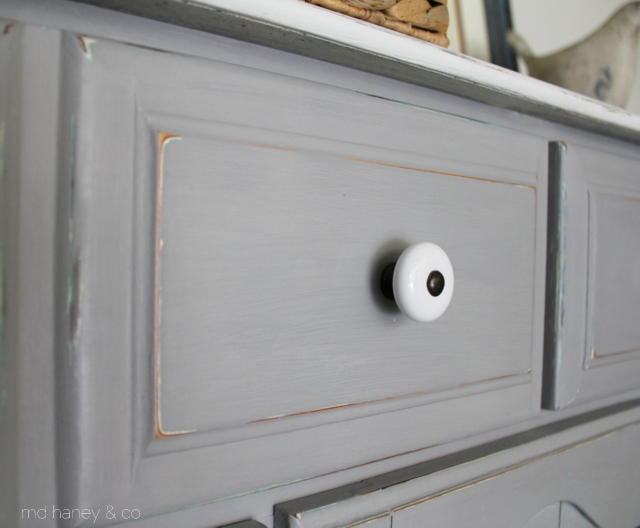
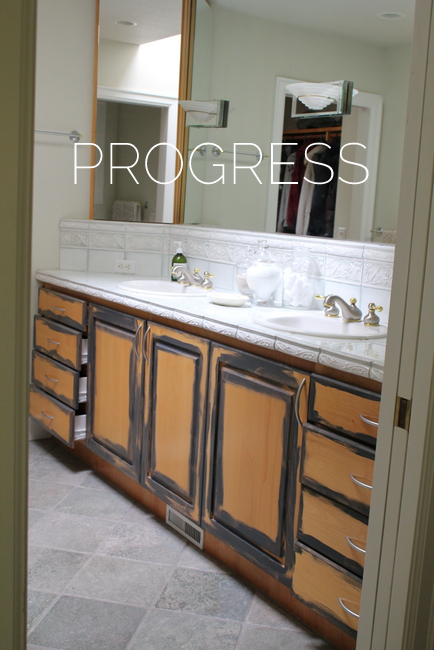
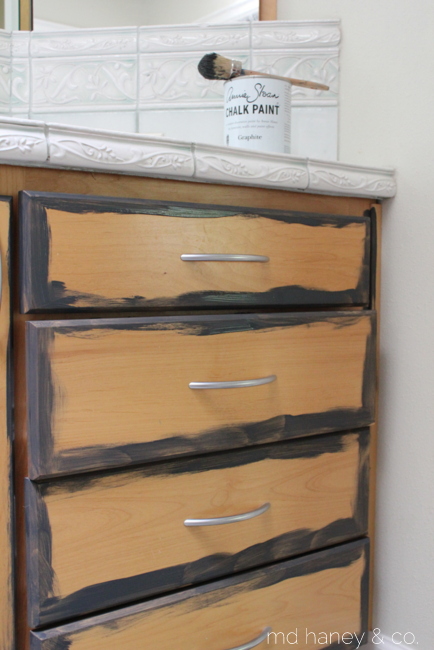
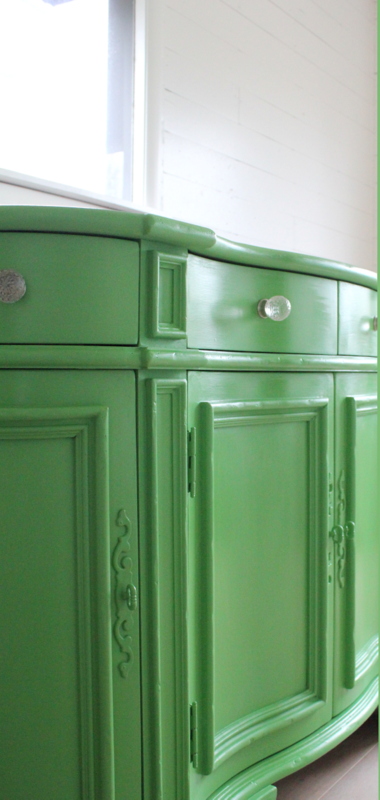
You can see that the first coat can be a bit scary.  The first coat always looks bad!  The dry time is fast.  Once the paint is dry to the touch, you can start with the second coat.  After the second coat is dry, you can distress the edges, if that is the look you are trying to achieve.  I always distress in areas that look like they would naturally get worn and beat up.  If distressing, sand with a high grit sandpaper and wipe down the cabinetry.  You don't want any paint dust on the cabinets when you wax!  Wax with soft wax and you are done!  This island {which is really big} only took me a few hours.  I finished it during the girl's nap time and then finished waxing while I was making dinner….it really is that easy!  I will post more pictures when I finish the other cabinets.  Until then, I have listed a few tips below!

IMG_4834

Helpful tips for painting cabinetry with Chalk Paint®

-The simplest way to paint cabinetry with Chalk Paint®, is to paint them in place.  You may choose to remove the doors and drawer faces for painting.  Make sure to mark each cabinet with a labeled  piece of tape, then you aren't playing a guessing game when it's time to put the doors back on.

-Remove knobs and pulls, place all of the hardware {including screws} into a ziplock bag.

-If you are painting the interiors of the cabinets, remove the shelves and support clips and be sure to mark each shelf accordingly.

Painting over previously finished cabinets:

-Make sure that the surface is clean and free of loose particles.  Use a scotch bright pad or steel wool to lightly scrub the surface.  Next, remove any old, greasy, waxy or oily residue (you can use low-odor mineral spirits, TSP, Crud Cutter or any cleaner that cuts through grease}.  Rinse with clean rag and warm water and let it dry completely.

-Fill any cracks or holes with wood filler or speckling.  Allow to dry and sand smooth with fine grit sandpaper.

-Typically there is no need to sand or prime.  Although in areas that receive a lot of use, it might be wise.

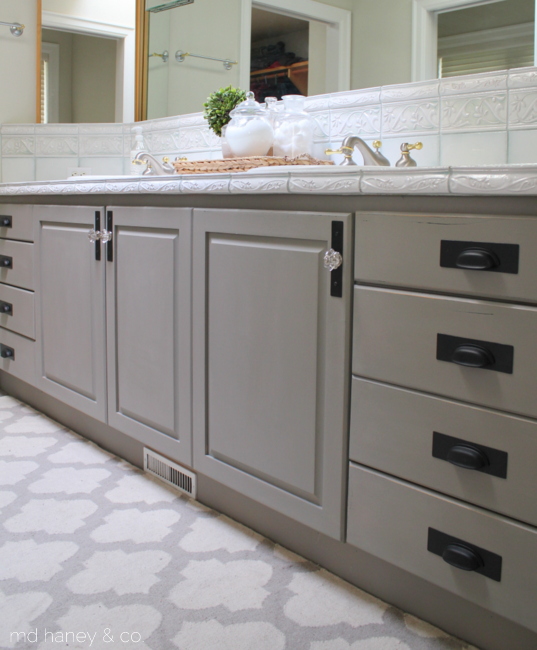
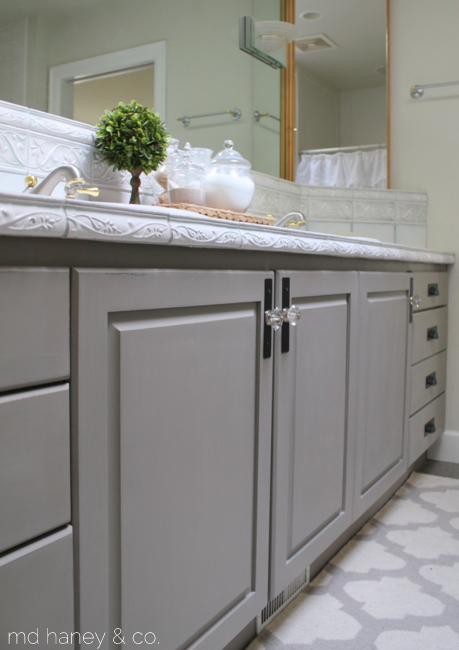
-Tape any areas that need to stay clean {floor, appliances, etc} and begin painting!  It typically will take two coats of paint.  Distress if that is the desired look.  Wax with soft wax.  Cabinets will clean with a mild soap and warm water.
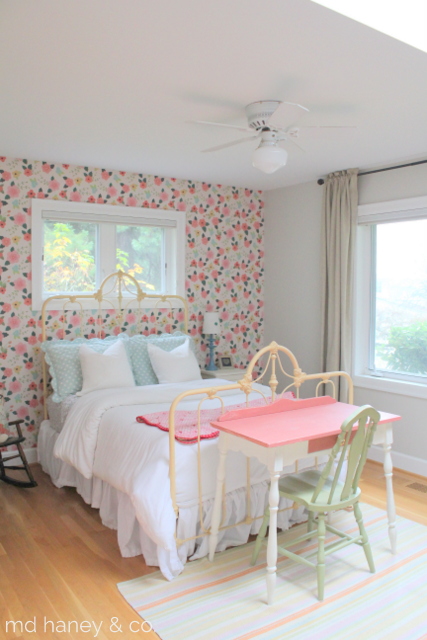
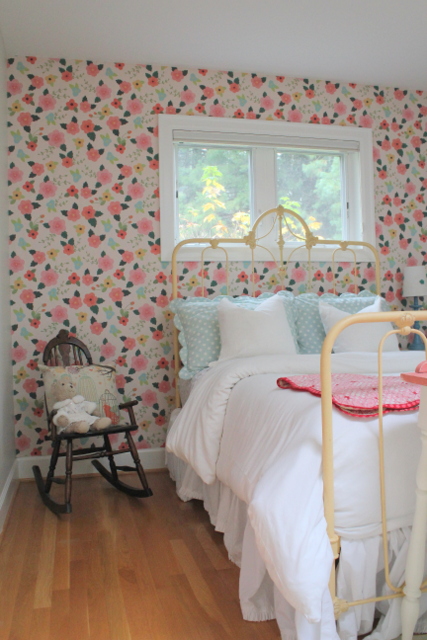
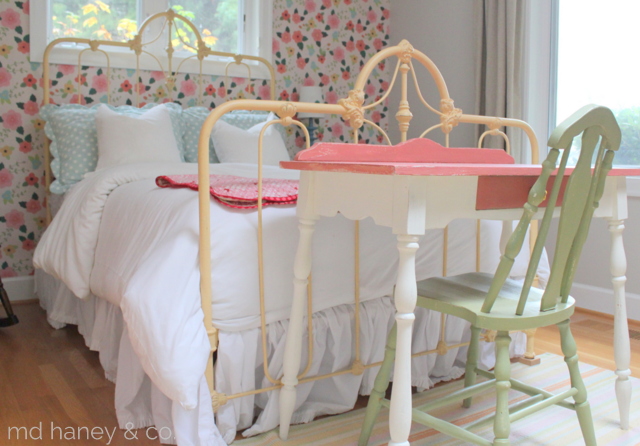
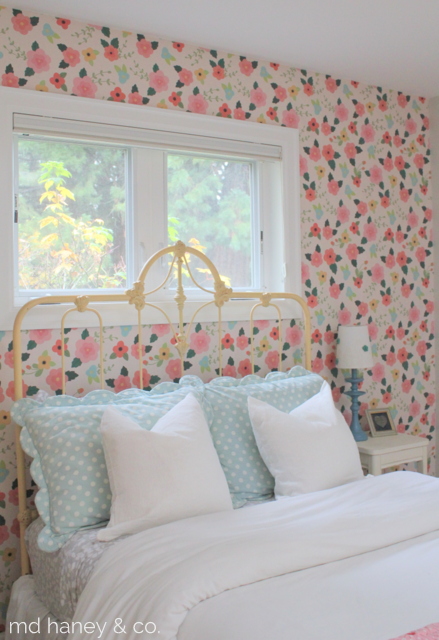
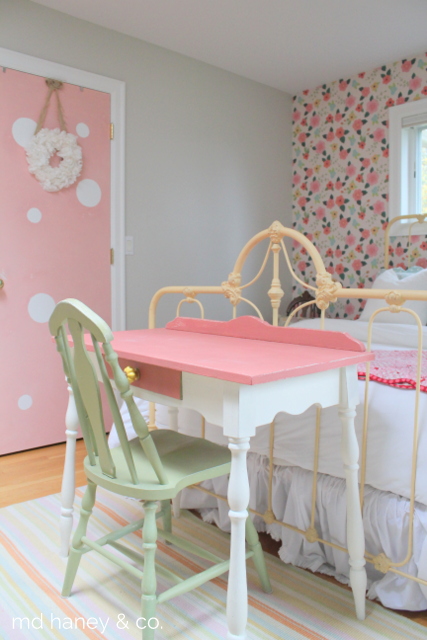
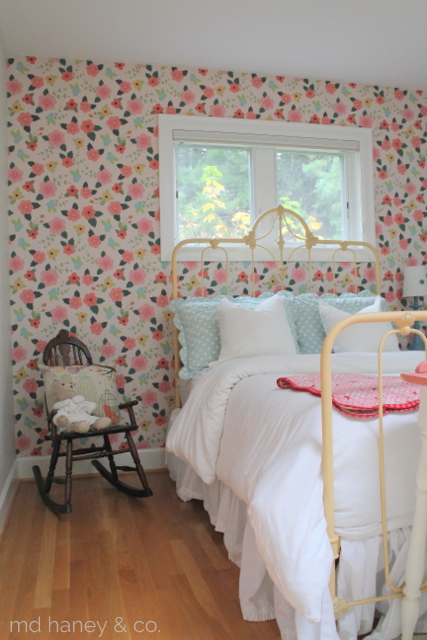
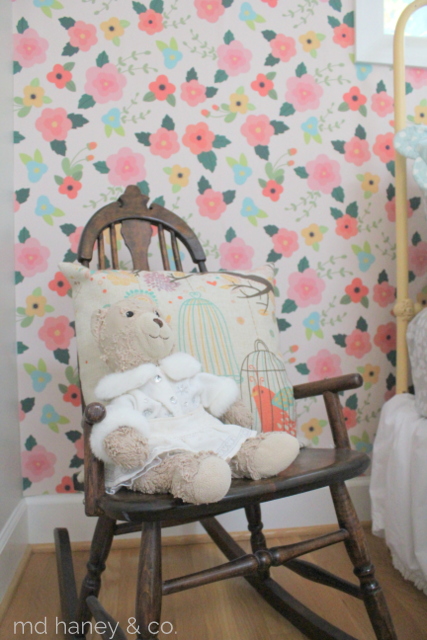
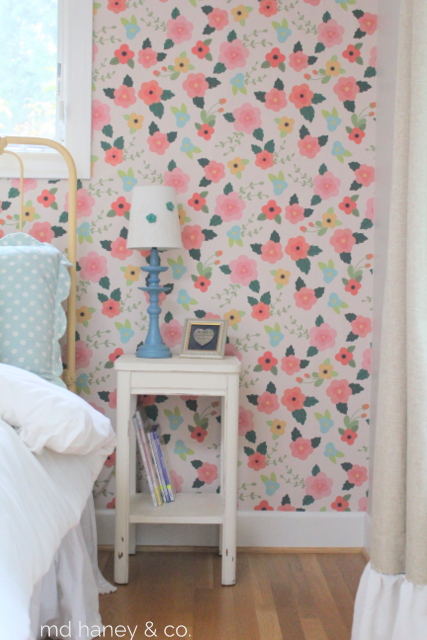
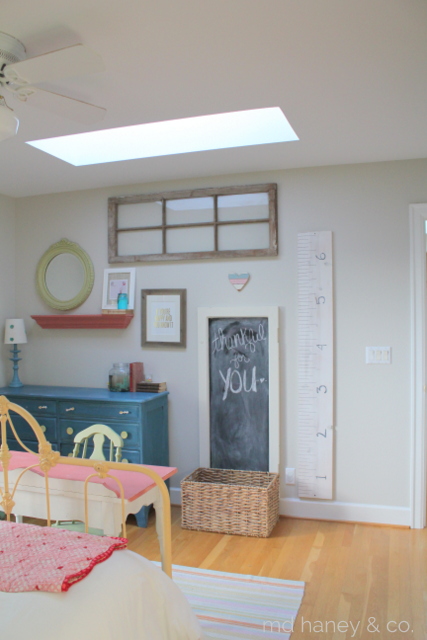
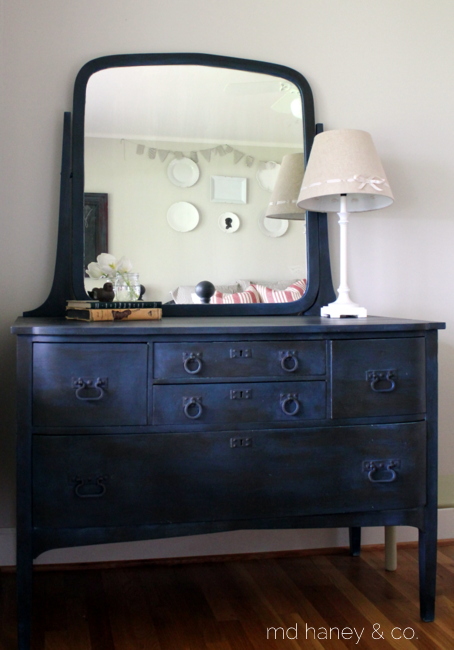
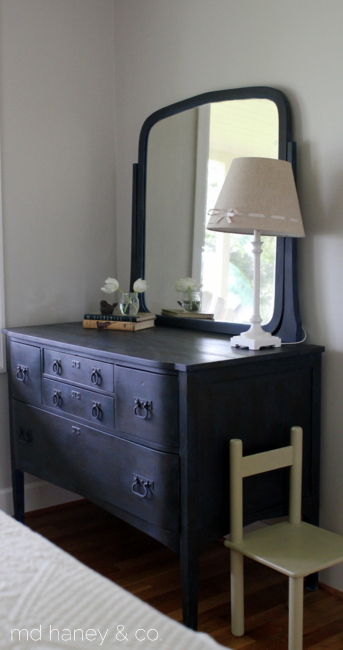
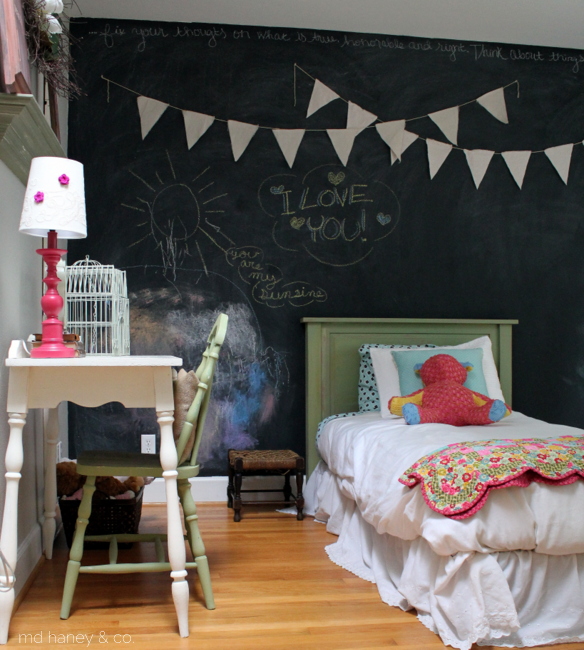
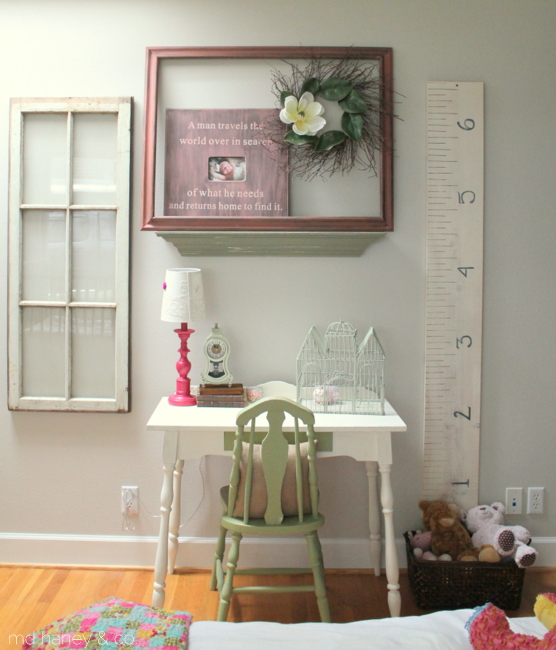
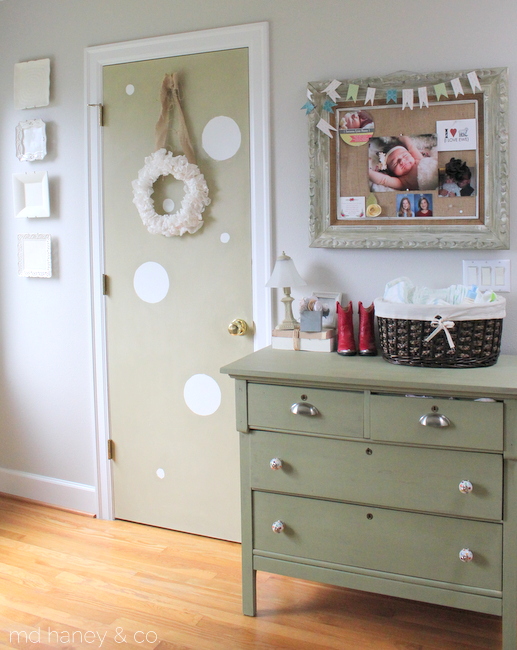
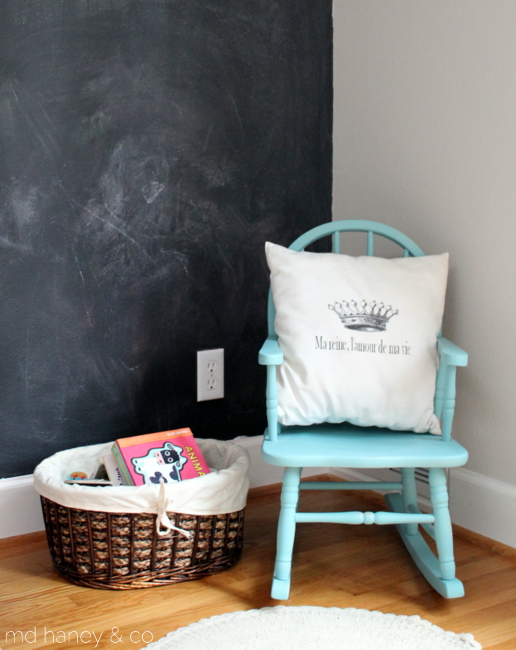
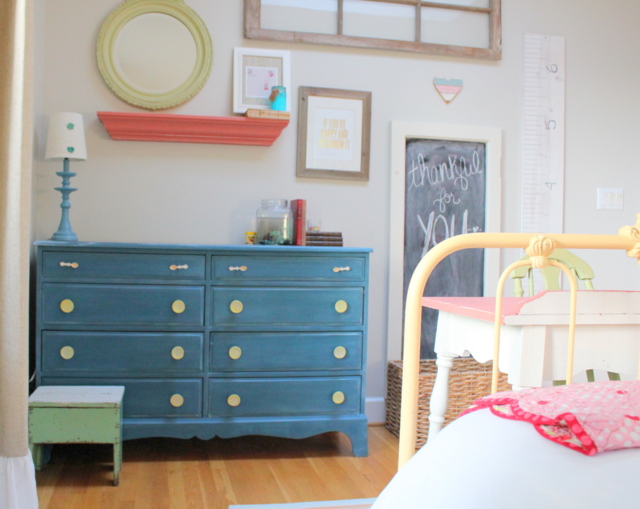
BEFORE + AFTER || oak table

Matt has wanted to build a farm house table for our dining room, but the reality is, it's falls short on the priority list.  My wood working skills do not even compare to my handy husband, so I knew there was no way I would attempt to build my own!  My in-laws lent us their extra oak dining set since we sold our last dining room set with our house.  A few weeks ago I was telling Matt's mom that we just couldn't agree on a new dining room set to buy.  Matt really wants to build something but I want something sooner than later.  :-0

She said we could just have the dining room set we were borrowing!  Perfect!  The next day I started painting..

IMG_4548

The table is in great shape.  Solid oak and the perfect size for our dining room.  I painted the base with Chalk Paint® {Old White}.  Just one coat since I wanted it to be heavily distressed.  I then applied one coat of clear wax and a bit of dark wax to age the base a bit more.

The top is painted with Chalk Paint® {French Linen} and thinned with water, for more of a washed look.  I sanded the edges and applied two coats of the Annie Sloan lacquer.  The lacquer has a matte finish and is very durable, great for our family who uses this table almost three times a day.

IMG_4688

IMG_4636

IMG_4641

I bought four metal chairs and two upholstered chairs to replace the oak chairs that were part of the original set.  I love mixing different styles and finishes.  Plus, these chairs are pretty indestructible…..good for a family with little people and messy big people ;-)

A FEW FALL TOUCHES || using what I already have to decorate for fall

This time of year always gets so busy for me (and I know for so many others!)  The tourism is so seasonal here and our vacation rental reaches the peak of busy-ness in August and September.  For me that means a lot of cleaning, gardening and paper work.  But, even during the busy-ness of life, it's so important to make time for family and friends.  Saturday was spent hosting a booth at Carlton Crush ( a darling, local festival ).  It was a long, fun, successful and exhausting day, but the good kind of exhausting!  Sunday we spent the day at Pacific City with Matt's parents….celebrating his dad's birthday.  Pacific City is one of our favorite places to spend the day.  We drive the truck down onto the sand and set up camp for the day.  Football, fire, food and lots of sand and salt water….the best kind of day! IMG_4613

IMG_4620

IMG_4616

And today has been our first 'slow' day at home in a while.  So, the girls and I have been cleaning and slowing adding touches of Fall.  When decorating for Fall, I like to go 'all natural' and use things from nature.  Mostly branches, berries, pumpkins and gourds.  It's easy, cheap and looks great.  A couple of years ago I painted all of my fake orange pumpkins white and light green.  I used Chalk Paint to paint my pumpkins, but I am sure any paint would work just fine.

IMG_4621

IMG_4626

IMG_4642

IMG_4637

IMG_4630

IMG_4627

As you can see by the dining room photos, the room is in progress.  When Matt starts paneling the stairway to the basement, he is going to add an opening to the dining room and panel the entire room.  We contemplated wall papering but we would need to tear off of the layers of wall paper and it honestly would be easier to panel the room than to try to remove the wallpaper, patch the holes and hang wallpaper.

The girls and I are planning on adding some Fall touches to the their bedrooms and the outside of the house later today, I will post pictures later in the week!

xoxo

BEFORE & AFTER || a sewing table

A few weeks ago I picked up this darling little sewing table at Goodwill.  It was only $8 and I was looking for a little table for our master bedroom.

Now I forgot to take a 'BEFORE' picture, but I took one shortly after I started.  I think it's even better than a true 'BEFORE' because it shows how the first coat of white paint looks.  It looks bad and if you haven't painted with Chalk Paint® or Milk Paint, you may get nervous or discouraged after the first coat.  Fear not, the second coat always looks great!

IMG_4552

IMG_4553

A majority of the table is painted with PURE WHITE Chalk Paint®.  It took two coats, and then I distressed the edges.  This is an old piece and I want it to look old and full of character.

I then painted the doors and the fluted detail on the legs with TROPHY MMS Milk Paint.  After one coat of the Milk Paint, I sanded the doors, I still wanted to see the beautiful (but damaged) wood underneath.  The entire piece received one coat of clear wax and it was tucked into the little corner in my bedroom that afternoon!

IMG_4591

IMG_4594

IMG_4596

One of the many things I love about both of these paints is the fast drying time.  I can finish a piece in one day and have it decorated or functioning that evening!!  I am an instant gratification kind of girl and this paint works perfectly for refinishing a piece quickly!  Love it!

REPURPOSING CABINET DOORS || painted signs

As you may already know, I love to use cabinet doors to hand paint signs.  I love that they are already 'cut and framed'.  No building or prep work, just paint and hang!

IMG_3057

I made these these two last summer and hung them in our covered outdoor space.  Matt used old square-head nails to hang them, they were my favorite.  When we sold our home, we sold it furnished, these two signs were included in the sale.

IMG_3060

Since we have moved, I haven't taken the time to make any new signs.  Last week a friend/client gave me some extra cabinet doors from a kitchen remodel she had done years ago.  She was keeping the doors for a future project, but was finally ready to just clean and purge.  I know that feeling well ;-)  Anyways, she sent me home with four large cabinet doors…..

IMG_4533

IMG_4539

IMG_4537

Simple little reminders.  And they just cost me an afternoon and a little bit of paint!  My kind of project!!

**For any of you who might want to make a similar sign, here are some very technical instructions {wink}…

I painted the cabinet door with two coats of French Linen {Chalk Paint®}.

Typed the wording than printed the wording in black.

Cut the words than traced over them firmly with a ball paint pin.

Used an artist brush and painted the letters with Graphite {Chalk Paint®}.

Distressed with 180 grit sandpaper.

Waxed the entire sign with clear wax.

Happy painting!!

ONE PROJECT LEADS TO ANOTHER || the joys of remodeling your own home

We are loving this sunny, warm weather!  What about you?

We have been working hard, but balancing it out with some fun play too.  Matt is just finishing up a couple bathroom remodels and starting to build the cabinetry for a client's home library, it's going to be a beauty!!  (I hope to get pictures of the bathrooms soon, they turned out really nice.) On the weekends and some evenings, we have been working on our basement.  The playroom is progressing….

IMG_4522

IMG_4519

And one thing always leads to another….Matt has to rebuild the stairs leading to the basement, which leads to new trim work, which leads to 'why not add paneling to the wall', which leads to ' let's make some changes in the powder room since you see the wall and stairs from the powder room'….we have a sickness.  Seriously.  And the worse part is, we feed off of each other!

So, now with all of my other half finished projects, I am going to start on the powder room.  Below is a quick sample board I threw together and a few pictures of the powder room as it sits now.

haneyprm copy

IMG_4513

IMG_4516

IMG_4514

We are going to cover the existing wall paper with a neutral buffalo check wallpaper, add new doors and new trim to the current built-in and then paint it blue, new lights and plumbing fixtures and I am going to attempt to paint the tile.  I am thinking a black and white check?!?  I have seen a lot of painted tile projects online, so I am going to try my hand at it!

In the mean time, I am off to make paper chains with my sweet pea!

Happy Summer!!

VANITY AND CHAIR || before + after

You know how there are certain things you think will just never happen to you?  For no reason, other than you just don't think they will happen.  Well, my computer crashed last week and of course the only thing I ever backed up was Quickbooks (which is good since I would be in a deep state of depression if I had to muddle my way through re-entering accounting for our personal and two business accounts....ugg.) Anyways, I am slowly getting applications re-installed on my computer and now have a fancy-smacny external hard drive attached at all times.  Lesson learned!

I had some great before + after photos of this darling vanity and chair.  Of course I lost all of those photos and haven't yet re-installed my photo editing program.  But, I still thought I would show a few 'after photos'!

IMG_4405

I picked up this darling vanity and chair at a garage sale a few weeks ago.  It was orange and had IMG_4405

I picked this darling duo at a garage sale a few weeks ago.  It was orange, brown and white.

IMG_4408

I used OLD WHITE {Chalk Paint®} for the vanity with one coat of CLEAR WAX. I sanded the edges lightly because this piece had A LOT of paint layers.  I wanted to add to the history of the piece, not make is look like it was brand new.

IMG_4406

I used LUCKETT'S GREEN {MMS MILK PAINT} without the bonding agent.  I sanded the edges and applied a CLEAR WAX.

IMG_4410

I sell fun knobs at the studio.  I snagged this darling white flower knob for a bit of a feminine touch.  Right now this cutie sits in my bedroom.  I am not sure if it will stay there, but it's the perfect spot to keep my planner and journal.

In other news, I thought I would show a few photos of the basement progress.....

IMG_4411

Matt is busy modifying the cabinet so it can house the TV.  He moved windows and doors so we are changing the layout a bit.  He is going to re-purpose the mantel {taken from a job years ago} and then paint all of the cabinet and woodwork white....

IMG_4412

It's a bit of a mess, to say the least, but we are almost ready to start cleaning up and prepping for paint {walls,ceiling and cabinetry}.  Yahoo!

IMG_4413

The play room is right off of the great room.  I am getting ready to paint the walls and then remove the flooring.  Addilyn already loves cozy-ing up in their soon to be book nook.  Love that girl!  And so fun to create a room just for the girls!  I can't wait to start getting some work done in there!

OK, I am off to work on my computer a bit more, super fun.

xoxo~Darci