It's hard to believe, but we have been living in our home for a little over a year now! Our first 'big' project for the interior of the home has been our basement. We turned the 'bonus room' area into a play room for the girls.

BEFORE

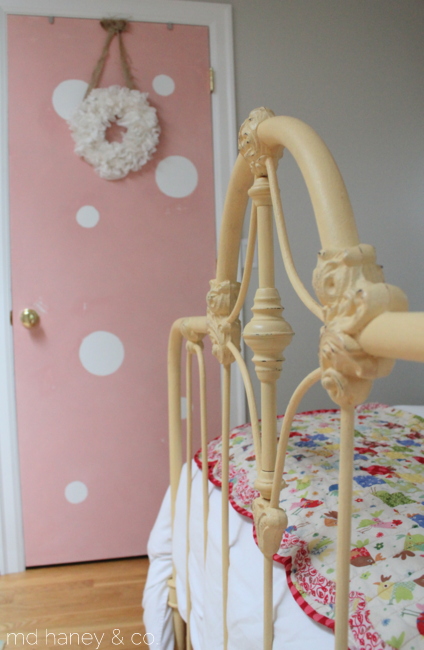
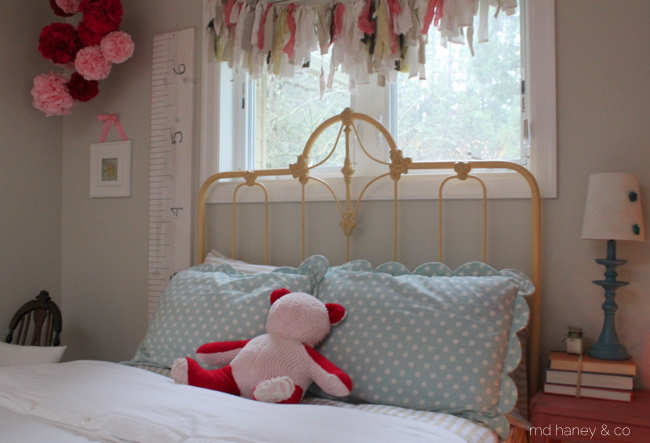
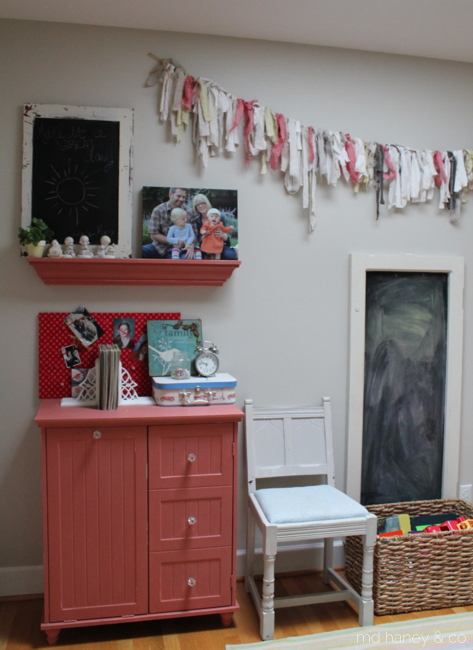
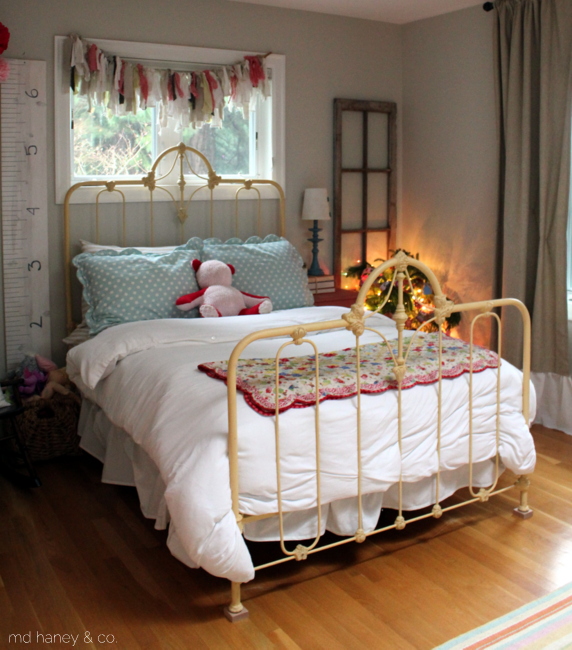
AFTER
And we just finished part of the downstairs living space. We still have a lot to do, but it's clean and now has furniture!

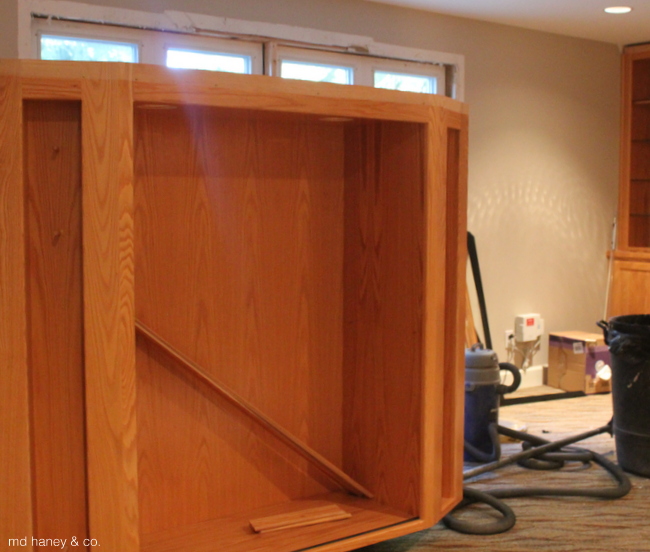
BEFORE

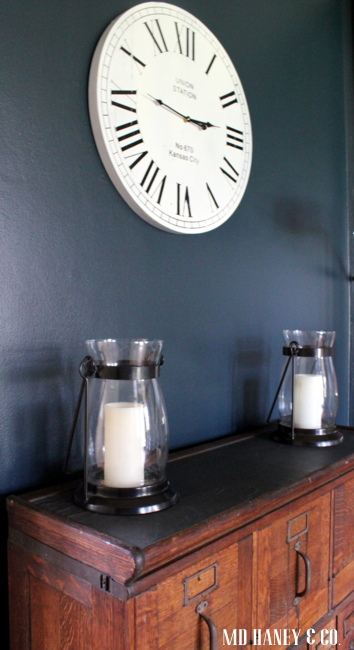
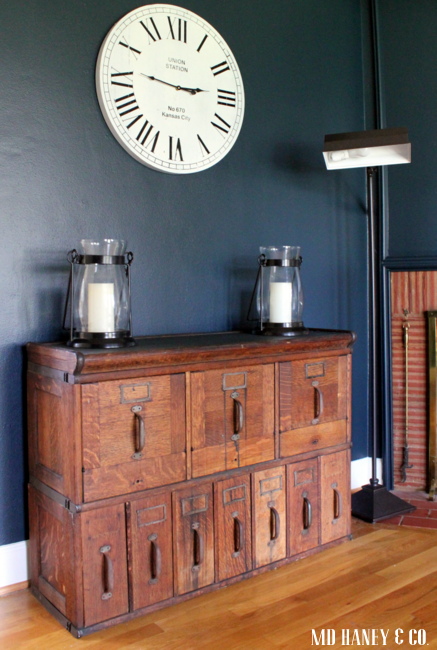
AFTER
When this area is completely finished (we still need to install the fireplace hearth and wire/glass on the cabinet doors) I will post a lot more photos. However, my sweet hubby has asked that I let him finish the space before posting photos ;-)
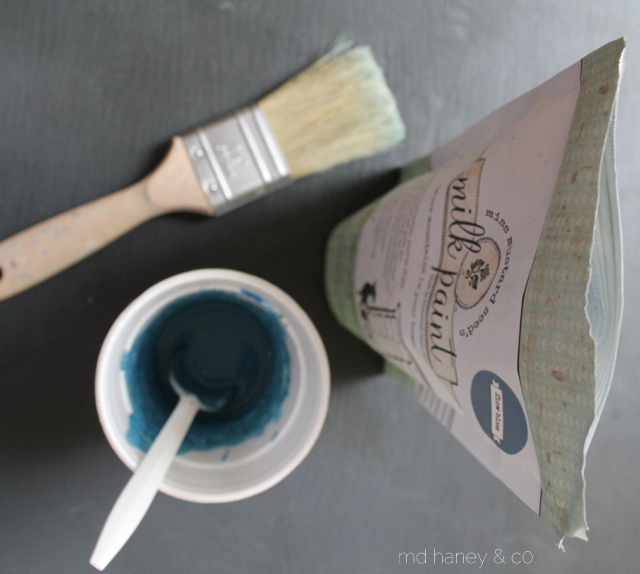
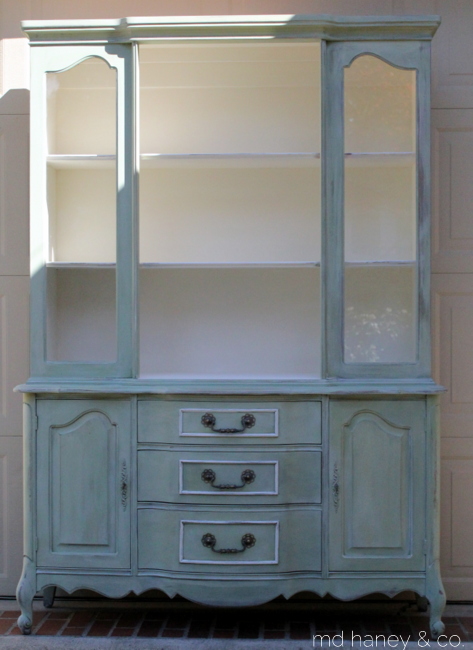
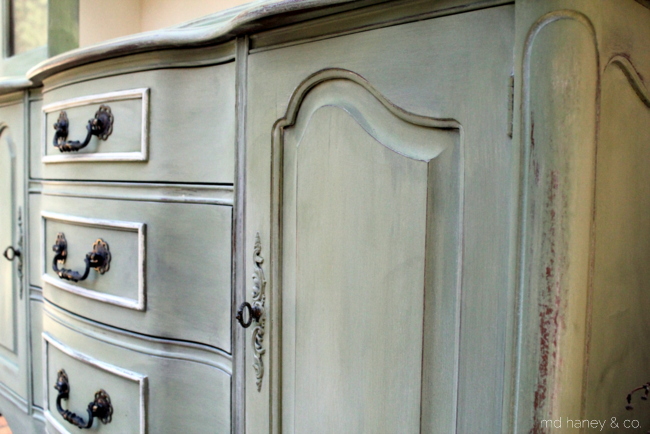
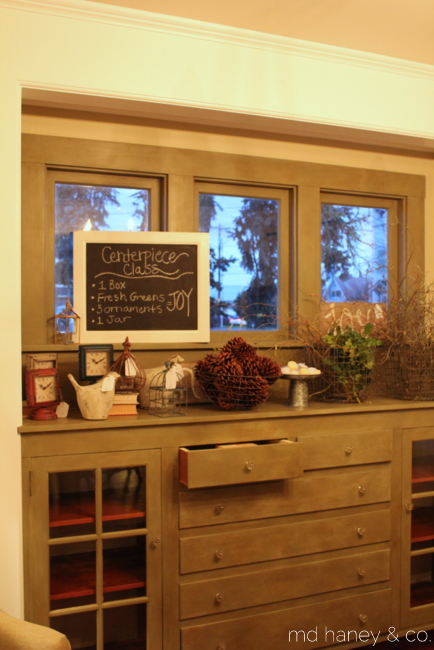
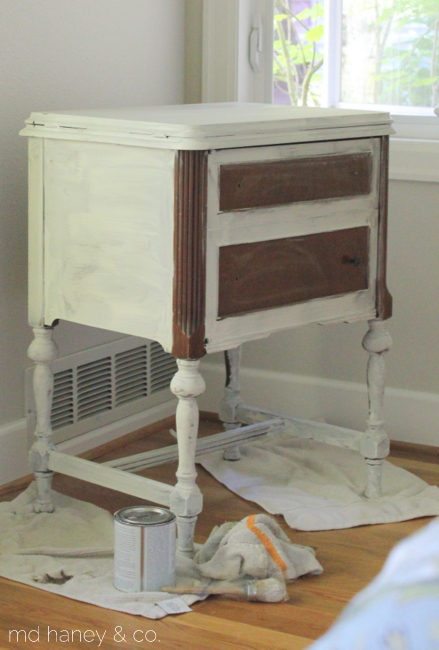
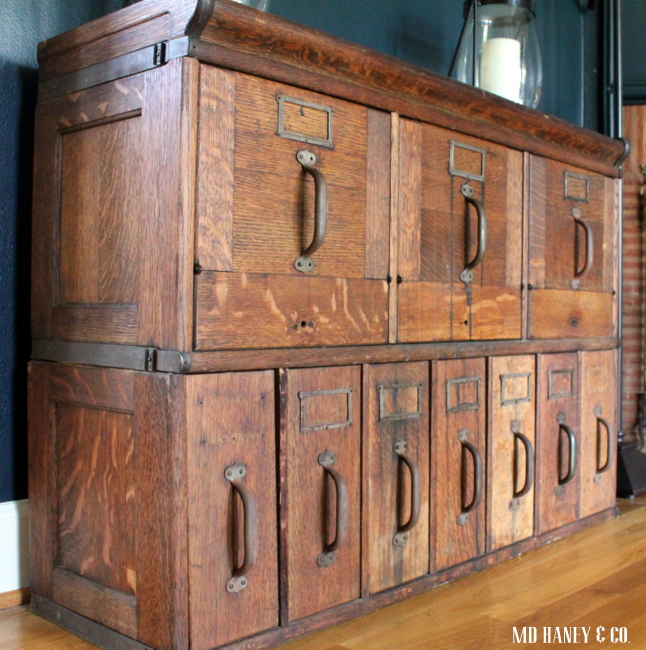
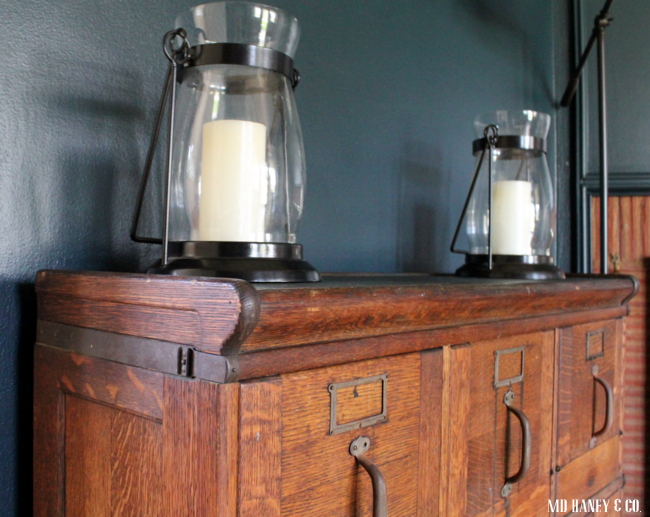
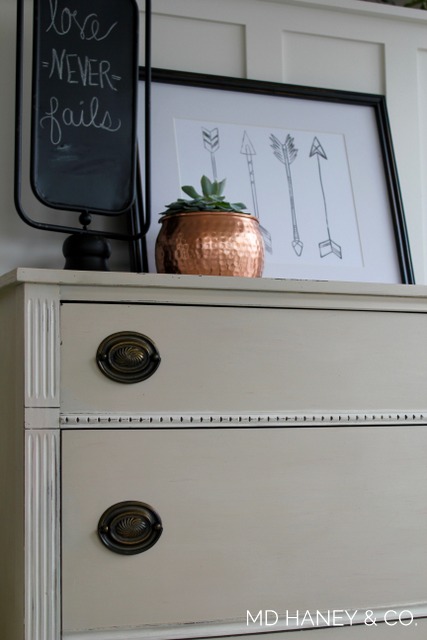
One aspect of this little reno, is the entertainment center. Since my dear husband was not a super talented, MVP, major league baseball player, we didn't have much of a use for a cool trophy case. Matt modified the existing cabinetry so that it looked more like an entertainment center, we added some new glass doors, open shelves and a space for the ginormous TV. Once the modifications were finished, I painted it with Milk Paint (TYPEWRITER) and sealed it with Hemp Oil. I thought I would share a few tips on painting (previously finished) cabinetry with milk paint.


1. Sand the cabinetry. It doesn't need to be stripped, but you will have better results if you sand it with a course grit sand paper.
2. Clean the cabinetry with TSP, Krud Kutter or a degreaser cleaner. You can also use denatured alcohol to clean your cabinetry. Once you have cleaned the cabinetry, wipe it down with a damp cloth, and then finally wipe it down with a dry cloth.
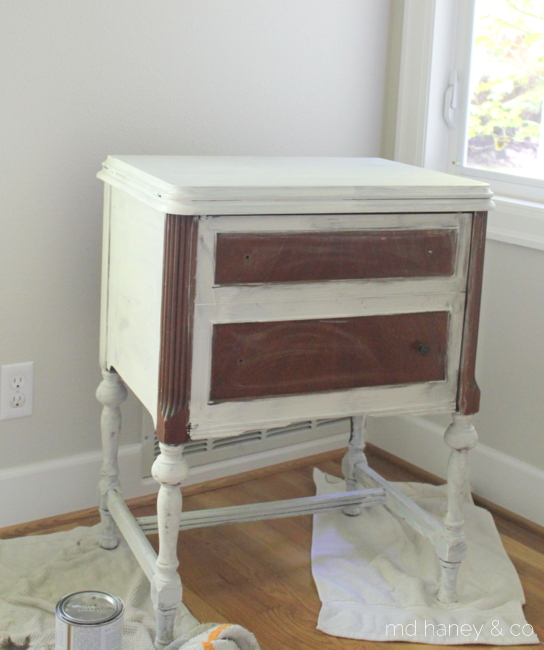
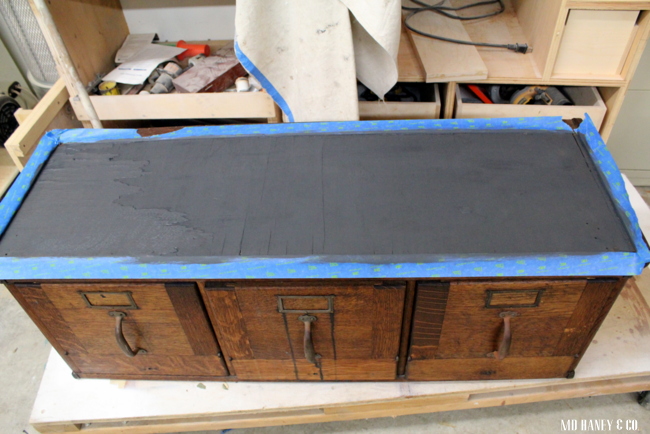
3. Mix your Milk Paint well. It's important to mix your milk paint, and continue to mix it as you paint. (I applied two coats of TYPEWRITER.)
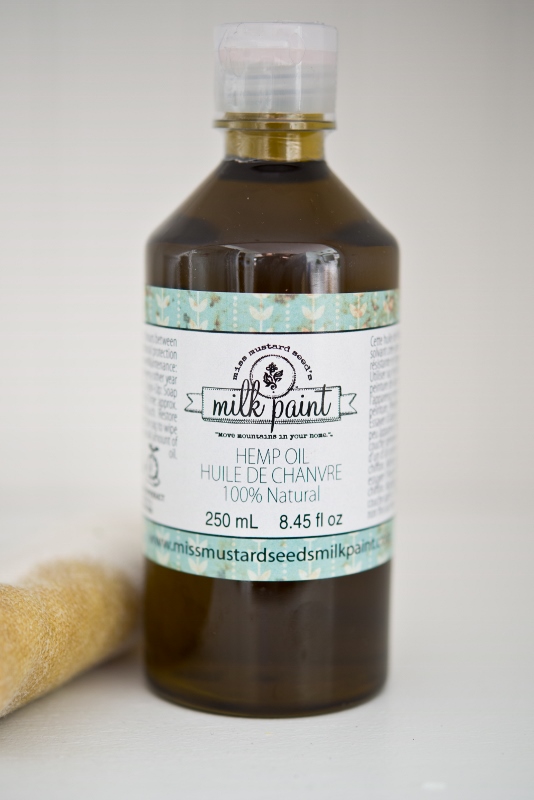
4. Hemp Oil can be used as a top coat and it's best on porous surfaces, so it can penetrate the surface instead of just hanging out on top. Hemp Oil is your top coat, you don't need to apply anything on top of it.
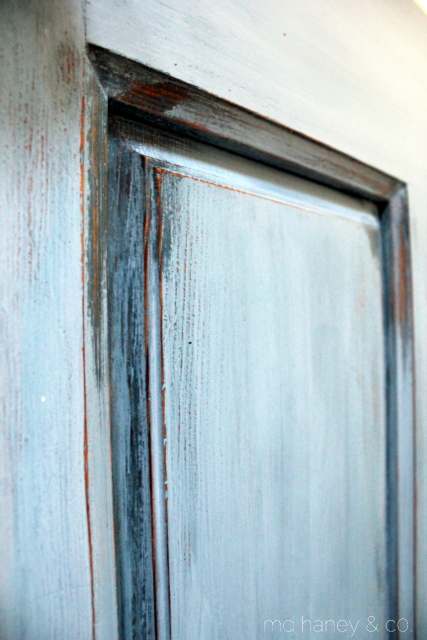
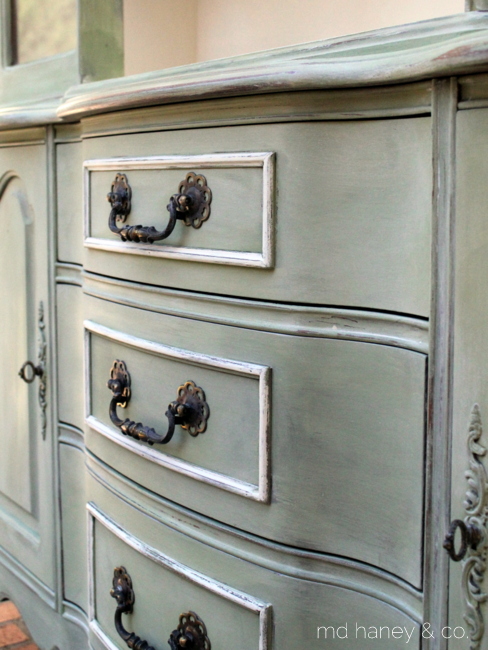
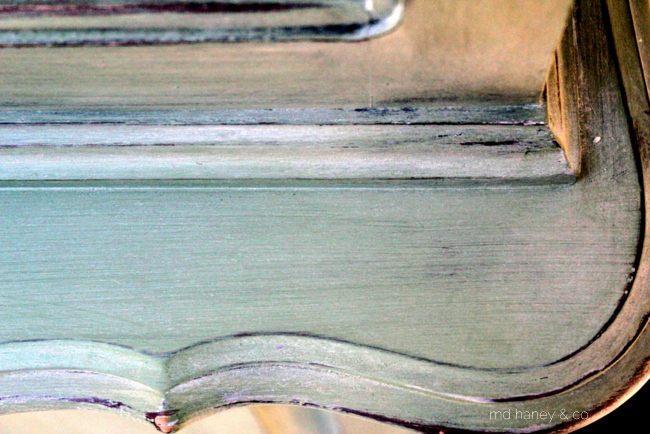
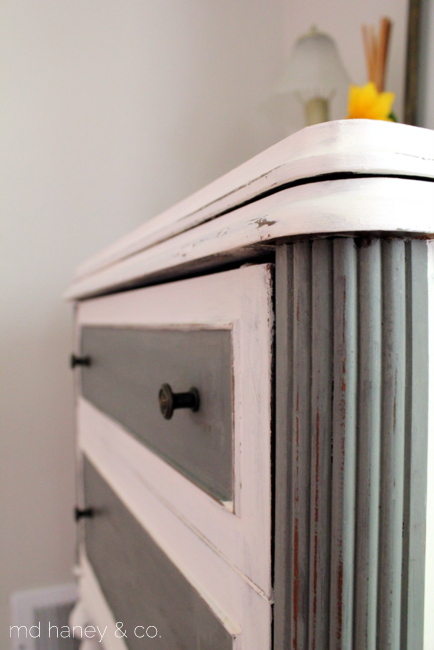
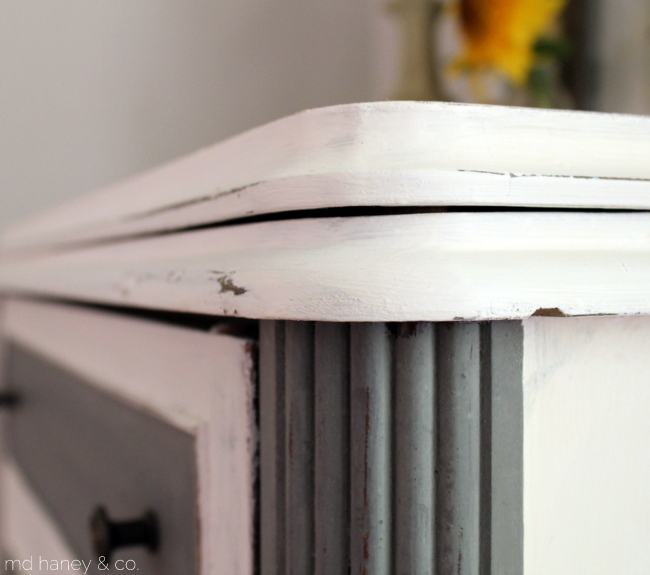
5. For this size of project, I used a brush to apply the Hemp Oil. You can use a rag, but I feel the brush is easier. I used the hemp oil to "wet sand" this cabinet. To "wet sand", I brushed on the Oil, and sanded the entire piece with fine grit sand paper. Once you wipe away the excess Oil with a cloth, you have a super smooth finish. I wanted a slightly distressed look, so I sanded the edges with a bit more pressure.
6. For an even finish, you will need to apply 2-3 coats. The key with Hemp Oil, is to only apply what the surface will absorb. If you apply too many coats, the Oil will sit on top.
7. While the oil is dry to the touch, it needs about 30 days to fully cure. You can use the piece during this period, but it might feel a little oily to the touch while it’s curing. I would recommend not setting items on the piece while it's curing.
I hope this inspires you to paint something!


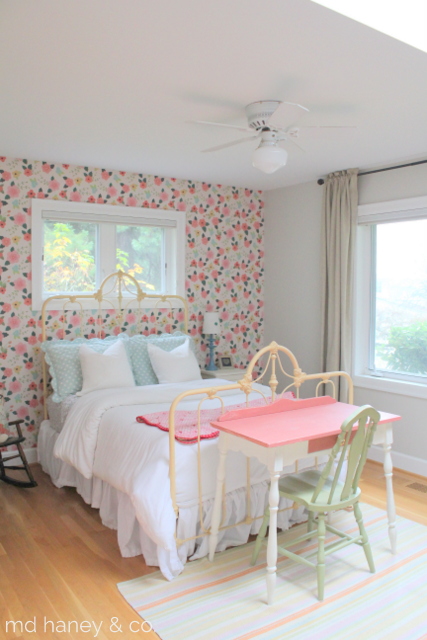
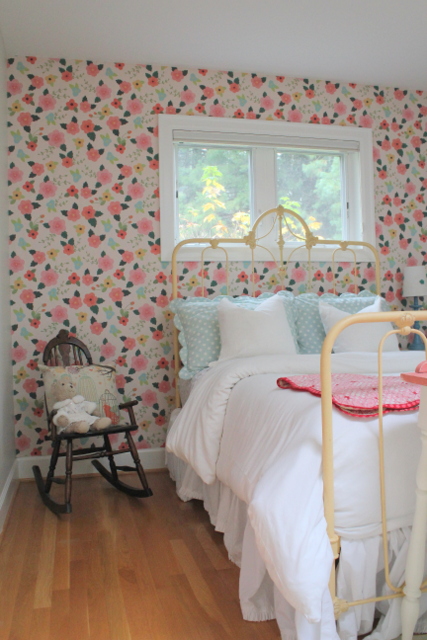
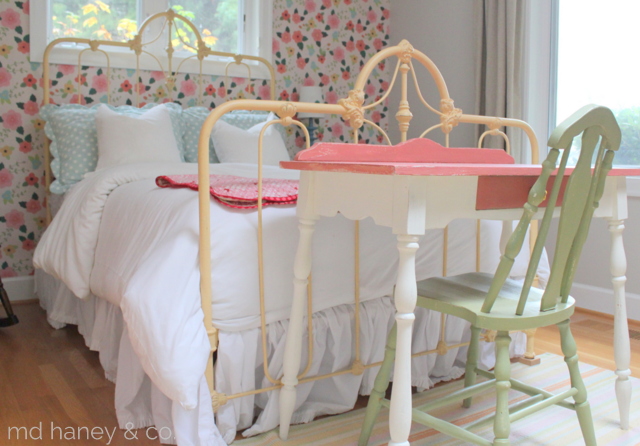
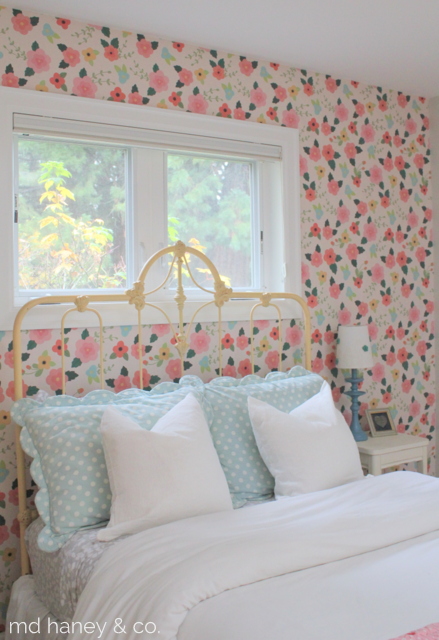
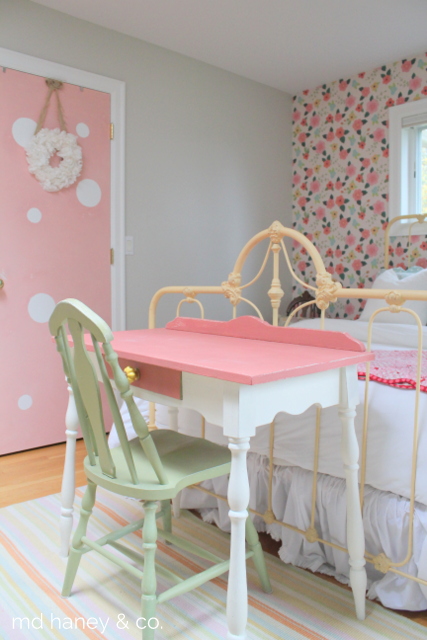
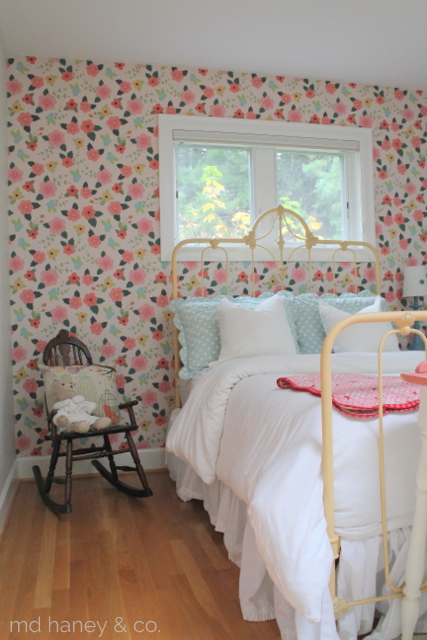
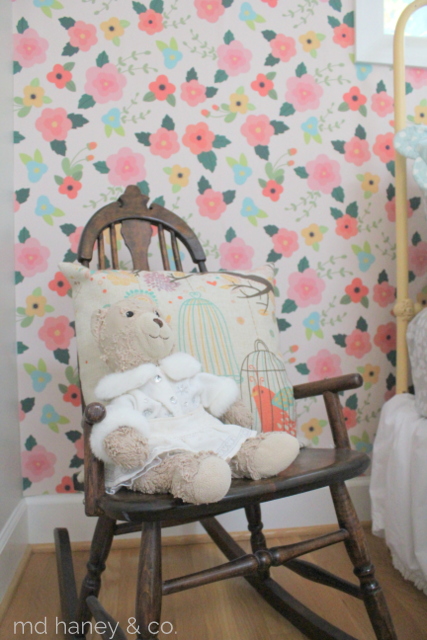
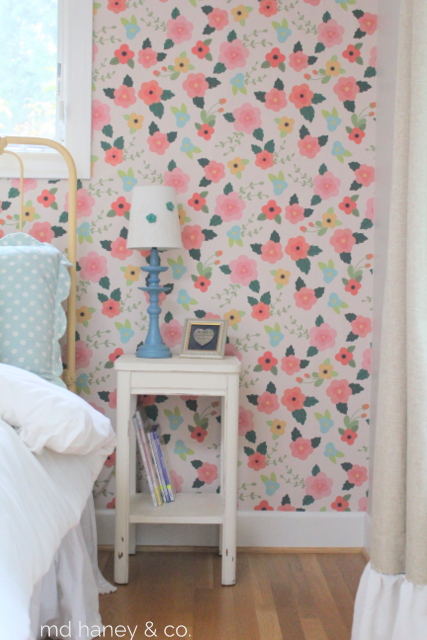
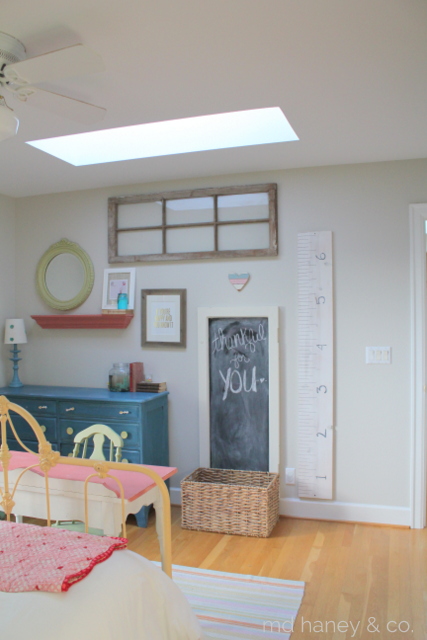
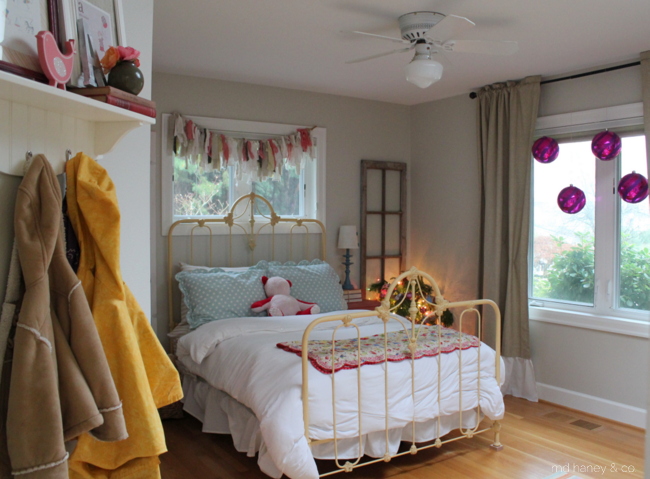
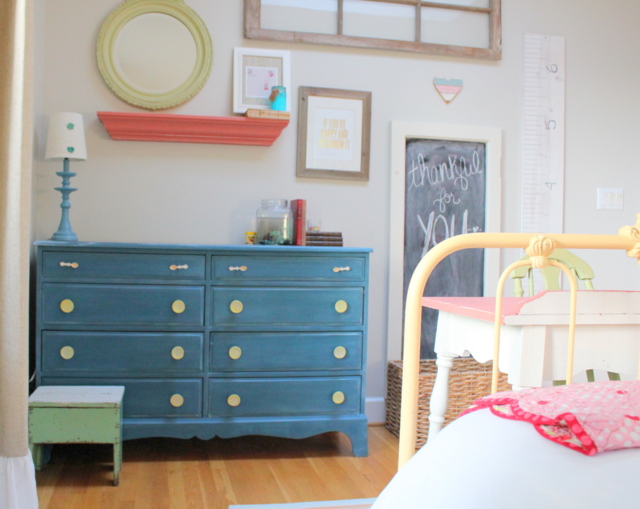 I just love how bright and cheerful her little room is. In case you are curious....