ready for spring || BEAUTIFUL JORD WOOD WATCHES

This post is sponsored by Jord Wood Watches. When the kind folks at Jord Wood Watches contacted me to see if Matt wanted to try one of their new wood watches, I immediately said yes!  I have seen these beautiful watches on Instagram and other blogs, and was drawn to their simplistic beauty.  I thought it was an added bonus that my sweet hubby is a wood worker, I knew he would appreciate the fine craftsmanship and beauty of this watch.

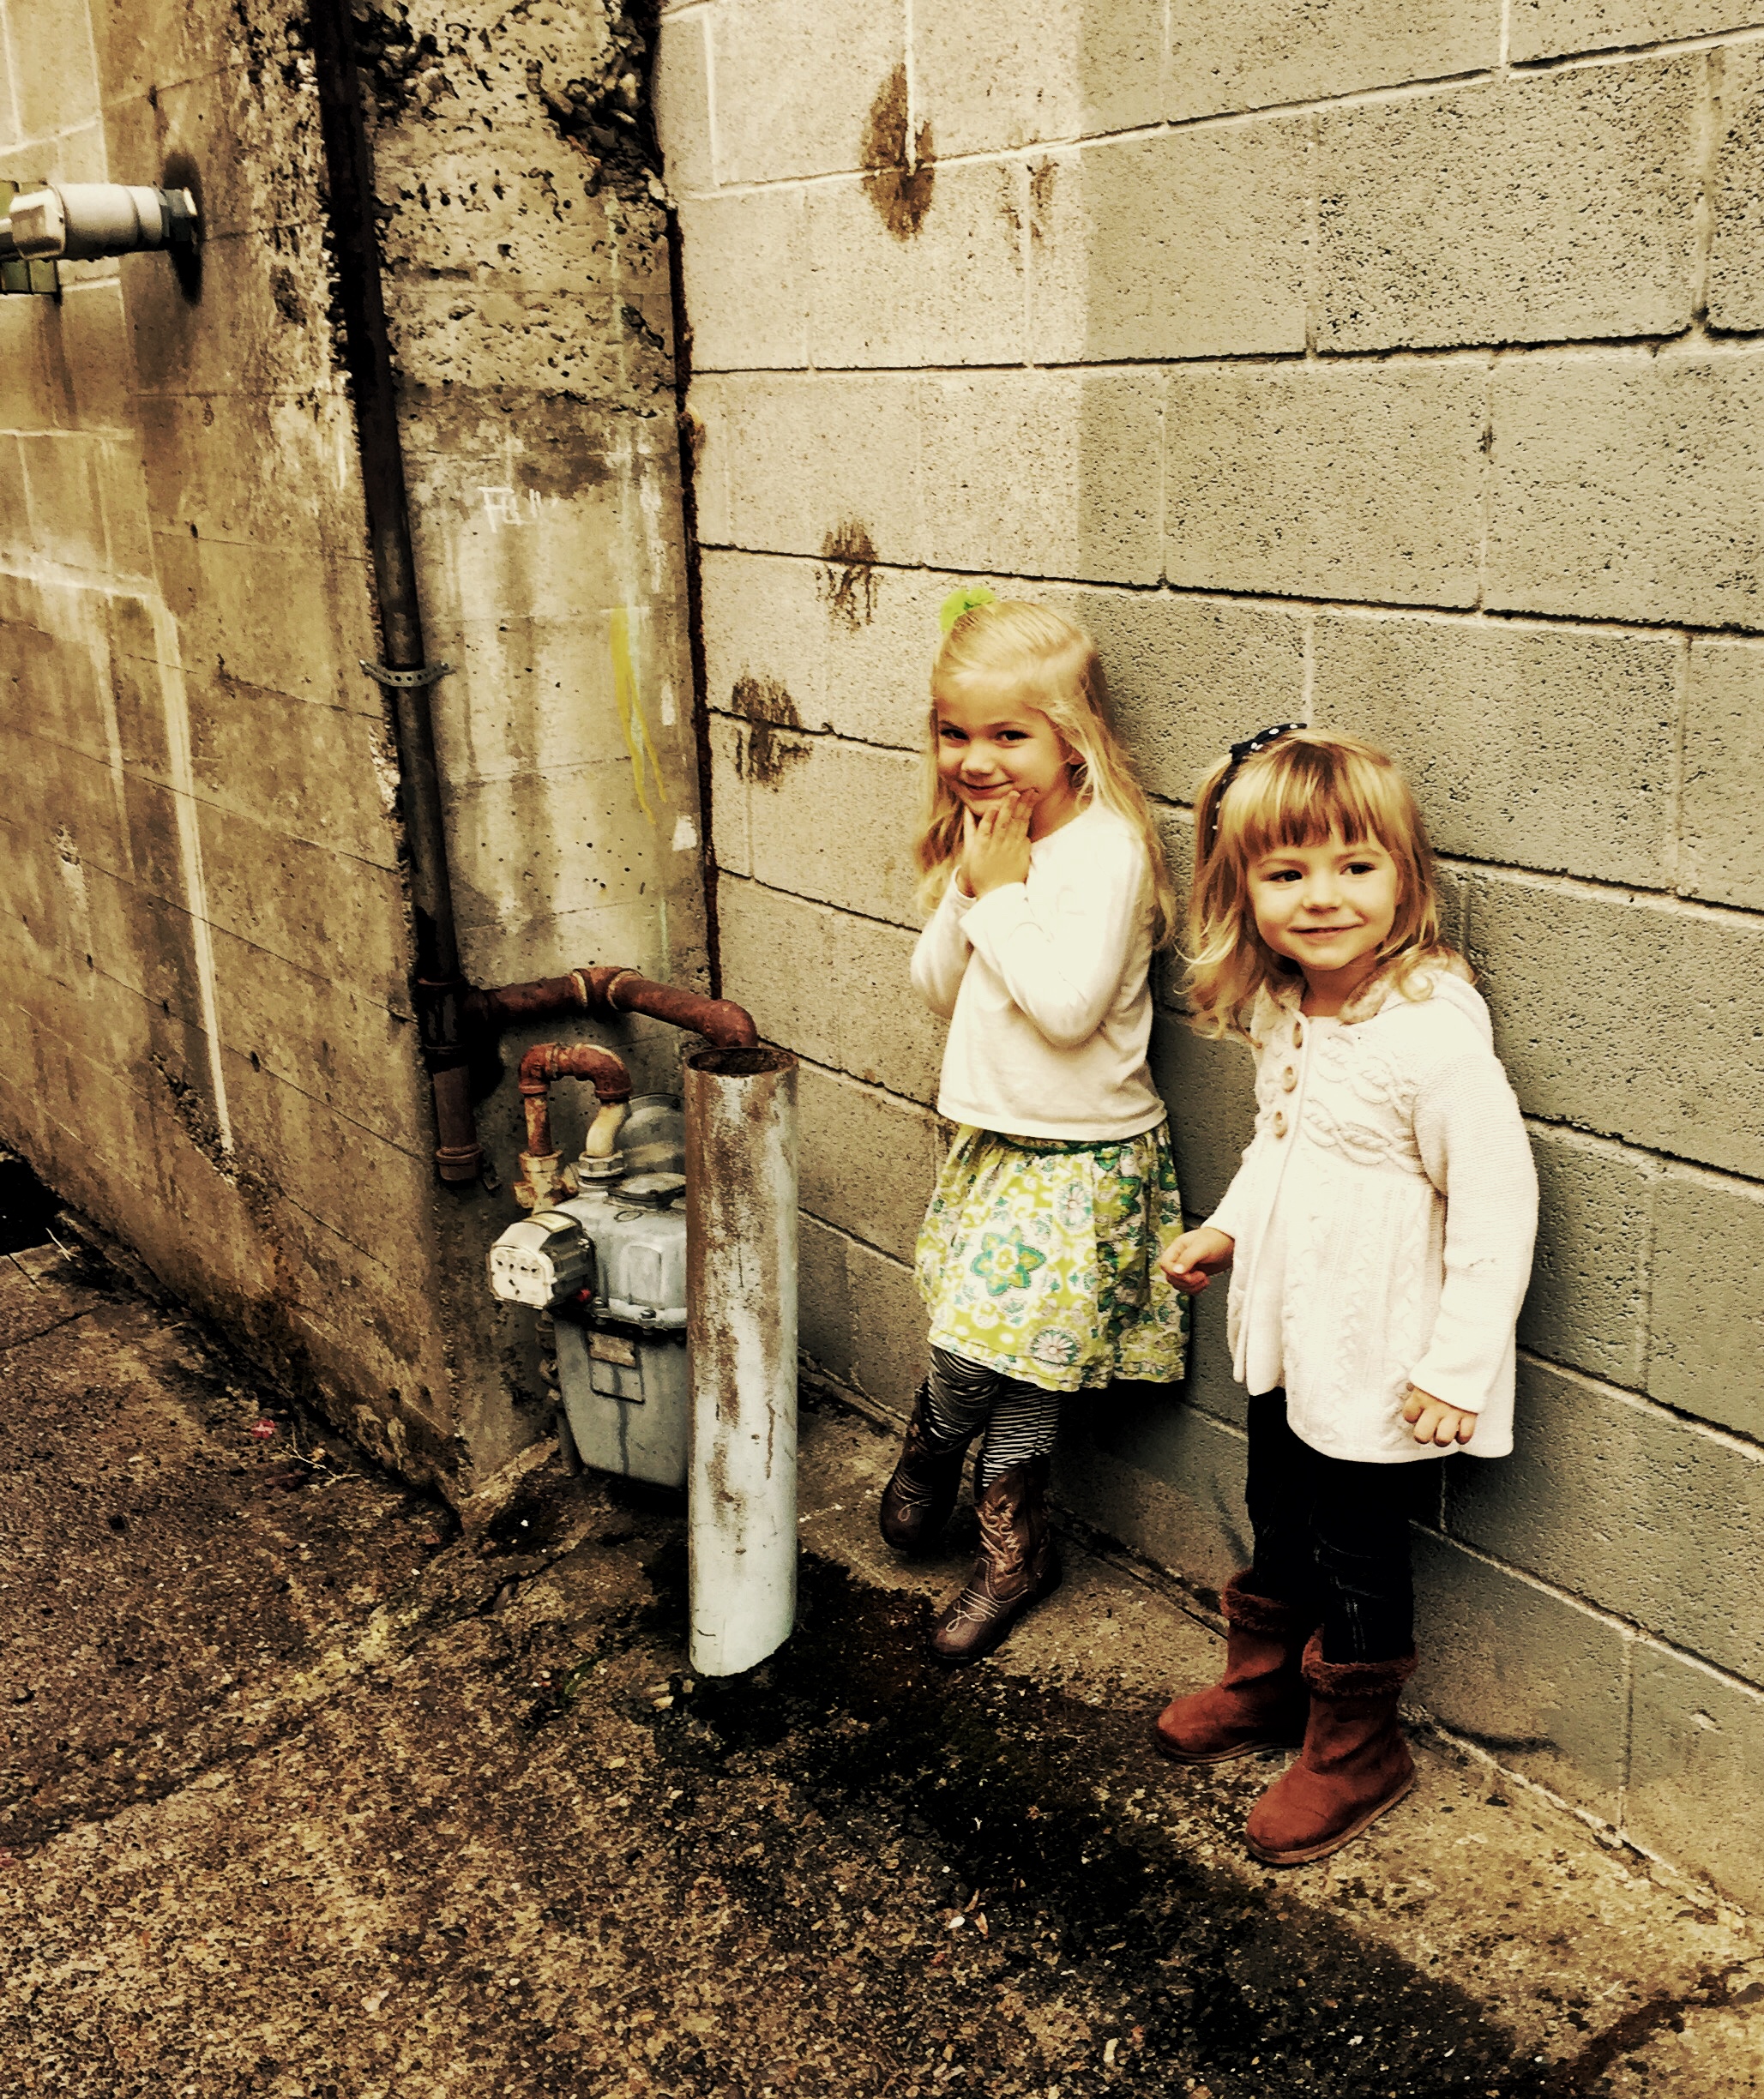
Our weather here in the Pacific NW has been unseasonably wet.  Rain, hail, thunderstorms and a little bit of sunshine!  I feel like all we are wearing these days is mud boots and slippers!

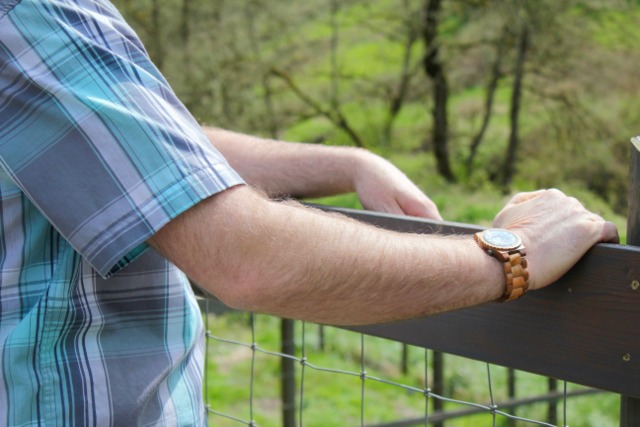
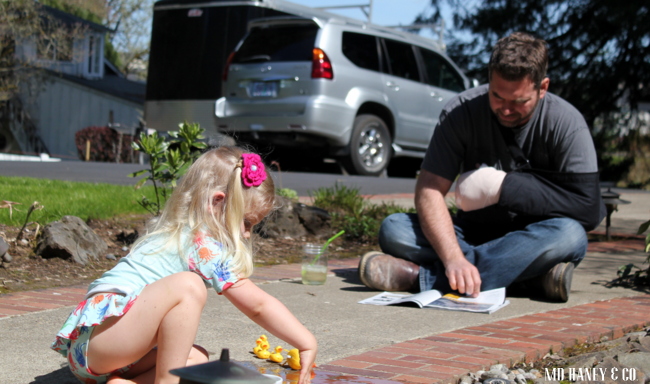
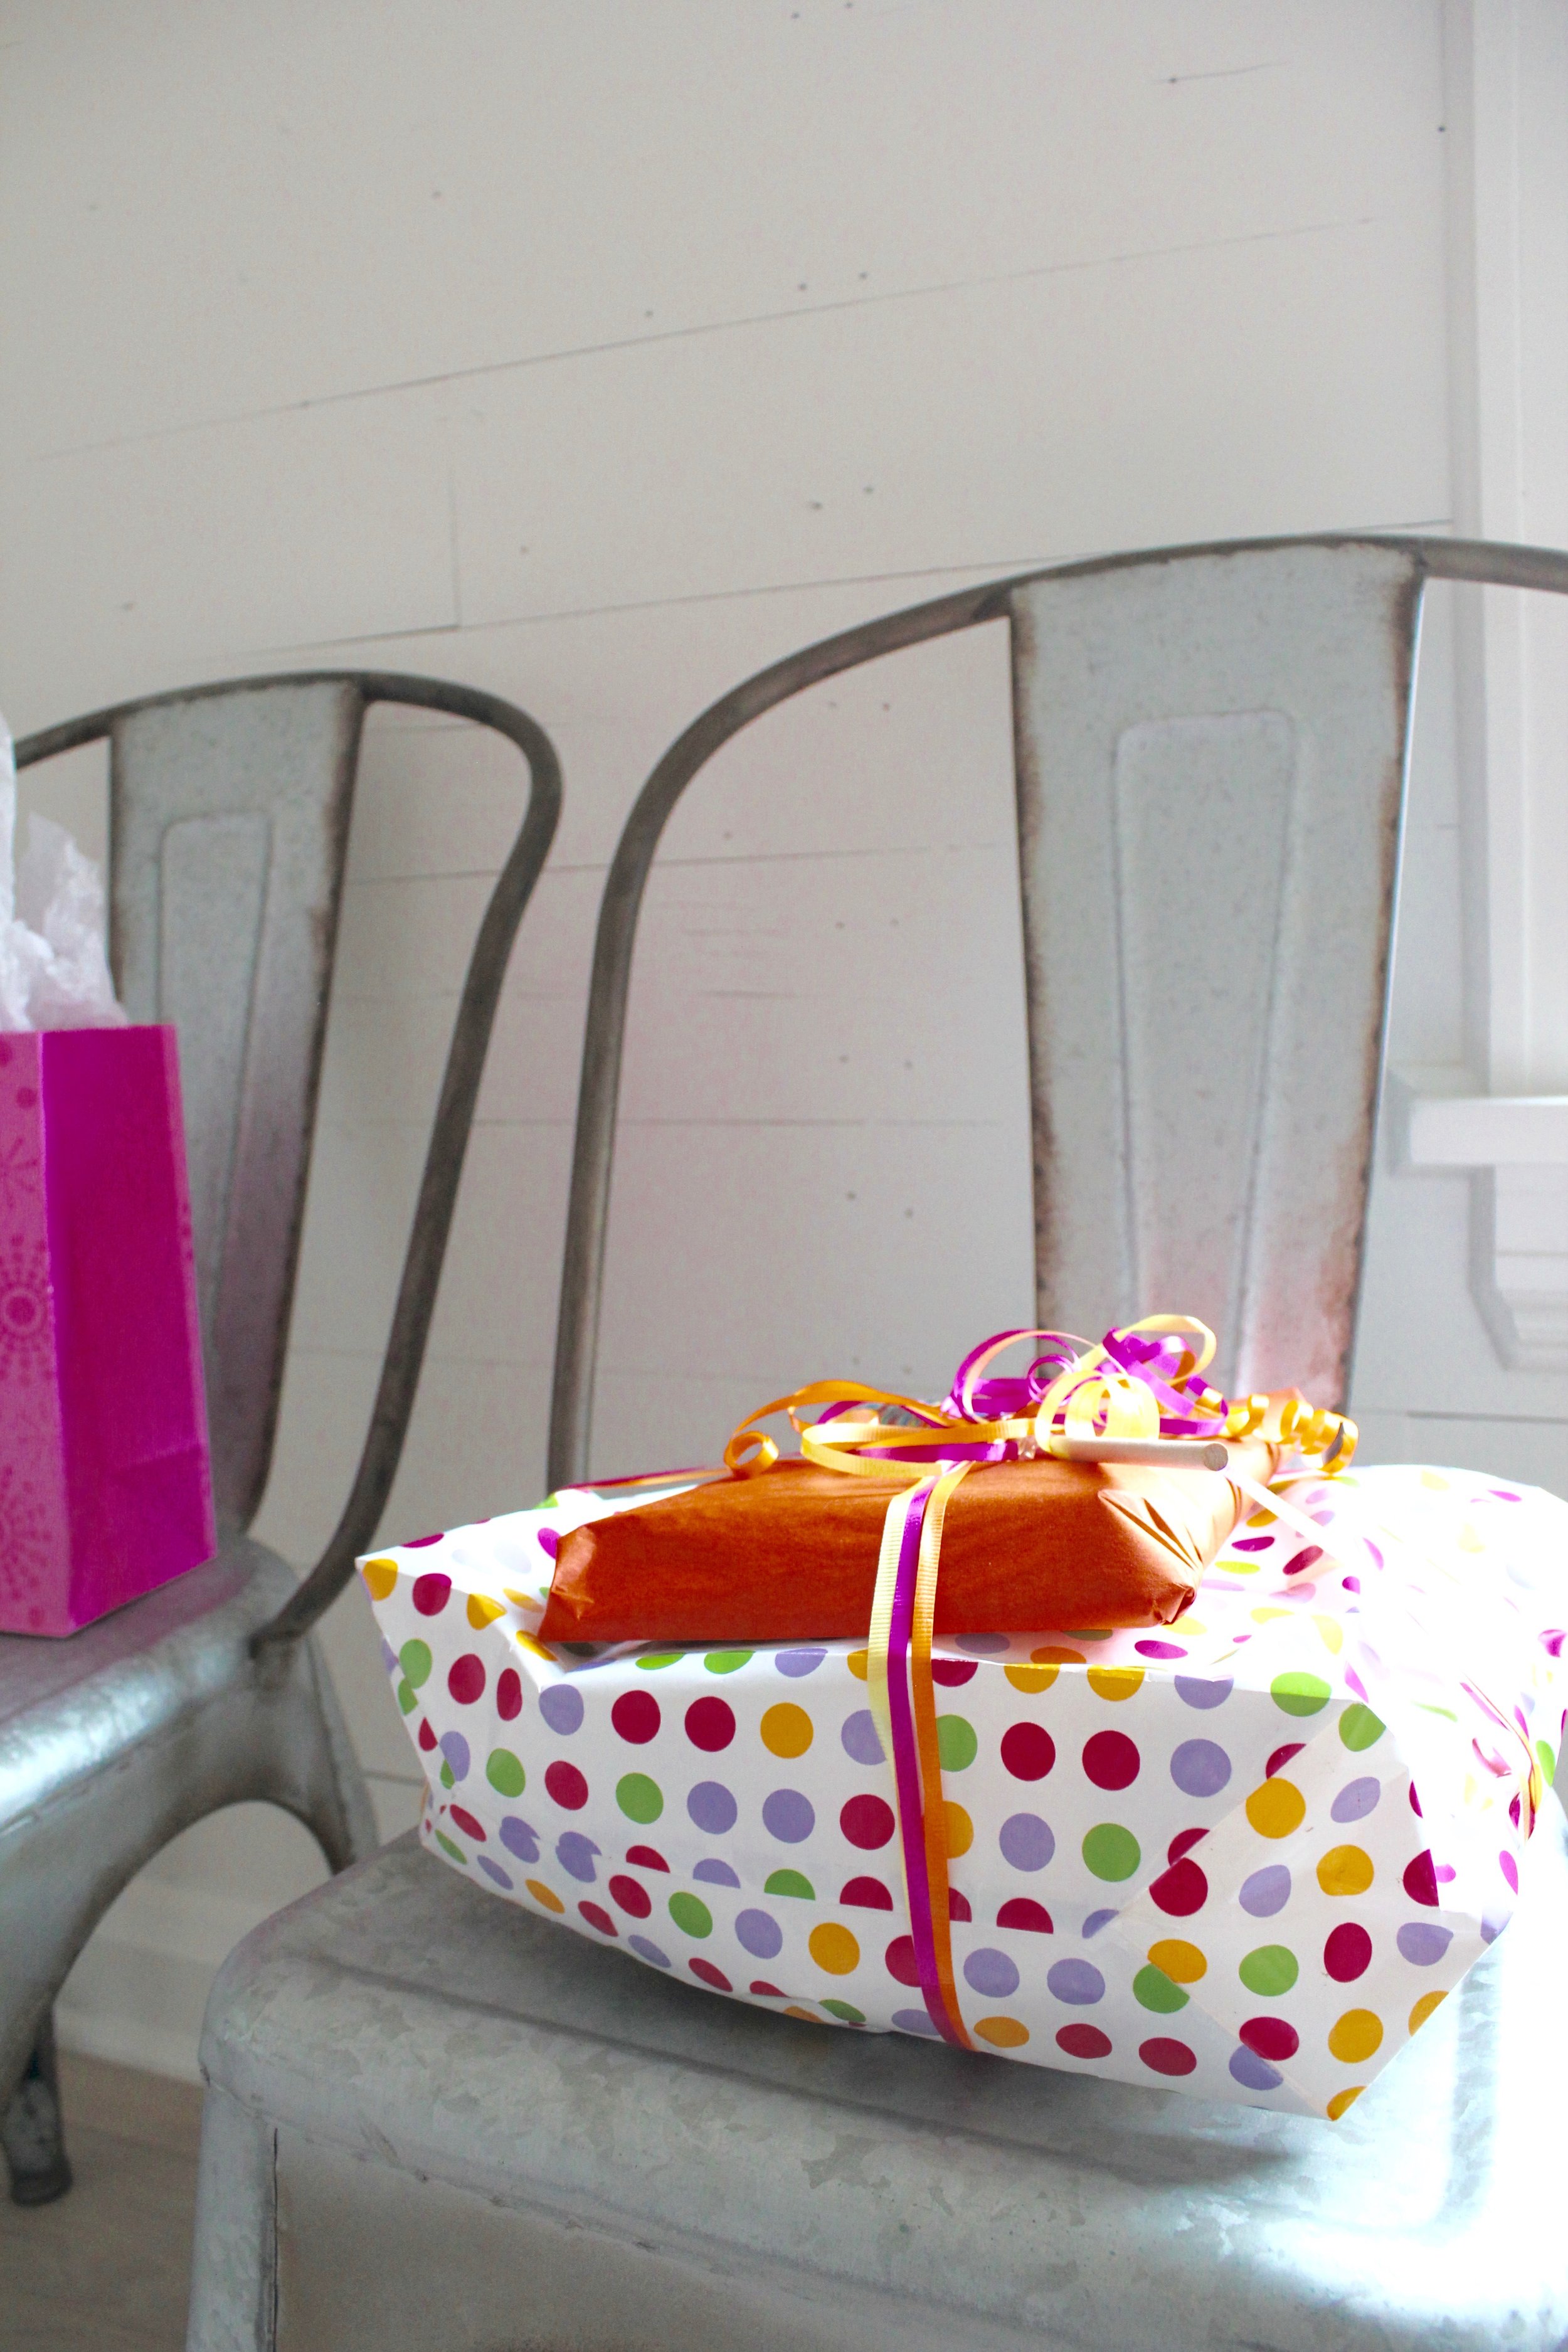
Sunday was sunny (wahoo!) and we celebrated Matt's birthday.  He sported his beautiful new watch.....the pictures truly don't do the watch justice.  It's such a beauty.

These classic and unique watches are crafted right here in the U.S.A and Jord uses sustainable resources from around the world.  Jord offers custom sizing when you order it online.  We took Matt's watch to the local jeweler and they easily removed two links, now it fit's him perfectly!

When it arrives in the mail, it comes packaged in a beautiful wood box.  Just opening the beautiful box is an experience.  My father-in-law and brother-in-law are both wood workers and we are thinking of gifting these for Christmas.  They would make unique and beautiful gifts!! They also have beautiful women's watches too!  I have already selected a couple different options for my Christmas list....you can never plan too early ;-)

I know Matt will wear this beauty for years to come.  It's classy but not too showy....just like my hubby!

I am hosting a fun giveaway on IG this weekend!  The generous folks at Jord are giving away a $100 credit to their store!  Go to https://www.jordwatches.com/g/darcihaney.  Just by entering the giveaway you earn a $25 credit to their store!!  The giveaway ends Sunday (4/16) at 11:59pm.  Best of luck!!!

a paint party || ADDILYN'S 6th BIRTHDAY

My little sweet pea turned 6 last week.  It's so true what everyone told me....'time flies when they are young'.  I have really enjoyed each season and phase, but this age is a lot of fun!!! She is not one for big parties and get togethers, so a very small party with just her closest friends was right up her alley.  I was sick so I honestly didn't put the time and effort into it that I normally would have, but the girls all seemed to have a fun time....and I did too!

Just a simple set up in the workshop area of the shop....they each had an apron, 8 x 10 canvas, painting easel, paint brushes and paint.

We made these sweet little honey bee hives from craftymorning.com.  They turned out darling and it proved to be just the right amount of time and skill because the girls seemed to enjoy themselves without getting frustrated ;-)

The party was suppose to happen Saturday morning but got rescheduled because of a sick friend and a sick mama ;-)  We still went with the doughnut and breakfast theme though!

It was a simple party but such a fun way to celebrate my little sweet pea.  It's so easy to get caught up in the world of Pinterest and Instagram and think that a simple party or get together is not enough.  That it always has to be 'Pin' worthy.  So not the case!!!  It's all about spending time together and loving on others.

removable wallpaper || little girl's bedroom

So, I have wanted to add some wallpaper to Addilyn's room for a while, it's just been low on the priority list.  Well, I finally pulled the trigger and on Sunday afternoon, the girls and I installed the sweetest, removable wallpaper.  Can you believe that?!?  It's removable.  No messing up the walls when you want a change and pretty easy to install!! wallpaper

wallpaper


desk

I have slowly collected and painted things for her room, all things that match her striped Dash + Albert rug.  It's just the sweetest rug with cheerful, fun, girly colors.  I wanted the wallpaper to match what was already going on in her room.....

pillows

deskanddoor

wallpaper

The girls are at such a fun and sweet age.  We sure have fun together!  Even hanging wallpaper....although we had our moments ;-)

teddybear

This is Ted.  Matt gave Addilyn Teddy Bear for her first Christmas.  She sleeps with Ted every night, so sweet.  Ted is quite worn and very well loved, and wears some pretty dresses....

nightstand

gallery

dresser
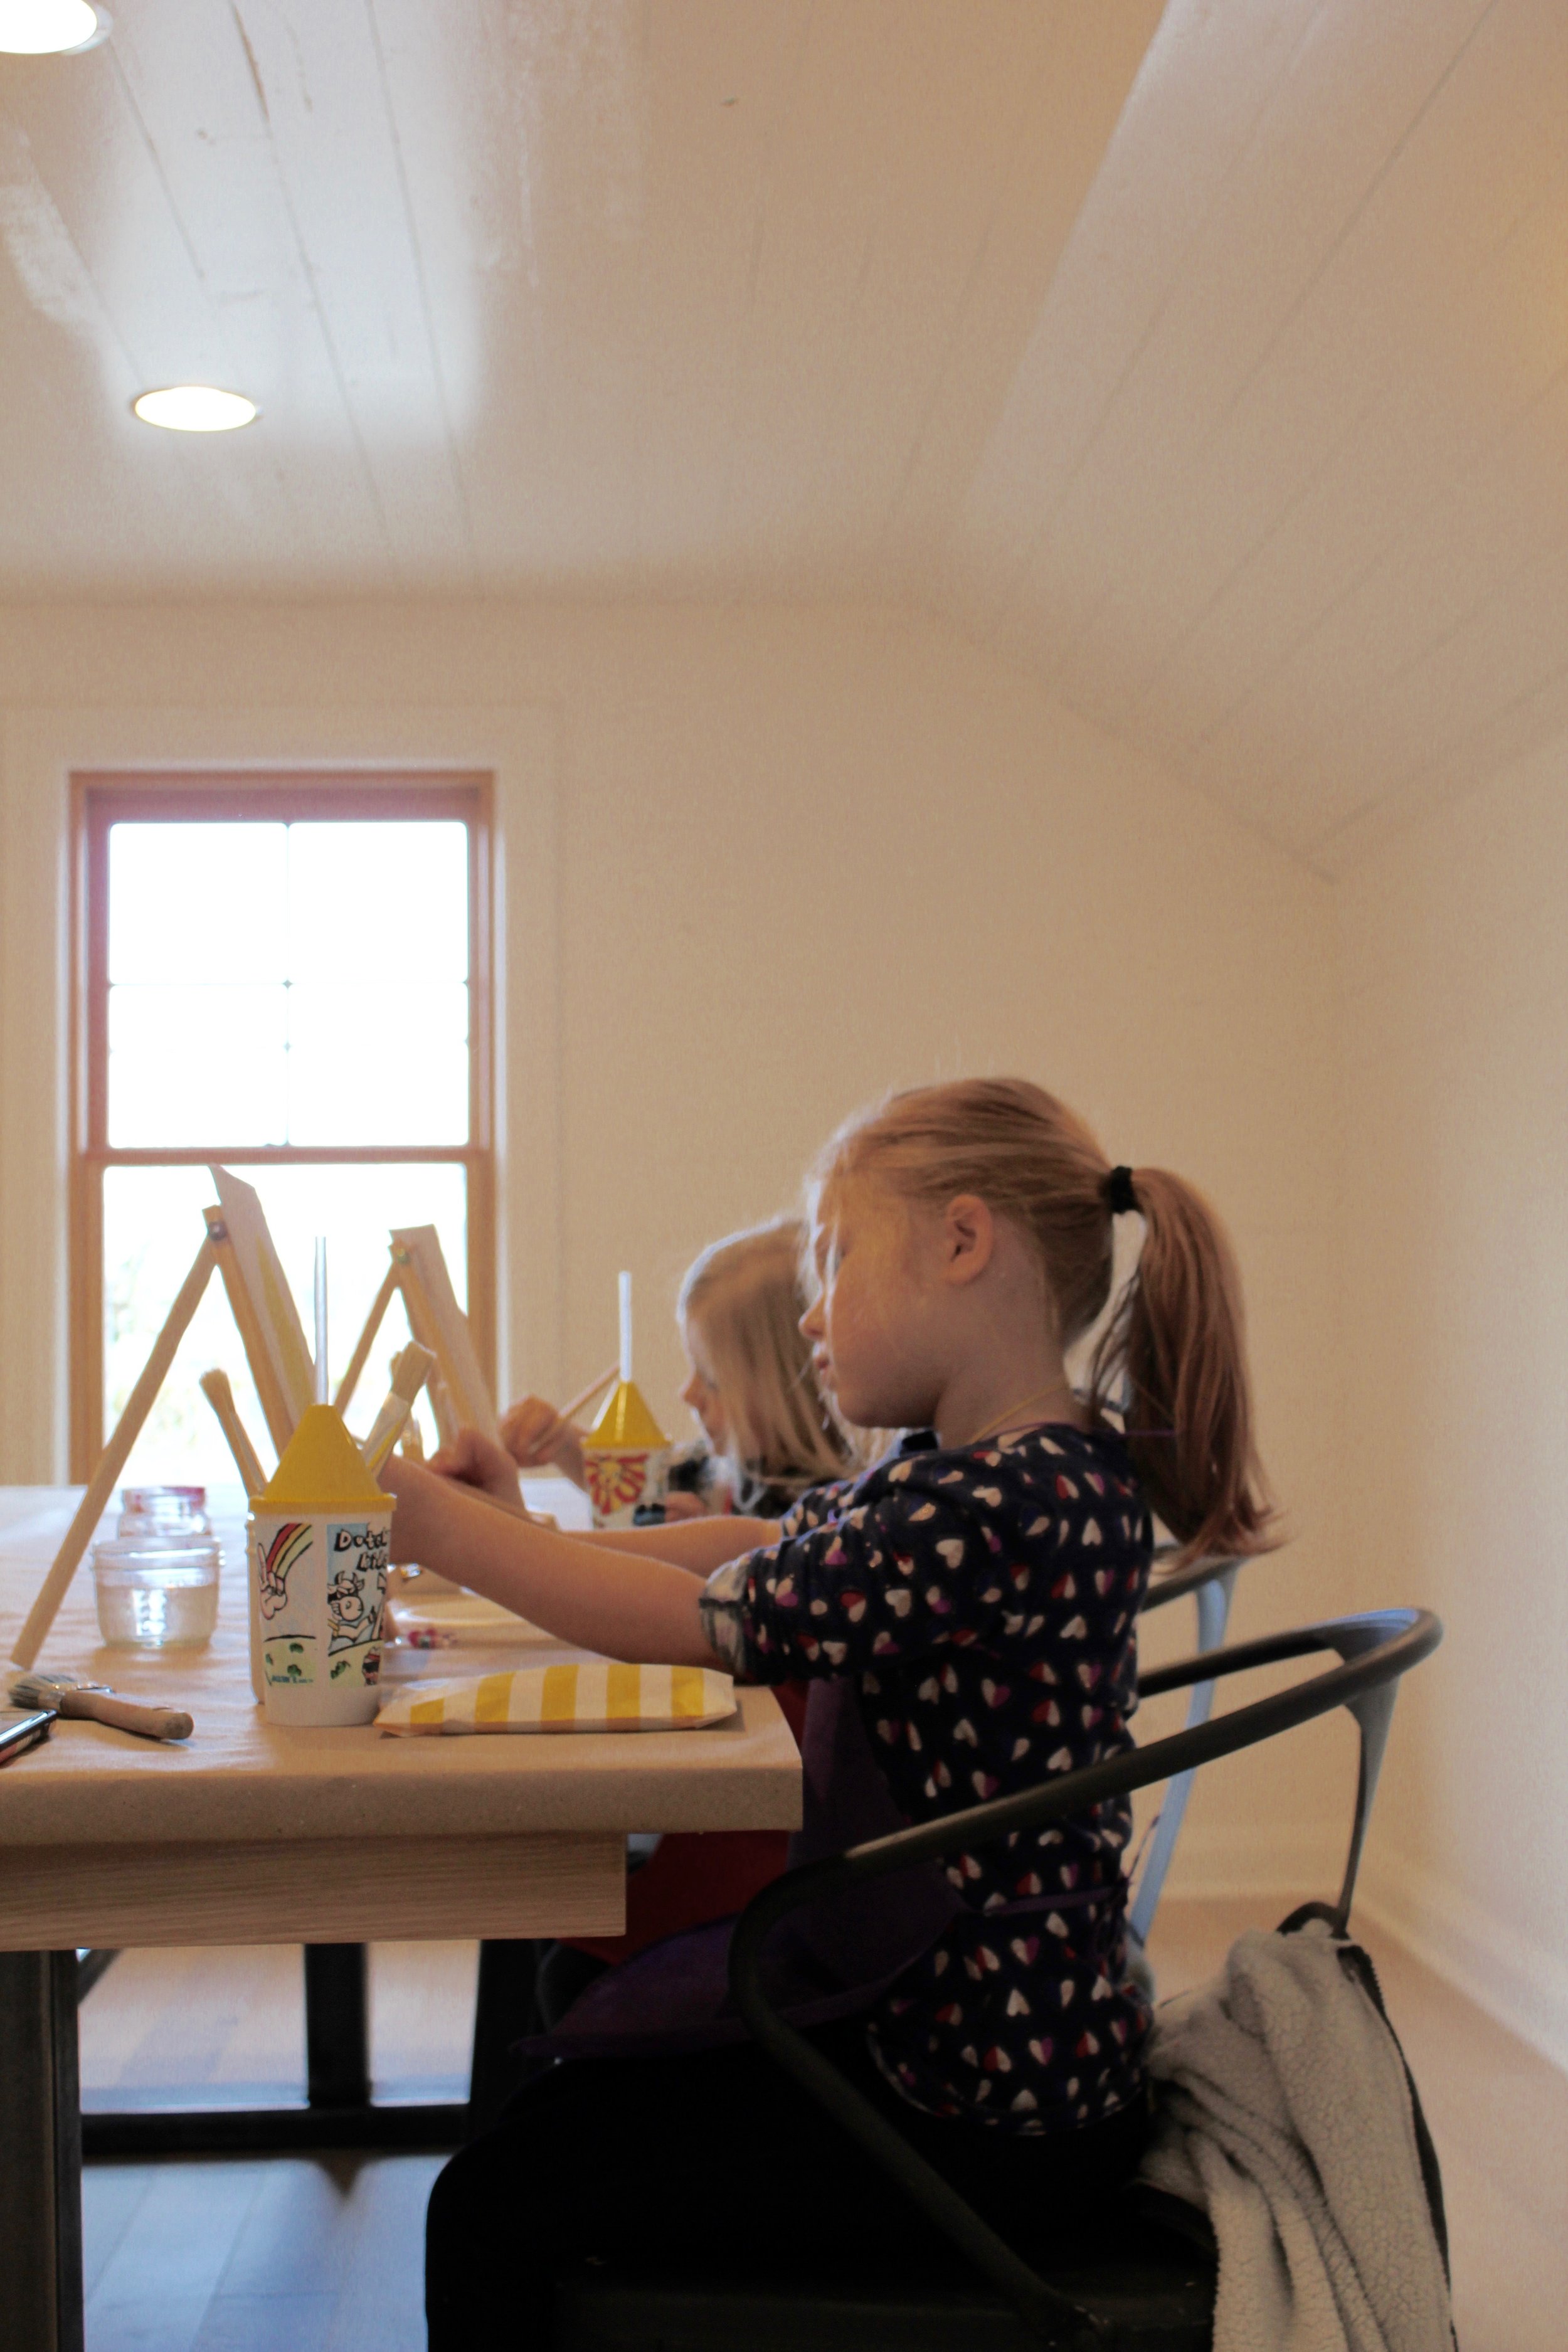
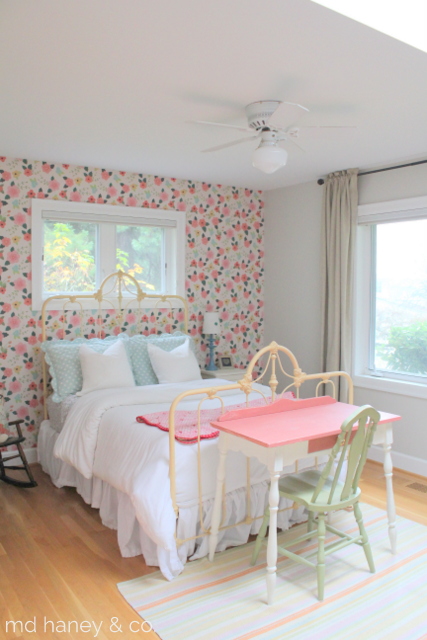
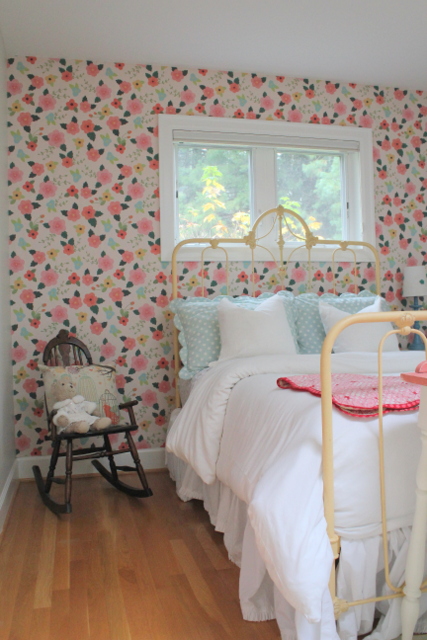
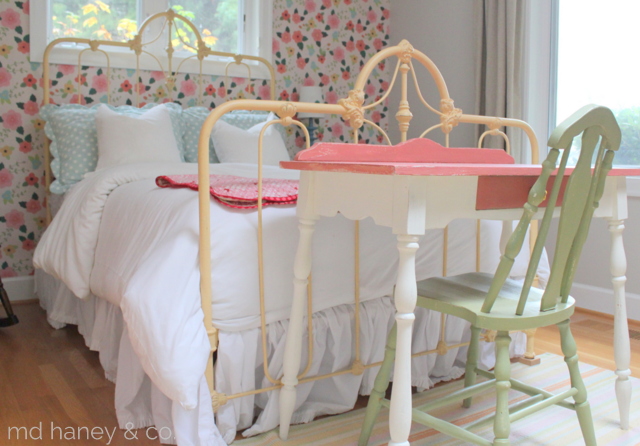
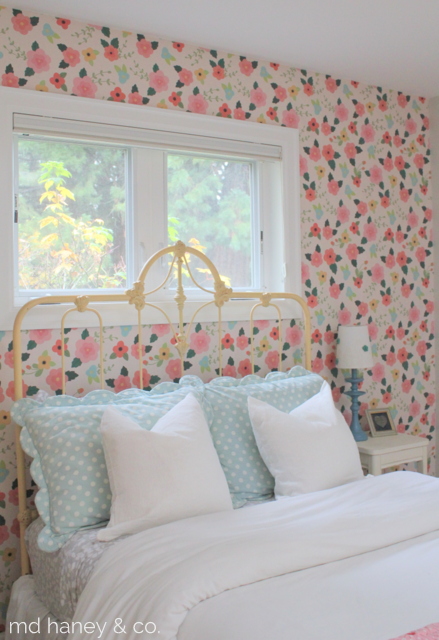
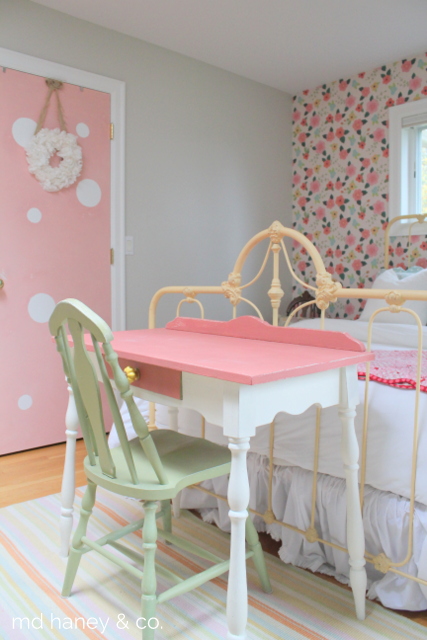
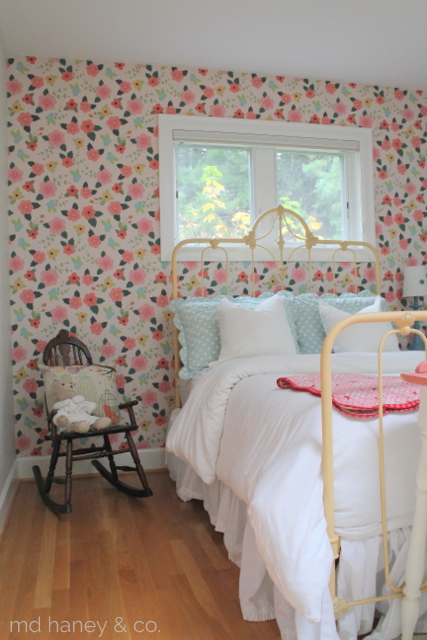
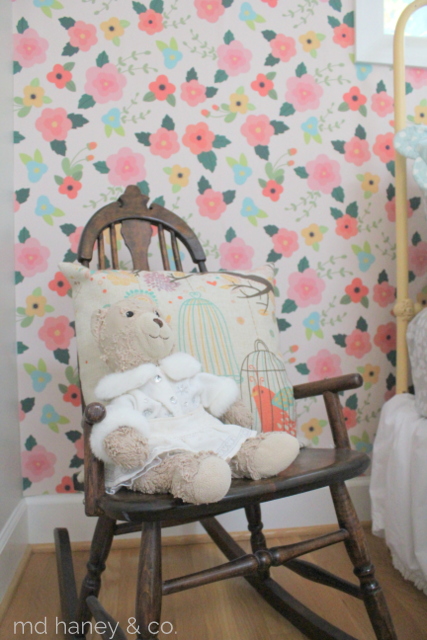
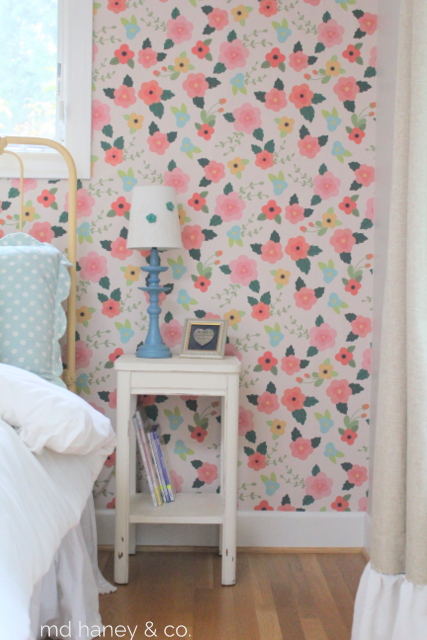
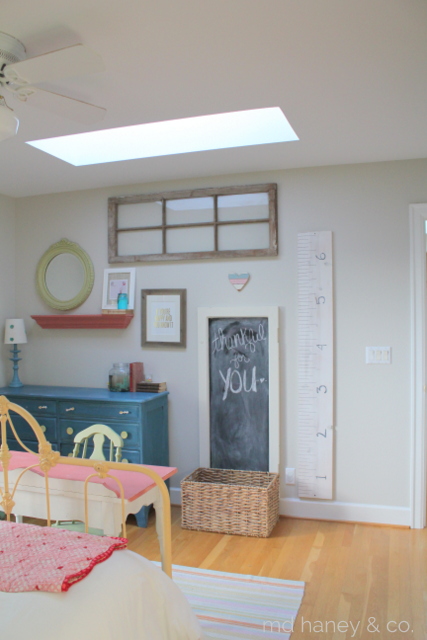
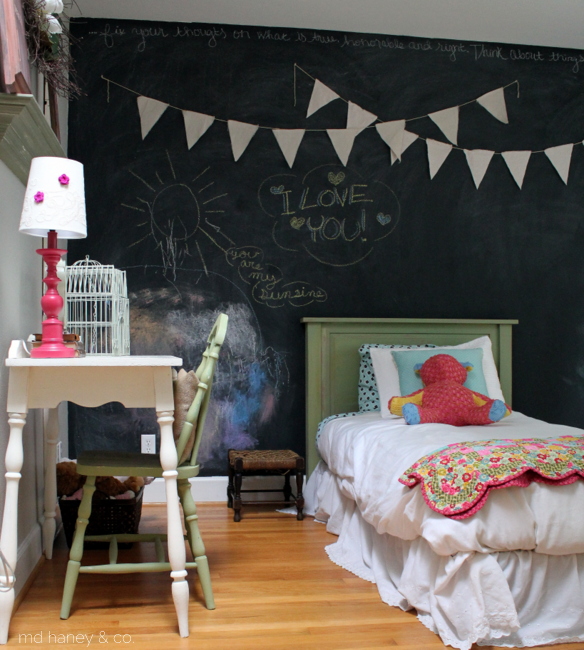
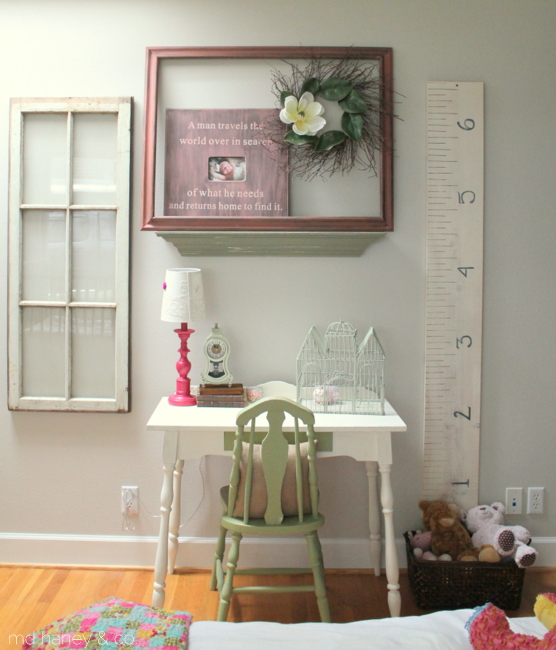
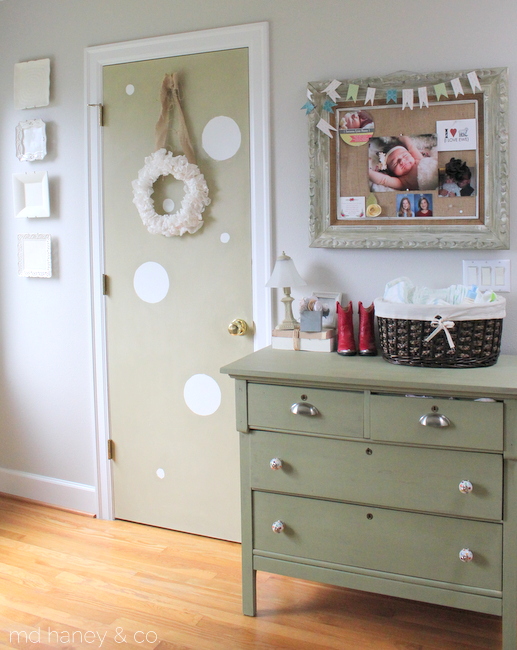
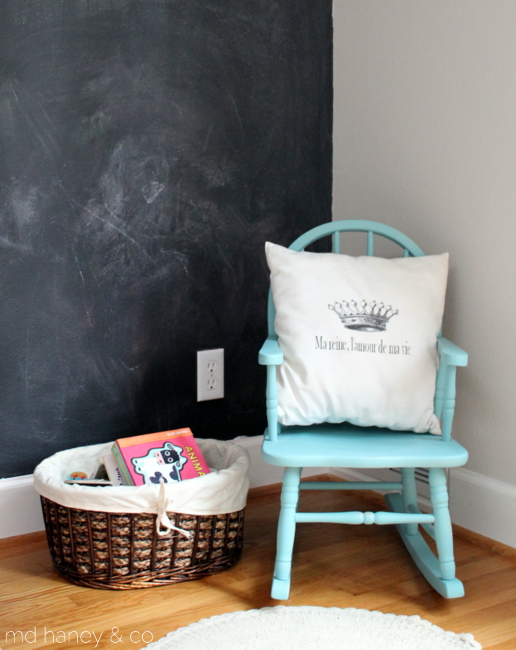
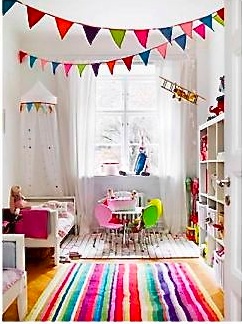
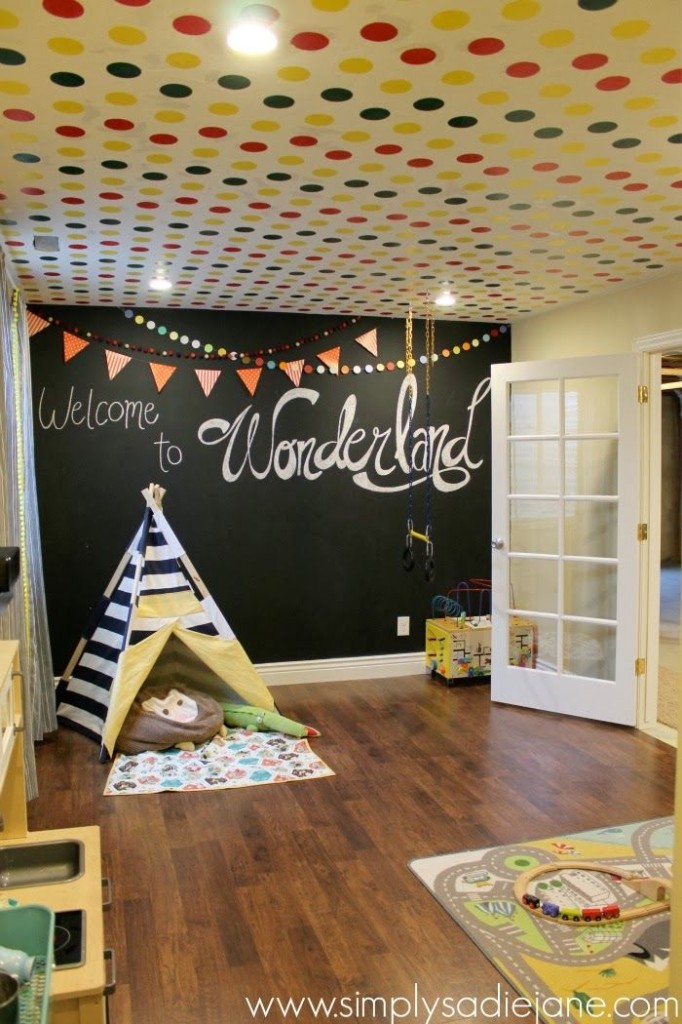
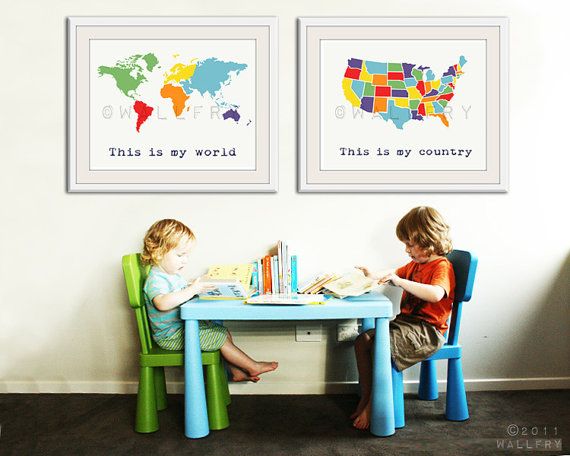
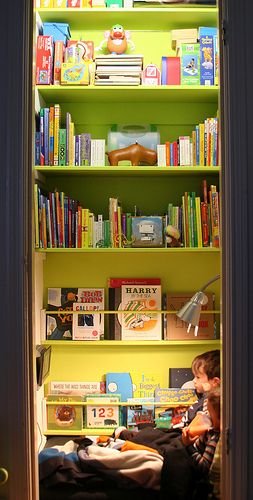
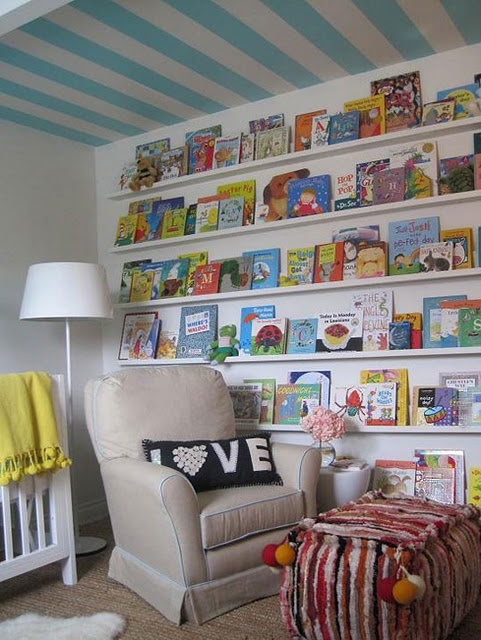
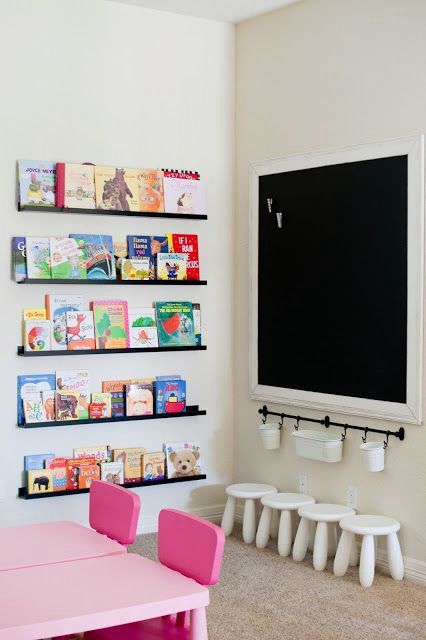
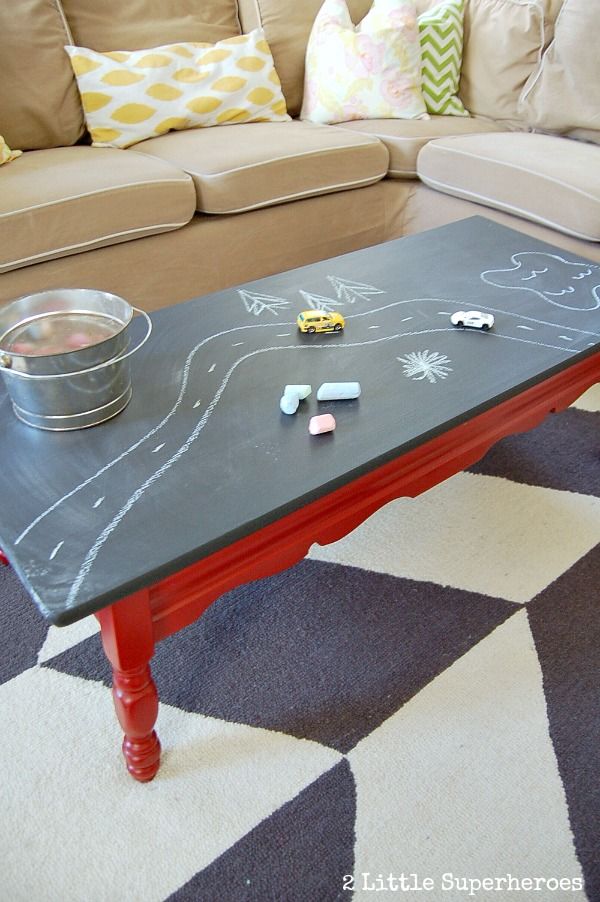
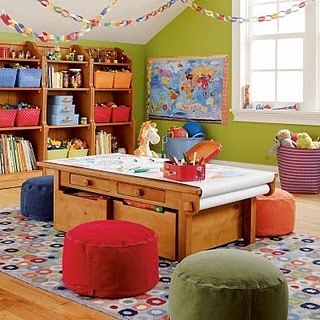
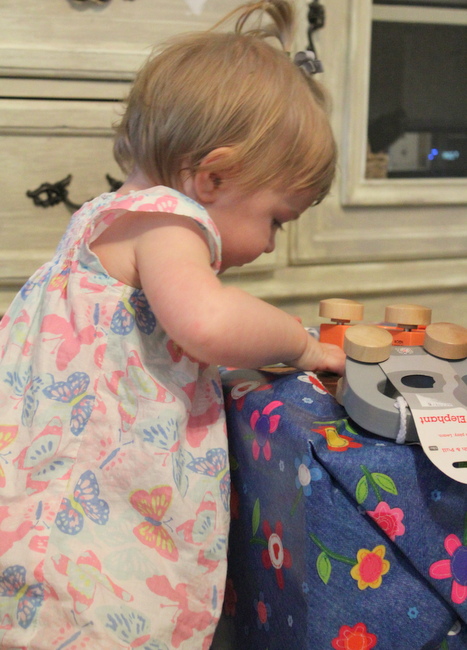
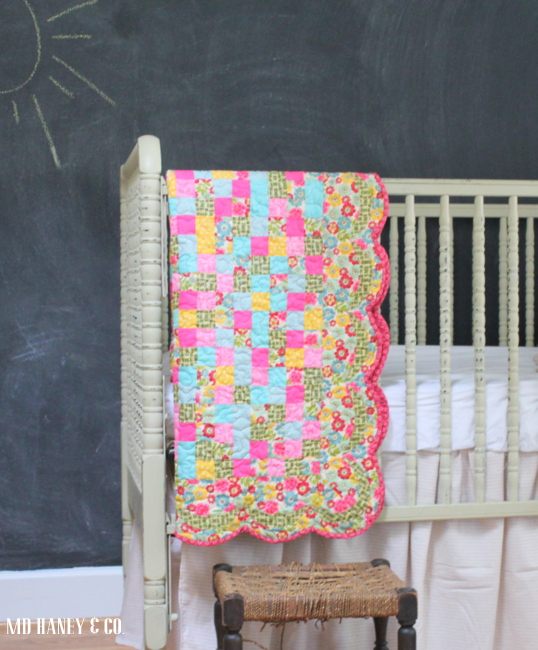
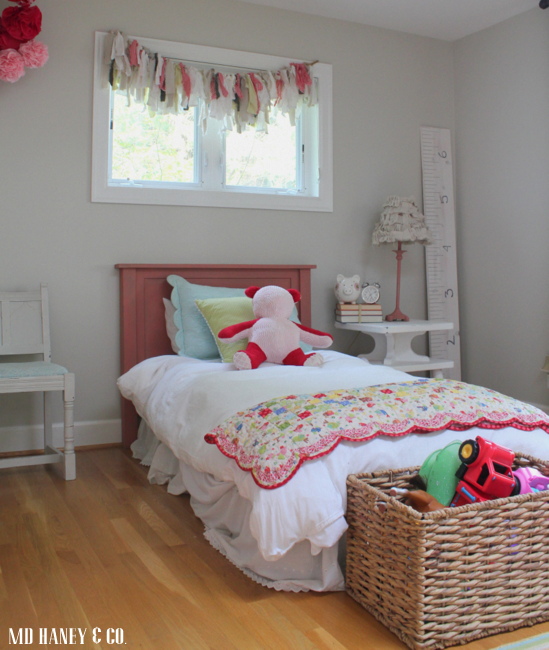
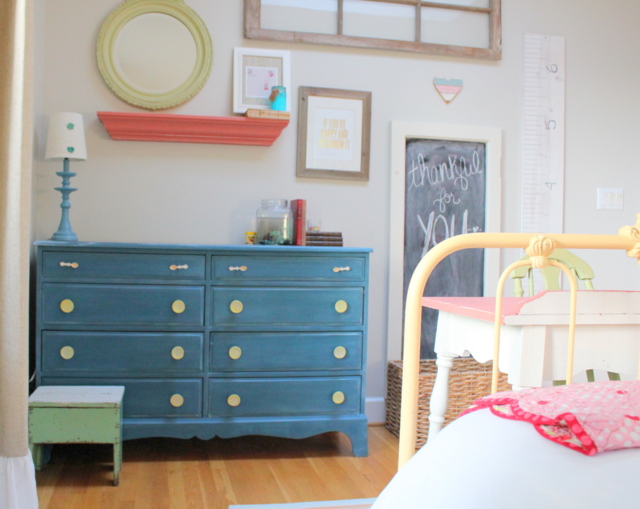
I just love how bright and cheerful her little room is.  In case you are curious....

Dresser: painted with Miss Mustard Seed Milk Paint, FLOW BLUE.  Lightly distressed and sealed with clear wax.

Stool: vintage

Metal Bed: vintage.  Painted with Annie Sloan Chalk Paint, 1 part OLD WHITE and 1 part ARLES.  Sealed with clear wax.

Writing Desk: vintage. Painted with Annie Sloan Chalk Paint, OLD WHITE and SCANDINAVIAN PINK.  Lightly distressed and sealed with clear wax.

Chair: vintage. Painted with Miss Mustard Seed LUCKETTS GREEN.  Lightly distressed and sealed with clear wax.

Night Stand: painted with Annie Sloan Chalk Paint, OLD WHITE, lightly distressed and sealed with clear wax.

Wallpaper: removable wallpaper from WALLS NEED LOVE, LOTUS print.  

PUMPKIN CHOCOLATE CHIP COOKIES || a sweet treat recipe

Since pumpkin is the go-to ingredient right now, we are baking anything and everything pumpkin!  Last night the girls and I made a batch of pumpkin chocolate chip cookies.  They were so soft and cake like, I had to share the recipe!!

2015-11-19 05.00.19

2015-11-19 05.04.20

2015-11-19 21.01.17

2015-11-19 21.01.39

My girls love to bake.  It always takes a little longer, and they make a bigger mess than I might, but I love that time that we have together!  Plus, it's created this desire in them to want to create and experiment in the kitchen.

Ingredients
  • 1 cup butter, softened
  • 3/4 cup sugar
  • 3/4 cup packed brown sugar
  • 1 egg
  • 1 teaspoon vanilla extract
  • 2 cups all-purpose flour
  • 1 cup quick-cooking oats
  • 1 teaspoon baking soda
  • 1 teaspoon ground cinnamon
  • 1 cup canned pumpkin
  • 1-1/2 cups semisweet chocolate chips
  • 1/2 cup chopped walnuts

Directions

  1. In a bowl, cream butter and sugars until light and fluffy. Beat in egg and vanilla. Combine the flour, oats, baking soda and cinnamon; stir into creamed mixture alternately with pumpkin. Fold in chocolate chips. 
  2. Drop by tablespoonfuls onto greased baking sheets. Bake at 350° for 12-13 minutes or until lightly browned. Remove to wire racks to cool. Yield: 4 dozen. 
*This recipe is adapted from Taste of Living

PUMPKIN CHOCOLATE CHIP BREAD || a sweet recipe

bloggirls

The other day the girls "got" to join me for a color consultation.  Typically they play with Grandma when I meet with clients, but that wasn't going to work, so they tagged along.  My client was SO sweet.  She turned what could have been a totally draining morning (shushing and nagging little girls while trying to be professional and have a meeting) and turned it into a fun and productive time.  A great reminder of how I want to treat those around me!  When we headed out into the alley way to look at all of the different colors she had tried painting on the building, she started to snap some photos of the girls.  This one is my favorite!

That evening, the girls and I decided to do some baking.  It seems fitting to bake all things pumpkin in October, so we started our baking spree off with pumpkin chocolate chip bread.

2015-10-22 00.07.49

This is a new recipe (to me) and the bread turned out so good!

CHOCOLATE CHIP PUMPKIN BREAD

2 loaves

3 cups flour 
2 tsp cinnamon 
1 tsp salt 
1 tsp baking soda 
1 tsp baking soda 
4 eggs 
2 cups sugar 
2 cups canned pumpkin 
1 1/2 cups canola oil

Preheat oven to 350. 
In stand-up mixer, beat eggs, sugar, pumpkin and oil. Gradually add in dry ingredients until just combined.  Pour in chocolate chips. 
Pour evenly into two greased loaf pans (4x8). Bake for 60 minutes or until a toothpick inserted comes out clean. Cool on wire racks. 
Slice and serve.  It also freezes really well!

2015-10-22 00.09.53

 Enjoy!!

SEASONS CHANGE

I know I am not alone in this....but I LOVE Fall!  The cooler weather, the Fall colors, the desire to make my home warm and cozy, the list goes on and on!  This is the view out our bedroom and living room window.... 2015-10-08 00.59.26

aren't those trees amazing?  It's inspired us to plant some maple trees along the new pasture fence.  We need a little Fall color down there!

IMG_6044

In 'family' news, my sweet pea started Pre-School this year!  She is going two mornings a week and she loves it!  I am really cherishing this time with my girls....2 1/2 and 4 1/2, it's such a fun age.  They wear me out but they soften my heart every day!

In 'work' news, in less than two years, we have already out grown our work spaces on our property!  Matt builds cabinetry in the barn,  and he turned what was going to be my studio space into a spray booth.  This is what the front of the barn looks like....

2015-10-08 00.59.42multiple trucks and trailers as he moves cabinetry form the workshop area to the spray booth area and then up to the garage when they are finished.  And here is how my garage looks now....

2015-10-08 01.00.53

full of finished cabinetry, furniture pieces waiting to be painted and custom pieces that are finished and waiting to be picked up.  I am definitely not complaining, just amazed at how we continue to grow!

Over the past year, we have been looking for a commercial spot in downtown McMinnville to move the retail and design side of the business.  Nothing was a good fit and I wanted to stay working from home to be with my girls.  Well, the perfect spot became available!  It even has a huge basement that we can use for storage and a huge play room/creative area for the girls!  It's just darling!  Escrow closes January 5th.  We plan on about one month worth of renovations, and plan on opening February 2016!  I can't wait to share the plans we have for the space!

In "home" news, not much has been happening in the way of projects.  Matt has been working 14-16 hour days, 6 days a week.  Since he is the "brawn and talent", not a lot has been happening!  He did finish the screen on the basement cabinetry and I love that it's finished! ;-)

2015-10-01 00.47.48

I have also started to slowly tackle the laundry room and basement bathroom.  It will be a slow process because, big surprise, I need Matt's help.

But, over the past 6 months I have found contentment in my home.  It's not finished, and we have a lot of projects that we want to do.  But, it's a warm, cozy and beautiful place to raise a family, share life with friends and make memories.  And that's what's important to me, the rest is just the icing on the cake!!

growing girls and a newly painted hutch

IMG_5830

I feel so blessed to be able to stay at home with my girls.  Most of my work can be done early in the mornings, at nap time or when the girls play at Grandma's.

The other day, the girls and I were headed to the garden and Addilyn started the conversation…."my heart is so full right now. Savanna, do you love God with all of your heart, or just part of your heart?"  To which Savanna proudly replied "all of my heart."  Addilyn was pleased with her answer and replied "me too, that's why we have happy hearts.  Because we love God and He loves us even more".

The little conversation melted my heart and was the little piece of encouragement I needed.  I LOVE my work!  I could work all day long, every day of the week.  It can be a challenging balance to work (especially self-employed) and be with the kiddos, but for us, in this season we are in, it is so worth being home with the girls.  The girls even helped me paint this hutch…..

IMG_5842

IMG_5846

IMG_5848

IMG_5850

The top is painted with Annie Sloan Chalk Paint® (GRAPHITE) and waxed with two coats of clear wax and one coat of dark wax.  The inside is painted with Chalk Paint® (CREAM) and the bottom is painted with Miss Mustard Seed Milk Paint (BERGERE) and waxed with one coat of clear wax and one coat of dark wax.  This little beauty is headed to La Bella Casa this weekend so I can make room in the studio for more treasures!

Enjoy your weekend!  And your little ones!!

PAINTED HUTCH || miss mustard seed milk paint

I finally finished painting a hutch that has been sitting in the garage for a few months.  I bought it to use as a milk paint display for the new shop, then things fell through with our downtown shop location so I just let the hutch sit un-finished.  Well, things are moving forward again with the shop space so it's time to get these pieces painted!

IMG_5493

IMG_5497

IMG_5491

IMG_5495

Since it will be a display for Miss Mustard Seed's Milk Paint line, I figured it should be painted and finished with Miss Mustard Seed products {wink}.  I layered, and dry brushed with IRONSTONE, LINEN, GRAIN SACK AND LUCKETT'S GREEN.  I accented some areas with LINEN, distressed the entire piece and finished with with white wax.  I left the original hardware because I liked the look of the brass.  That may change when it gets into it's new space, but for now it works!

IMG_5500

IMG_5499

IMG_5501

IMG_5502

We are starting to work on some outside projects {of course, before other projects are finished}!  I am starting to plan the garden, the chickens have spent the winter in the garden so I need my sweet husband to build a chicken coop and a new pen.  Of course we want to add some goats to our little family this summer, so they will need a little place to live, and the list goes on and on.  Plenty of fun projects to keep us out of trouble!

IMG_5444

And my little baby is turning two next week!  Time continues to fly and I am always reminded that each day is precious.  No matter how long the to-do list is, I always want to cherish the time spent with family and friends!

CHOCOLATE CHUNK & TOFFEE MONSTER COOKIE || recipe


No matter how buys life gets, I don't want my family to feel that they are not a priority.  I enjoy, but also work hard at, making our home a cozy, safe and loving place.  There is just something about baking cookies for my babies and sweet husband!  All the smells and tastes are what makes Home for our families….let them enjoy it!

IMG_5254

IMG_5252

IMG_5261

Here is the recipe.  Your family will love you for  baking these….I promise!

IMG_5254


CHOCOLATE CHUNK AND TOFFEE MONSTER COOKIE::
Pre-heat oven to 325.
Blend 1 cup butter softened, 1 cup sugar, and 1 cup packed brown sugar, blend until smooth (about 2-3 minutes)
Add 2 eggs and 1 ½ tsp vanilla, blend.
In separate bowl: mix 2 cups flour, 1 tsp baking soda, 1 tsp salt.
Combine all ingredients and then ADD in 2 cups chocolate chunks, 2 cups toffee bits, and 3 cups quick oatmeal.
Mix all ingredients by hand and bake at 325 for 10-12 minutes. Take them out before they fully cooked and let them rest on the cookie sheet for 3-4 minutes.  Cool on a wire rack.

THE BABY KEEPS GROWING || toddler's room

No matter how hard I try, I can't stop my baby from growing!  Some days can be really long with a 1.5 year old, just being honest, but I love her to pieces and really do cherish our time together.  We just moved her into a big girl bed so I thought it was a good excuse to post some updated photos of her bedroom!

savannaroom

IMG_5092

We do have the metal/mesh side rails, I just think for pictures it looks better without them ;-)

IMG_5076

IMG_5100

IMG_5095

IMG_5085

All of her furniture is painted with various shades of green, I used Chalk Paint® and Milk Paint {surprise surprise}.  One of the many things I love about Chalk Paint® and Milk Paint, is that I can just paint over the furniture when I am ready for a change.  No need to sand, strip or prime! Love the stuff!

IMG_4614

Just as she grows, I know her room will continue to change and grow with her.  Of course there is more I would love to do in her room, but for now it works and it's a fun space for her to play in!

xoxo

A FEW FALL TOUCHES || using what I already have to decorate for fall

This time of year always gets so busy for me (and I know for so many others!)  The tourism is so seasonal here and our vacation rental reaches the peak of busy-ness in August and September.  For me that means a lot of cleaning, gardening and paper work.  But, even during the busy-ness of life, it's so important to make time for family and friends.  Saturday was spent hosting a booth at Carlton Crush ( a darling, local festival ).  It was a long, fun, successful and exhausting day, but the good kind of exhausting!  Sunday we spent the day at Pacific City with Matt's parents….celebrating his dad's birthday.  Pacific City is one of our favorite places to spend the day.  We drive the truck down onto the sand and set up camp for the day.  Football, fire, food and lots of sand and salt water….the best kind of day! IMG_4613

IMG_4620

IMG_4616

And today has been our first 'slow' day at home in a while.  So, the girls and I have been cleaning and slowing adding touches of Fall.  When decorating for Fall, I like to go 'all natural' and use things from nature.  Mostly branches, berries, pumpkins and gourds.  It's easy, cheap and looks great.  A couple of years ago I painted all of my fake orange pumpkins white and light green.  I used Chalk Paint to paint my pumpkins, but I am sure any paint would work just fine.

IMG_4621

IMG_4626

IMG_4642

IMG_4637

IMG_4630

IMG_4627

As you can see by the dining room photos, the room is in progress.  When Matt starts paneling the stairway to the basement, he is going to add an opening to the dining room and panel the entire room.  We contemplated wall papering but we would need to tear off of the layers of wall paper and it honestly would be easier to panel the room than to try to remove the wallpaper, patch the holes and hang wallpaper.

The girls and I are planning on adding some Fall touches to the their bedrooms and the outside of the house later today, I will post pictures later in the week!

xoxo

BEING THANKFUL AMONG THE MESSINESS

IMG_4563

IMG_4566

IMG_4559

I am learning to embrace the way I am 'wired'.  Creative, orderly, energetic, hard working, sympathetic and a lover of beauty.  But, I also struggle with not letting these things demand how I will live each day.  Living with people is messy, both physically and emotionally.  I can choose to love on the people around me or get frustrated because they don't allow me the time or the ability to keep things orderly, clean, organized, etc.  I can easily loose perspective!

Everywhere I look we have un-finished and half finished projects.  The chickens are crammed into a little pen with a shanty of a home.  The excavator will break ground this week for Matt's barn.  The basement looks like somebody started construction and then walked away.  And those are all such trivial complaints!   All around me friends are hearing hard medical diagnoses, family and friend's marriages are falling apart, people are loosing jobs, and I can hardly even think of the heartache happening in the Middle East.

IMG_4555

IMG_4557

But, I am learning to embrace the messiness of life and enjoy the beauty in the little moments.  Life is hard and when I start to feel overwhelmed by it all, I kiss my babies and thank God for the goodness around me!

IMG_4568

IMG_4569

IMG_4572

IMG_4575

IMG_4580

SUMMER GARDENING || favorite garden recipes

I starting my hand at gardening the first year Matt and I were married.  I was so happy to have my own little house.  A place where I could create a home, love on people and try my hand at 'domestic' things'.  My first attempt at gardening wasn't too successful!  But, once I realized that I was over-complicating it, things seemed to grow!  You put a seed in the dirt, water it and watch it grow.  AMAZING.

IMG_4496

IMG_4494

IMG_4493

IMG_4499

For the past 10 years, I have been gardening out of raised beds.  I am learning how I need to approach things a bit differently when gardening on a large, flat plot of dirt.

 The weeds are killing me!  Definitely using ALOT more mulch next year.  But what a sense of accomplishment to enjoy the fruits of our labor!

IMG_4497

IMG_4483

IMG_4487

Most Saturday mornings, Addilyn helps me in the garden while Savanna naps.  What a joy to listen to her chat, build mud pies, look for worms, pick fruits and veggies and just get dirty in the garden.  It takes 10 times longer to pull weeds and work when she is with me, but it is a special time for us.

I thought I would share a few of our favorite summer recipes, so far this summer.  I am trying to be creative with food we typically don't eat, but are growing in the garden {kale, cabbage, leeks, etc}.  We do a lot of grilling in the summer, and a lot of 'winging it' when it comes to summer meal planning.  I love having a few favorite recipes and then tweaking them a bit according to what I have on hand.

3eb46095b4d31e508011fecf2b9676da

warm kale salad

fff7e3366dcffe0eab7f9af31b0235a5

kale salad with warm garlic and raisin vinaigrette 

cc5e22619e753ea403dde60102ccbd34

grilled roasted corn salad

0f806f1b4c523d553ca535b95608d694

lemon basil pizza with spinach and mozzarella

28e1251b3832f65b679c93663ca9634a

pizza with summer squash and feta

d6111818012aa512d636eb448d4668f4

Mediterranean baked chicken

Enjoy!

4th of JULY || and savoring the little moments

Ever since Addilyn was born, we spend most of the Fourth of July at Cannon Beach.  It's a sweet little tradition that we look forward to every summer.  The bakery, the shops, the darling parade, the sweet smell of the ocean air, it's one of my favorite things about summer.

IMG_4461

I am definitely learning to savor the time I spend with my little family.  The girls are growing so fast.  I want to pour into them and love on them.  And honestly, some days are just hard.  I loose my patience too many times to count.  I snap and nag, and these sweet little ones love on me anyway.

We slowed down for the day.  We sat and enjoyed the parade.  We enjoyed each other's company.  We were present and it was just what this tired mama/wife needed.

IMG_4463

IMG_4458

Little Miss loves to savor everything around her.  Truly.  She inspires me to constantly look at things through a child's perspective.

IMG_4465

IMG_4455

IMG_4473

IMG_4471

After a long {but so great} day at the beach, we headed to my parent's for a BBQ and got to spend more time with family.

Sometimes I can be so overwhelmed with motherhood.

Am I spending enough time with my babies? Am I working too much? Am I teaching them enough? Am I pouring into them enough? How do I carve out time for my handsome husband?

I love my work and I love being with my kiddos at home.  It's a hard balance between loving your job and loving on your kids.  I am working on letting go of the guilt and learning to celebrate the sweet little moments.  I am finally finding peace with my work/home schedule.  Not balance, I don't know that I will ever find that, but peace.  God can fill in the spots where I am lacking, and believe me, there are plenty.

I hope you will be encouraged to let go of the guilt and fill up on God's peace!

MONSTER COOKIES || a sweet treat recipe

This weekend my sweet hubby pressure washed the garage roof for me.  It's a really steep roof, and it was really dirty, so it was a really big deal to me.

I love to pressure wash!  It's instant gratification....from yucky to clean, in just a matter of minutes.  Matt won't let me get up on a ladder to pressure wash {he is smart man}.  By the time he got the harness, his big ladder, and had pressure washed the roof, the afternoon was gone.  He spent his entire weekend afternoon doing a yucky chore for me.  Such a sweet man.  Anyways, I made sure to have cookies baking in the oven when he walked in the door.

IMG_4417

They may be our new favorite cookie.  And we LOVE our chocolate chip cookies around here.

IMG_4421

There is something so special about the yummy smells coming from the kitchen.  Bread, cookies, dinner, whatever is cooking, it just makes a home cozy.

IMG_4424

Go bake these cookies soon.  Your family, especially your sweet little babies, will love you for these!!

IMG_4438

There is something about warm, baked goodness.  It makes hearts happy and makes your home a little extra cozy and sweet.

These cookies take less than 5 minutes to make, and the oven does the rest of the work.  Make them today, and maybe give away half because they make a big batch...and who doesn't love fresh cookies?!?

IMG_4431
MONSTER COOKIE RECIPE::
Pre-heat oven to 325.
Mix 1 cup butter softened, 1 cup sugar, and 1 cup packed brown sugar.
Add 2 eggs and 1 ½ tsp vanilla, mix blend.
In separate bowl: mix 2 cups flour, 1 tsp baking soda, 1 tsp salt.
Combine all ingredients and then ADD:
1 cup choc chips, 1 cup walnuts(or pecans), 1 cup peanut butter chips, and 3 cups quick oatmeal.
Mix all ingredients by hand and drop large, rounded spoonfuls onto baking sheets.
Bake at 325 for 10-12 minutes.
Take them out before they fully cooked.
Enjoy!!

KID'S PLAYROOM || my list of necessities

Last weekend,  Matt passed the 'point of no return' with our home remodel.  He started moving windows and doors, pulling down drywall and lighting and more.  It's definitely a series of 'one thing leads to another'.  I feel like we continue to change our mind the longer we live here!  We always recommend clients live in their space for a while before we start designing and remodeling.  It's really hard to take my own advice, but I really believe it pays off!

IMG_4376

One of the bigger projects on my summer TO-DO list, is to turn this room in the basement into a kid's playroom.  It's a long space and it's perfect for a playroom.  It's tucked away from the rest of the living space, which translates in YOU DON"T SEE THE MESS ALL OF THE TIME.

IMG_4377

The only 'big' things we will be doing in this room, are painting and new flooring.  For flooring, we still haven't decided on carpet or vinyl/marmolium.  I continue to agonize.  I have such sympathy when I am helping clients in their home, it can be so hard to decide on a material/paint color/layout/etc.!  We all want to make the right choice the first time.  Right?  Definitely don't want to waste time and money re-doing something!  Uggg.

IMG_4378

So, before I get my paint brush out, I am working on a list of play room necessities.  Creative areas that I think are necessary for our play room.  I want to inspire my girls to be creative and imaginative.  A space where kids can go play and I don't worry about safety or messes.  I guess that's what we all want in a playroom!

b3f1825bbd1fc35605aa580144b86acb

I found this GREAT blog post on how to set up a playroom.  It's written by a teacher and has super tips and ideas!

16cf5b982820ee5f1d78e1eb4db2ba2f

I am loving the bright colors in this room!  Doesn't it just make you happy?  I am definitely going for bright colors and a good dash of whimsey in our playroom!

8cfe998237f1916ada153b1e79070793

Love this darling sign.  I am finding some great art work to order from Etsy.  Sometimes it's just better to order things instead of trying to make everything ;-)  Says the girl who has a hard time taking her own advice…..

c1dc7f011184fef348ba872c138e5cf6

Of course I love the chalkboard wall in this room!  As well as every other detail.  Can you believe those polka-dots on the ceiling?  I am about to break out in hives just thinking about painting polka-dots on the ceiling, but they sure are darling!

00c5d63e62bbed01538b8e6021620522

Love the maps and definitely want to add those to the wall (Etsy).

1a862c2f70dd33e35f787fdb92fb2a37Who doesn't love all of the fun subway style signs?!?

9704780cff65a588e6b921459d13f570

We have a perfect closet to create a fun reading nook.  I think that is one of the things I am most excited about for this space!  I will probably kick the girls out and cozy up in there by myself.

b86ac9d7aecb3378988694babd3cd9eb

I just love walls with books.  Both girls love to be read to, and look at books.  I definitely want to cultivate that love for reading.  A wall and/or book nook sure seems like a great way to do that ;-)

74b10c4f7cf27e5103318879c63d1834

Another combination of my two favorite things….chalkboards and books!

20a53452a5bce8eb18e7ca351685de72

Look at this great idea for a coffee table top.  How great is that?

e6c63f861ac59fd4f55b2feed7d363a0

And I will stop here, I could go on and on.  Don't you just love the bright colors in this room?  So fun!

I promise to post pictures as I progress.  It will probably take all summer as I am busy with clients, Chalk Paint® customers and my own sweet family.  But, it's a space I am really excited to tackle, hopefully just in time for the change in weather that comes with Autumn!

All of these pictures are from my Pinterest page 'Kid's Playroom'.

PAINTING FLOWER POTS

IMG_4088

The sun started to make a more regular appearance a few weeks ago.  It was just the inspiration I needed to start sprucing up the outside of our home!  We have a lot of projects for this summer so I didn't want to rush out and buy new flower pots when I don't yet have an overall plan together.  So, I thought I would rummage through what I already have and just make some improvements ;-)  I have painted flower pots with Chalk Paint® before.  It's such an  easy way to spruce up an old pot!

First, I cleaned my pots and set them up outside to start painting.

IMG_4090

I used COCO.  My pots already had some texture, so I was going for a concrete/stone look.  After two coats, I realized they looked to 'clean and even', I wanted the pots to look a little aged…..like me ;-)

IMG_4091

I started with making a wash with the GRAPHITE (adding water to the paint to thin it a bit) but I didn't like that look so I repainted the section with COCO.

IMG_4093

I ended up making a wash with OLD WHITE and I like the results much better.  I dipped the paint brush is the paint, them into a bowl of clean water.  There are a couple of different approaches when it comes to color washing, but this approach worked great for what I was doing!

IMG_4353

Now all of the pots look a little better grouped together and it only cost me an afternoon and a small amount of paint!

IMG_4356

I don't wax any of my outside pots.  Just paint, plant and set them out.  All of my painted pots (I have painted my flower pots for the last two years) have held up perfectly!

IMG_4355

Now you know what to do with all of those mis-matched flower pots you have laying around!

IMG_4357

With the weather being sooooo perfect (sunny and 70's) we have been spending a lot of time outside.

IMG_4318

The girls love exploring and helping me outside.

IMG_4331

We have this amazing (huge) front yard.  Hopefully in a few years we will fence part of it and add sheep and goats to our little family.  I am pulling for a few goats now, but I can't quite convince Matt of how great they will be.  Hmmmmm.

IMG_4327

Oh and there is a lot of 'this' that happens outside after the big guy gets home from work.

Melts my heart to have such a sweet guy who loves his three girls so fiercely!

IMG_4314

Have a great day friends…...and enjoy the sunshine!!!

THE BABY IS 1 || & I painted the high chair

My sweet baby turned 1 last week and we had a little party on Sunday to celebrate.

IMG_4230

This little one is sweet and spunky and getting easier by the day.

IMG_4235

I had an old wooden high chair my mom gave me a few years ago.  It had a great shape, but the finish was worn and yucky {think 70's-yellowed-stain}.  I had wanted to paint it, but it fell low on the priority list.  With the birthday party coming up, I figured it would be a good excuse to paint it!

IMG_4264

I used Chalk Paint® {of course;-}.

I mixed Antibes Green and Old White…..3 parts Antibes Green to 1 part Old White.  By adding the Old White, it softens the green.  It's cheerful but not too bright.

IMG_4266

I distressed the edges a bit and 'dipped' the feet in Old White.

IMG_4270

I waxed it with Clear Wax and called it finished!

IMG_4271

For the 'dipped feet', I taped with masking tape for a crisp edge.

IMG_4261

I set the monkey in the high chair and tried to capture some cute poses.  I took a lot of photos, but none really seemed to capture her personality.  Next time!

You have probably noticed, but I am really getting hooked on mixing colors of the Chalk Paint® and Milk Paint.  Both lines of paint come in beautiful colors, but it really opens the door to color when you start mixing….so fun!


A LITTLE BREAK || and a lot to be thankful for

You may {or may not} have noticed that I haven't been as regular at posting as I usually try to be.

We have been sick, injured and I have just been a little burnt out.

IMG_4216

And then the trees and flowers began to bloom.  The sunshine appeared and I am gently reminded that the seasons come and go.  The seasons in our lives {the good and the bad} are short lived in light of eternity.  The last couple of months have been a little rough.  I am ready for this season to pass, but I know that the trials bring me closer to God.  And, they remind me that I have so much to be thankful for! {That is our neighbor's barn in the background, isn't it cool?!?}

IMG_4218

To add a little sweetness to our home, we brought home 6 new chicks.  They are darling.  I haven't had luck introducing new girls to the old girls, but I am determined that they will all get along.  This whole 'pecking order' is so disturbing.  Hens can be so mean!  Matt still needs to build them a chicken coop, hopefully by the end of summer they will have a beautiful new home!

IMG_4213

My mom made this quilt for Savanna.  Isn't it darling?  It's so bright and cheerful.  She just dropped it by last week!  I am not a quilter, but I sure appreciate the time that goes into it.  And what is better than snuggling with a baby swaddled in a beautiful blanket?!?

IMG_4209

She made Addilyn's quilt for her when she was born.  Isn't it darling?

IMG_4219

And there is nothing like chocolate to cheer a girl up!  Do you know my secret ingredient to box-mix brownies? Sour cream!  About a half cup of sour cream makes all of the difference {thanks for the tip Candice!}  Toppings don't hurt either...

IMG_4221

I added marshmallows, coconut, pecans and chocolate chips.  It took less than 5 minutes to prepare.  The house smells amazing and the other people instantly think I am amazing and the best cook in the world.  I am telling you, boxed mixes to wonderful things for my family!

IMG_4225

I have a lot of fun projects in the works.  Both for clients, and in our home.  I can't wait to post pictures!!  In the mean time, go make some brownies ;-)

BEFORE + AFTER || a darling dresser

A few weeks ago I bought a darling dresser at a thrift store.  It wasn't necessarily a screaming deal, but I loved the lines of the piece.  I decided to purchase it and it has been sitting in the garage waiting for a little makeover.

IMG_3981

It is a heavy one, so pardon the picture of it on it's side!

IMG_4164

And here she is all painted and cleaned up.

IMG_4174

I painted the inside of the drawers ANTIBES GREEN {Chalk Paint®}.  I know it takes extra effort to paint the insides of the drawers, but I love how it really finishes a piece off.

IMG_4171

The pretty blue is actually a mix of three different Chalk Paint® colors.

2 parts Louis Blue

2 parts Provence

1 part Florence

IMG_4159

I finished it off with a coat of clear wax.  I am starting to work on pieces for my little Spring Sale, but it will be listed for $345 if you are interested in purchasing earlier ;-)

IMG_4168

And this was the scene outside while I was painting.  Little Miss was playing in the pond and my sweet hubby was recuperating from spending his birthday in the hospital.  Poor thing.  He had an accident with his table saw first thing in the morning.  The girls and I piled into the car to take him to the ER.   I didn't know how bad it was {he kept his hand wrapped in a towel}.  He ended up having surgery and finally coming home around 10pm.  It was a rough day but we are so thankful for great friends who stepped into help and for God's provision!