McMINNVILLE REMODEL || before + almost after
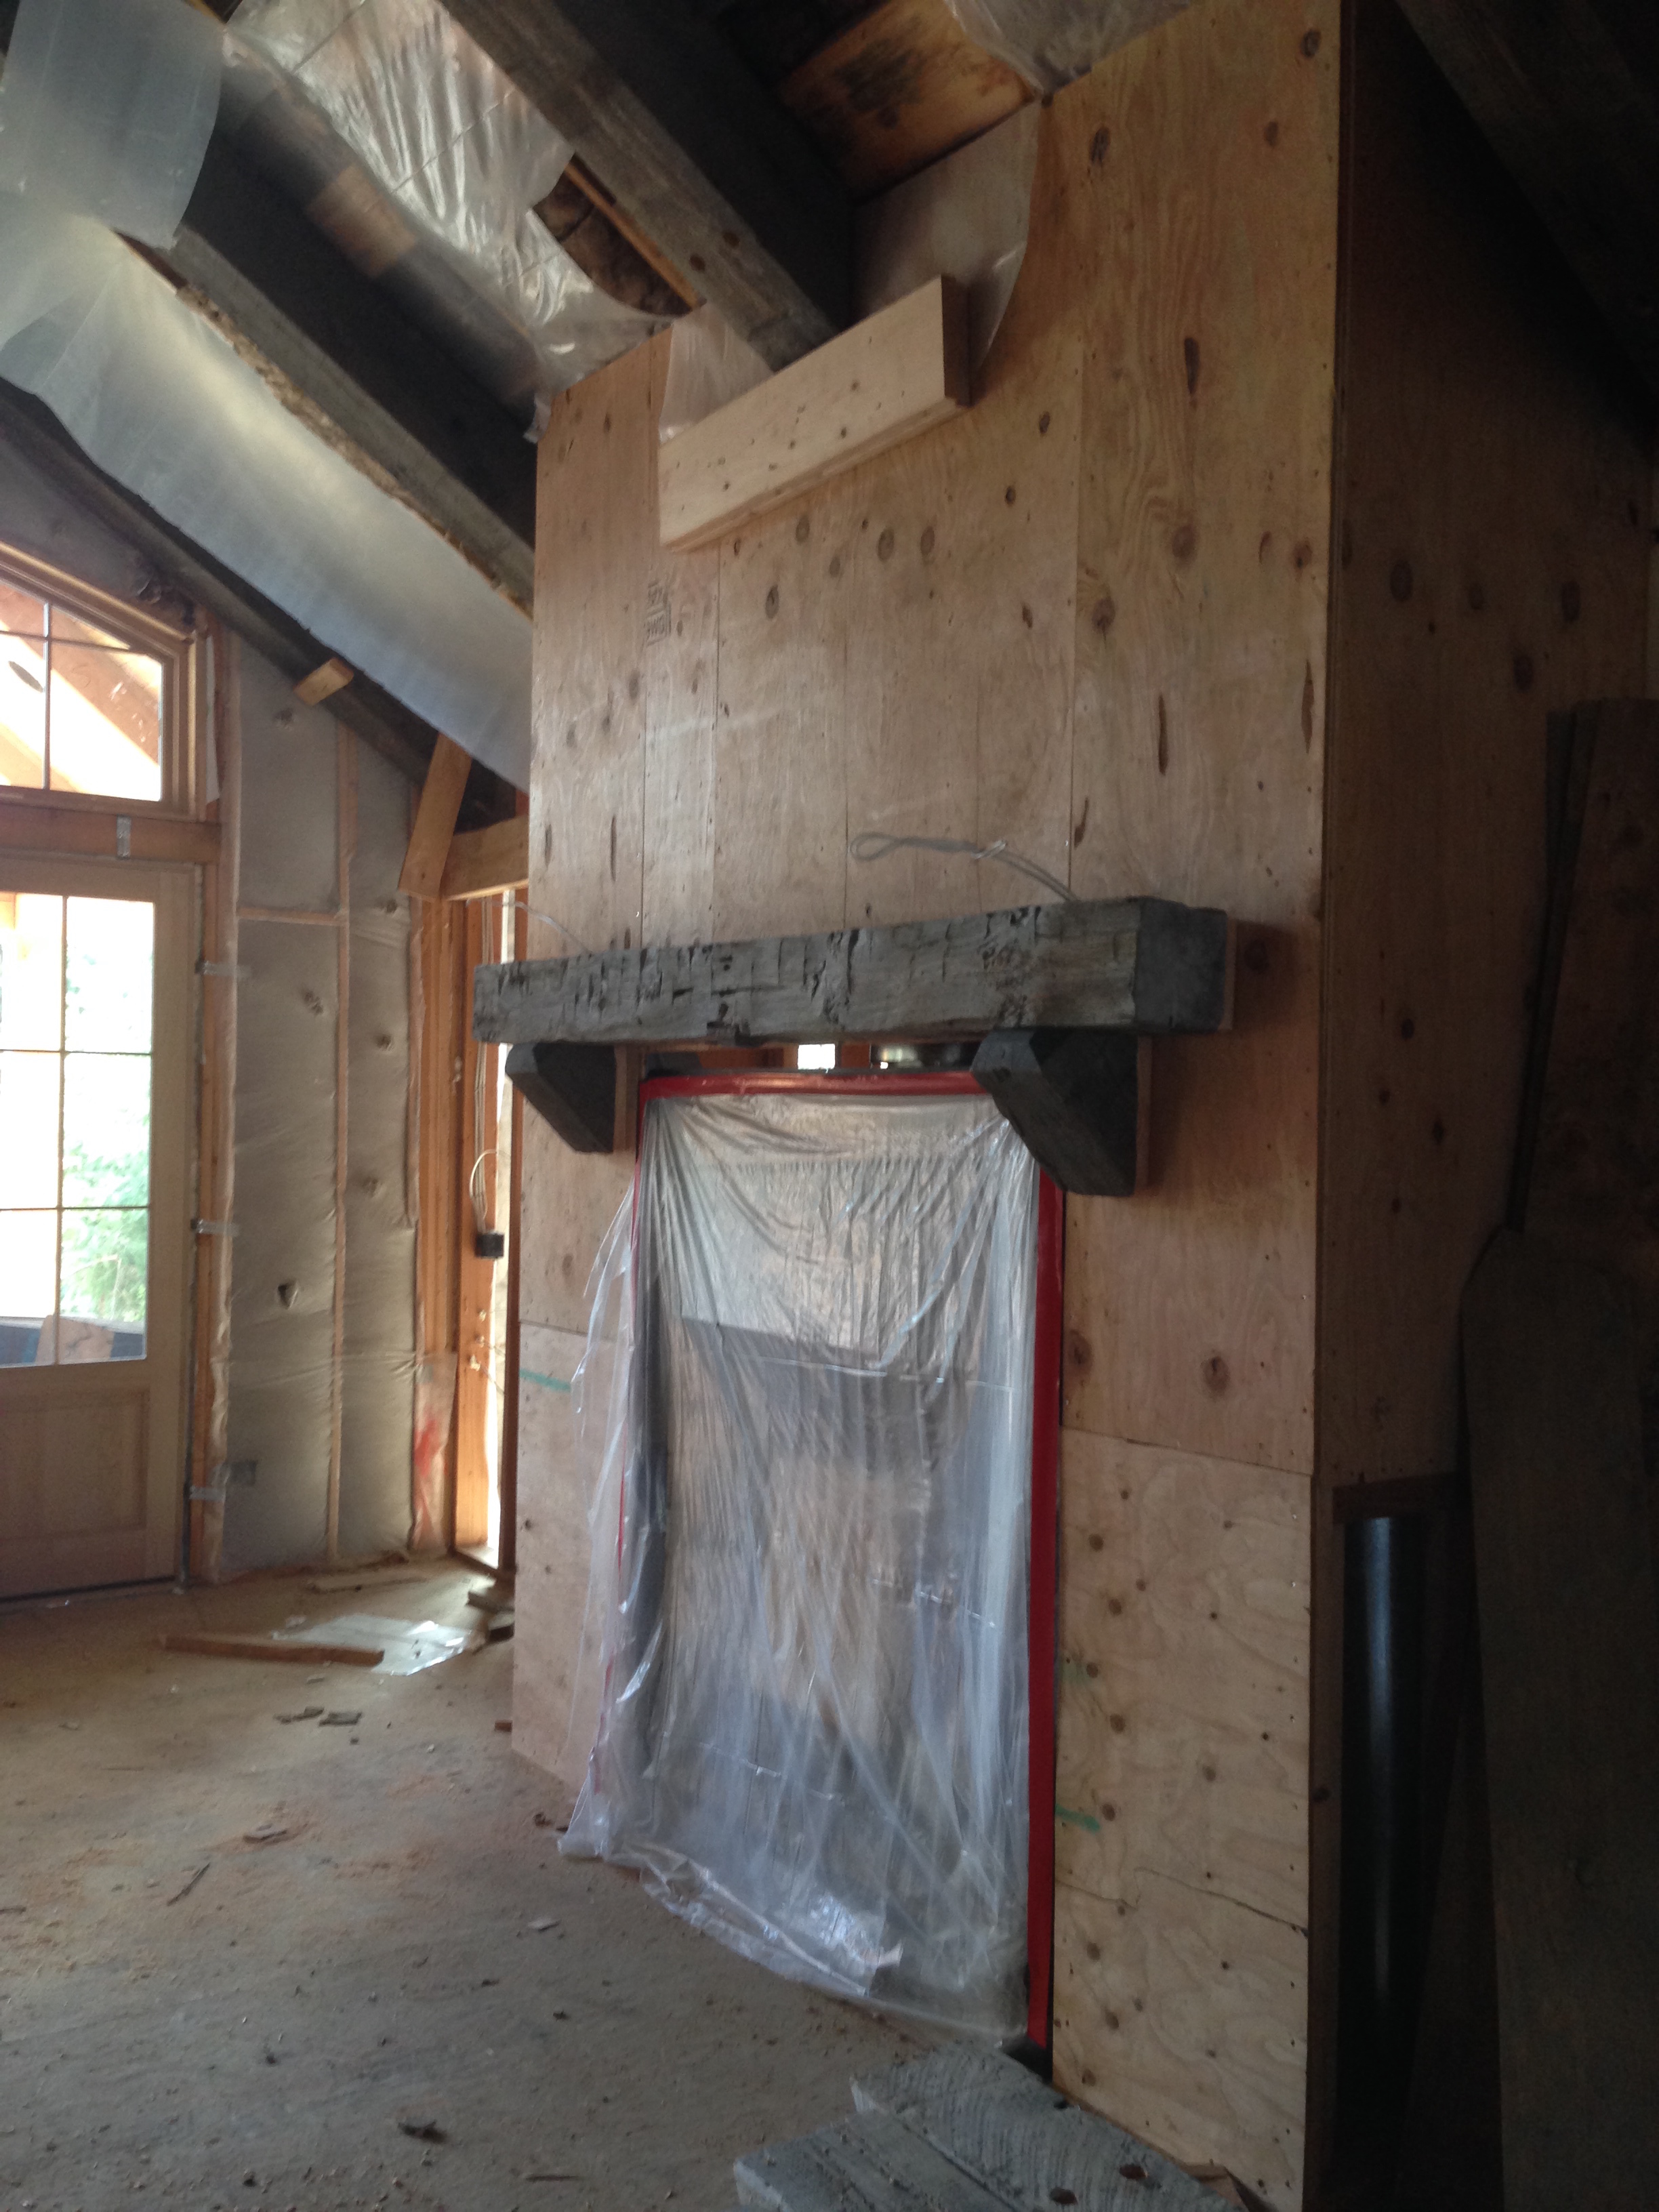
For the past 5 months Matt has been working on completely remodeling this cutie of an old house.  The house was taken down to the studs, thoughtfully designed and carefully put back together.  

Park Drive

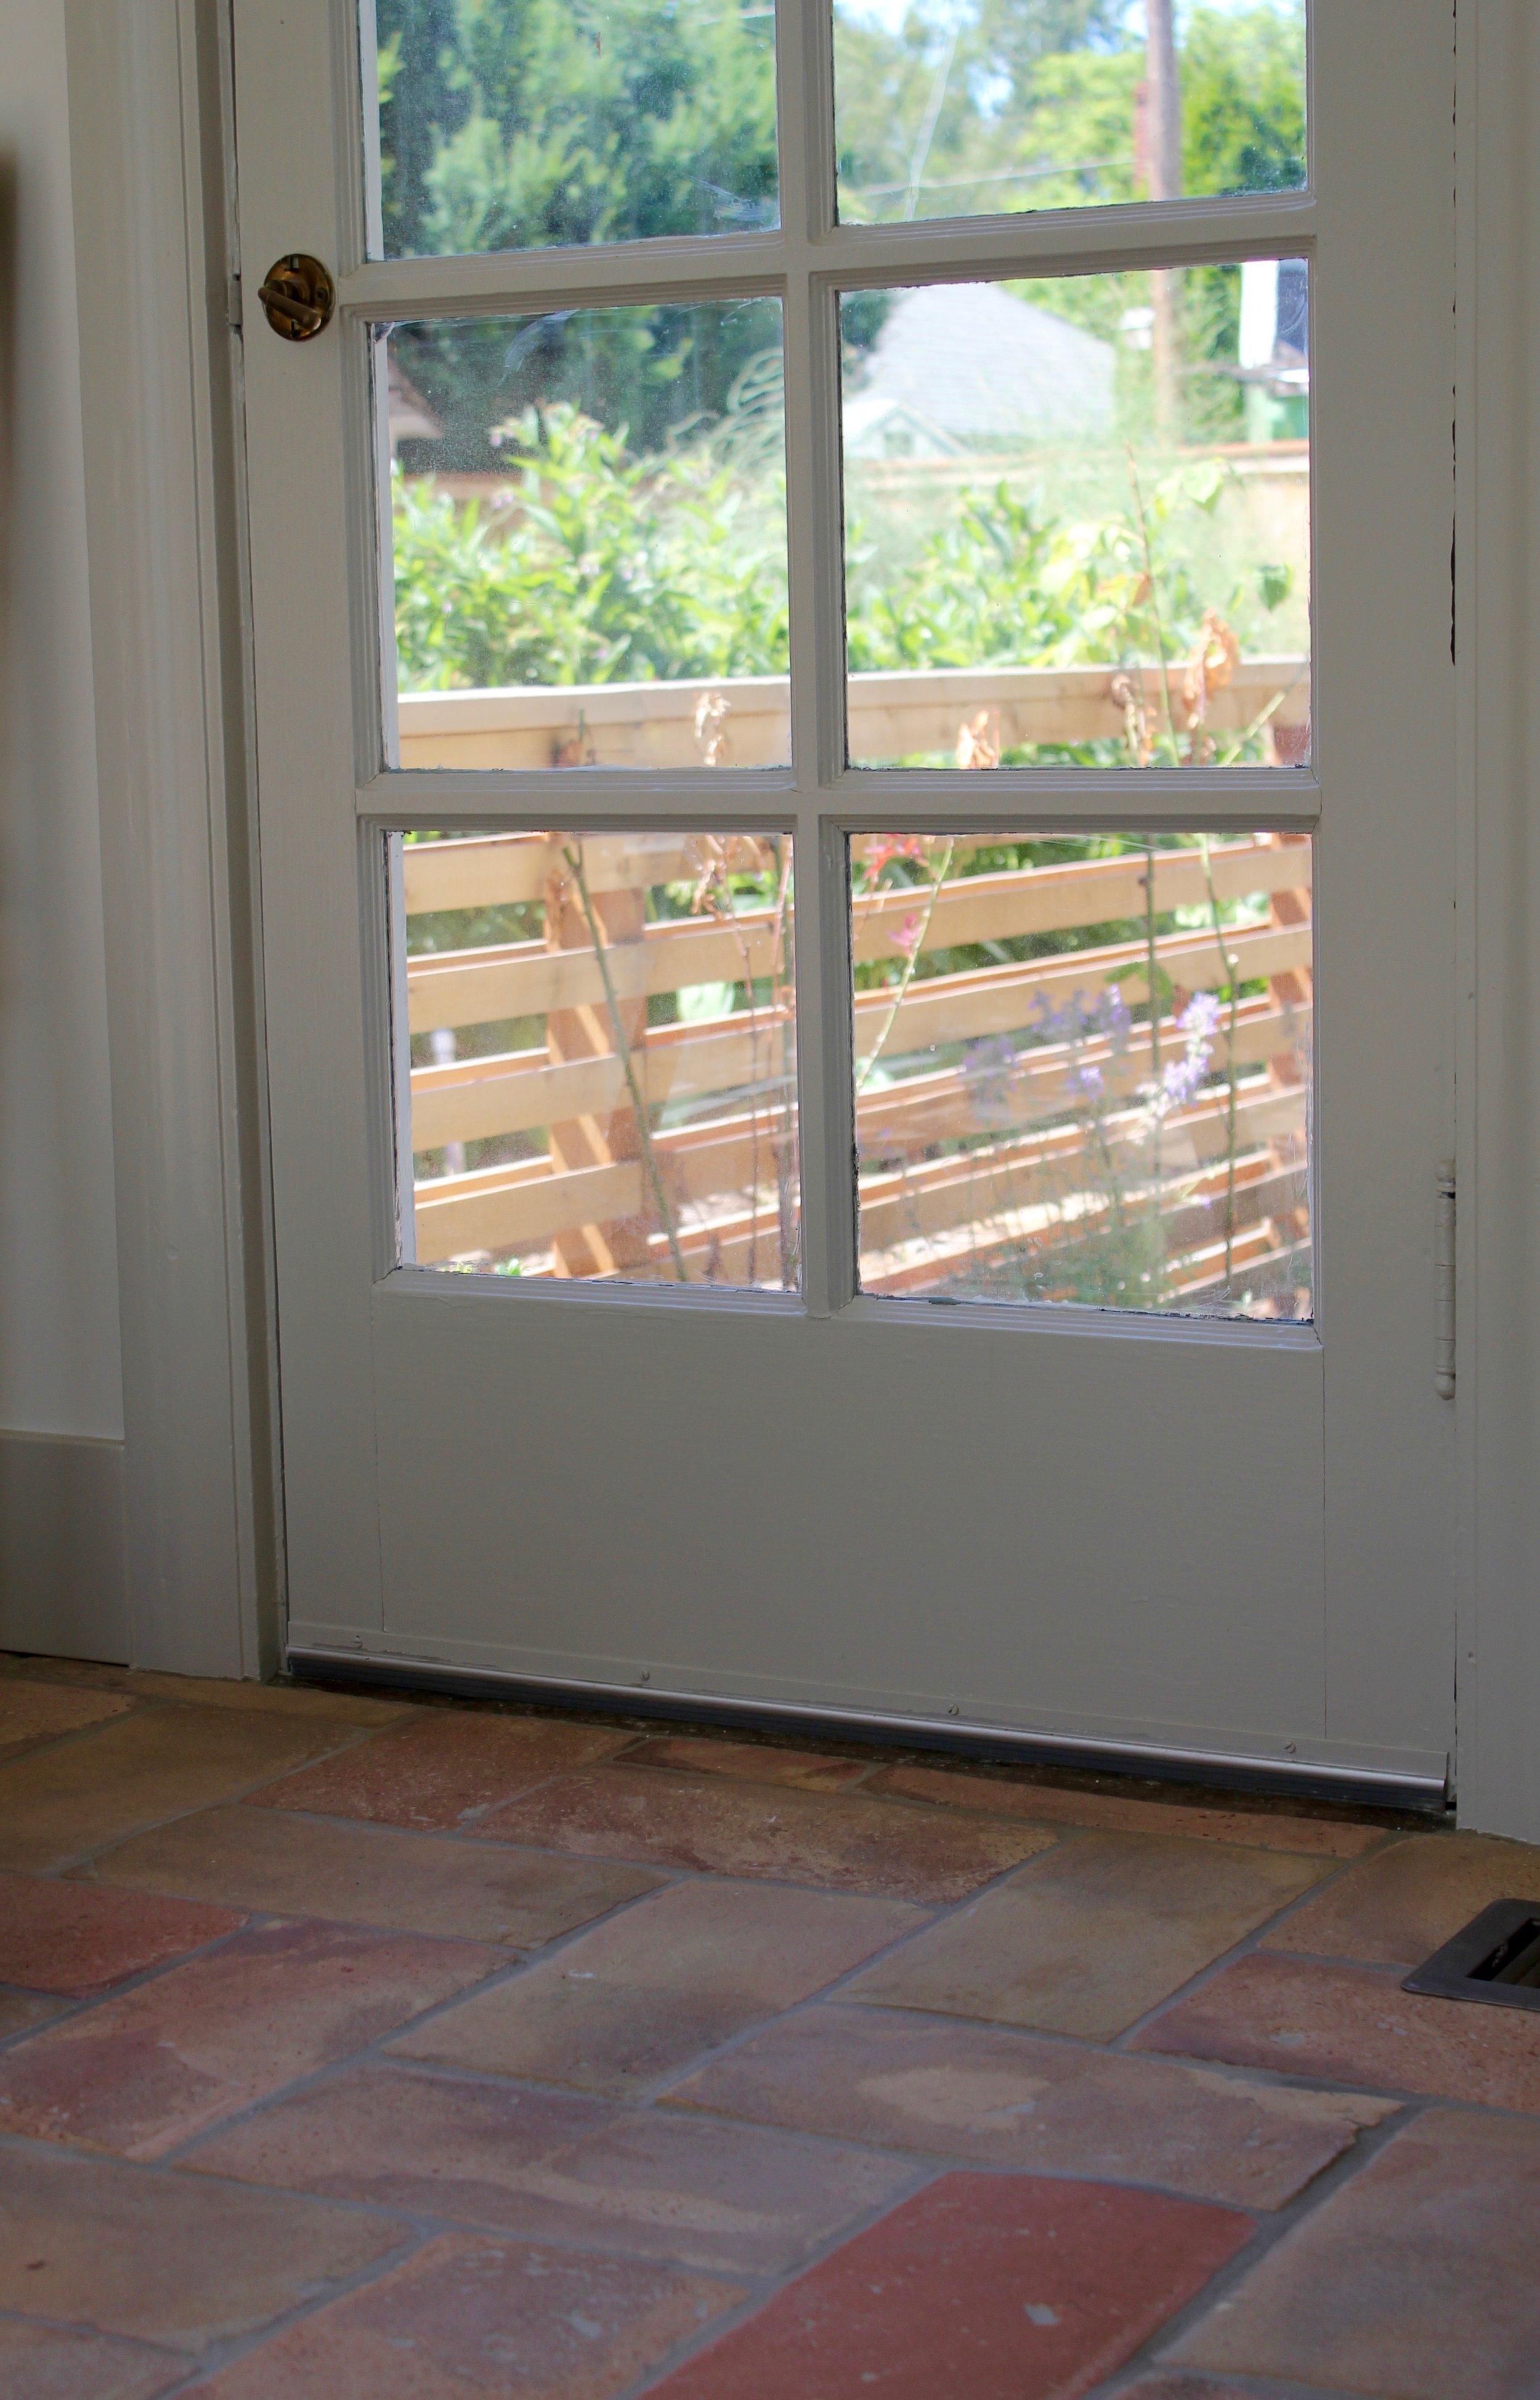
** I hope to get some finished photos within the next month....including the exterior.  Since this picture, the door has been painted, beautiful new exterior lights have been hung, and the landscaping has been finished.**

I stopped by on Friday as Matt was wrapping up a few little details.  The owners have completely furnished it and there are a few little construction details left too.  As soon as both those are done, I will get some "after" photos!

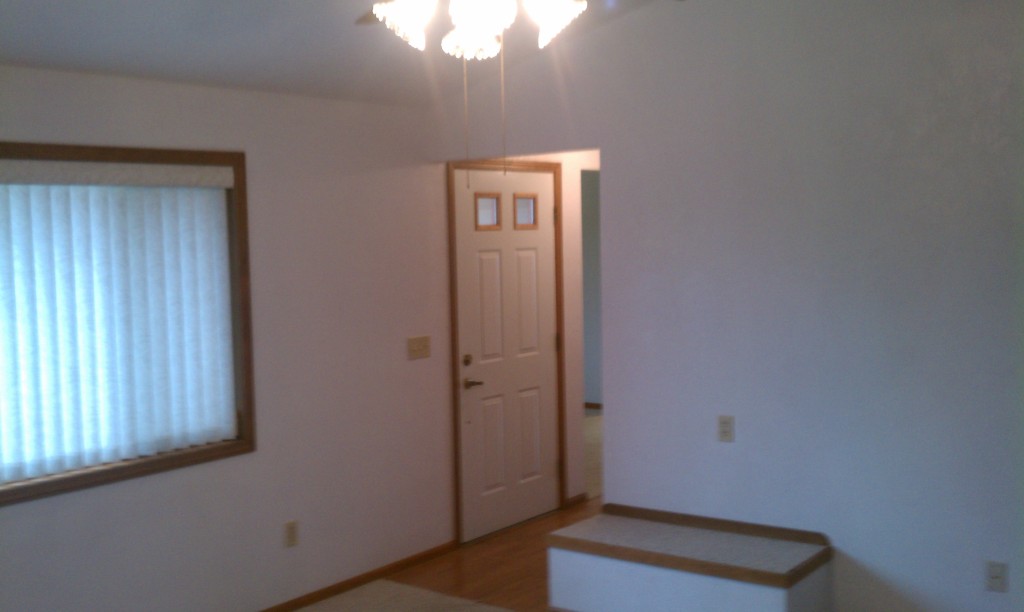
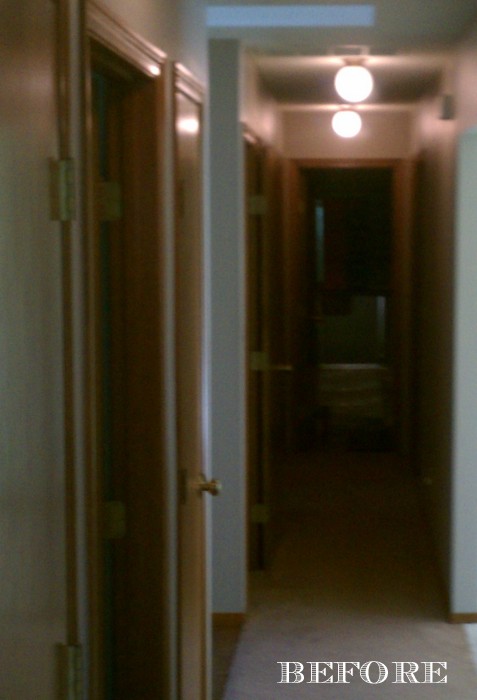
So, starting downstairs "before".....

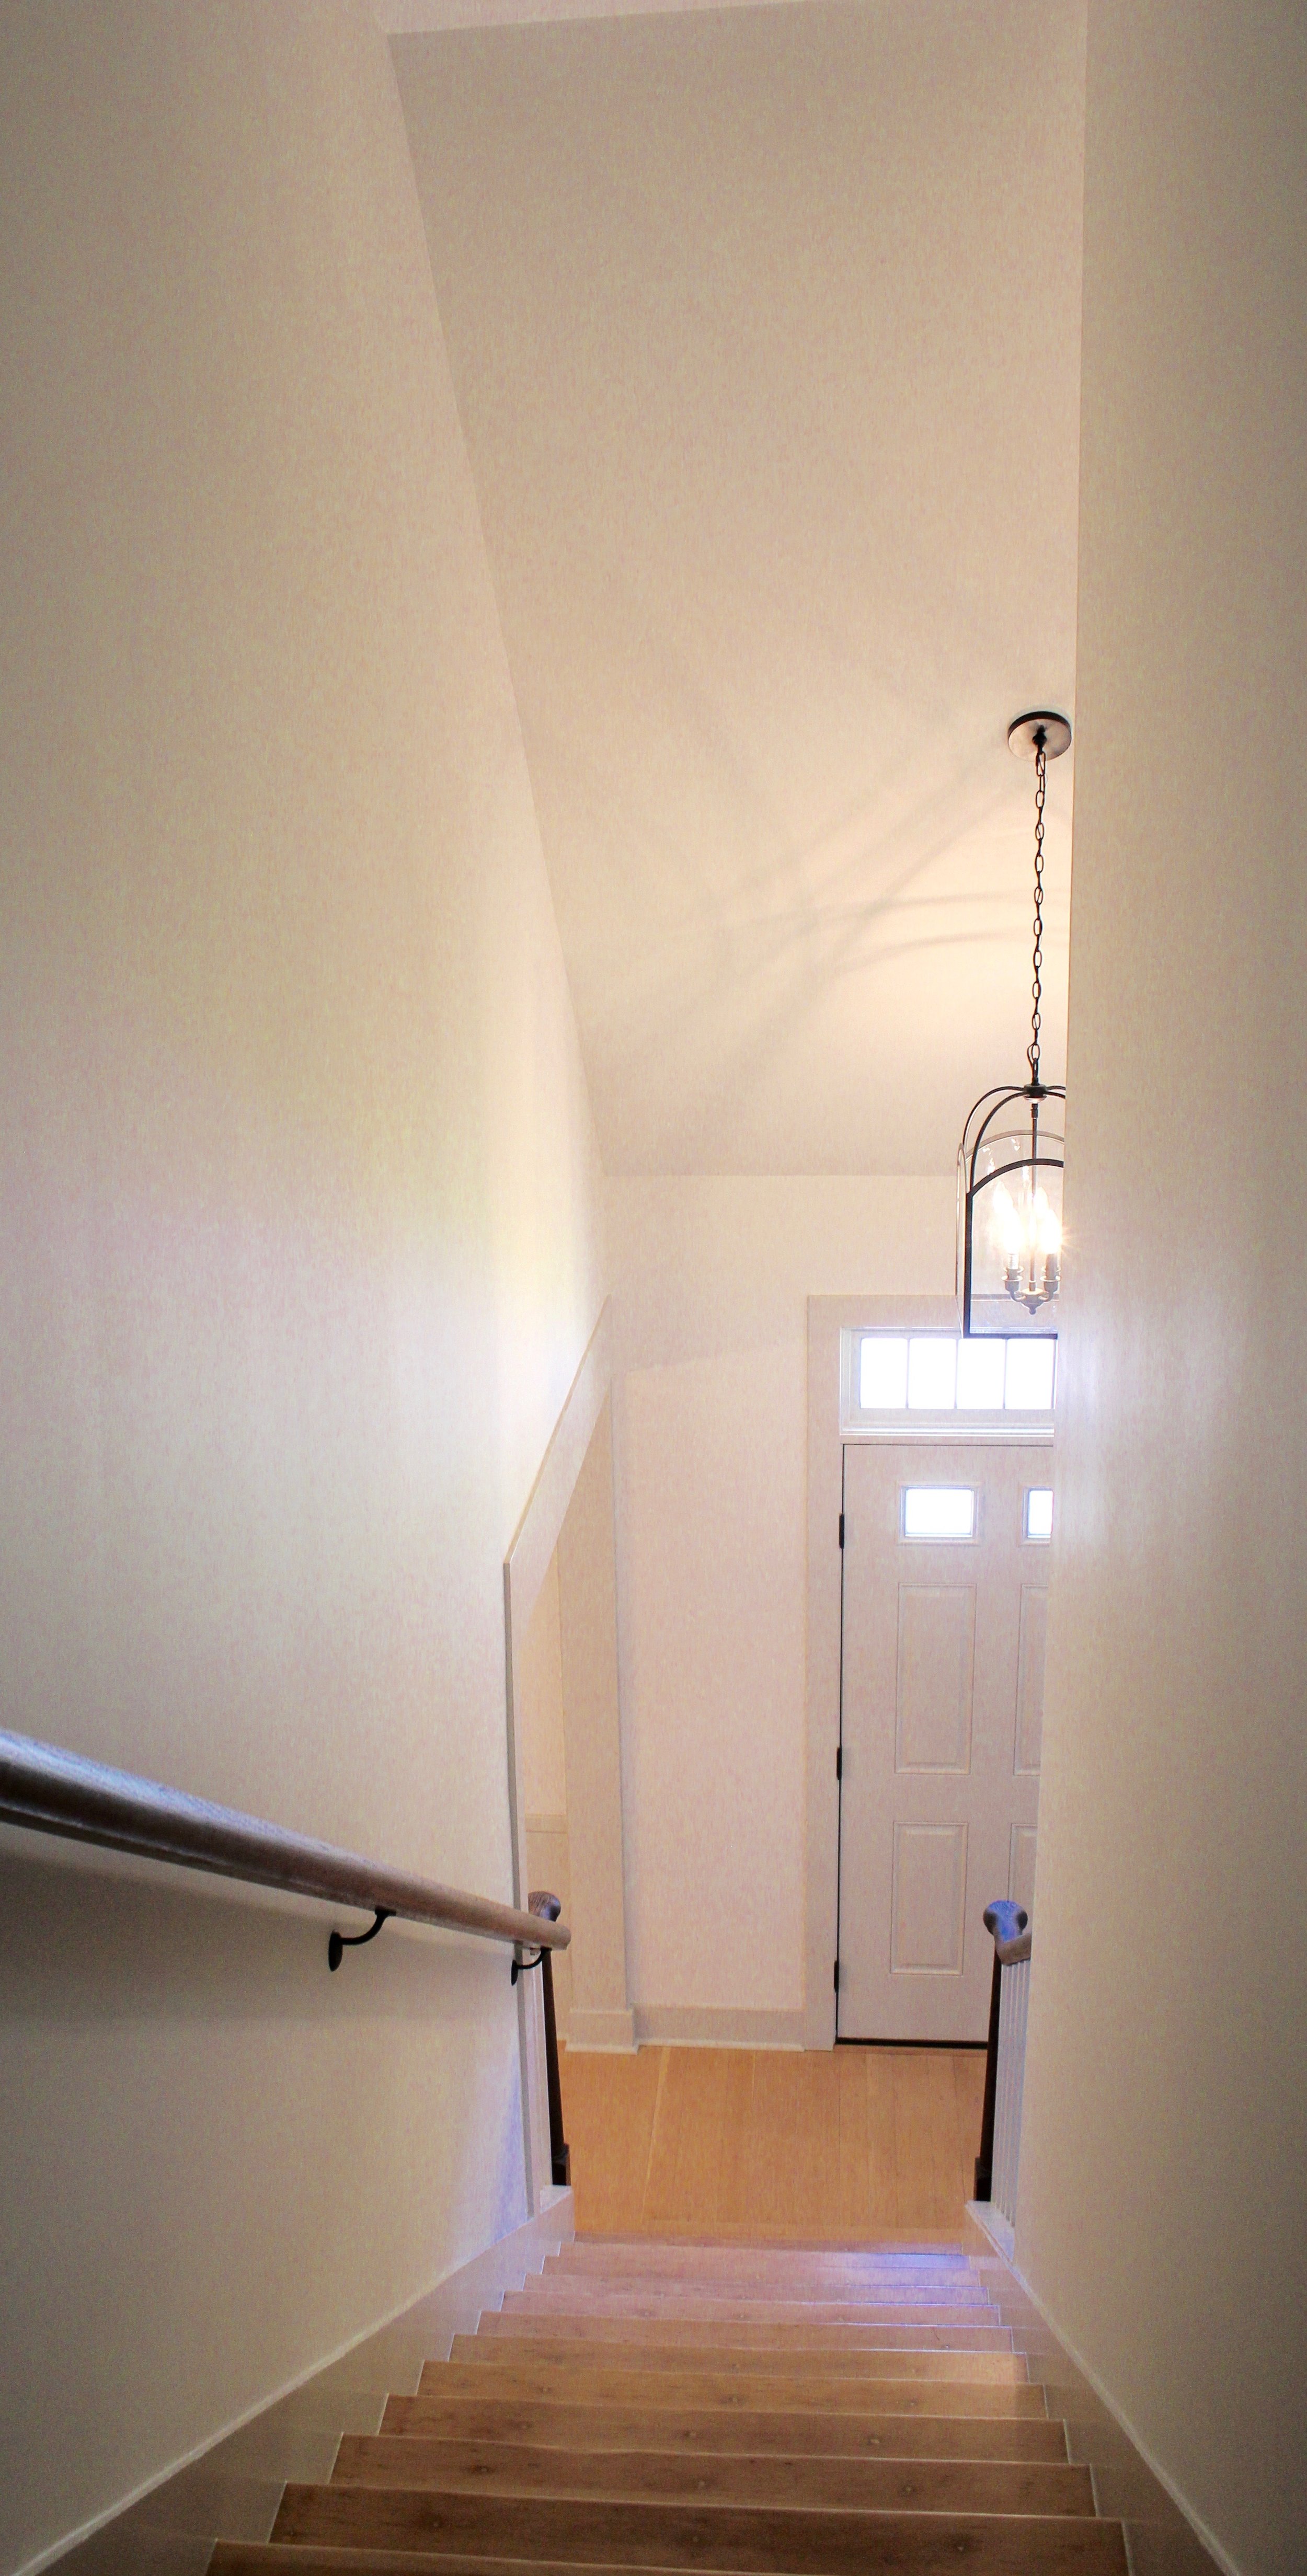
After......Matt removed the a lot of walls and "stuff" in the way, now the entry is open and inviting!!

entry
entry

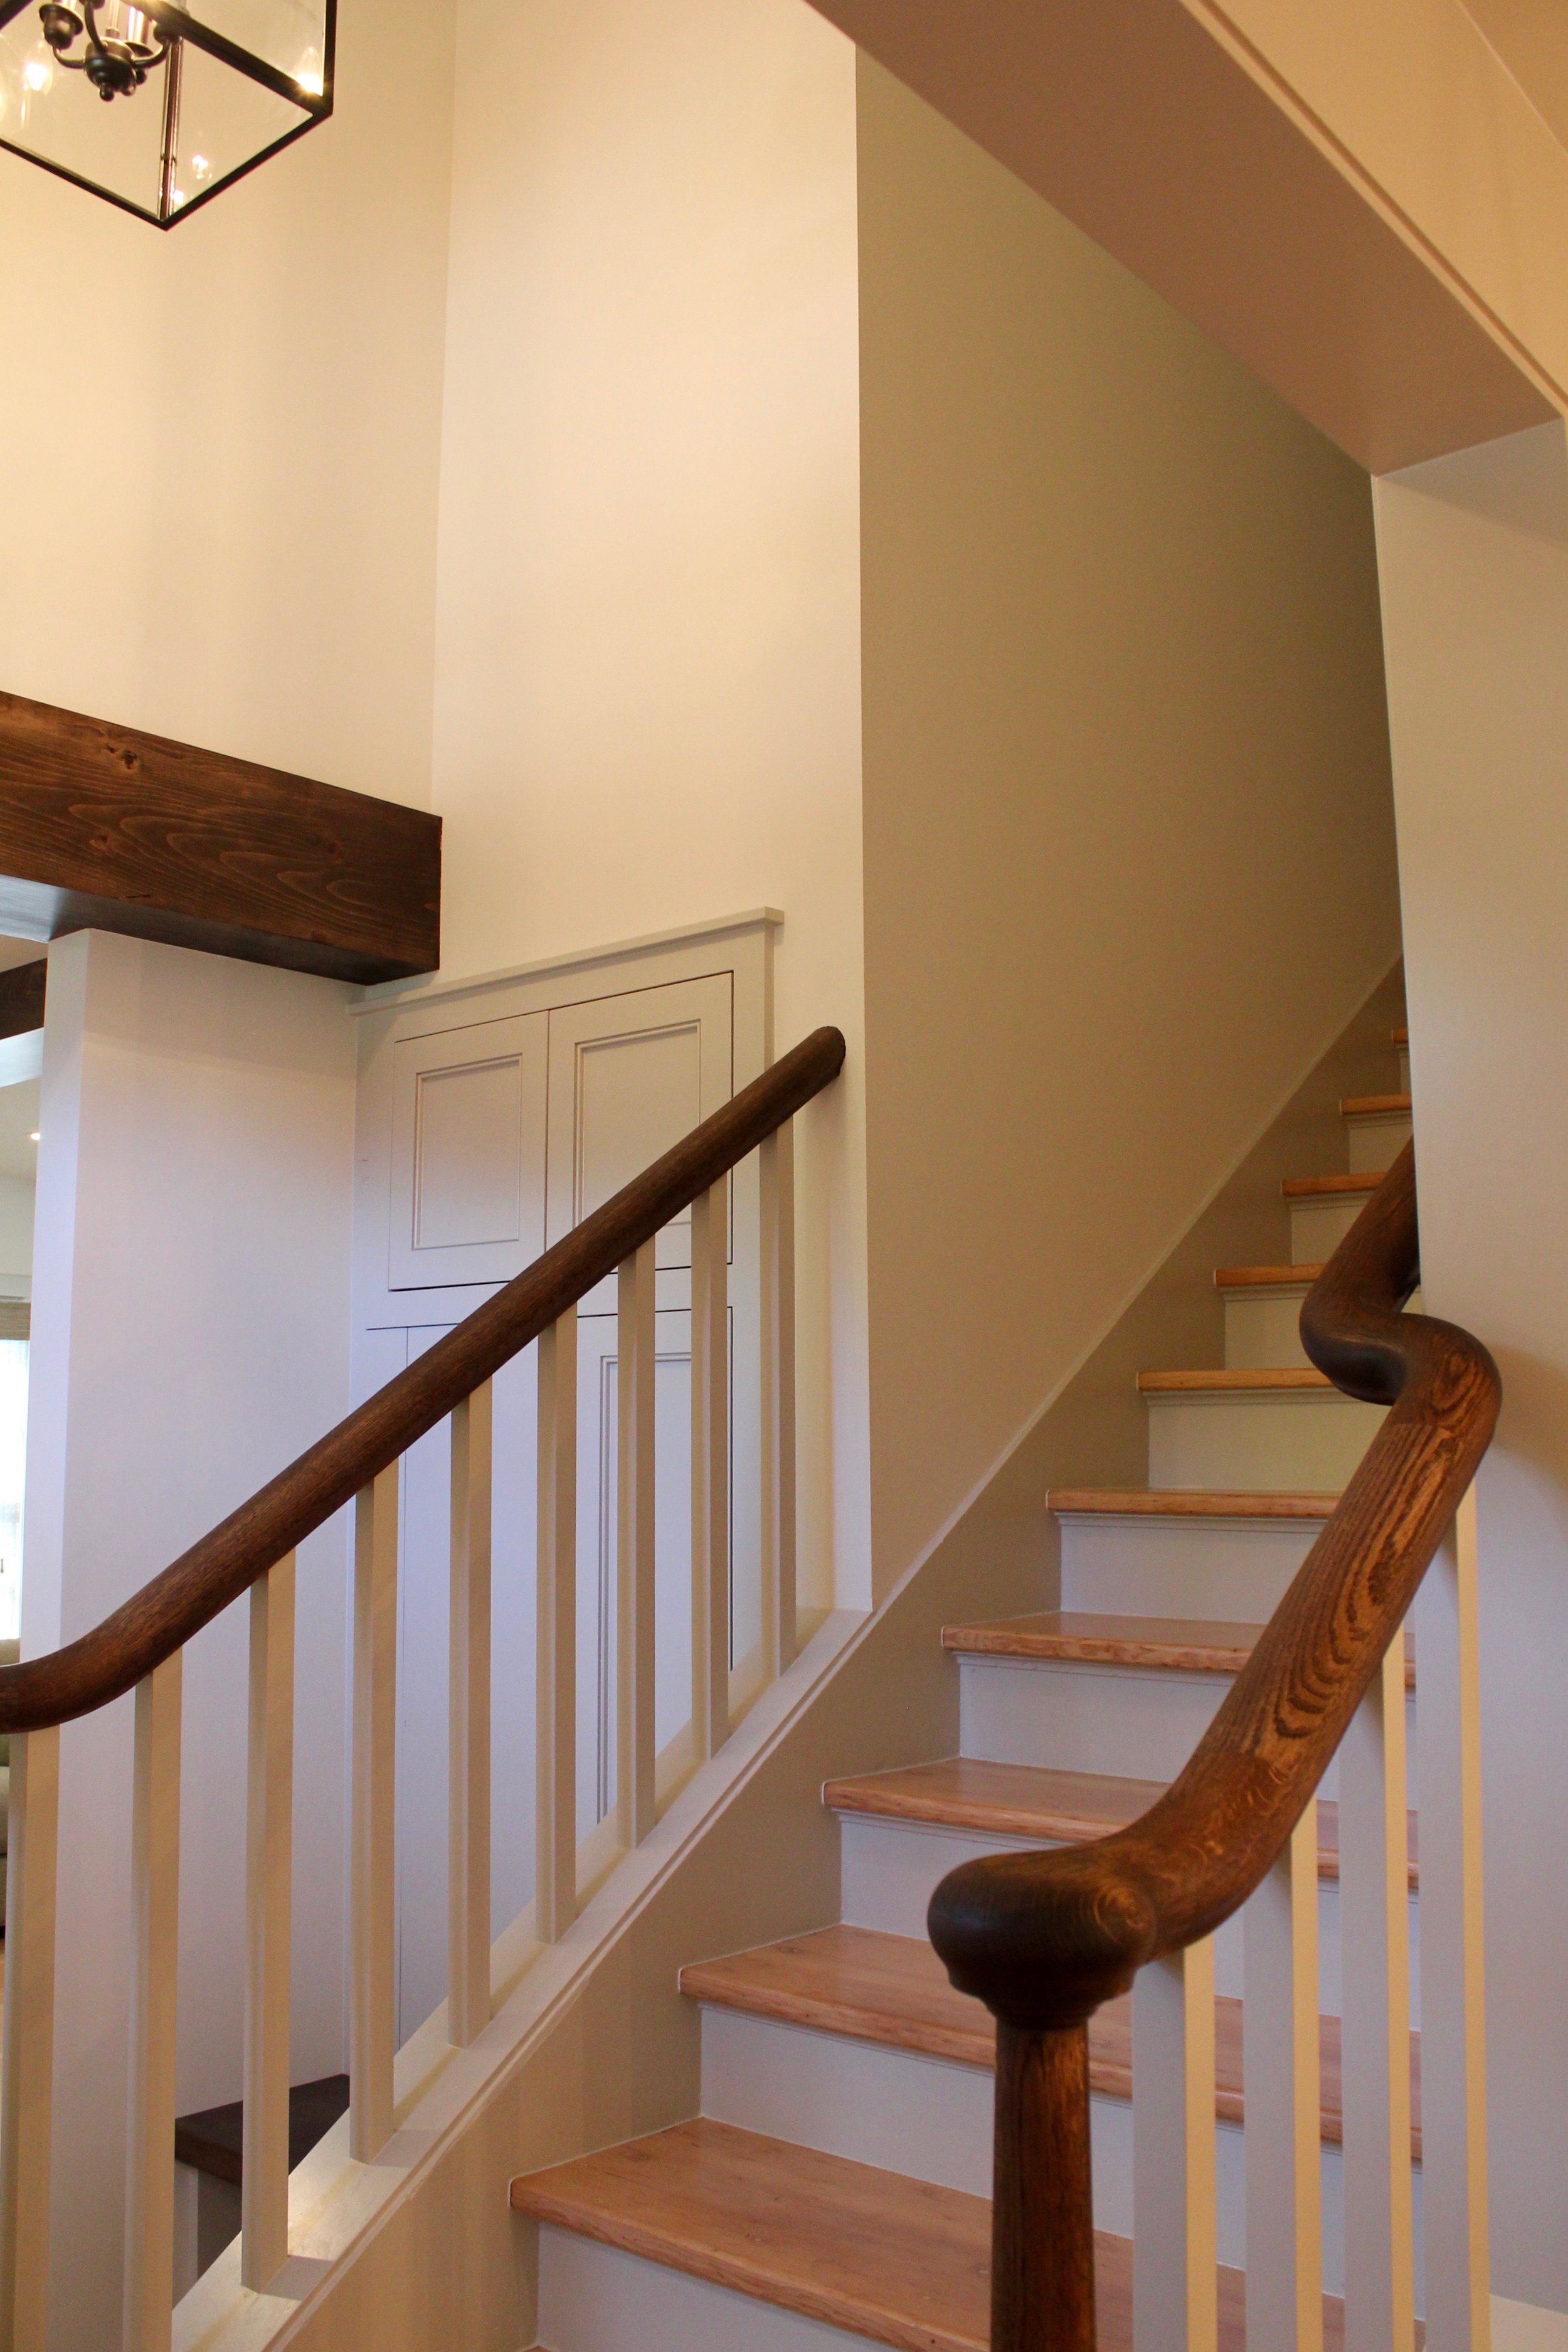
Isn't this little built-in bench and storage just the cutest?  Now there is plenty of room to walk in, have a seat to take off muddy boots, and a place to hang your coat and purse.

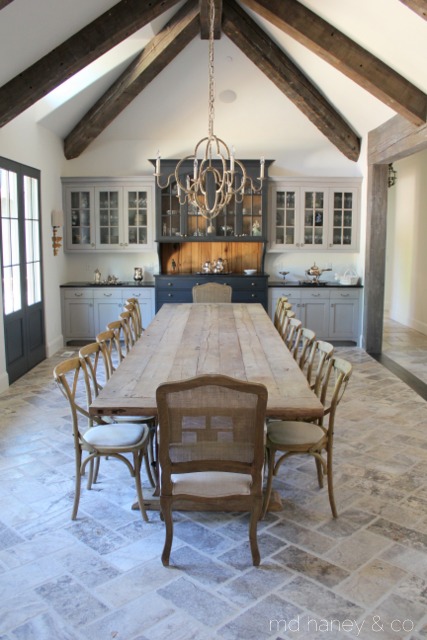
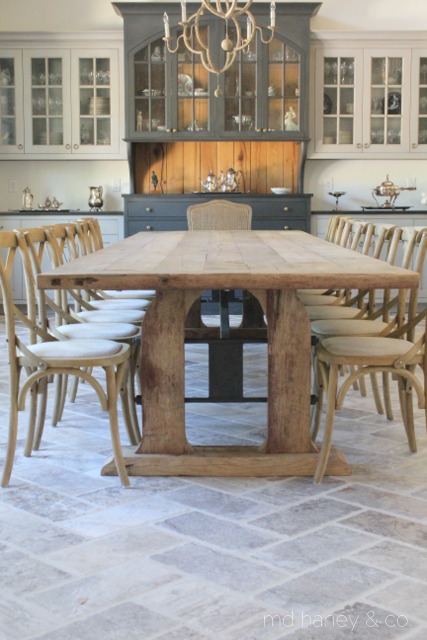
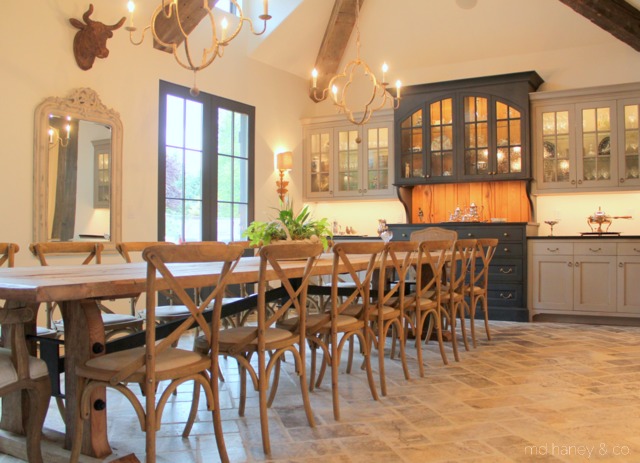
After heading through the front door, you can head to the right and right into the dining room....

dining room
dining table

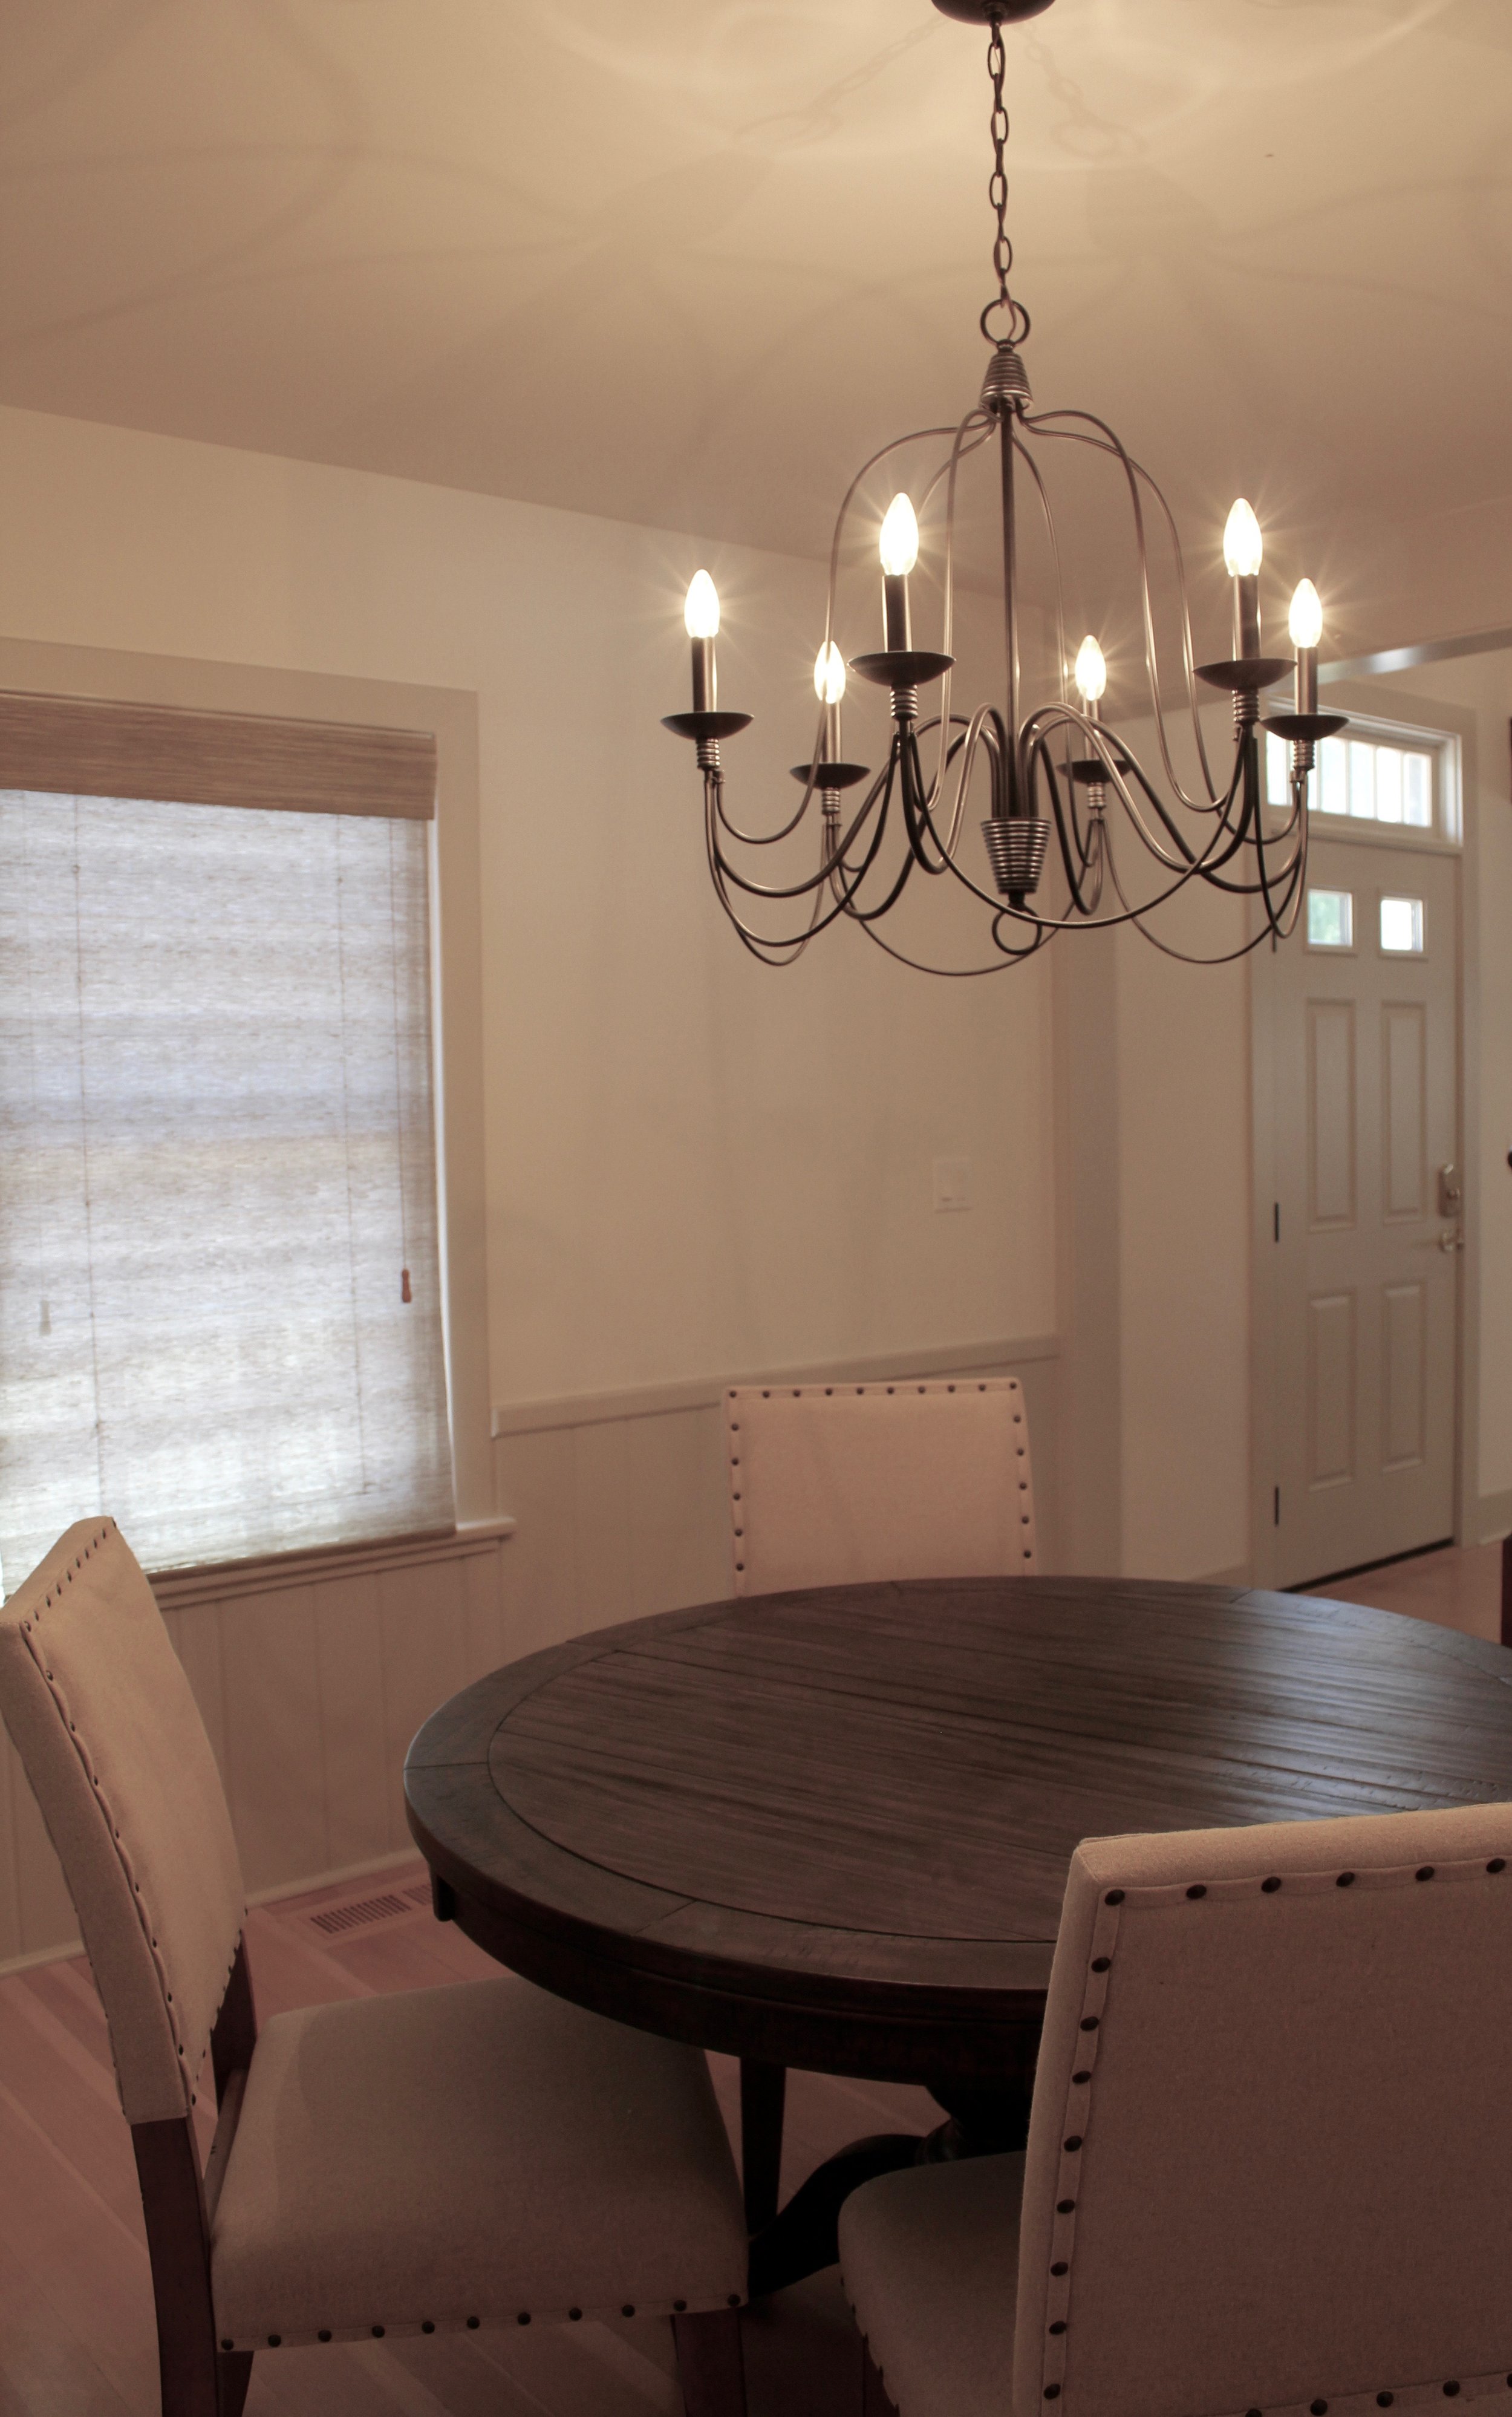
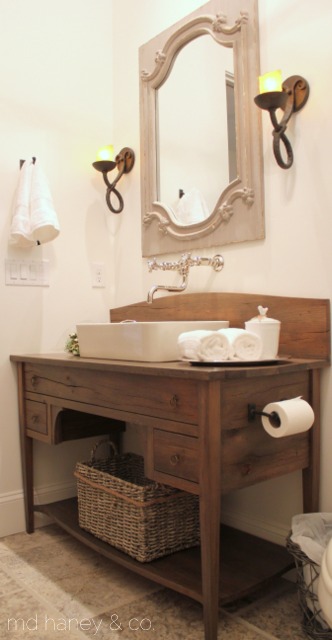
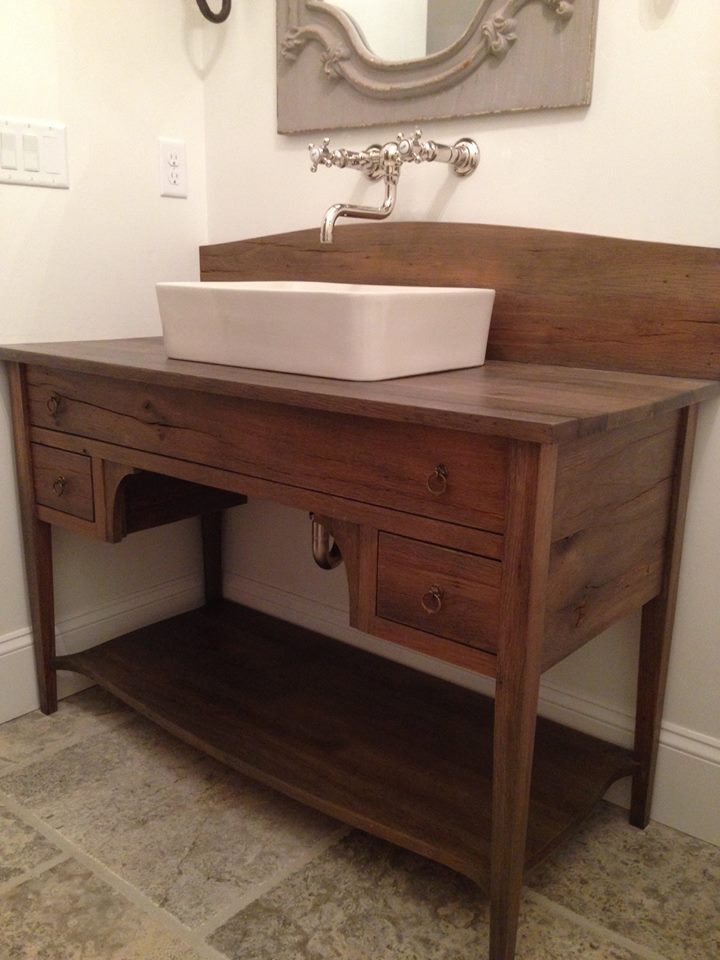
As you head through the dining room, you can enter the kitchen to the left, or head down the hallway towards the powder room.  

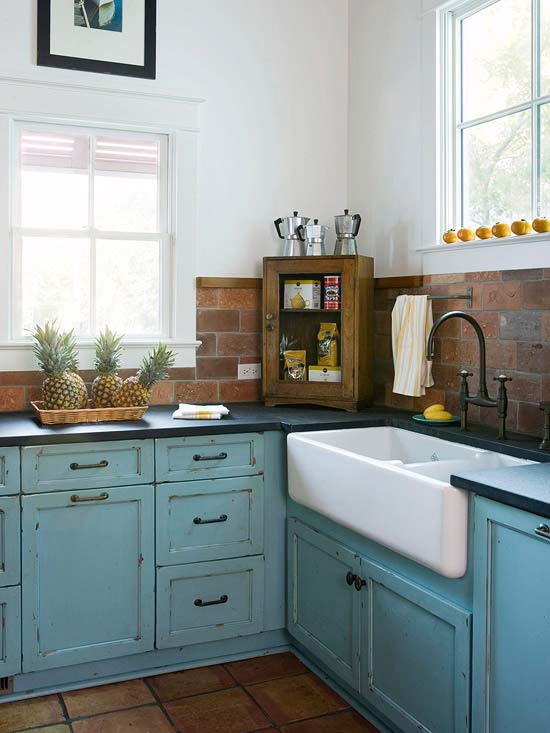
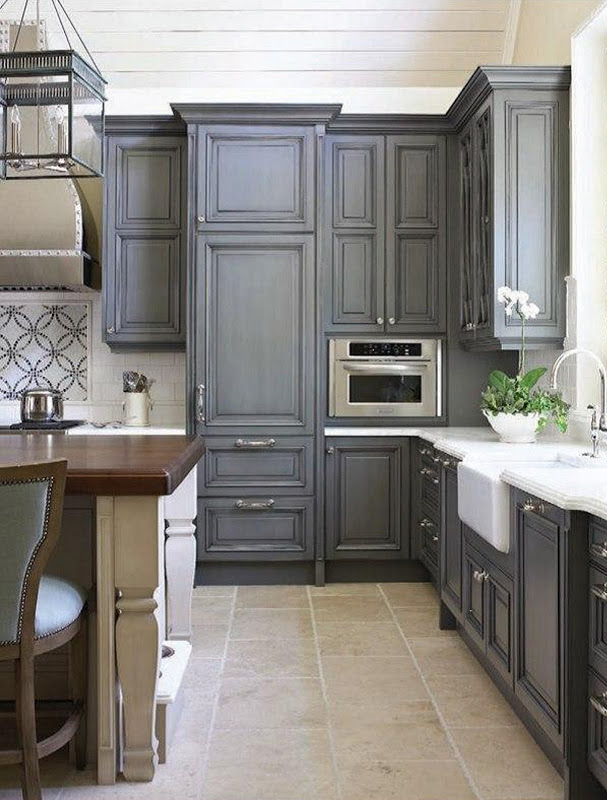
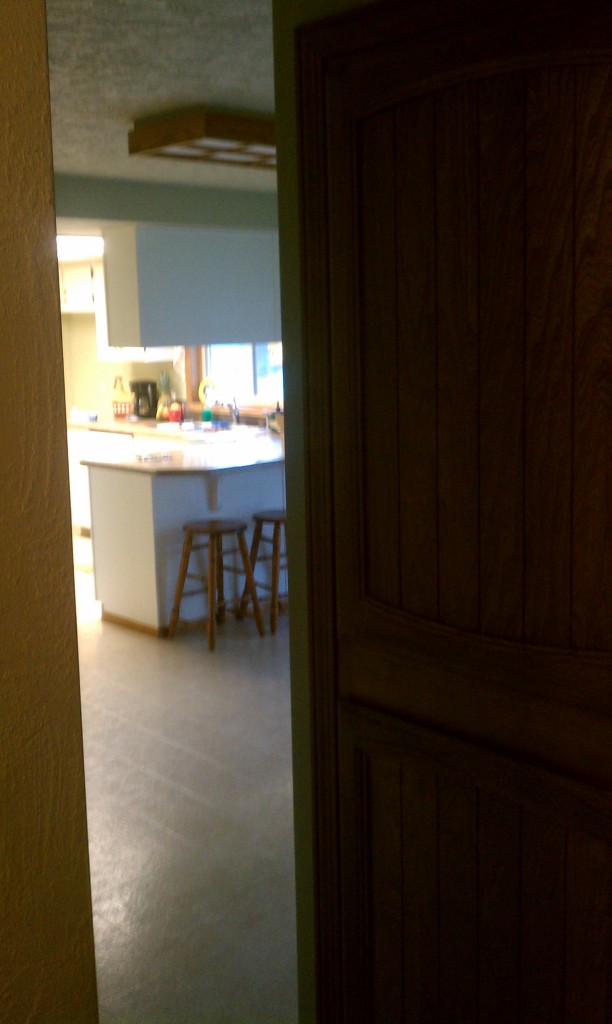
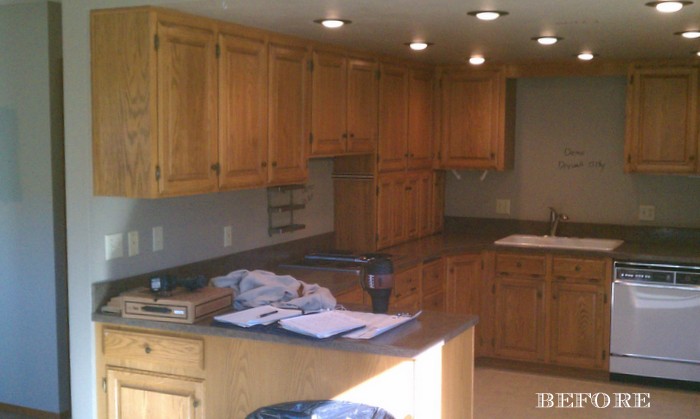
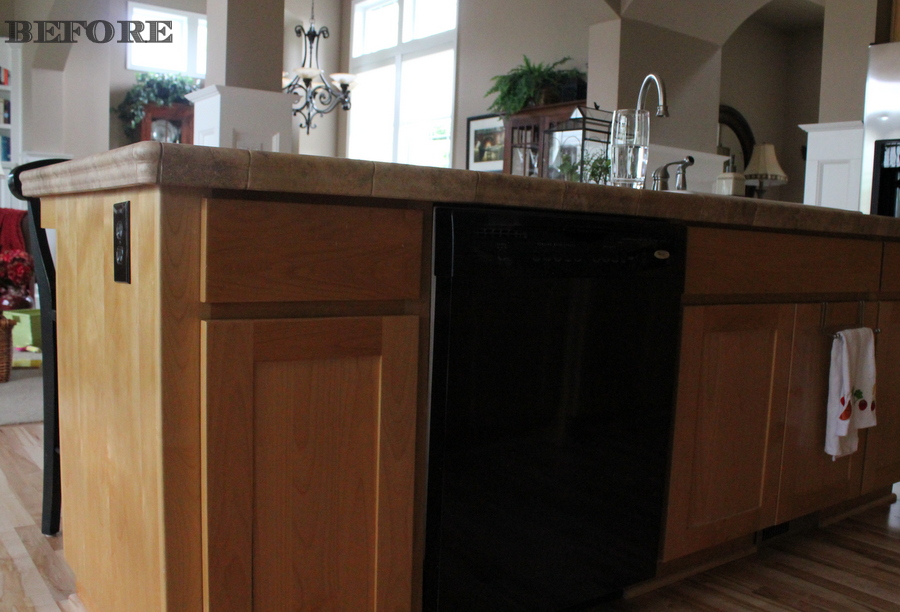
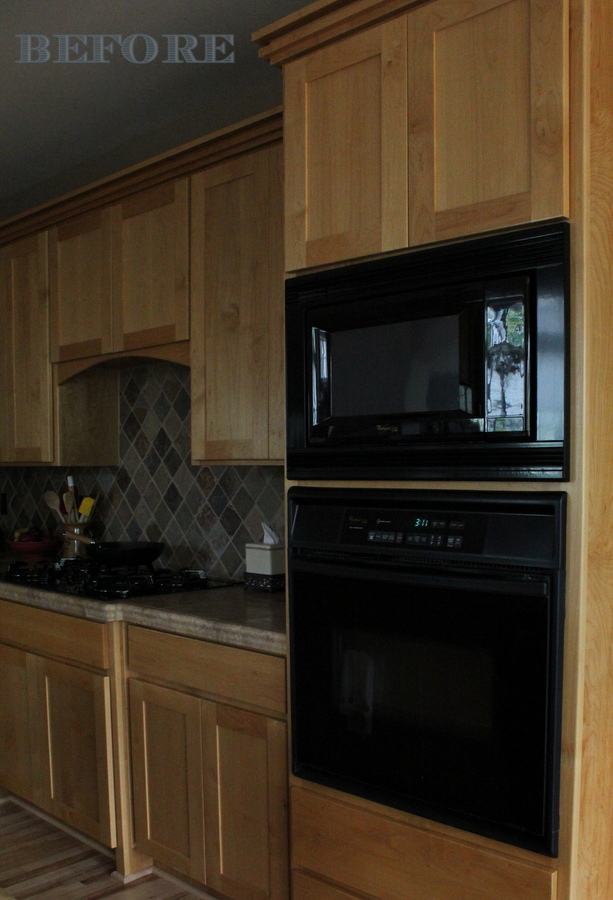
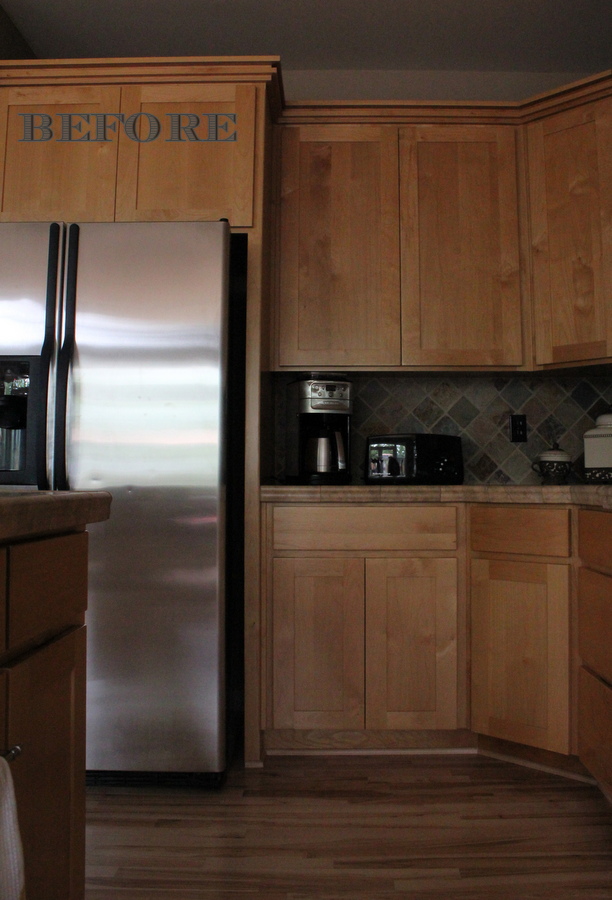
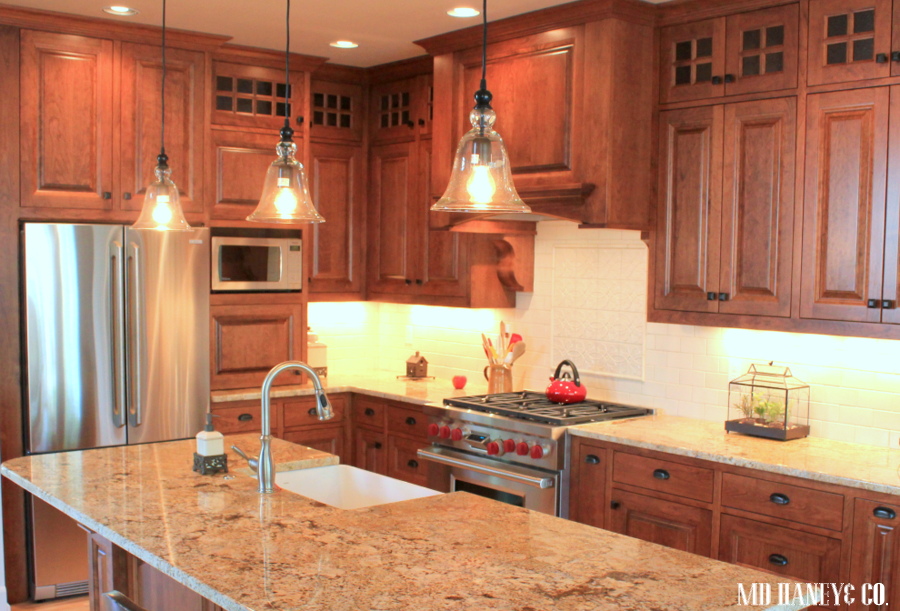
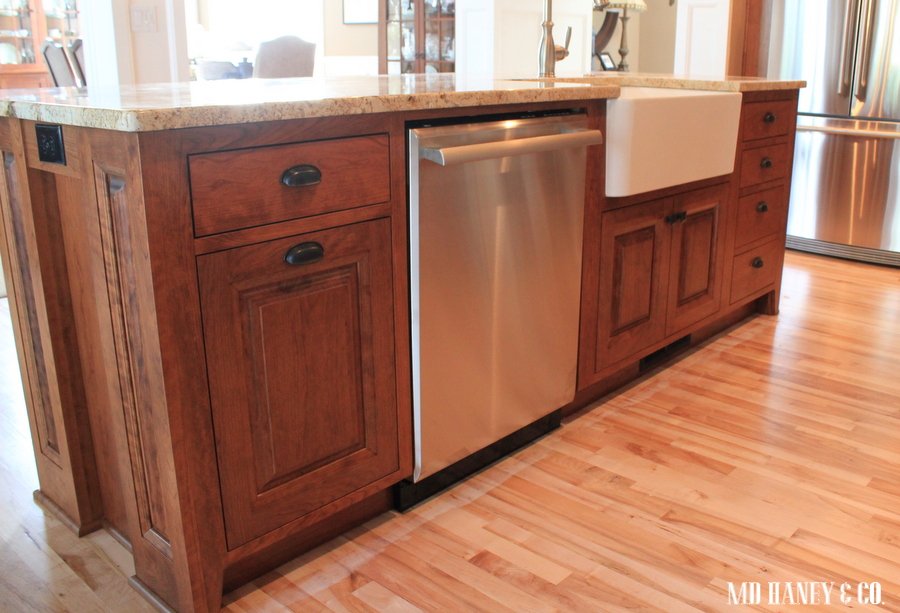
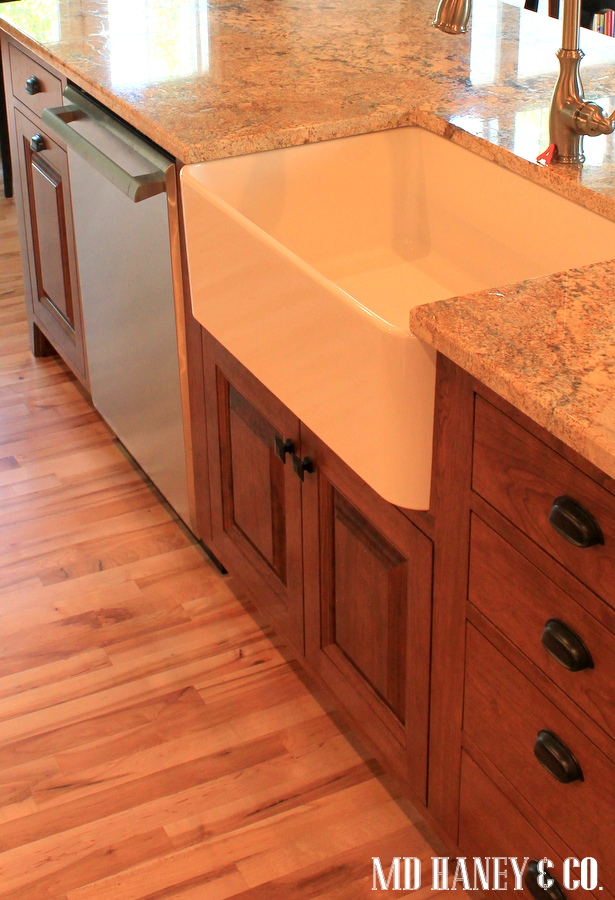
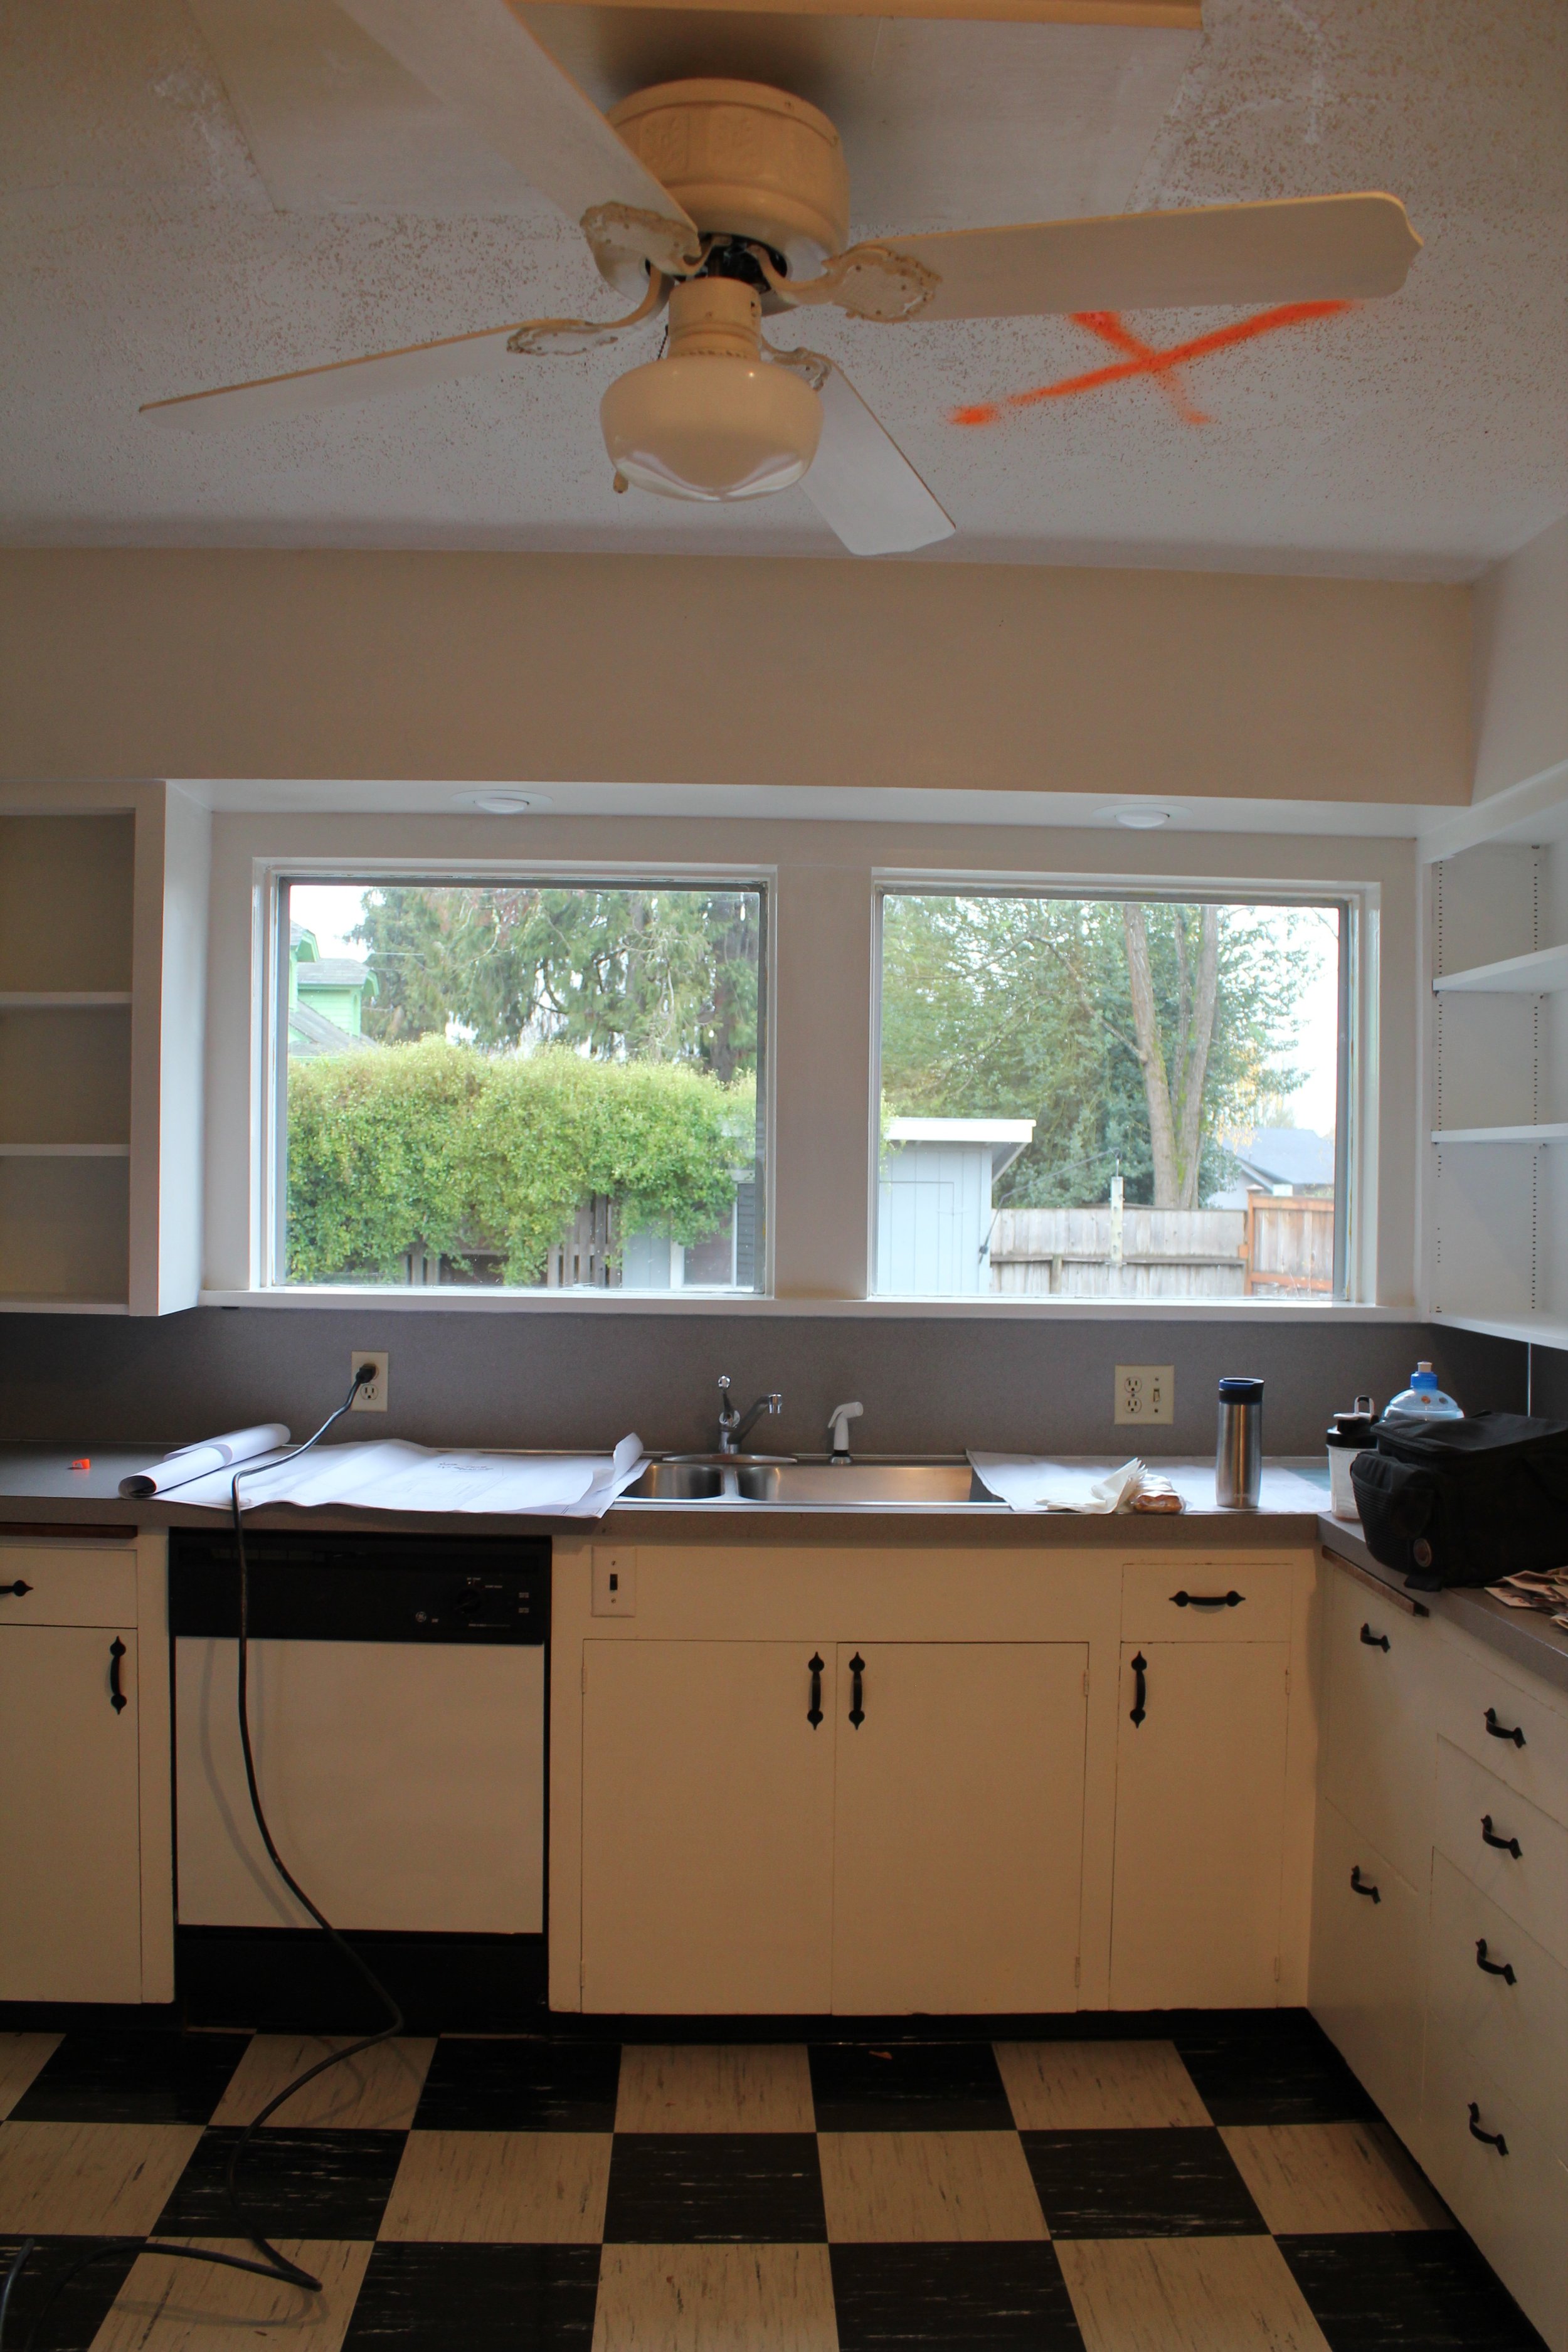
The kitchen before......
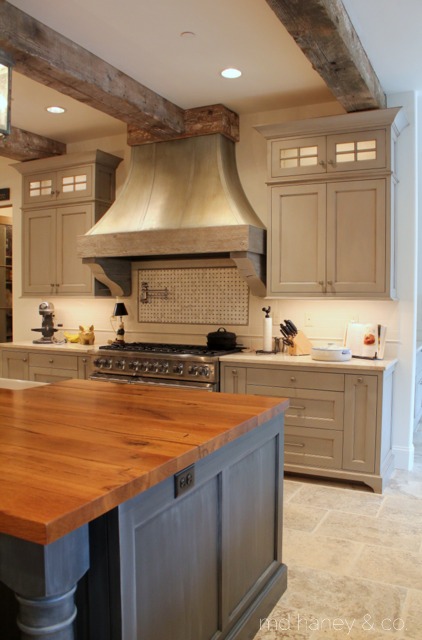
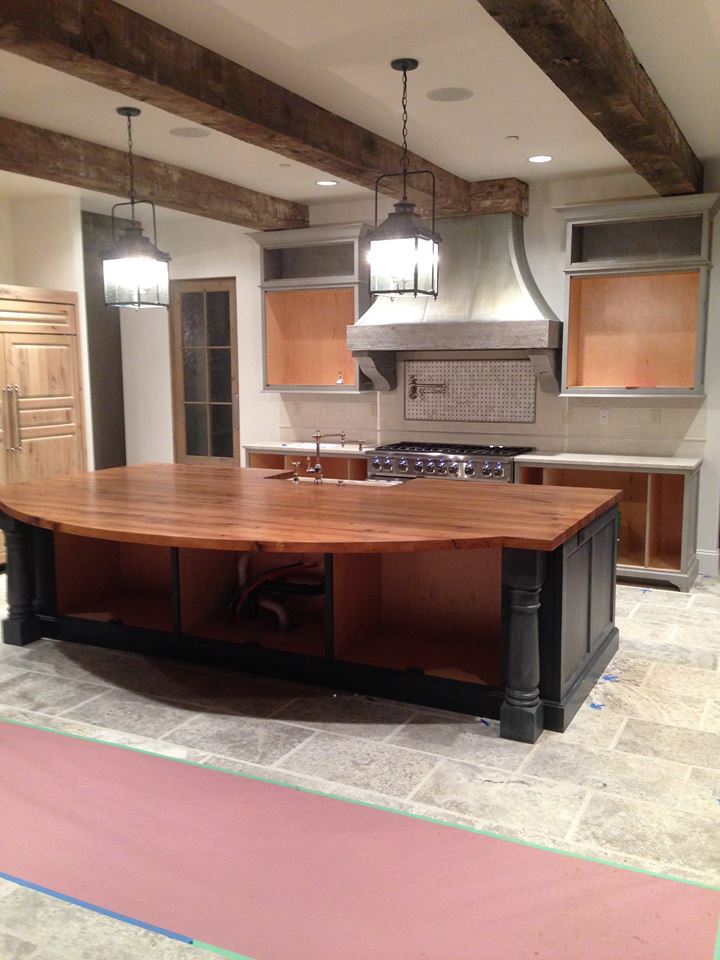
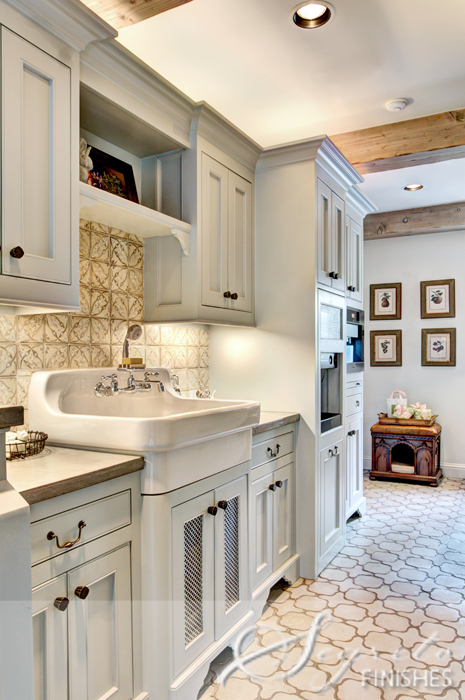
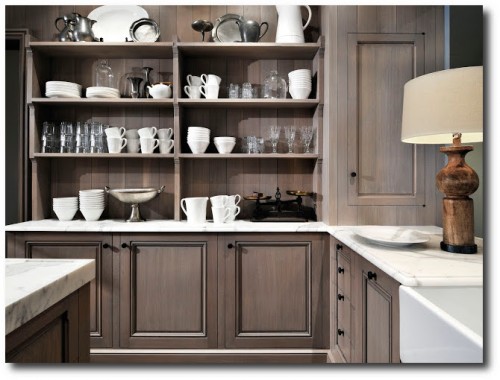
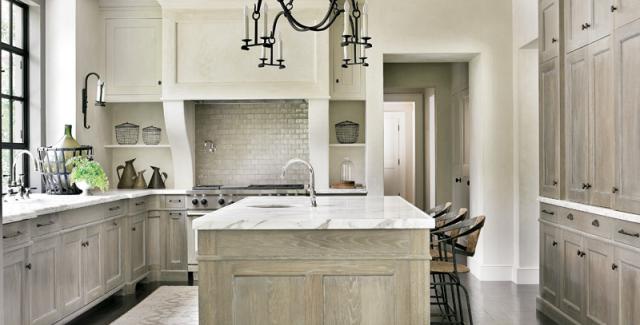
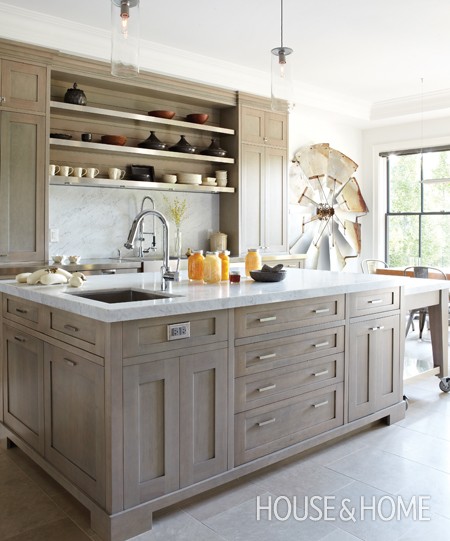
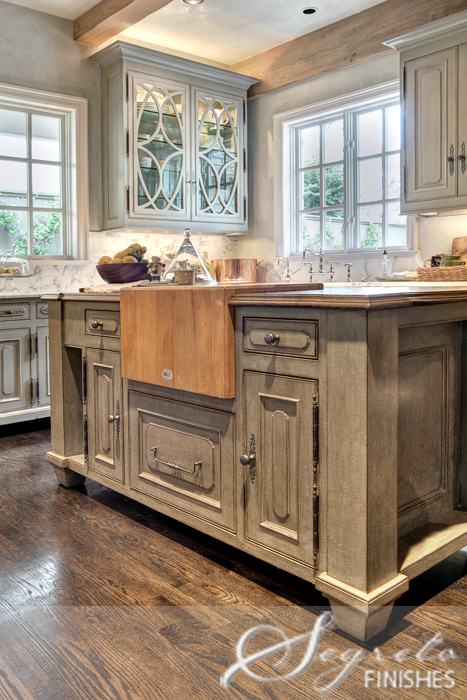
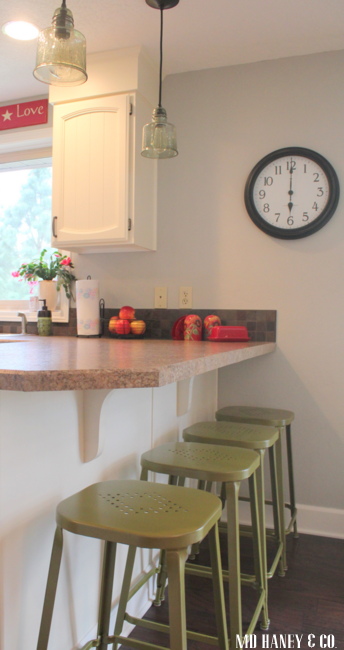
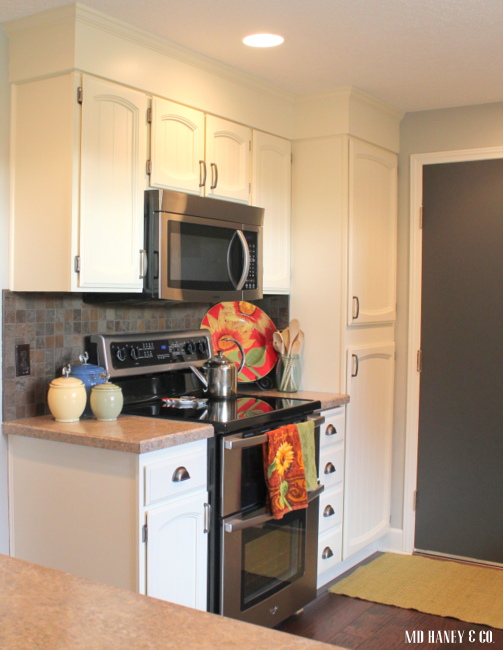
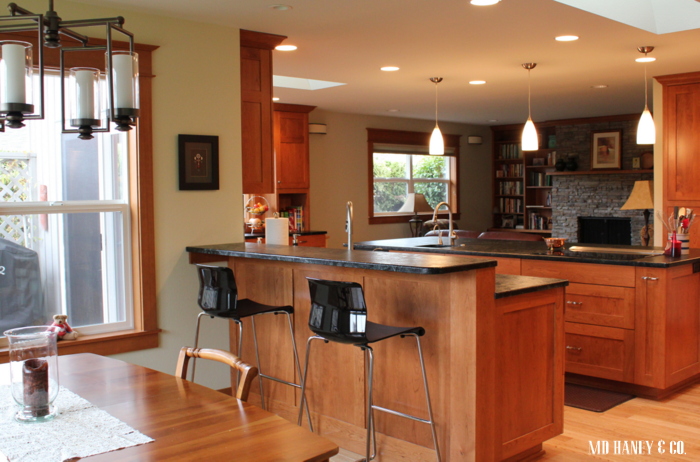
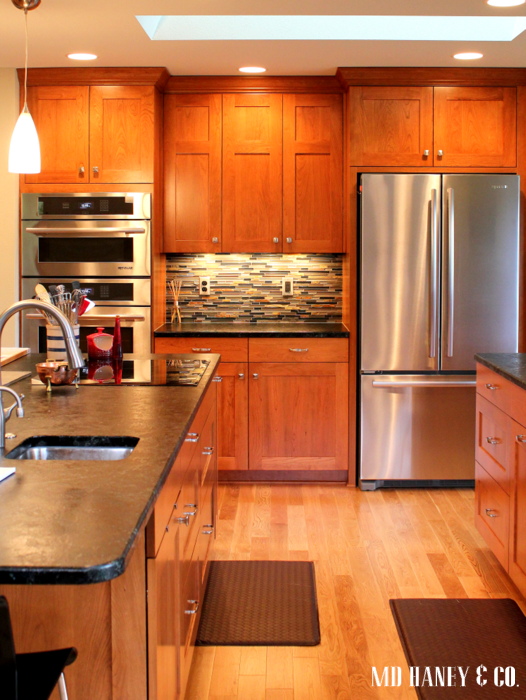
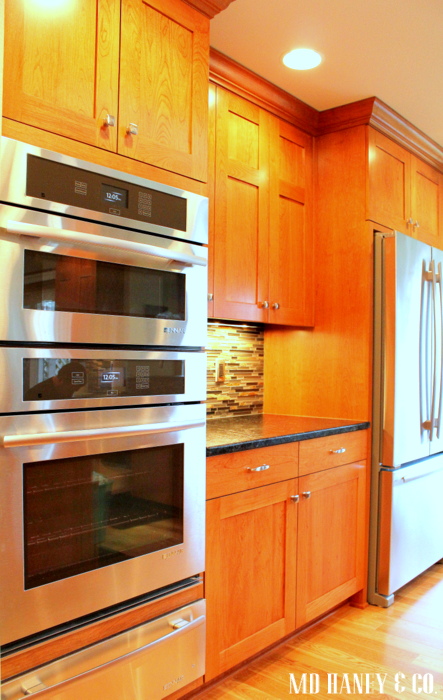
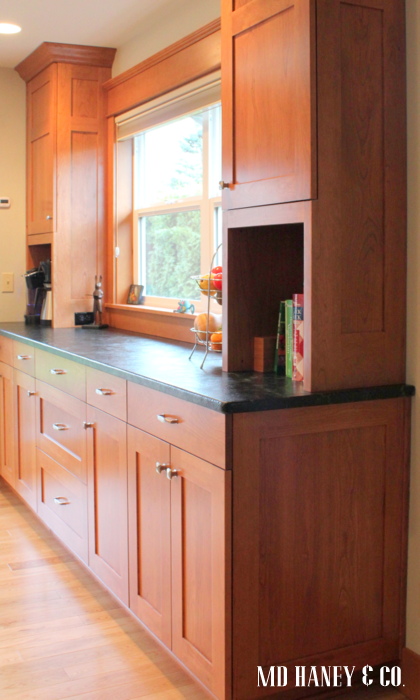
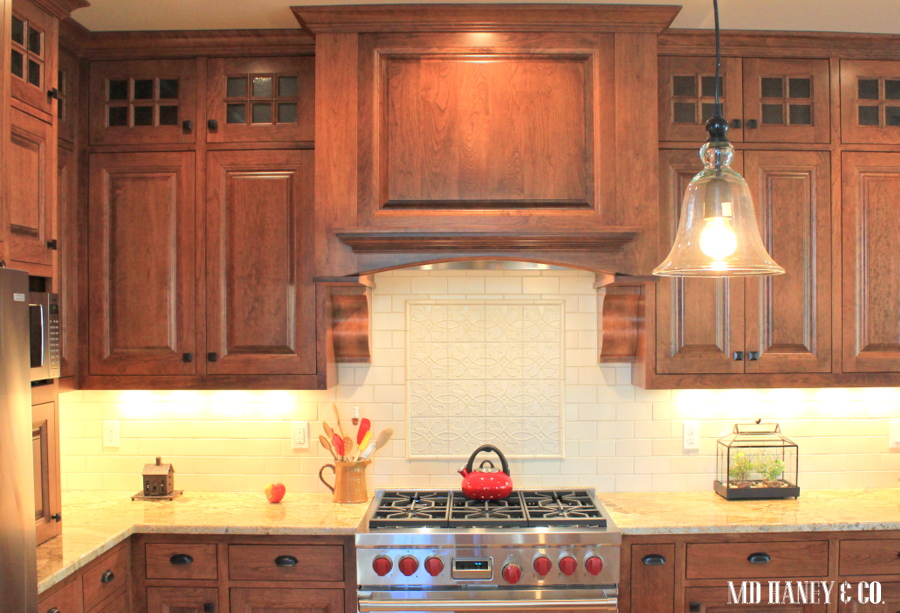
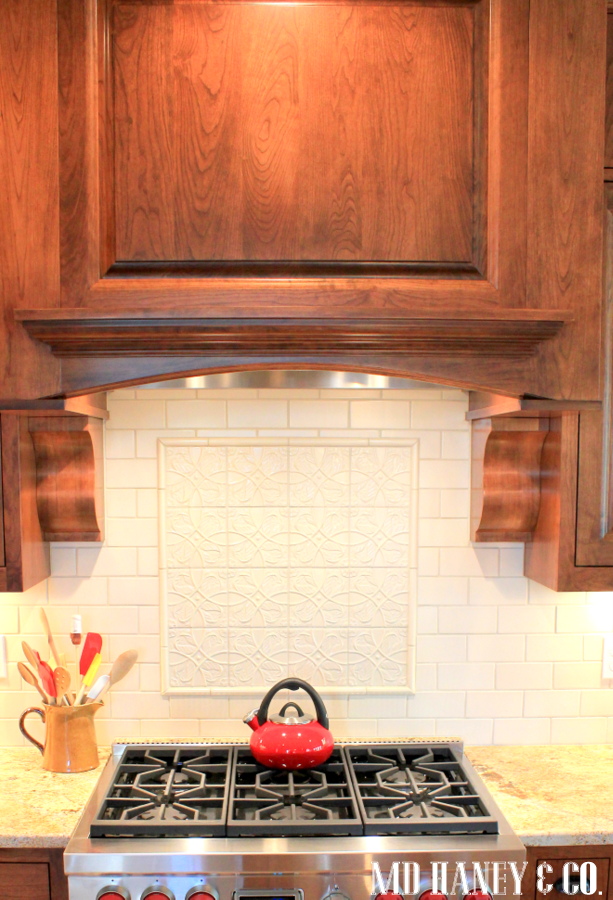
And after.....

pantry

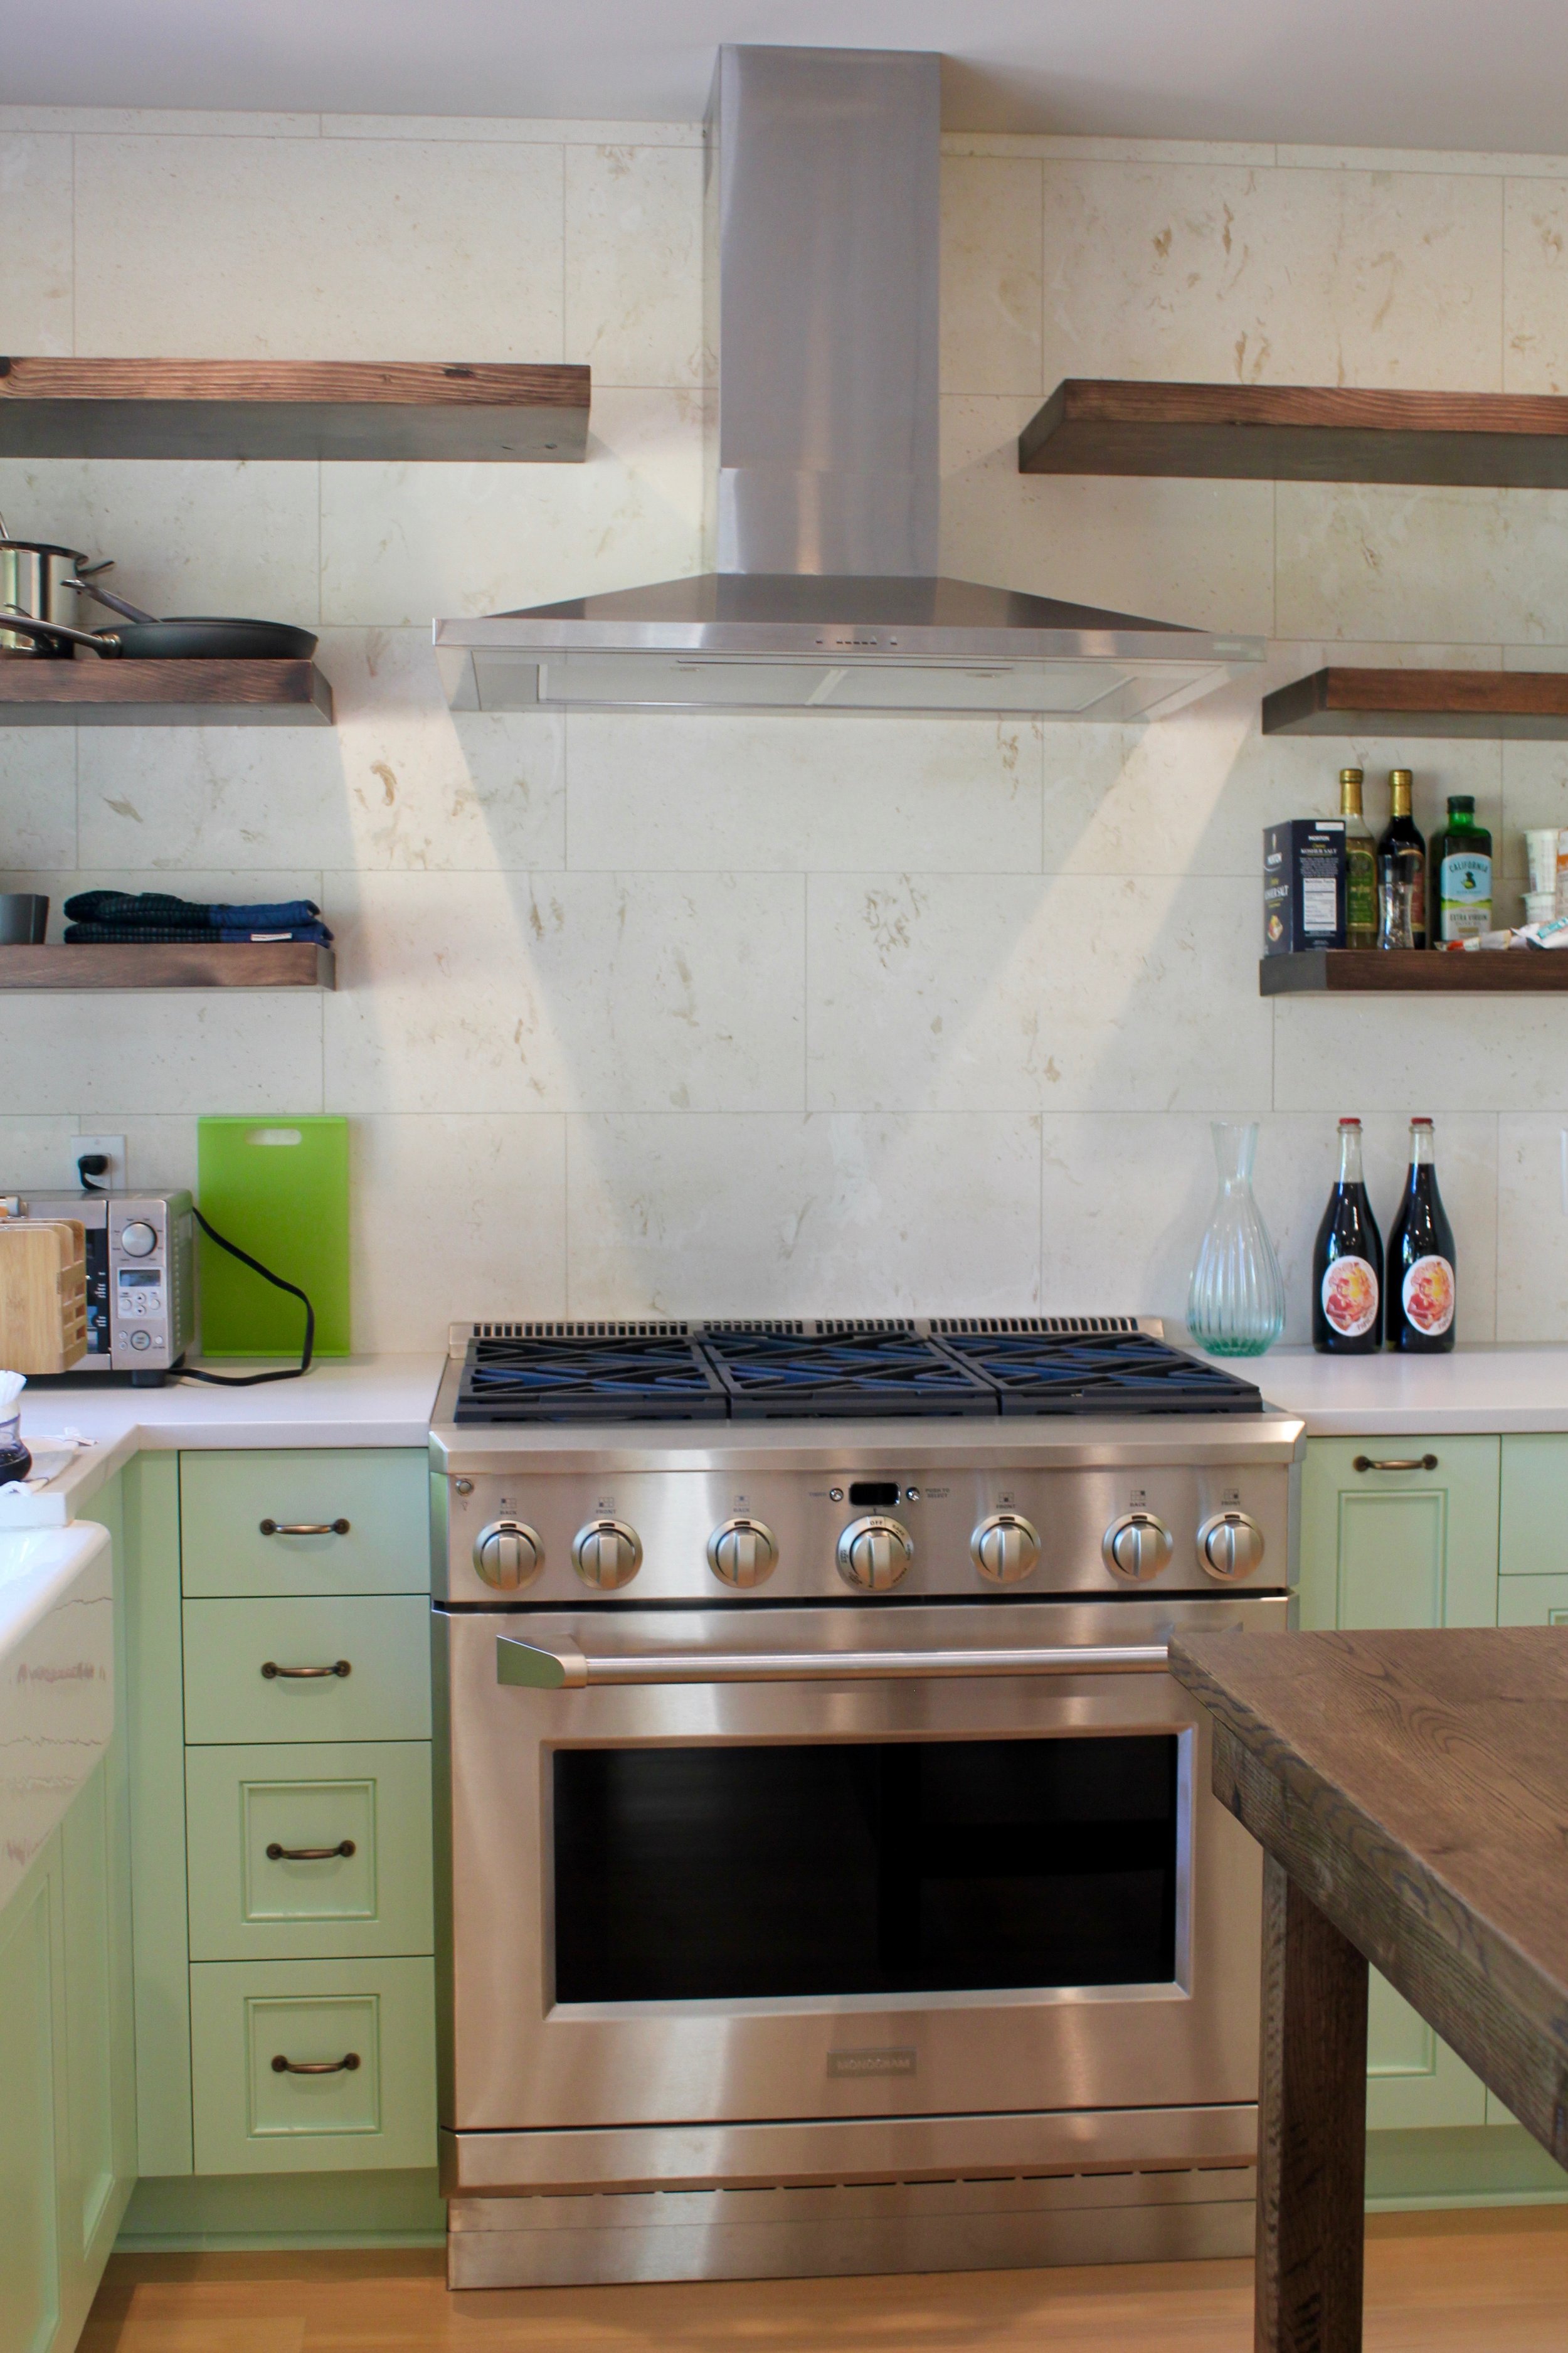
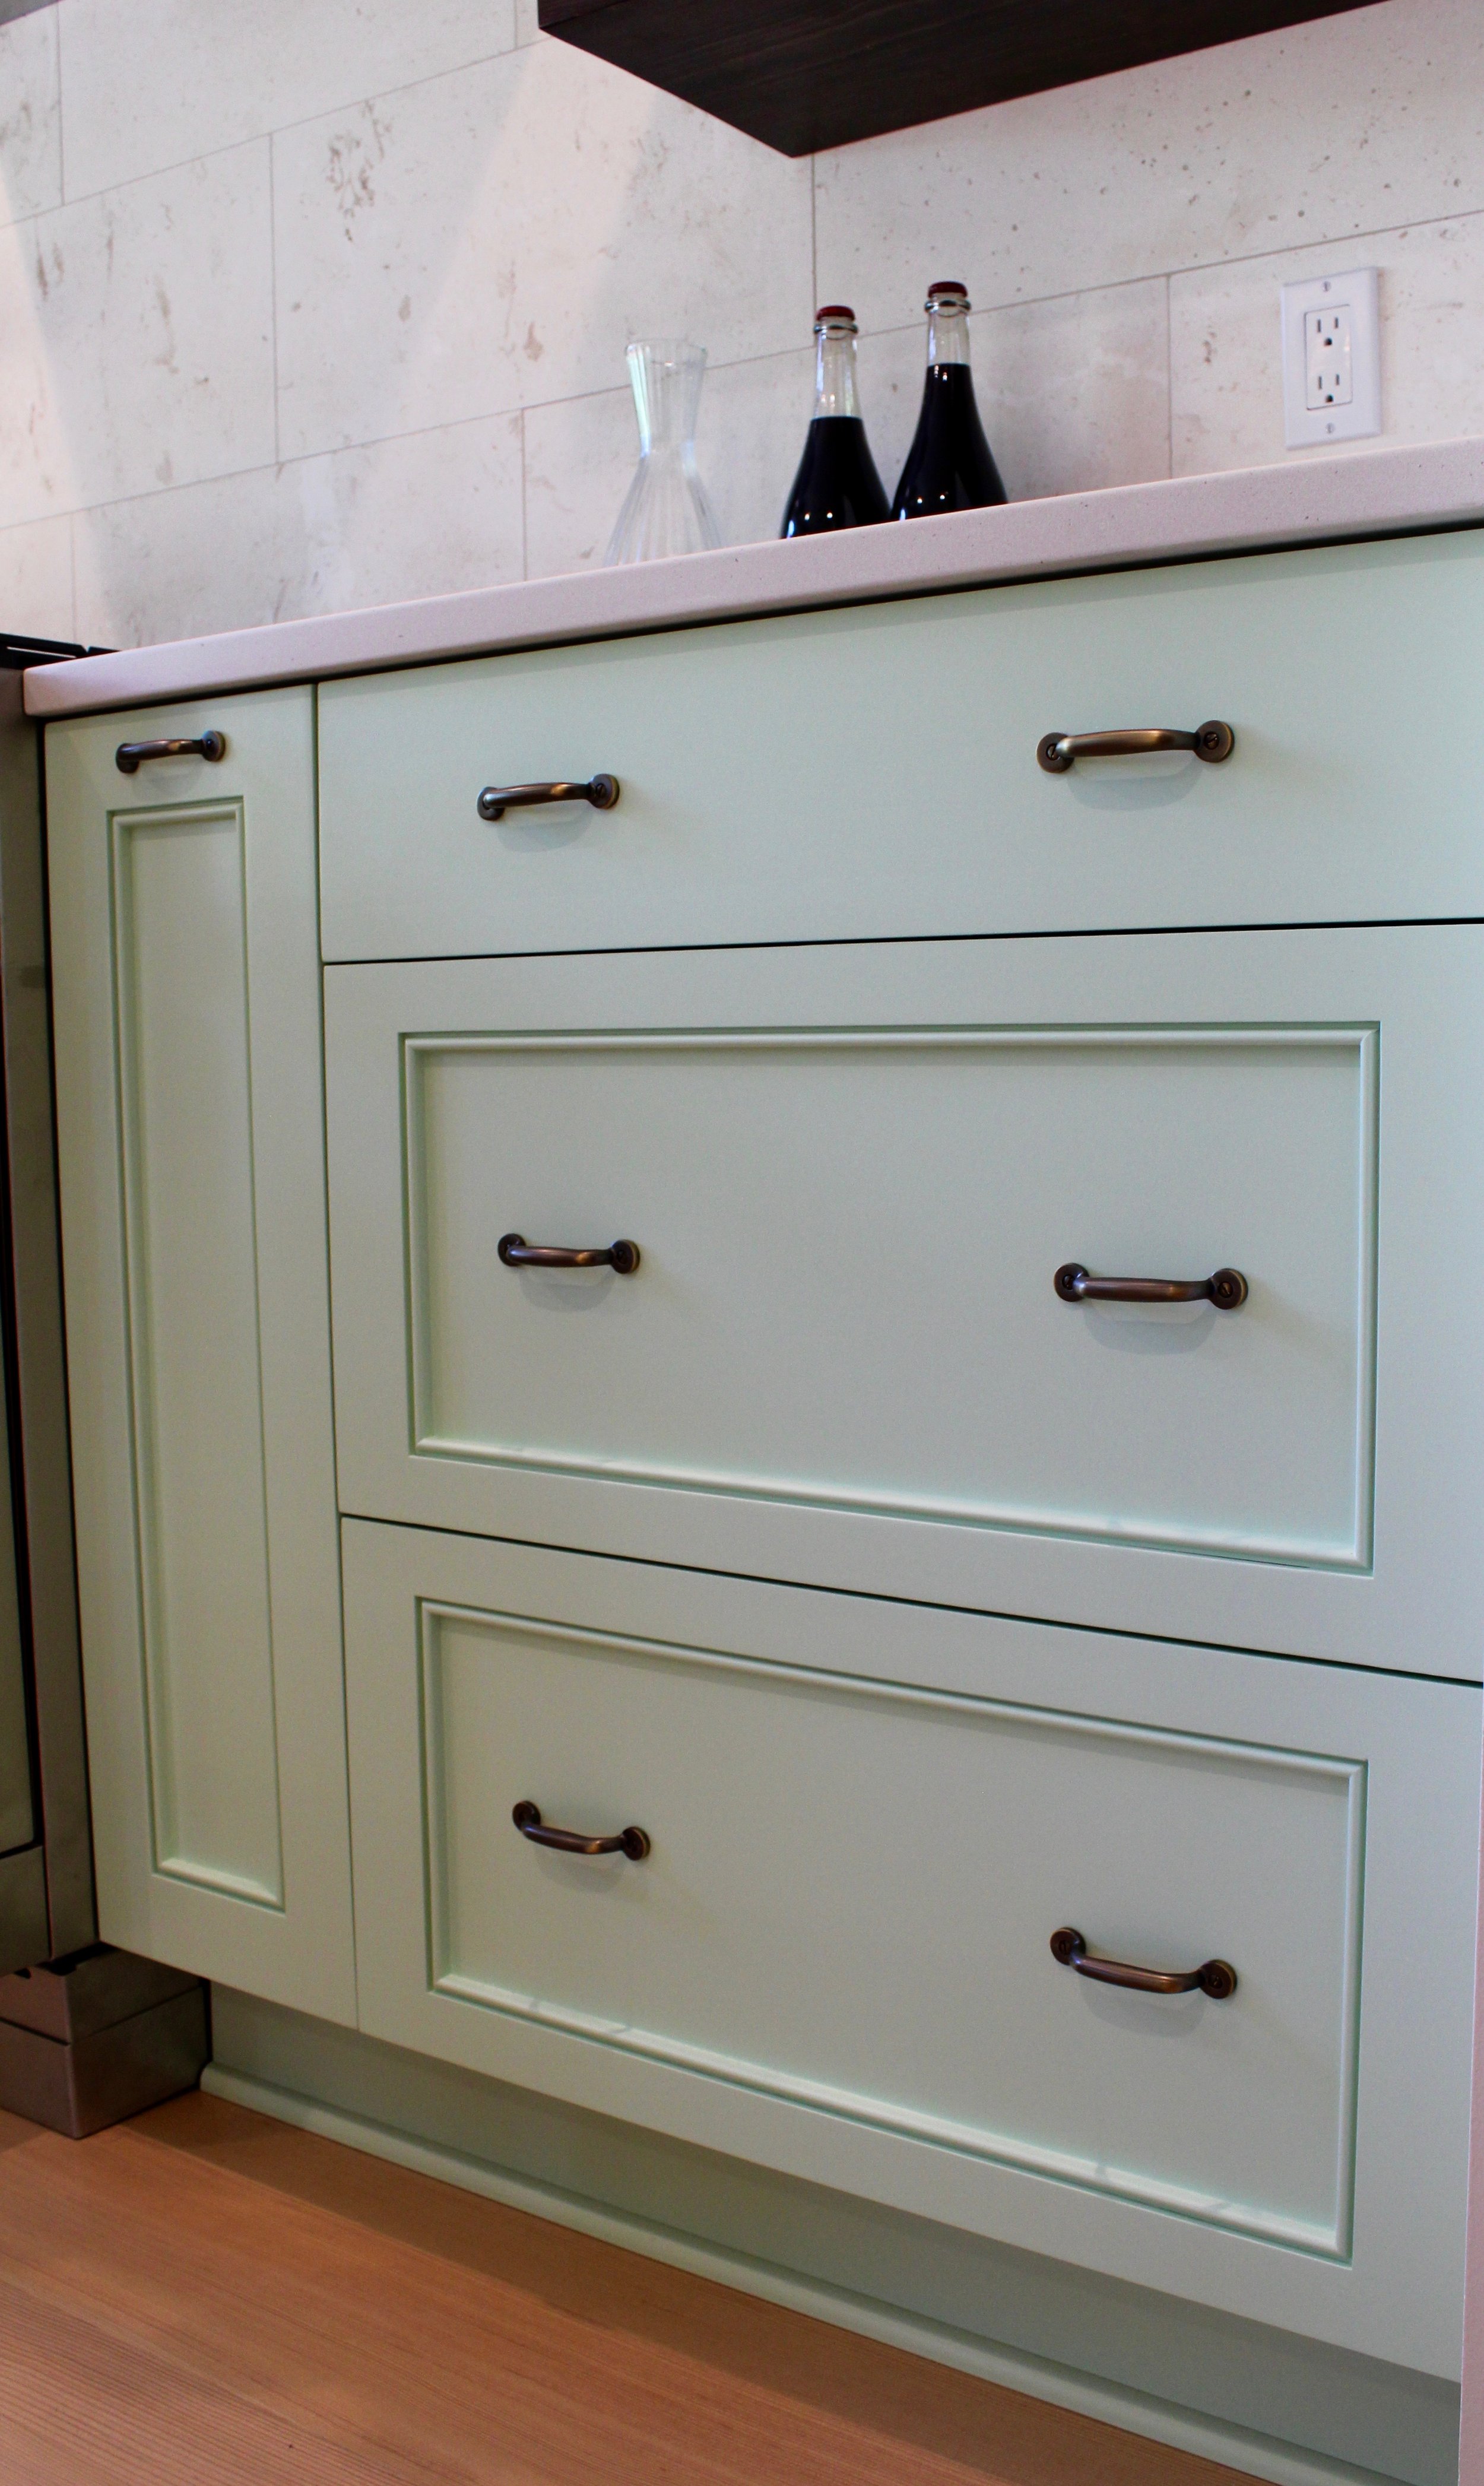
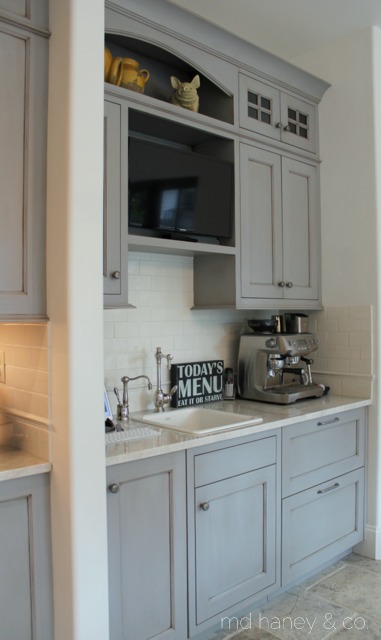
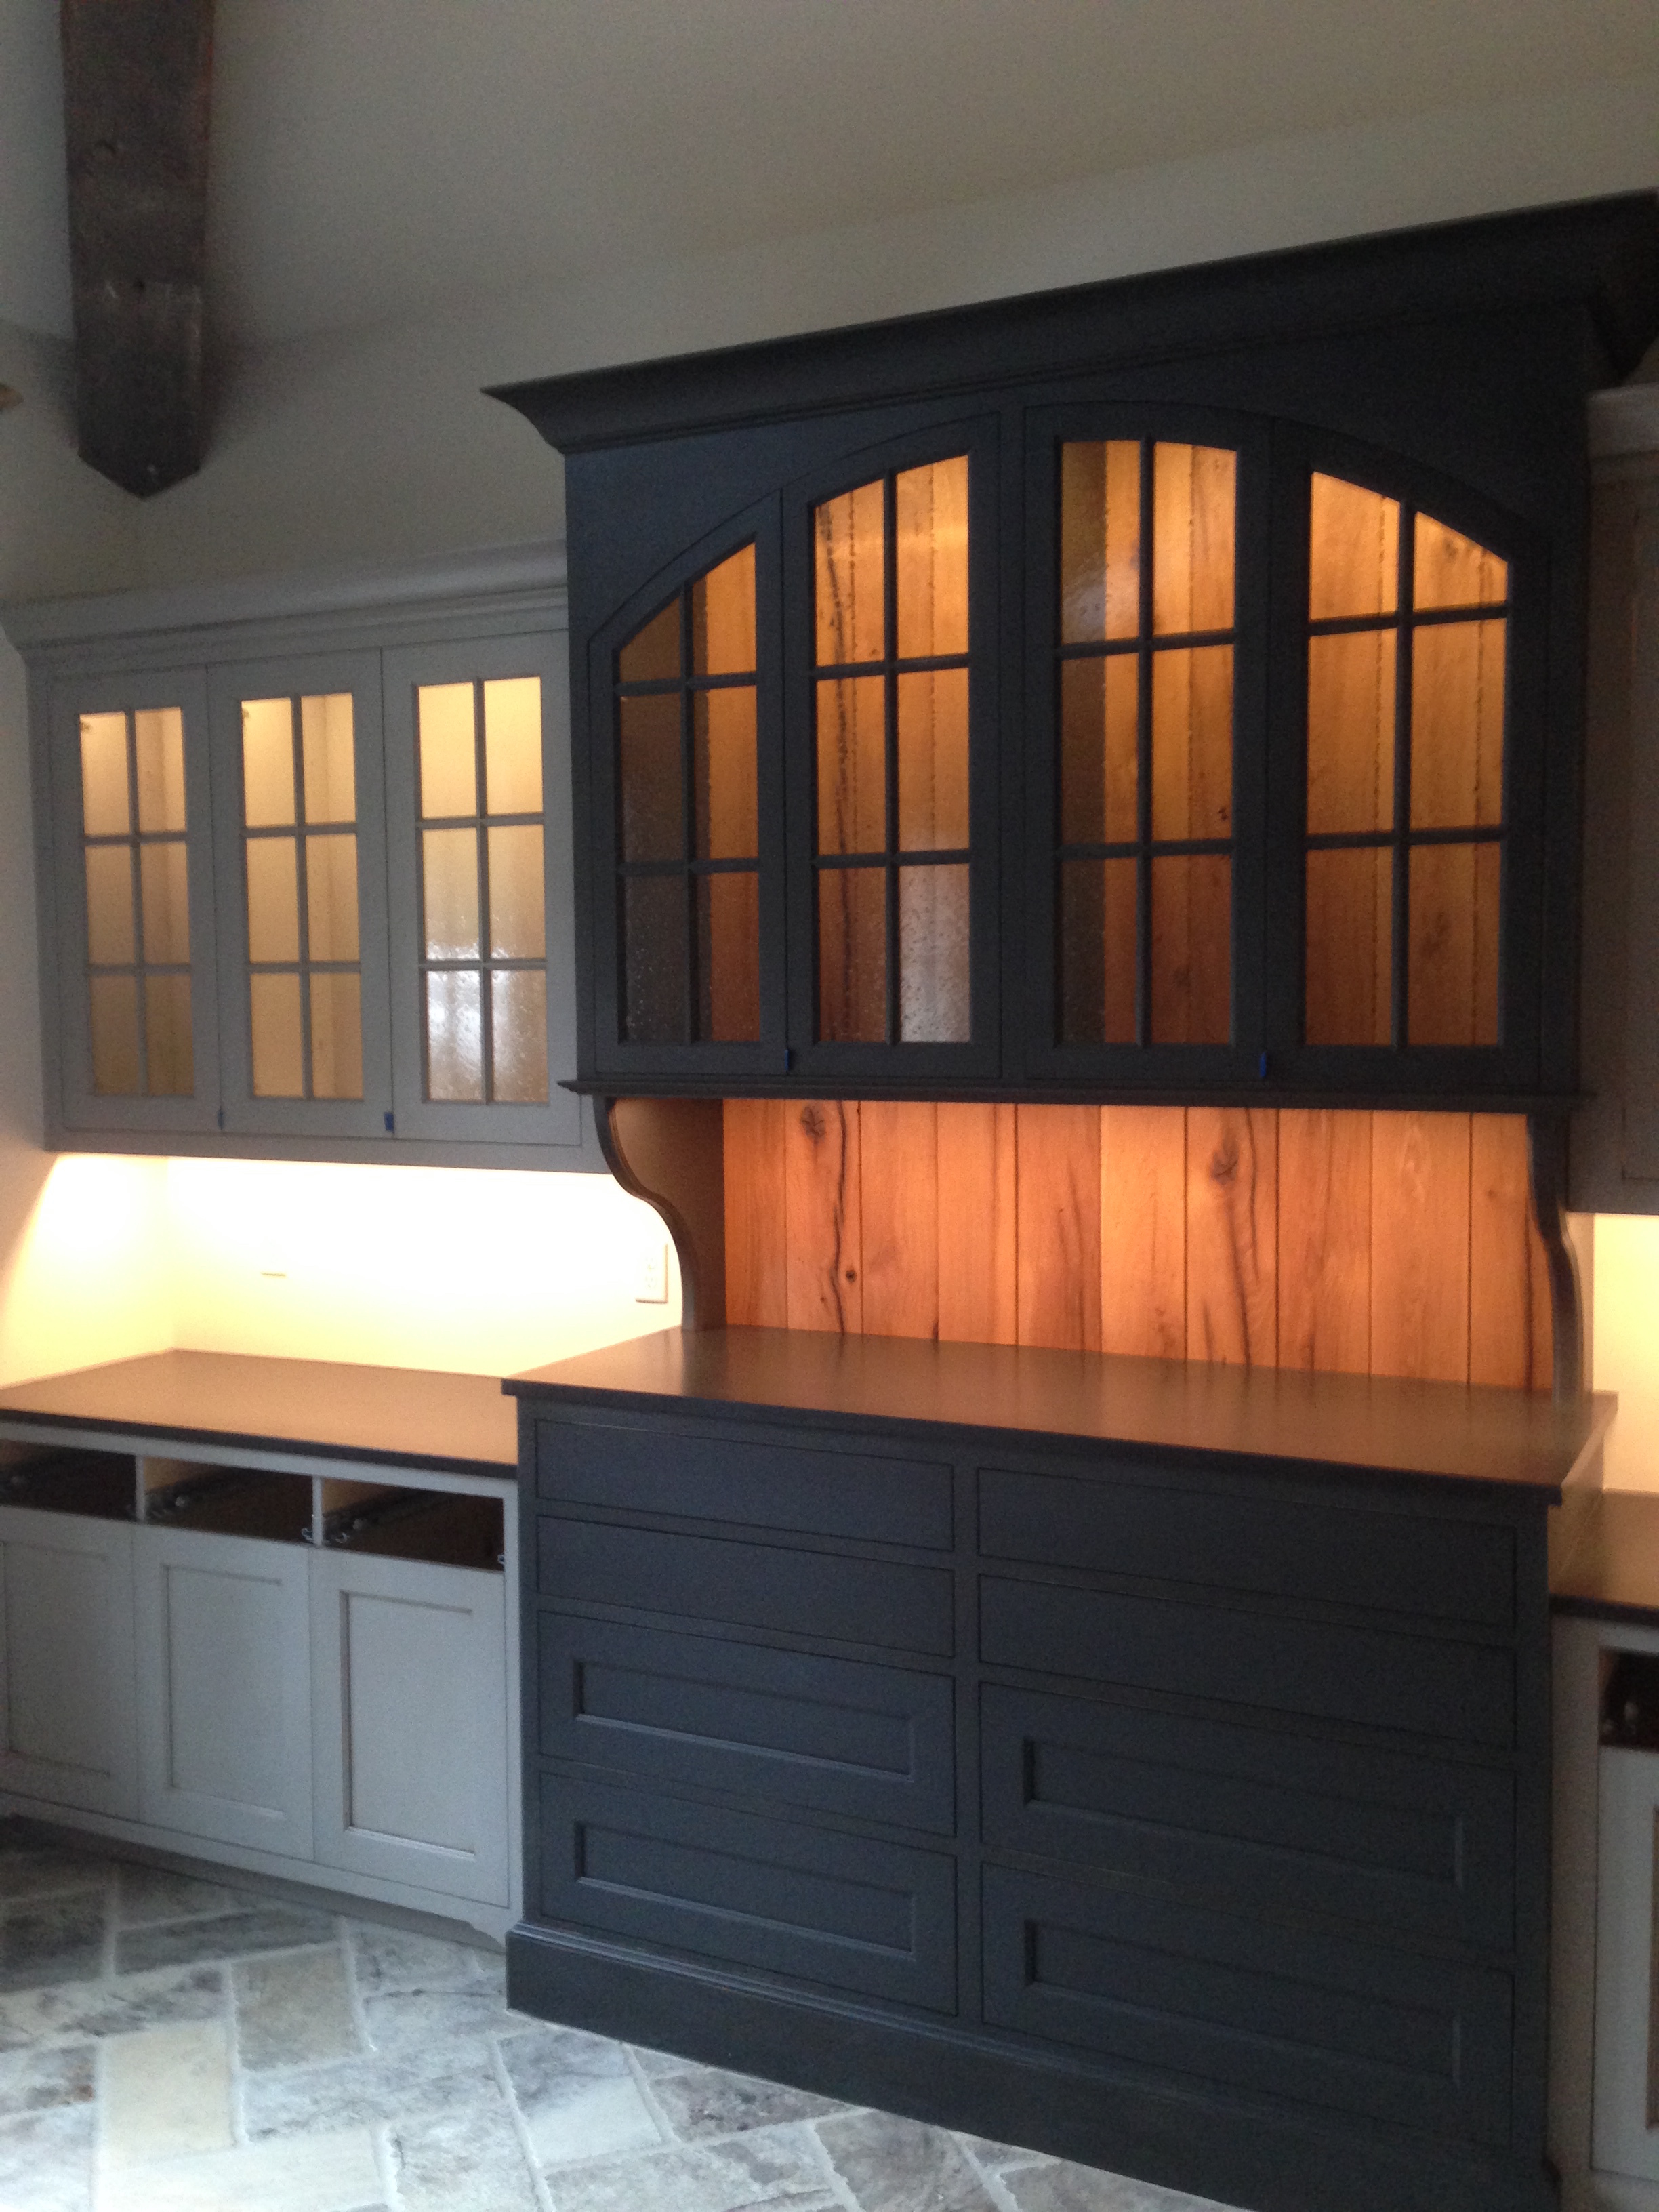
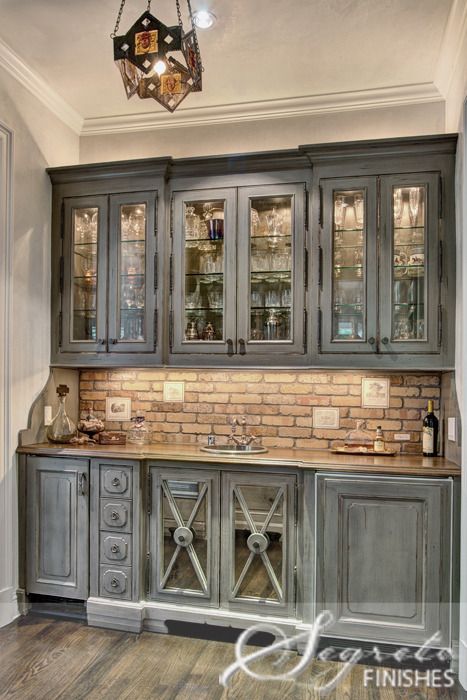
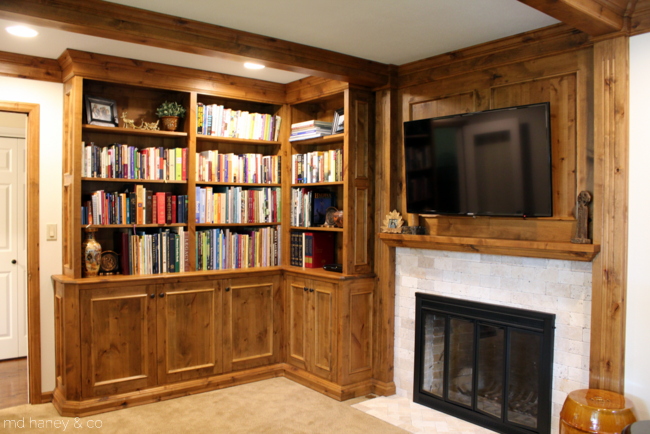
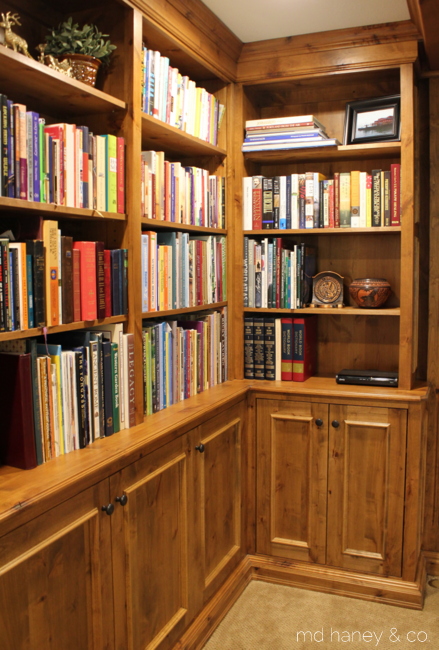
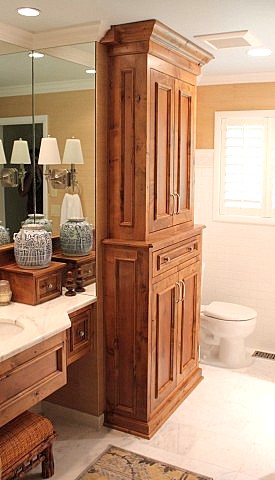
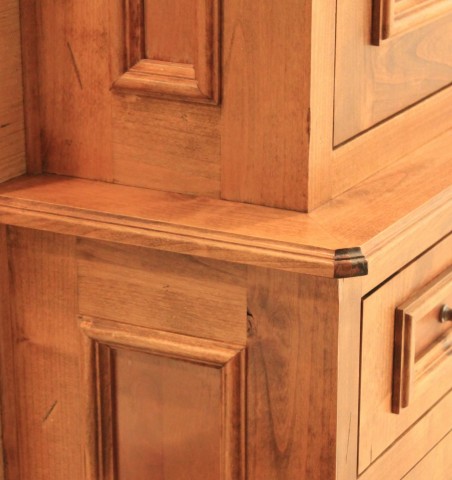
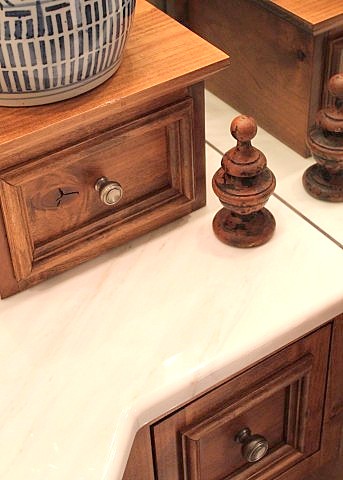
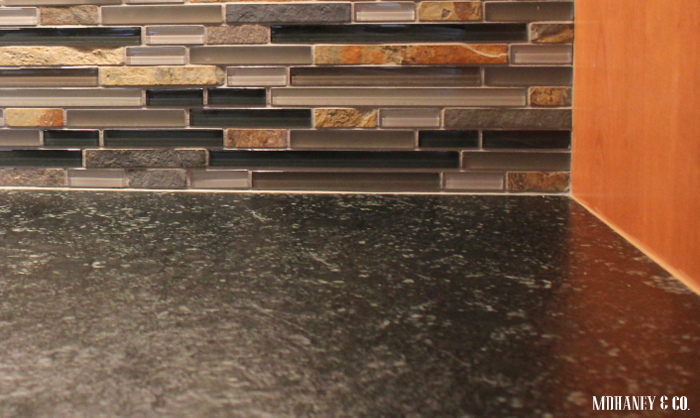
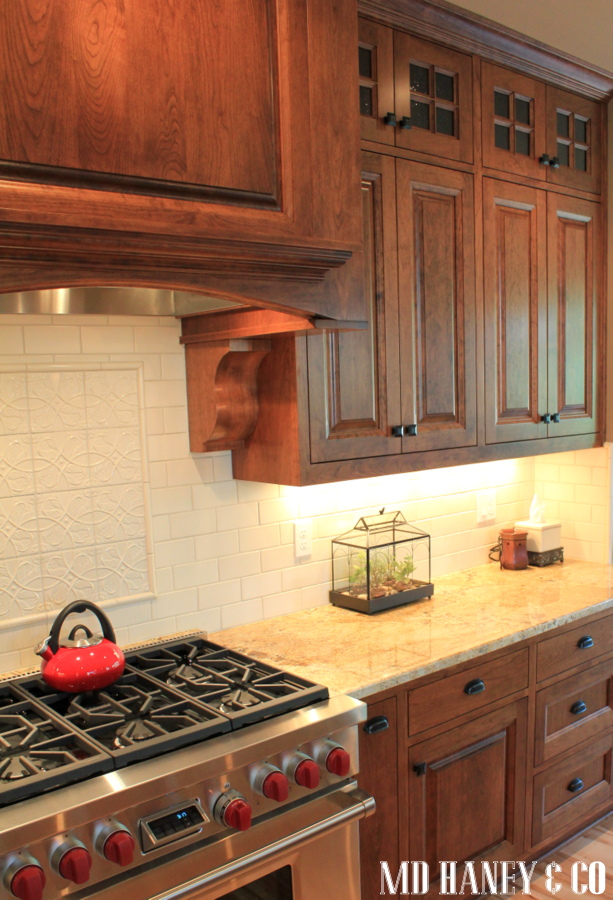
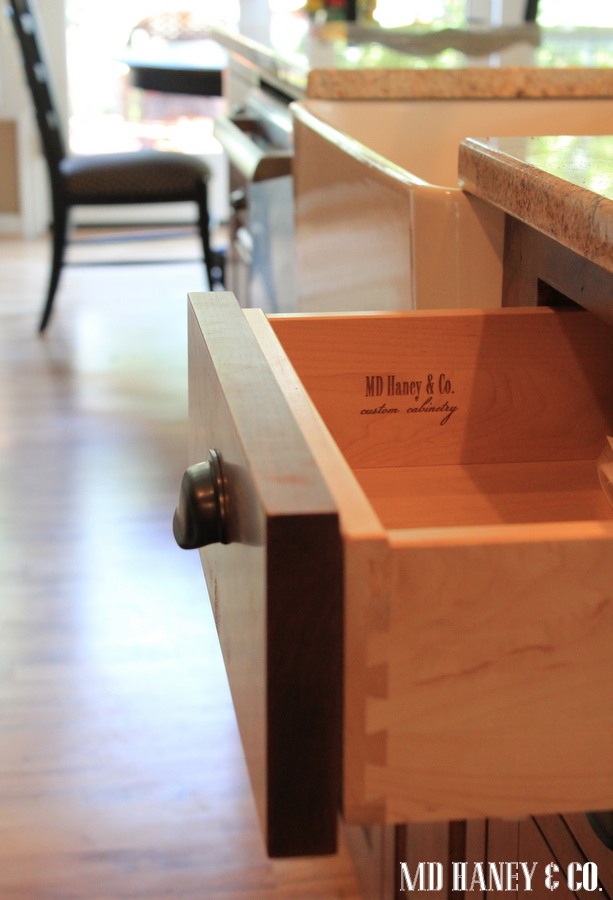
I love this built-in pantry!  One of my favorite features in the kitchen!  Matt built all of the cabinetry and custom built-ins.   He did all of the finish as well, to me, that's where so much character is added!  And don't even get me started on the attention to detail!  I am sure I notice it more than most people because I see all of the work that he puts into a project, but the beauty is definitely in the details!

pantry
desk area

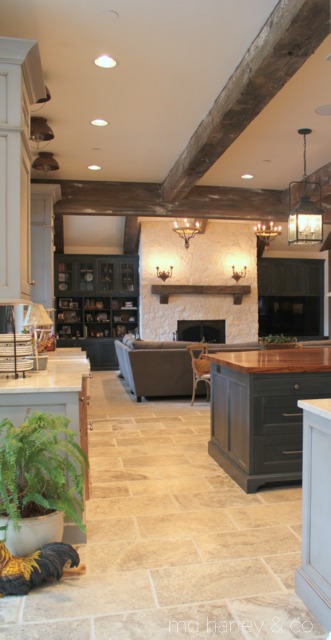
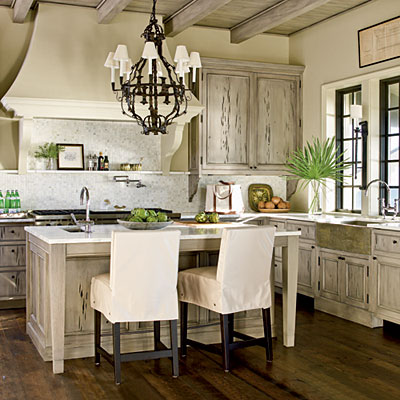
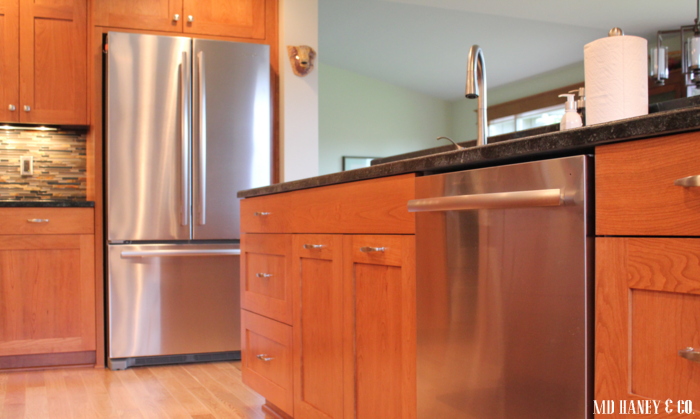
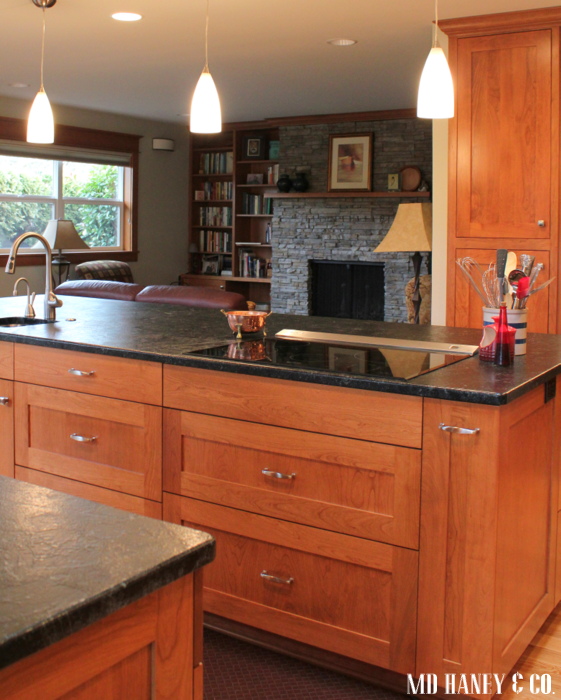
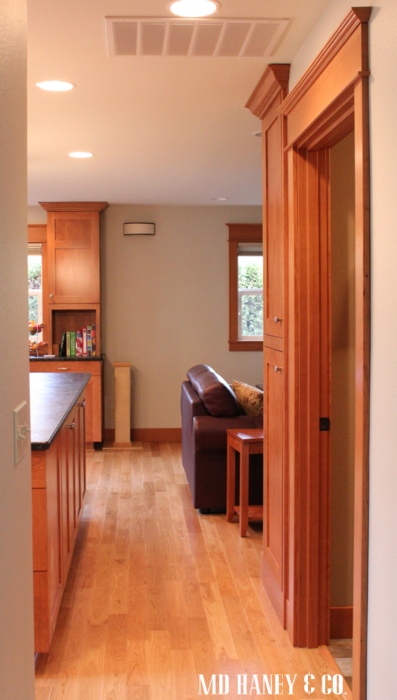
The kitchen is open to the living room, the beautiful back yard and the sunroom.....

kitchen

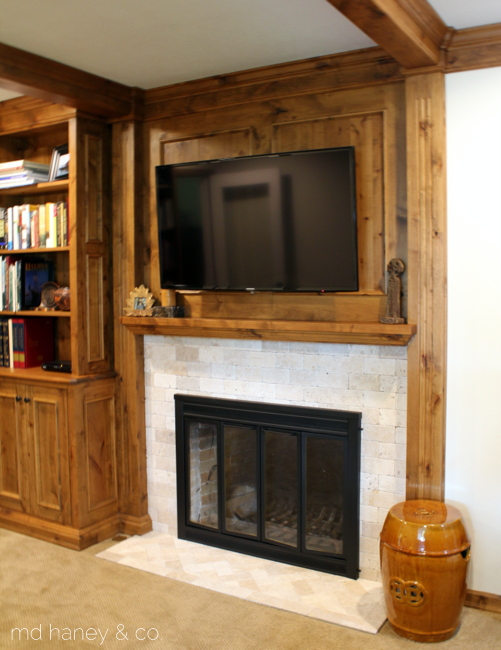
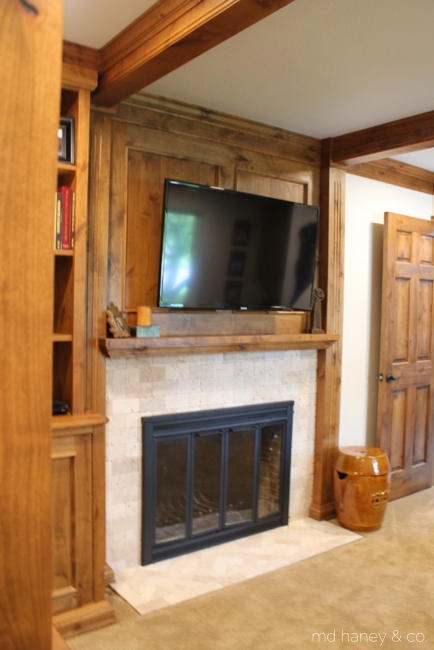
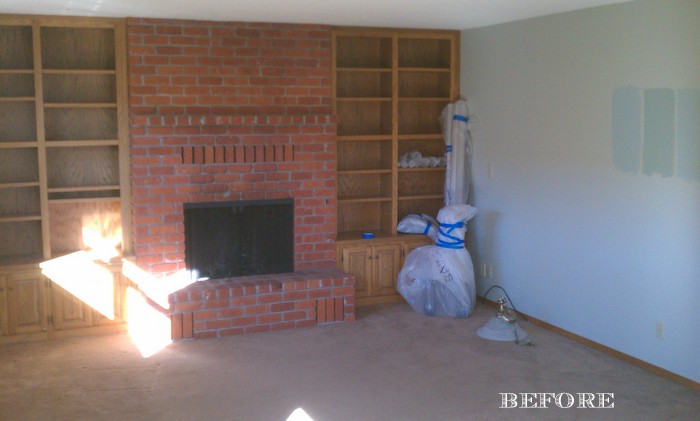
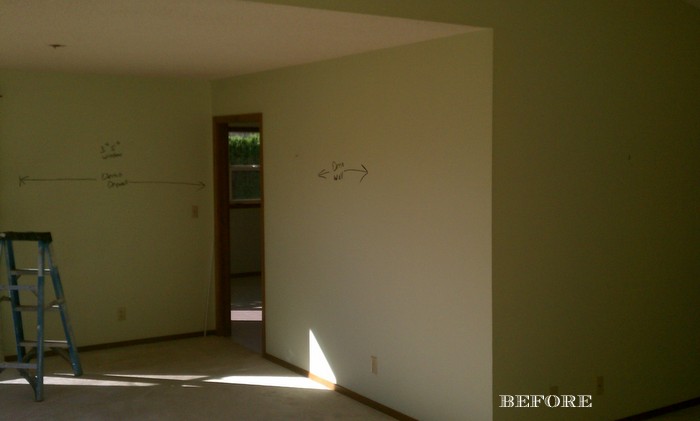
The living room before.......

before

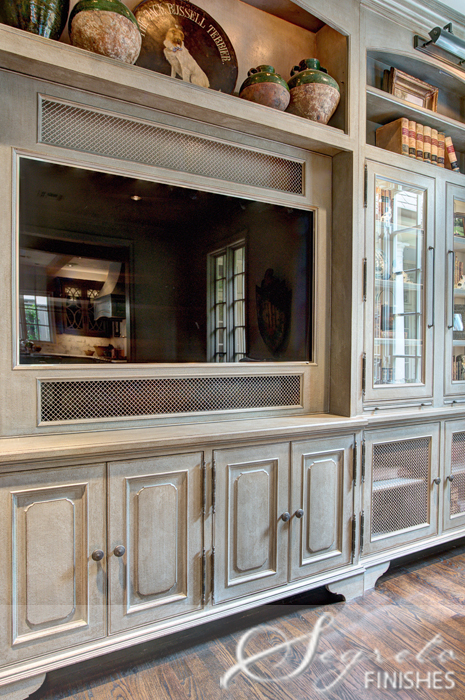
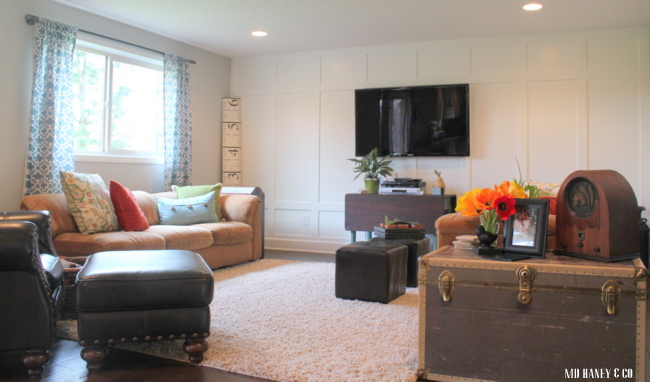
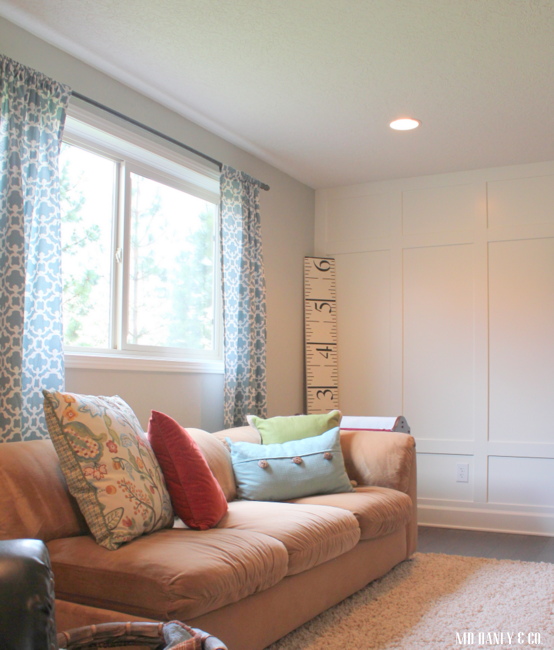
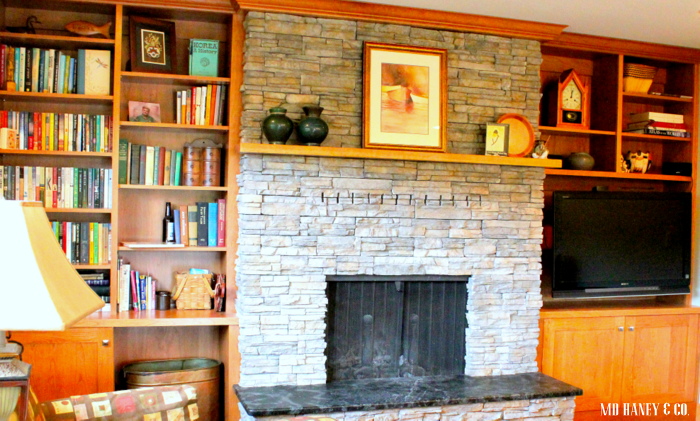
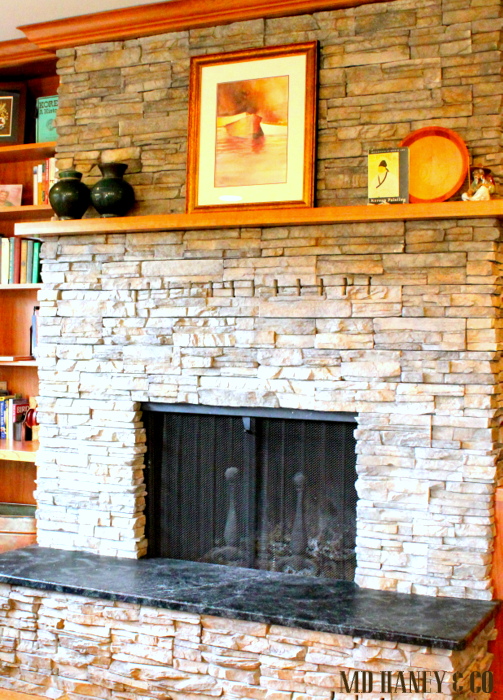
And the beautiful living room now......

livingroom
open living room
sunroom
entry

The wood floors turned out beautifully!  There was a lot of thought and research that went into the finish for these fir floors.  We refinished the existing and added new and needed them to tie in beautifully.  The owner also wanted them to have a bleached look, and nothing too orange..it was quite a process but we got there and I wish you could see how beautiful they are in person!

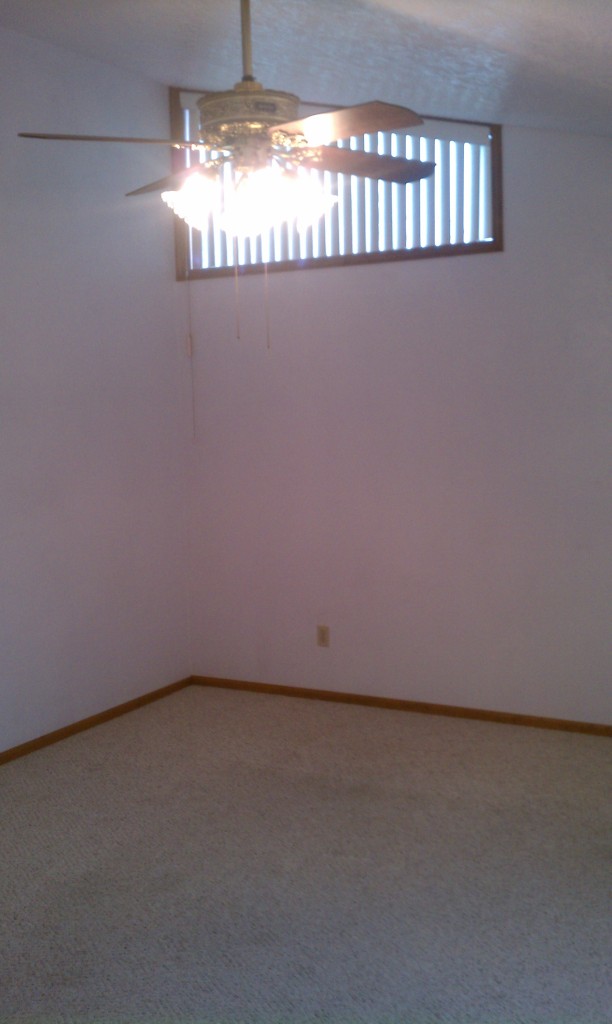
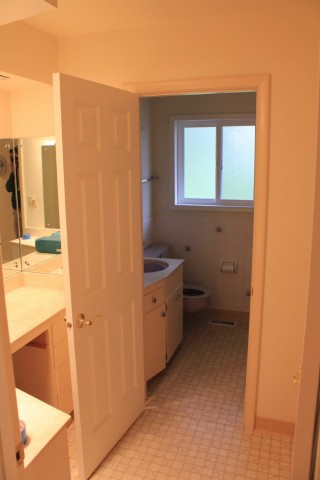
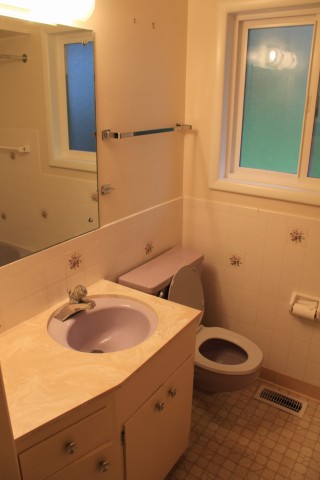
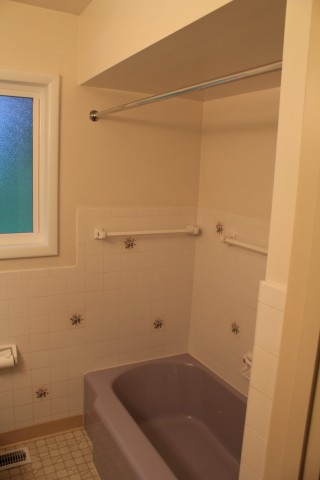
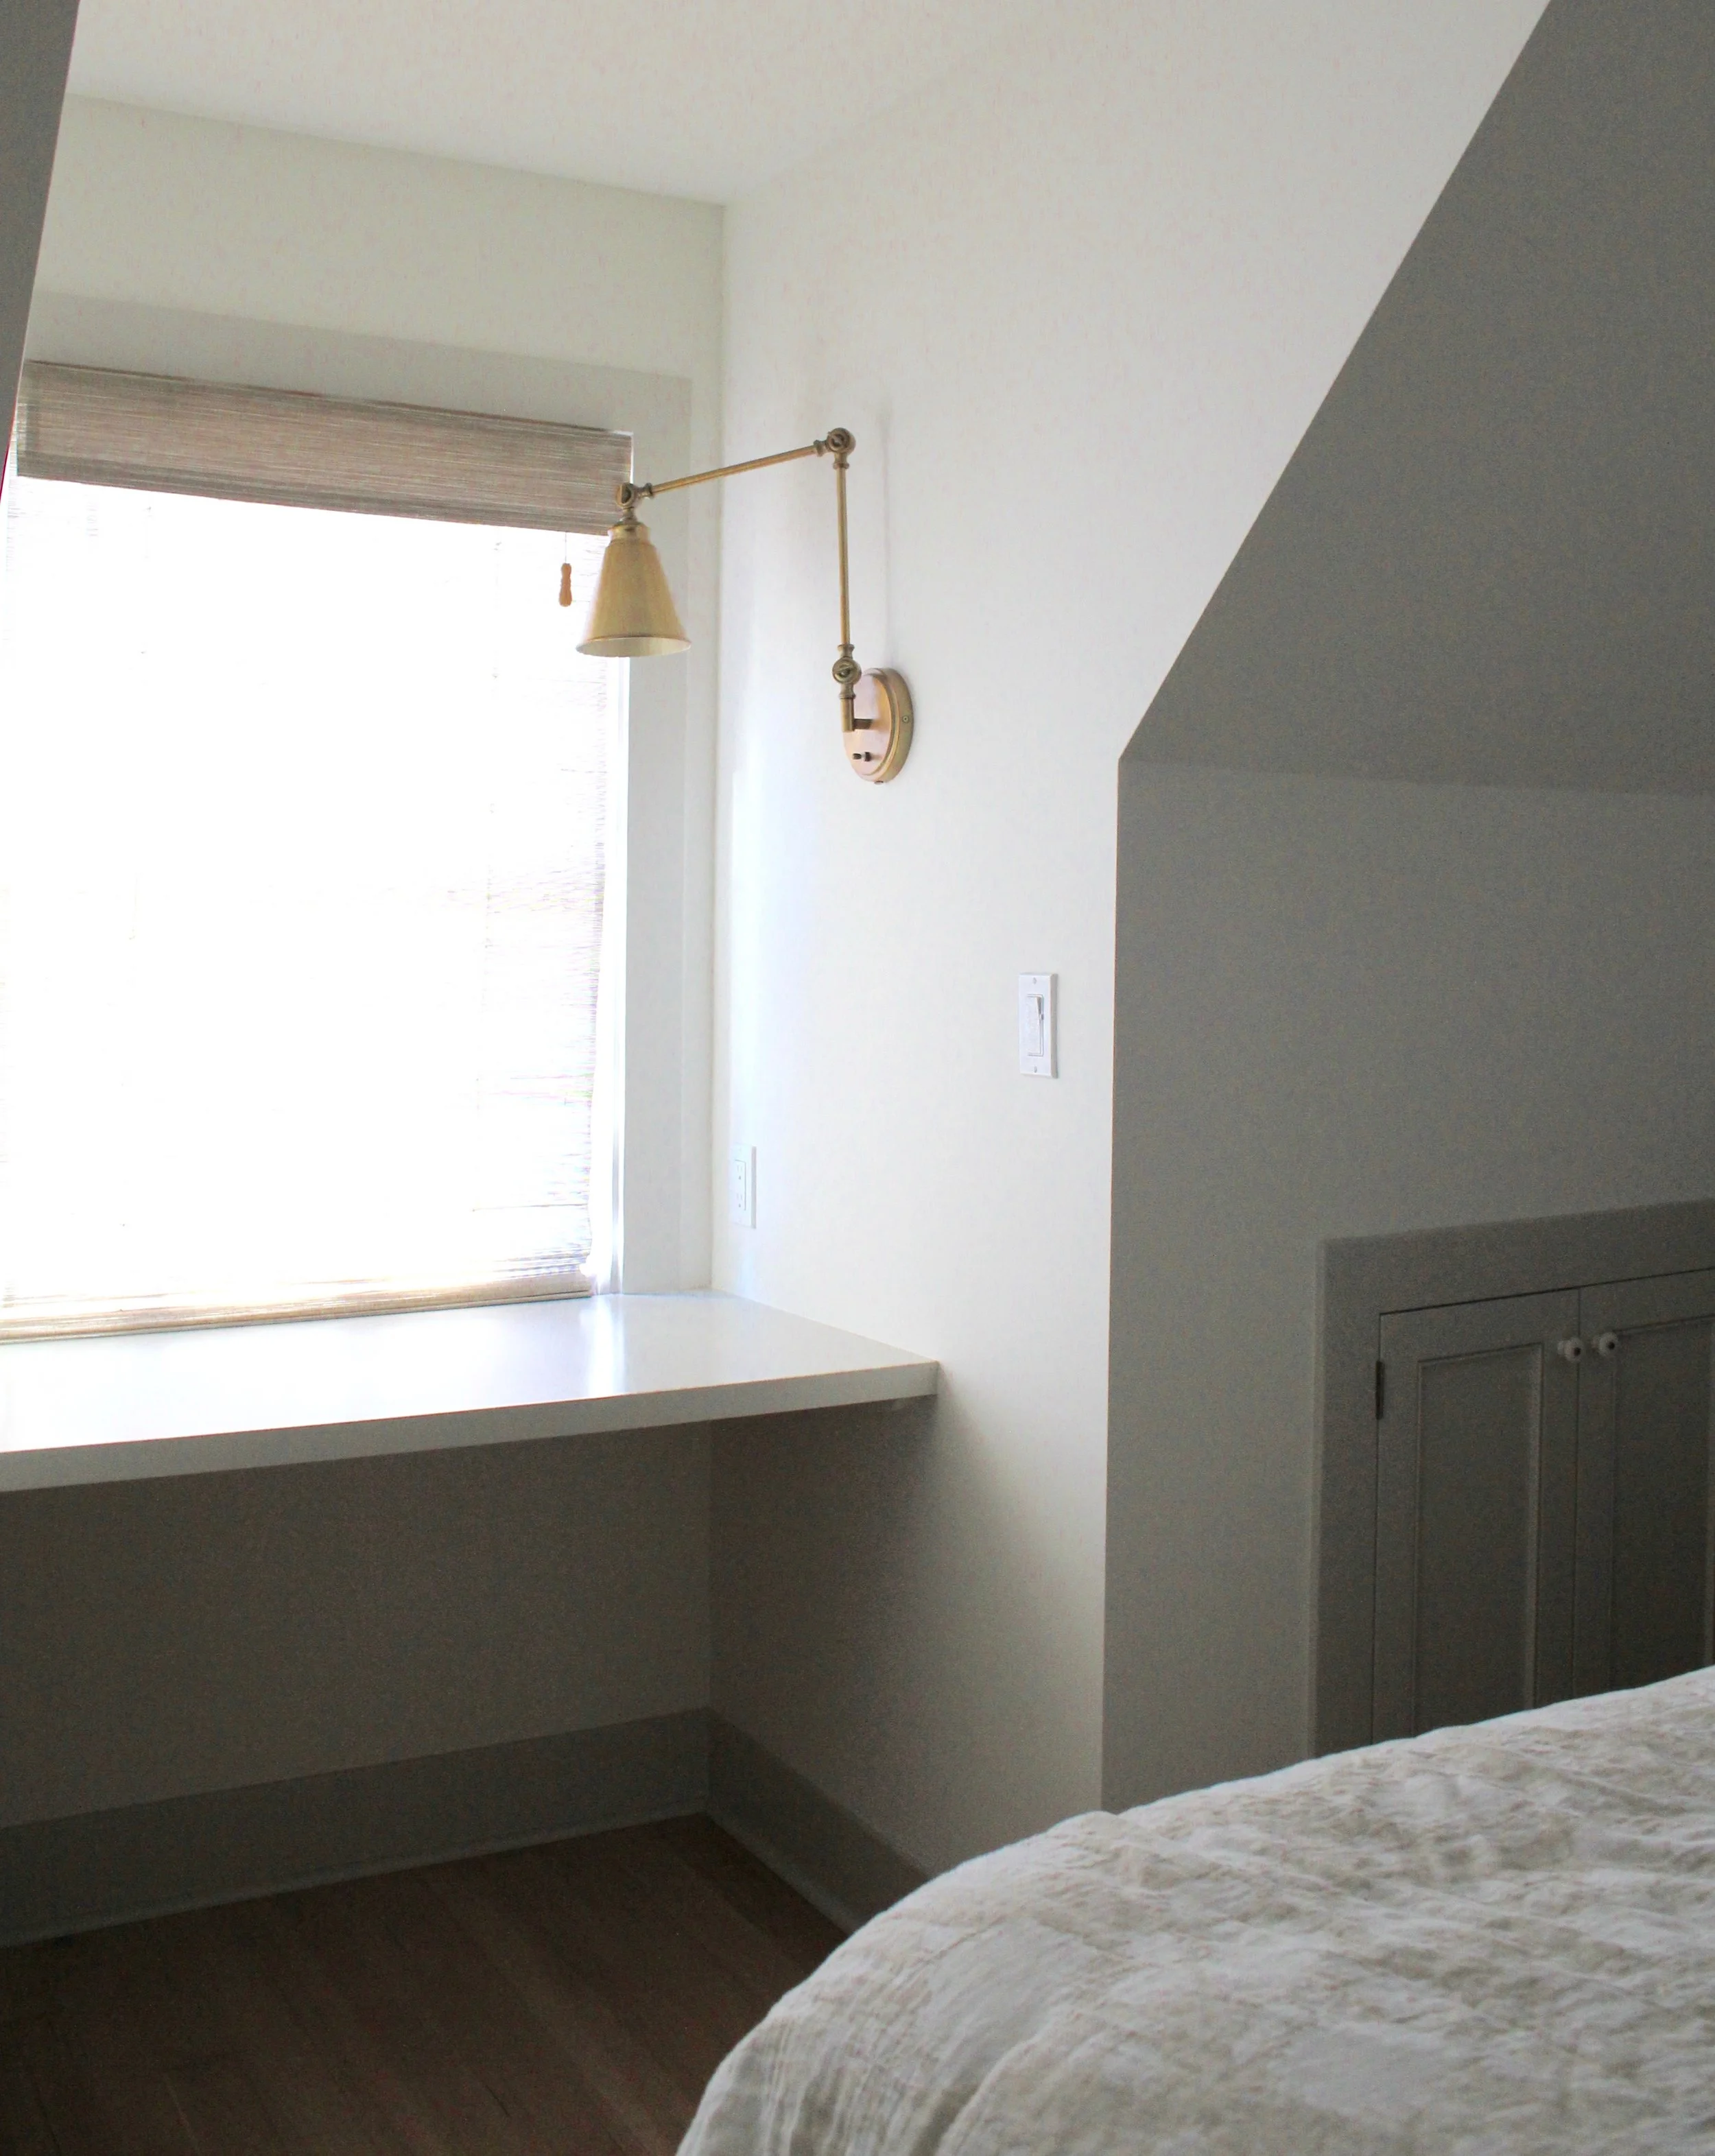
Another before photo of one of the bedrooms.....

bedroom before

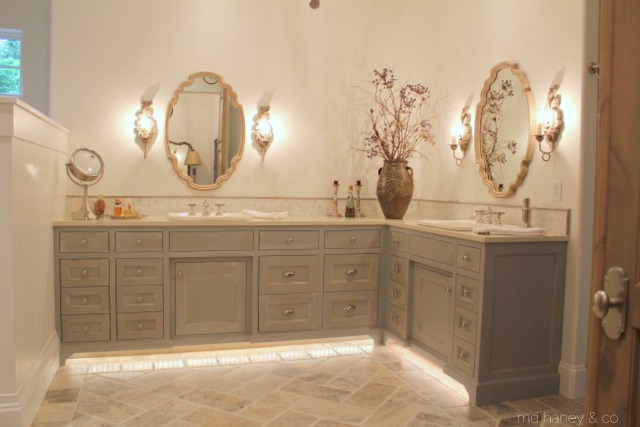
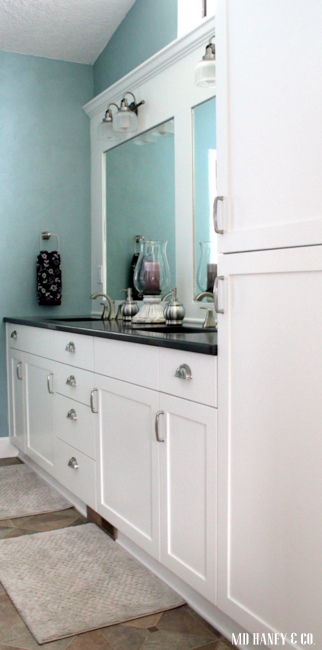
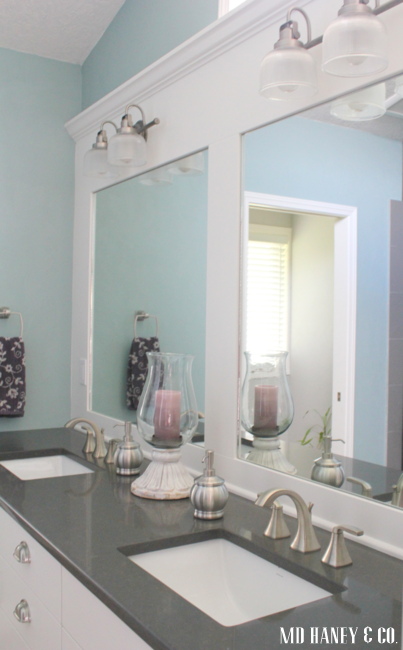
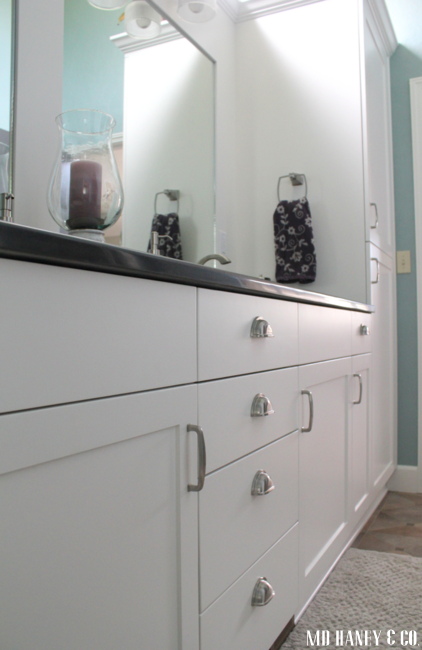
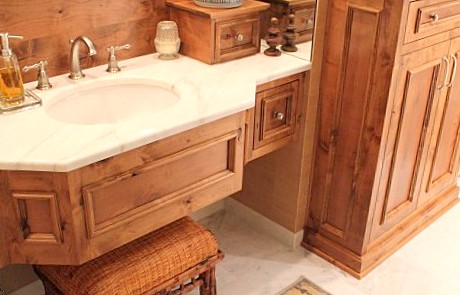
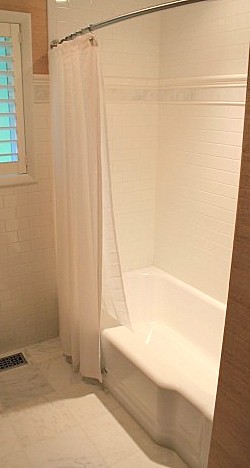
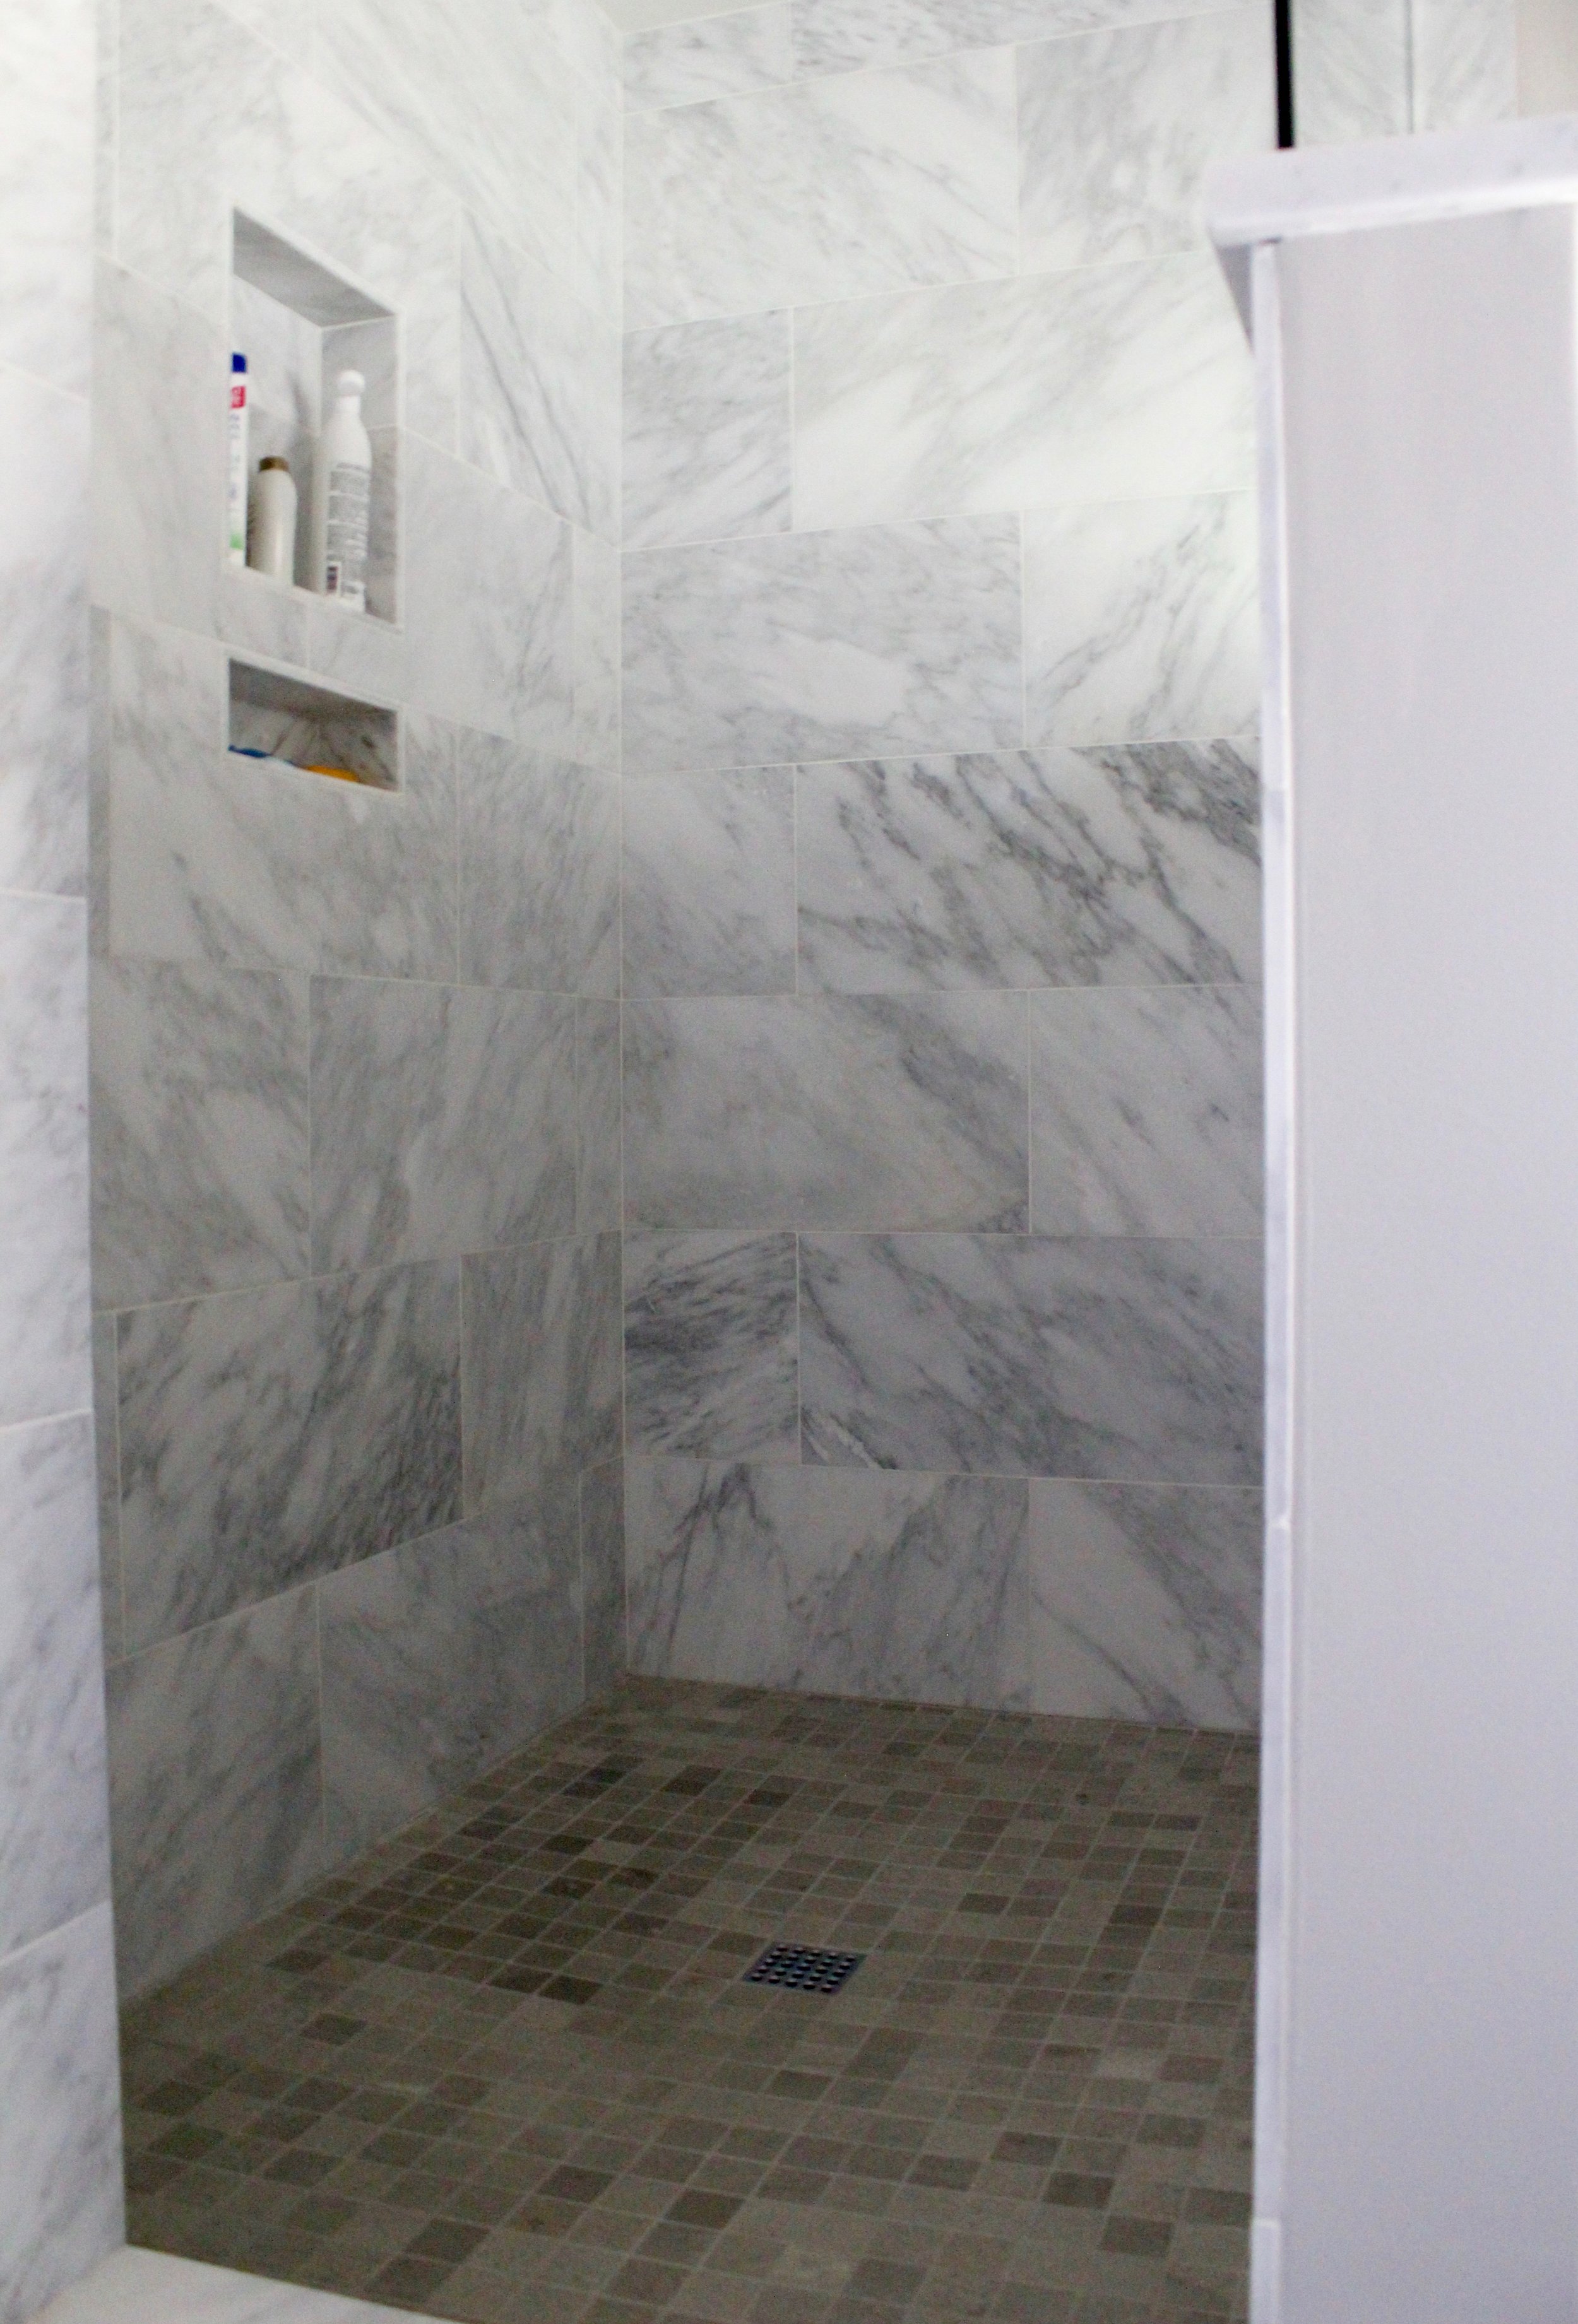
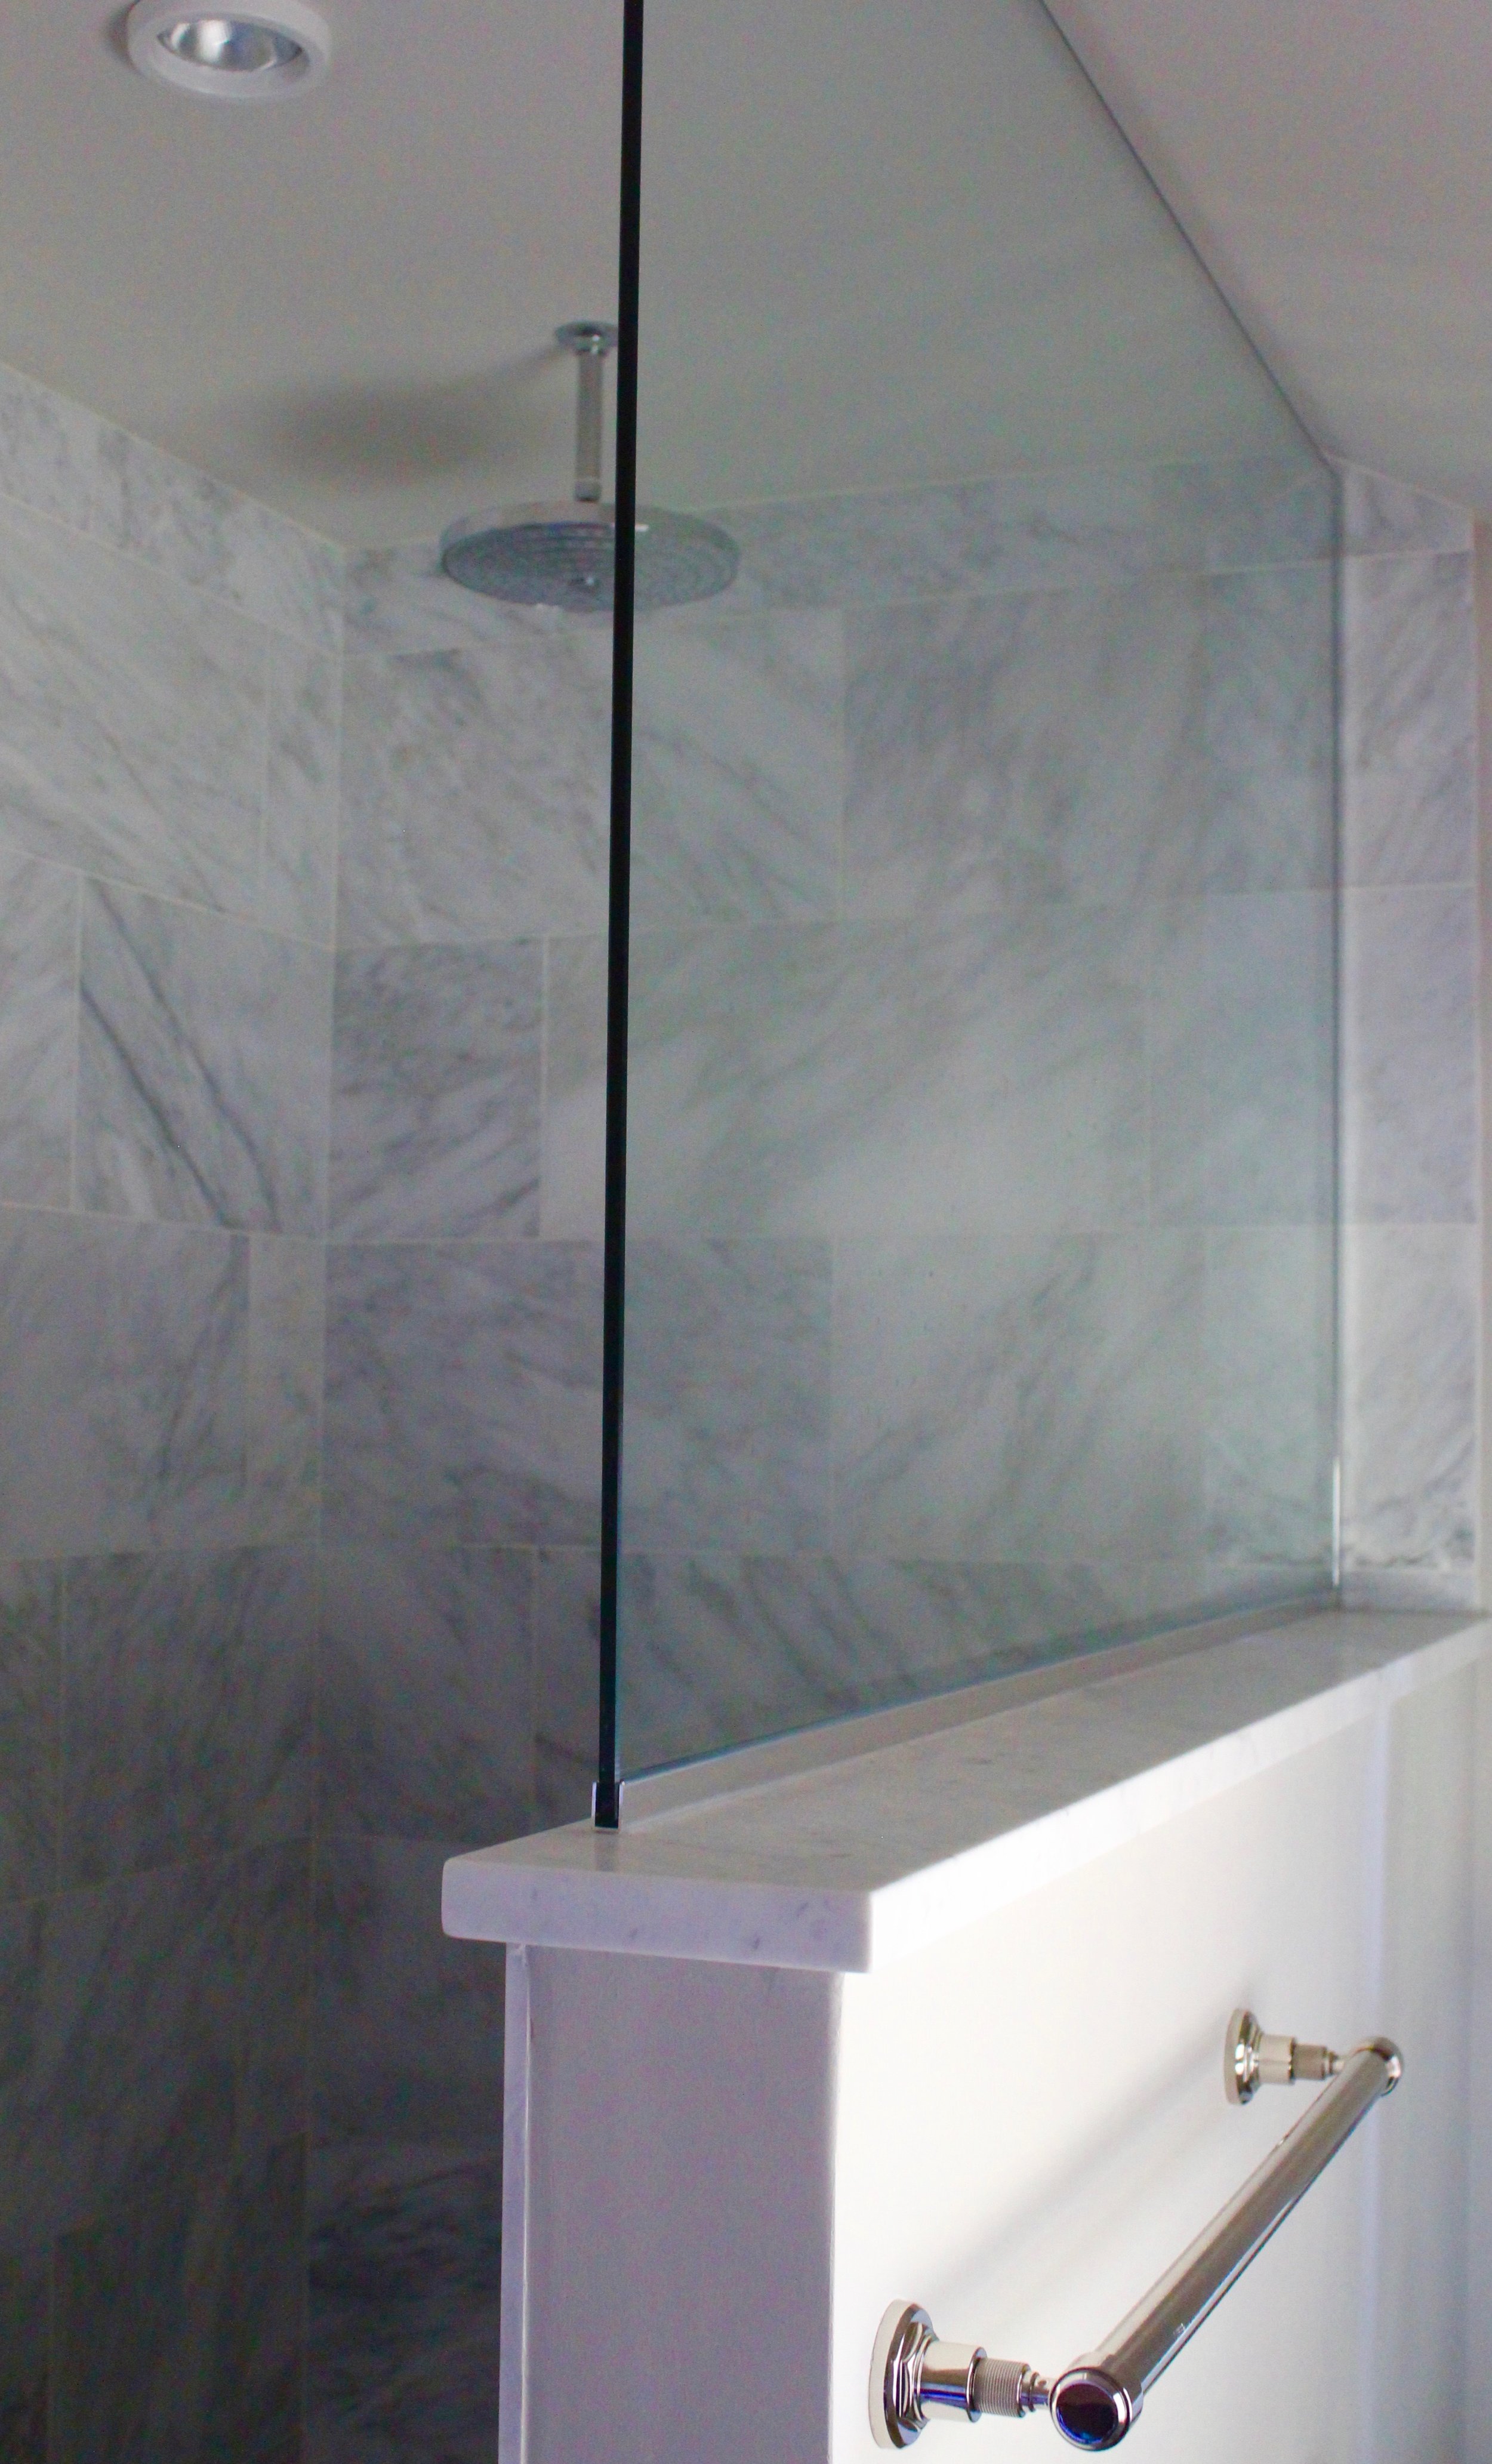
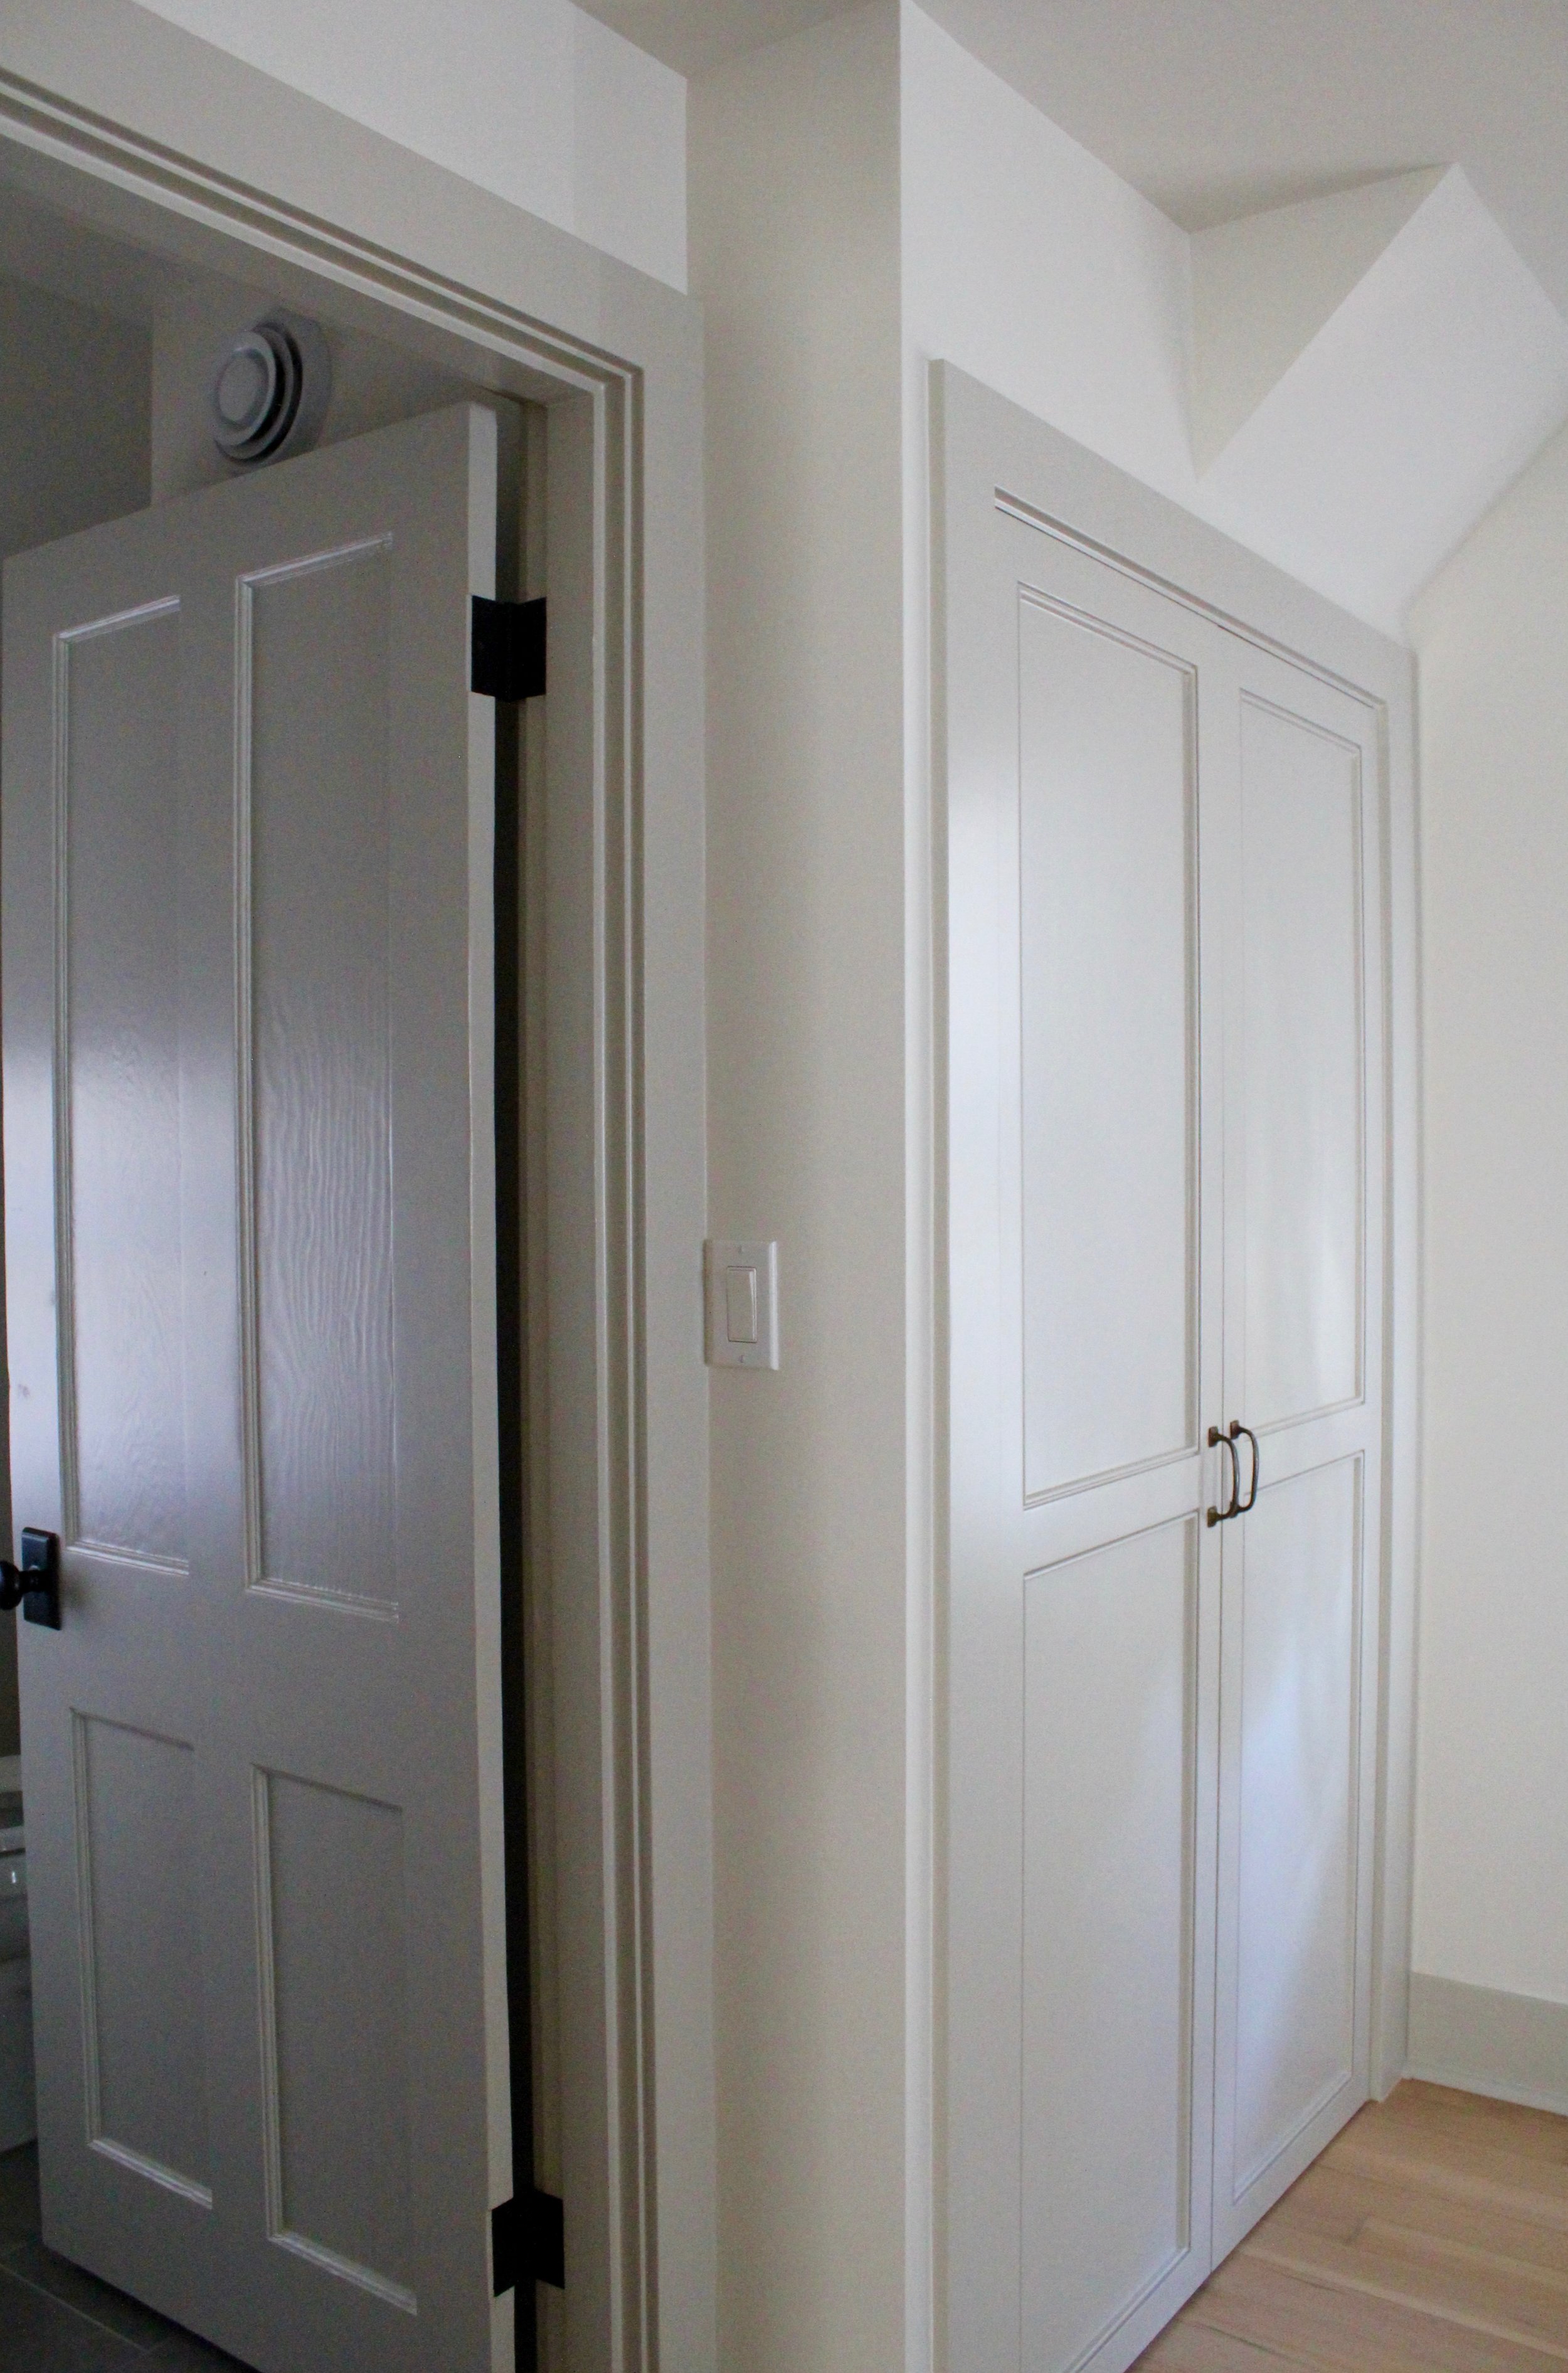
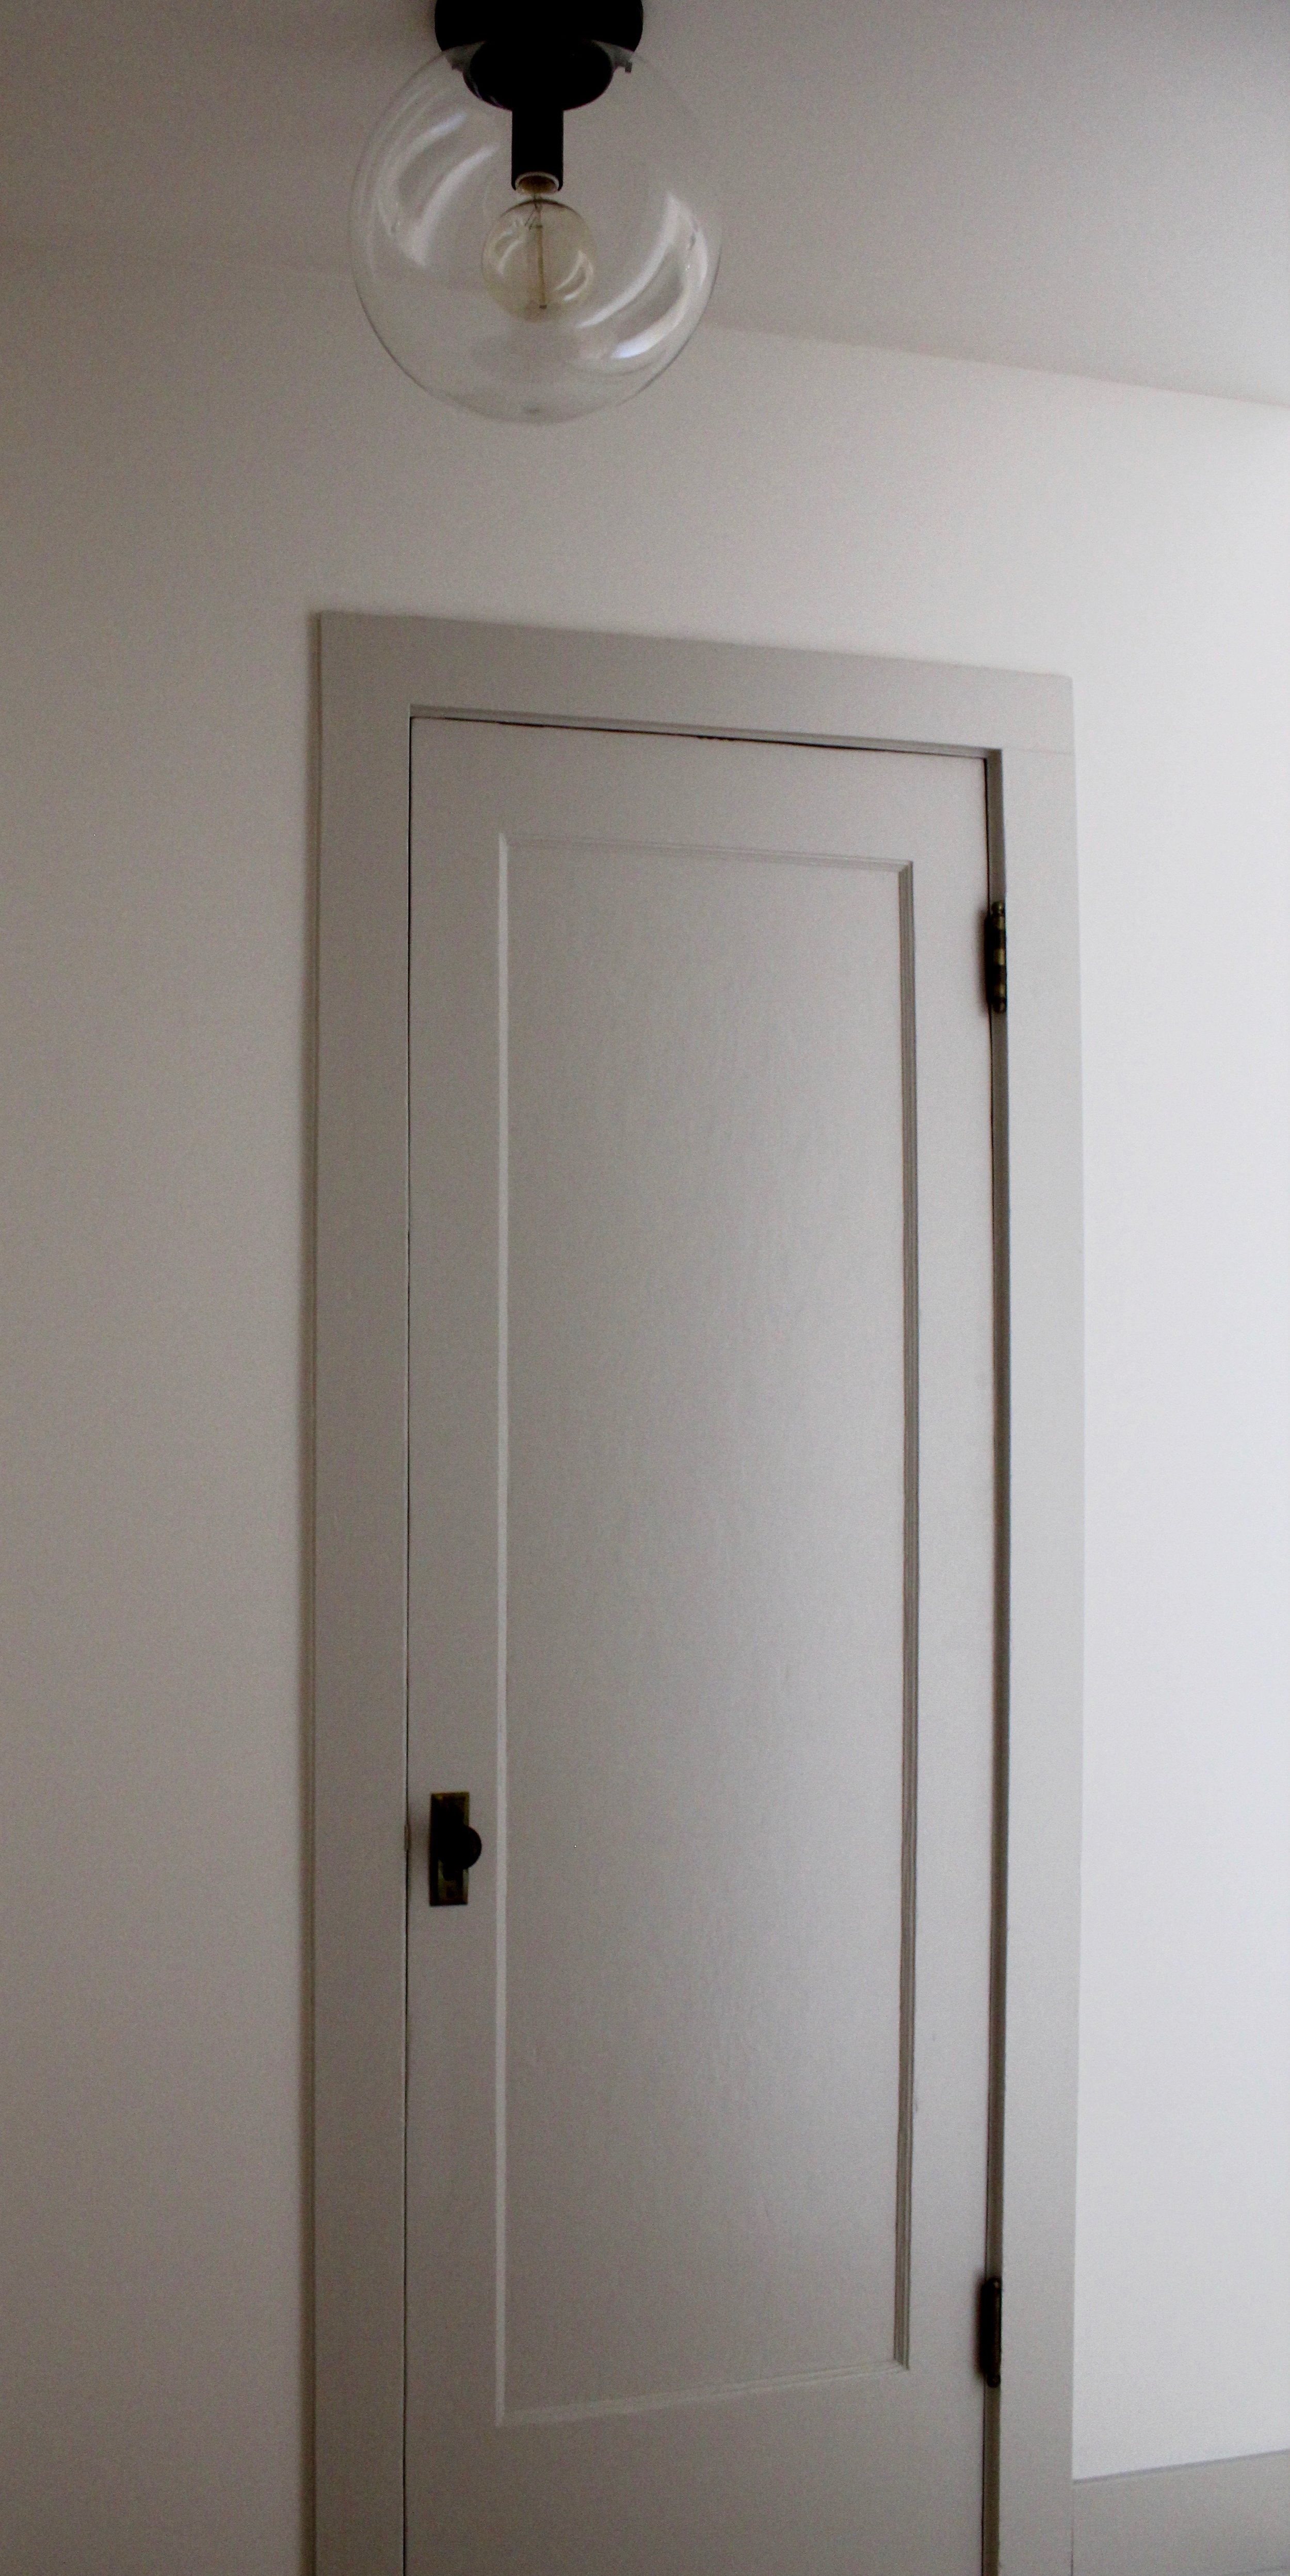
And some after photos of the upstairs.  Matt added a laundry room and a bathroom, the upstairs is now so comfortable with two en-suites and a laundry room.  I am telling you, it's the best of both worlds.....olld house charm with modern amenities!

bedroom
built-in
bathroom
shower

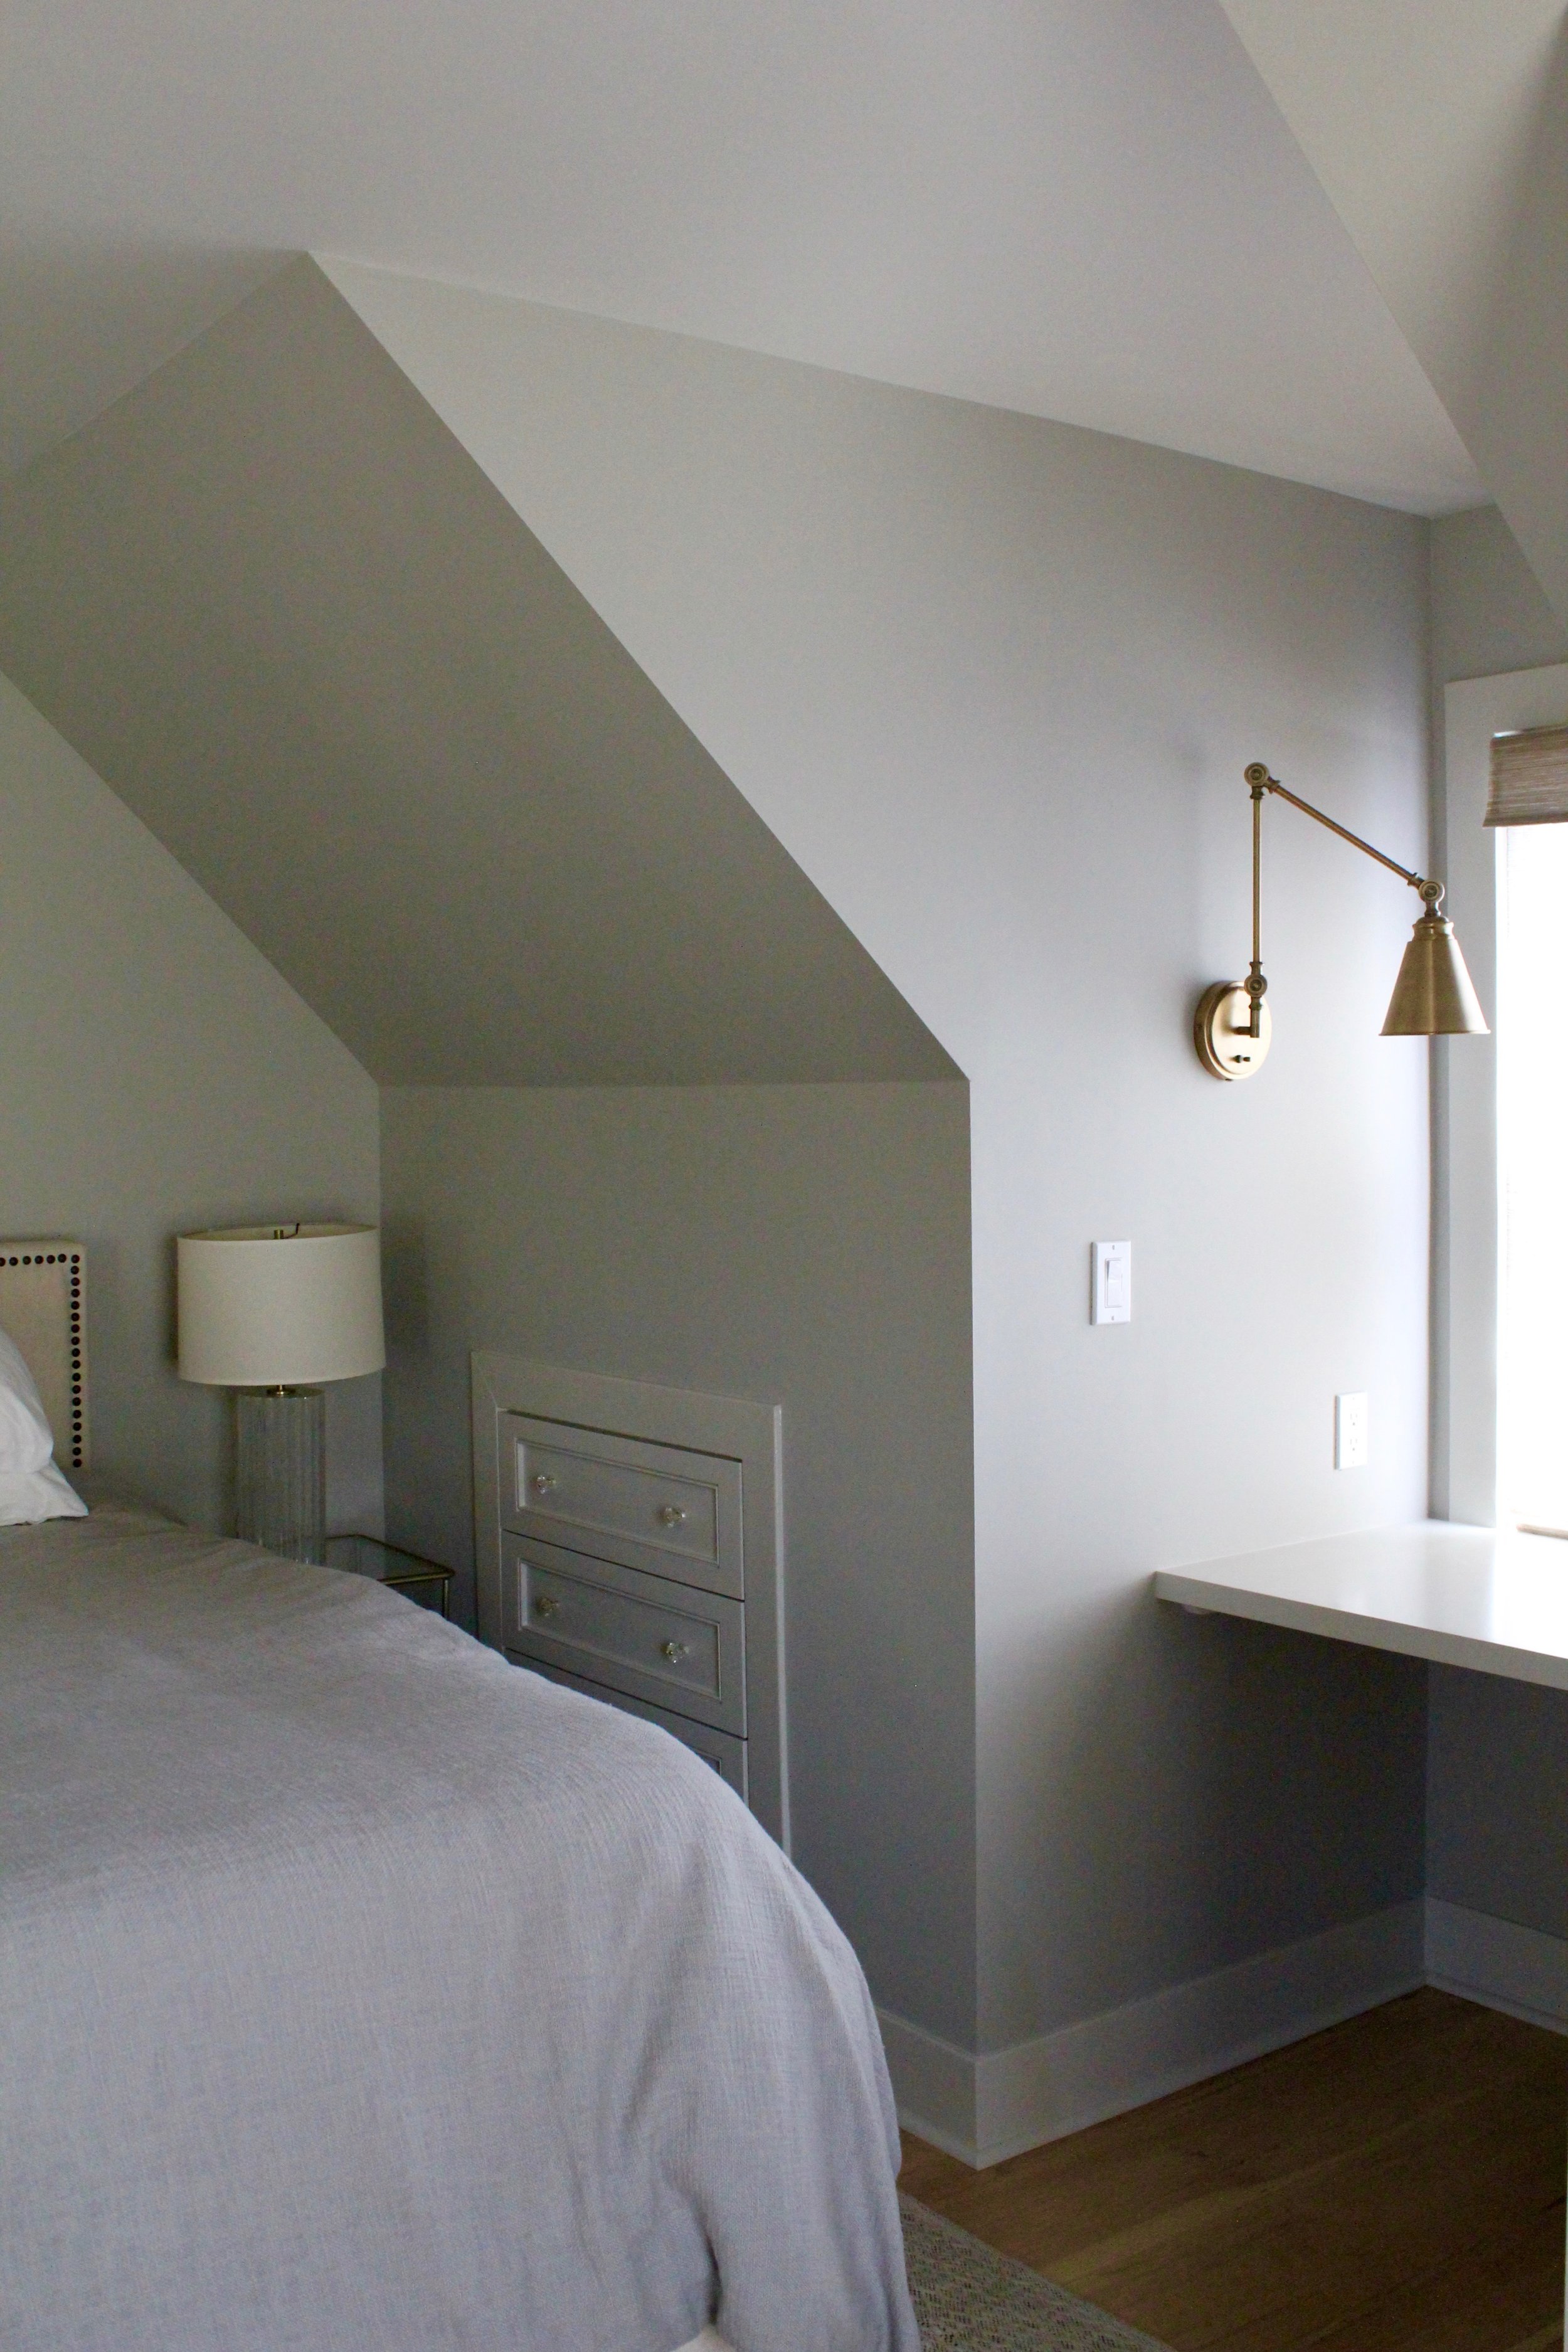
A dear friend, who was also the listing realtor, stopped by when I was there on Friday.  She commented that it looks like a brand new house, and it does.  You are probably sick of me always saying this, but my dear hubby is incredibly talented and a very gifted craftsman.  Not one detail slips by him.  It can drive me a bit crazy at times, but it sure makes for incredibly beautiful spaces with well thought out designs and well executed craftsmanship! 

hallway
hallway light

I will definitely post better photos with more of the bedrooms and bathrooms, plus a lot of material and selections information.  

This sweet little home took A LOT of creativity, construction smarts and time, but it sure looks clean, open and inviting! Can't wait to share better photos soon!!  

Happy Independence Day friends!

French Country Farmhouse || custom cabinetry

Last year we started to work with the greatest.clients.ever.  Truly, they are exceptional people and it has been an honor to work with them.  They built (actually, it's still under construction) their dream home and Matt was hired to build all of the custom cabinetry.  The clients were working with two sweet and talented designers.  My role was to help with paint colors and technique, as well as paint some of their existing furniture.  It was such a fun and challenging  collaboration! Hopefully we will have a professional photographer into photograph the home when Matt has wrapped up all of the little details.  But, the girls and I went to visit today and I snapped a few pictures.  I couldn't wait to share....

IMG_6695

IMG_6697

IMG_6703

When you walk in the front door, you are greeted by this amazing dining room.  Matt built the cabinetry, as well as the dining room table.  The cabinetry has some custom finishes and is painted with Annie Sloan Chalk Paint®.  The dining room table is made from reclaimed oak.  Can you believe the reclaimed beams in the ceiling?!?  The pictures do not do the space justice!

IMG_6747

The dining, kitchen and living room are all open with large vaulted ceilings and reclaimed beams.  In this picture, you can barely see the cabinetry in the living room.  The cabinets are painted with Annie Sloan Chalk Paint and have a wash over them.

IMG_6732

IMG_6739

Matt is still working on the built-ins for the refrigerator unit so I didn't snap any photos of the other side of the kitchen.  Can you believe he made that ginormous island countertop in just two pieces?!?  The hood is one of my favorite features.  I could brag on my hubby all day!  He doesn't brag on himself, so somebody needs to ;-)

IMG_6713

For the powder room vanity, the designers  showed Matt a picture and wanted something similar....didn't this turn out darling?!?

IMG_6719

IMG_6725

The master bathroom cabinetry is also painted with Annie Sloan Chalk Paint®.  A mix of three different colors with a wash and dry brush technique.

There are more beautiful rooms and more beautiful cabinetry.  I will show more soon, and go into more details on the cabinetry and rooms.

Thanks T & P.....it's been such a dream to work with you!


PROGRESS || an update on the custom cabinetry job

For those of you that I talk to on a weekly bases, or even "here or there", you know that Matt has been working on a HUGE custom cabinetry job for the past six months.  The clients are the kindest, sweetest people and they have really good taste!  I thought I would post some progress photos of the cabinetry. bittner2

Can you believe the kitchen hood?  Matt came up with the design and I thinks it's amazing!  He had the metal fabricated and he made the corbels from the same reclaimed beam that he used to trim out the bottom of the hood.

bittner

These built-ins are in the dining room.  It's hard to tell from the picture, but the glass is seeded and the wood paneling in the black cabinet is all reclaimed wood.

1934442_929100643853414_6630606144380343841_n

This kitchen is truly stunning!  Matt made the kitchen island in two pieces, it's made out of reclaimed wood {or course ;-} and finished with four coats of sealer.

mantel

Matt made this mantel from a reclaimed beam.  This is in their living room and it will get cabinetry on both sides of the fireplace.

12400457_926537860776359_6252045796921532522_n

This guest bathroom vanity is one of my favorite pieces!  It's so simple and yet so classy!!  It's made out of...you guessed it....reclaimed wood!

12552818_926175304145948_6735735982390669500_n

Here is a shot of one of the kitchen walls.  The view out that kitchen window is amazing!!

I hope to get some photos of the finished space within the next month of so.  Matt still has some hardware and shelves to install, and then he will start work on the custom cabinetry in the office and a custom dining room table.  I promise to post pictures soon.....it's a beauty, that's for sure!!

PAINTING CABINETRY WITH MILK PAINT || Miss Mustard Seed Milk Paint

It's hard to believe, but we have been living in our home for a little over a year now!  Our first 'big' project for the interior of the home has been our basement.  We turned the 'bonus room' area into a play room for the girls.

IMG_4376

BEFORE

IMG_5197

AFTER

And we just finished part of the downstairs living space.  We still have a lot to do, but it's clean and now has furniture!

IMG_4411

BEFORE

IMG_5522

AFTER

When this area is completely finished (we still need to install the fireplace hearth and wire/glass on the cabinet doors) I will post a lot more photos.  However, my sweet hubby has asked that I let him finish the space before posting photos ;-)

One aspect of this little reno, is the entertainment center.  Since my dear husband was not a super talented, MVP, major league baseball player, we didn't have much of a use for a cool trophy case.  Matt modified the existing cabinetry so that it looked more like an entertainment center, we added some new glass doors, open shelves and a space for the ginormous TV.  Once the modifications were finished, I painted it with Milk Paint (TYPEWRITER) and sealed it with Hemp Oil.  I thought I would share a few tips on painting (previously finished) cabinetry with milk paint.

IMG_5518

IMG_5516

IMG_5514

IMG_5512

1.  Sand the cabinetry.  It doesn't need to be stripped, but you will have better results if you sand it with a course grit sand paper.

2.  Clean the cabinetry with TSP, Krud Kutter or a degreaser cleaner.  You can also use denatured alcohol to clean your cabinetry.  Once you have cleaned the cabinetry, wipe it down with a damp cloth, and then finally wipe it down with a dry cloth.

3.  Mix your Milk Paint well.  It's important to mix your milk paint, and continue to mix it as you paint.  (I applied two coats of TYPEWRITER.)

4.  Hemp Oil can be used as a top coat and it's  best on porous surfaces, so it can penetrate the surface instead of just hanging out on top.  Hemp Oil is your top coat, you don't need to apply anything on top of it.

5.  For this size of project, I used a brush to apply the Hemp Oil.  You can use a rag, but I feel the brush is easier.  I used the hemp oil to "wet sand" this cabinet.  To "wet sand", I brushed on the Oil, and sanded the entire piece with fine grit sand paper.  Once you wipe away the excess Oil with a cloth, you have a super smooth finish.  I wanted a slightly distressed look, so I sanded the edges with a bit more pressure.

6.  For an even finish, you will need to apply 2-3 coats.  The key with Hemp Oil,  is to only apply what the surface will absorb.  If you apply too many coats, the Oil will sit on top.

7.  While the oil is dry to the touch, it needs about 30 days to fully cure.  You can use the piece during this period, but it might feel a little oily to the touch while it’s curing.  I would recommend not setting items on the piece while it's curing.

I hope this inspires you to paint something!


CABINETRY DESIGN || inspiration for custom paint finishes & cabinetry design

Matt and I are working on a large custom cabinetry project.  The clients are so sweet, the two designers we are working with are equally sweet,  and their new home is going to be beautiful.  Up until now, my time has been spent doing CAD drawings on the computer, and a lot of emails, now we are getting into custom paint finish/wood type/style specifics; the fun stuff!  Work has been busy (not much time for my own projects:-) so I thought I would show a few inspiration photos for the cabinetry paint finish and style.

west oak14w_edit

Gray-Wash-Kitchen-Cabinets-500x380

130617_067_0

101506986.jpg.rendition.largest

west oak6w_edit

Photo-House-Home-VMacdonald-BetsyAziz-ConnieBraemer-JA12-kitchen2

kitchen2

west oak3w_edit

kitchen-l

west oak10w_edit

There will be different paint finishes and cabinetry styles through out the home.  The goal is for the cabinetry to look collected over time, yet flow perfectly.  We are going to be using some reclaimed wood, and at this point our paint samples have all been Miss Mustard Seed Milk Paint samples.  I will be sure to show some of the finishes we came up with for samples!  So fun!!


THE DEN || custom cabinetry + more

I dream of one day having a library in our home.  Shelf after shelf of book, I just love the look of a well stocked home library!  Maybe in 10 years or so I will have time to read again ;-)  Until then, I wanted to share some pictures of a library Matt just finished for a client.  We have done work in the past for these clients.  They are the cutest little couple.  And she has a beautiful decorating style, their home is just beautiful.

I can't seem to find any 'before' pictures.  Just think dated Ranch office {that's not meant as derogatory, that's just the best description!}

IMG_4859


We removed the dated wood paneling and added new lighting.  Matt built and installed beautiful alder cabinets, paneling and faux beams.  The fireplace got a face lift with new tumbled stone surround, and the old brass fireplace metal was painted matte black.  The new carpet is a soft, lightly textured basket weave.  Not only does the den look beautiful, it ties in perfectly with the rest of the home.  You may remember these bathrooms that we remodeled a few years ago….this is the same home.  I also want to note that I only met with this sweet client for one consolation, she did a great job of pulling everything together!!

IMG_4838

IMG_4845

IMG_4848

IMG_4863

IMG_4854

IMG_4850

IMG_4856

IMG_4859

I think it turned out beautifully!  Thank you so much for the opportunity D & M!!

BEFORE + AFTER

Hello!

I thought I would show a few BEFORE + AFTER photos of a remodel Matt did this winter.  He did a remodel for a sweet couple  who bought some property outside of McMinnville.  After seeing this property for the first time, Matt totally got the 'acreage bug' and wanted to move to the country ;-)

beforekitchen

Here is a BEFORE of the little kitchen.

IMG_4150

And here is the AFTER.

IMG_4153

The owners kept the cabinets.  Matt took down some cabinets and soffit, they replaced the floor and got new appliances.

beforeentry

The entry/living room BEFORE.

Matt re-worked the living room walls to make for a more spacious master suite.  With that came painting, new lighting, new flooring and a beautiful paneled wall.

IMG_4139

The living room AFTER.

IMG_4143

Don't you love her decorating style?  Their home is so inviting and colorful!

beforebedroom

Master bedroom BEFORE.

IMG_4145

I didn't snap any photos of the master bedroom.  However, I did get a few of the new master bathroom

IMG_4149

Everything in the master bathroom is brand new.

IMG_4147

Don't you love how light and bright it is?!?

There were a lot of 'little projects' done at this house.  New front door, new entry, new laundry room…..later this summer I will go snap some more photos!

Don't you feel inspired to go add some color to your living room now?  I sure do!!

Thanks Mike and Kelsey!  It was a pleasure working with you!

BEFORE & AFTER :: guest bath remodel

232323232 fp5325nu324725967WSNRCG34-6-66327nu0mrj.jpg

It's been a little over a year since we completed three bathroom remodels for some lovely clients in McMinnville.

They have a beautiful Ranch style home on the golf course.  They had updated the kitchen a few years ago and it was time to update the bathrooms.

What fun!!  Below are 3 BEFORE pictures.....

232323232fp5323->nu=3247>259>6;7>WSNRCG=34-6<;6;--327nu0mrj

This bathroom was classic 1970's, complete with a purple toilet, sink and bathtub....

232323232fp53245>nu=3247>259>6;7>WSNRCG=34-6<;6;;2327nu0mrj

The bathroom had one window...perfect for allowing a bit of natural light!!

232323232fp53257>nu=3247>259>6;7>WSNRCG=34-6<;6;;3327nu0mrj

The bathtub was in really good shape, we opted to have it refinished instead of replaced.

AFTER::

232323232fp53259>nu=3247>259>6;7>WSNRCG=34-6<;-;3;327nu0mrj

Lovely, don't you think?

Matt built beautiful, distressed, hickory cabinetry.  I love how the cabinetry really warms up the space.

232323232fp53256>nu=3247>259>6;7>WSNRCG=34-6<;-;47327nu0mrj

It took a few tries to find the perfect stain color.  The persistence paid off, don't you think?

hickory vanity

I love the marble countertops!  Clean, classy and timeless.

232323232fp5325;>nu=3247>259>6;7>WSNRCG=34-6<;-;44327nu0mrj

And the marble floors.....so classic.

232323232fp5326->nu=3247>259>6;7>WSNRCG=34-6<;-;49327nu0mrj

The tub finished out really well, it looks brand new!  If your bathtub is in good shape, refinishing is such great way to save money.

Notice the white subway tile wainscoting in the back ground?  Subway tile is still one of my favorite tiles!

232323232fp53256>nu=3247>259>6;7>WSNRCG=34-6<;-;64327nu0mrj

The homeowner installed grasscloth wall paper.  The texture is a beautiful addition to the bathroom!

232323232fp53273>nu=3247>259>6;7>WSNRCG=34-6<;-;45327nu0mrj

One more photo of the vanity......

If you love this bathroom, wait until I show you the other two!  The homeowner had great taste, it was so fun to work with her!

Until then, have a wonderful weekend!

xoxo~

Darci

before + after

Kitchen & Living Room Remodel :: before + after

We had the priviledge of just wrapping up a living room and kitchen remodel right before Christmas.

The clients were wonderful to work with {they always seem to be}!

BEFORE-fireplace

 The home is a 1970's RANCH.

BEORE-kitchen

 There was very little natural light and the space was very claustrophobic.

BEFORE-entry

 When you walked in the front door, it was dark halls and walls.

BEFORE-dining

The kitchen was boxed in and separate from all other rooms in the house.

The clients had three must-haves: natural light, extra lighting and openness.

Here is what we came up with....

AFTER-dining

Open, natural light {we added a window and two sky-lights}, plenty of artificial lighting {can lights, island pendants and under cabinet lighting} and a lot of natural materials.

AFTER-kitchen

 Matt built the cabinetry out of cherry, then stained it so it wouldn't have any red undertones.

AFTER-kitchen

 With each kitchen we remodel, we go through a lot of design steps to make sure the clients are getting exactly what they have been waiting for.  I really enjoy the planning process!  Especially for clients who really enjoy cooking and using their kitchen!

AFTER-kitchen

 They chose pre-finished oak floors, a nice compliment to the cherry cabinets.

AFTER-countertop

Isn't the counter top beautiful?!?  It's soapstone and I absolutely love it!   Fortunately, so do the clients.

AFTER-hutch

 This hutch is away from the main kitchen working area.  A place to brew coffee, store cookbooks and gain more surface space for entertaining.

AFTER

 We removed a few walls, this is the view looking from the kitchen into the living room.   Now everything is open and bright!

AFTER-fireplace

 The stone mason laid cultured stone over the existing brick.  Matt built new shelves and cabinets for the living room.

AFTER-fireplace

 We carried {not literally, you know what I mean....right?} the soapstone into the living room and used it for the hearth.

AFTER-hall view

 Now the front entry is light, open and inviting.

This was a really fun remodel.  The clients waited a long time to remodel their space and it was so exciting to see everything come together for them.

Added bonus: they are really nice people.  We have been so blessed over the years to work for fabulous people, not something we take for granted!!

Thanks Mark and Laura!

kitchen remodel

Kitchen Remodel :: before + after

We recently remodeled a kitchen for a wonderful couple.

Last summer, they had Matt build living room cabinetry for their TV and fireplace.  It turned out beautifully!  This summer, they were ready to transform their kitchen.

BEFORE : island

 There was nothing really wrong with their kitchen, they just didn't 'love it'.

I can sure relate to that!

BEFORE: cabinetry

They wanted to change the cabinetry, counter tops and layout.

They wanted the kitchen to be the heart of their beautiful home.

BEFORE: cabinetry

 This is what we came up with:

AFTER

 New appliances, plumbing fixtures, light fixtures, granite, backsplash and custom cabinetry.

AFTER

 Matt built the cabinetry out of cherry, and then stained it {gun-smoke, from Rodda paint}.

AFTER: hood

 The backsplash tile is a beautiful hand made tile from Pratt & Larson.  Pratt & Larson is my favorite.tile.supplier.ever.

AFTER

 We added a WOLF oven, and professional grade appliances, which really steps the kitchen up a notch!

AFTER

 I love the island.

They wanted a place to bake and craft with the grand kids, entertain, watch TV while making dinner and provide extra seating.  The island serves every one of those purposes, and more!

AFTER

 I will forever love apron sinks.

DRAWER


Of course the cabinet builder has captured my heart too {wink}.

Thank you, Jon and Joyce, for the opportunity to work on your project!!  You were truly a delight to work for, and a bright point in our summer!