PAINTING A HUTCH || still in love with milk paint
/If you have been around here for a while, you know that I love to create cozy spaces and that often involves repurposing furniture!
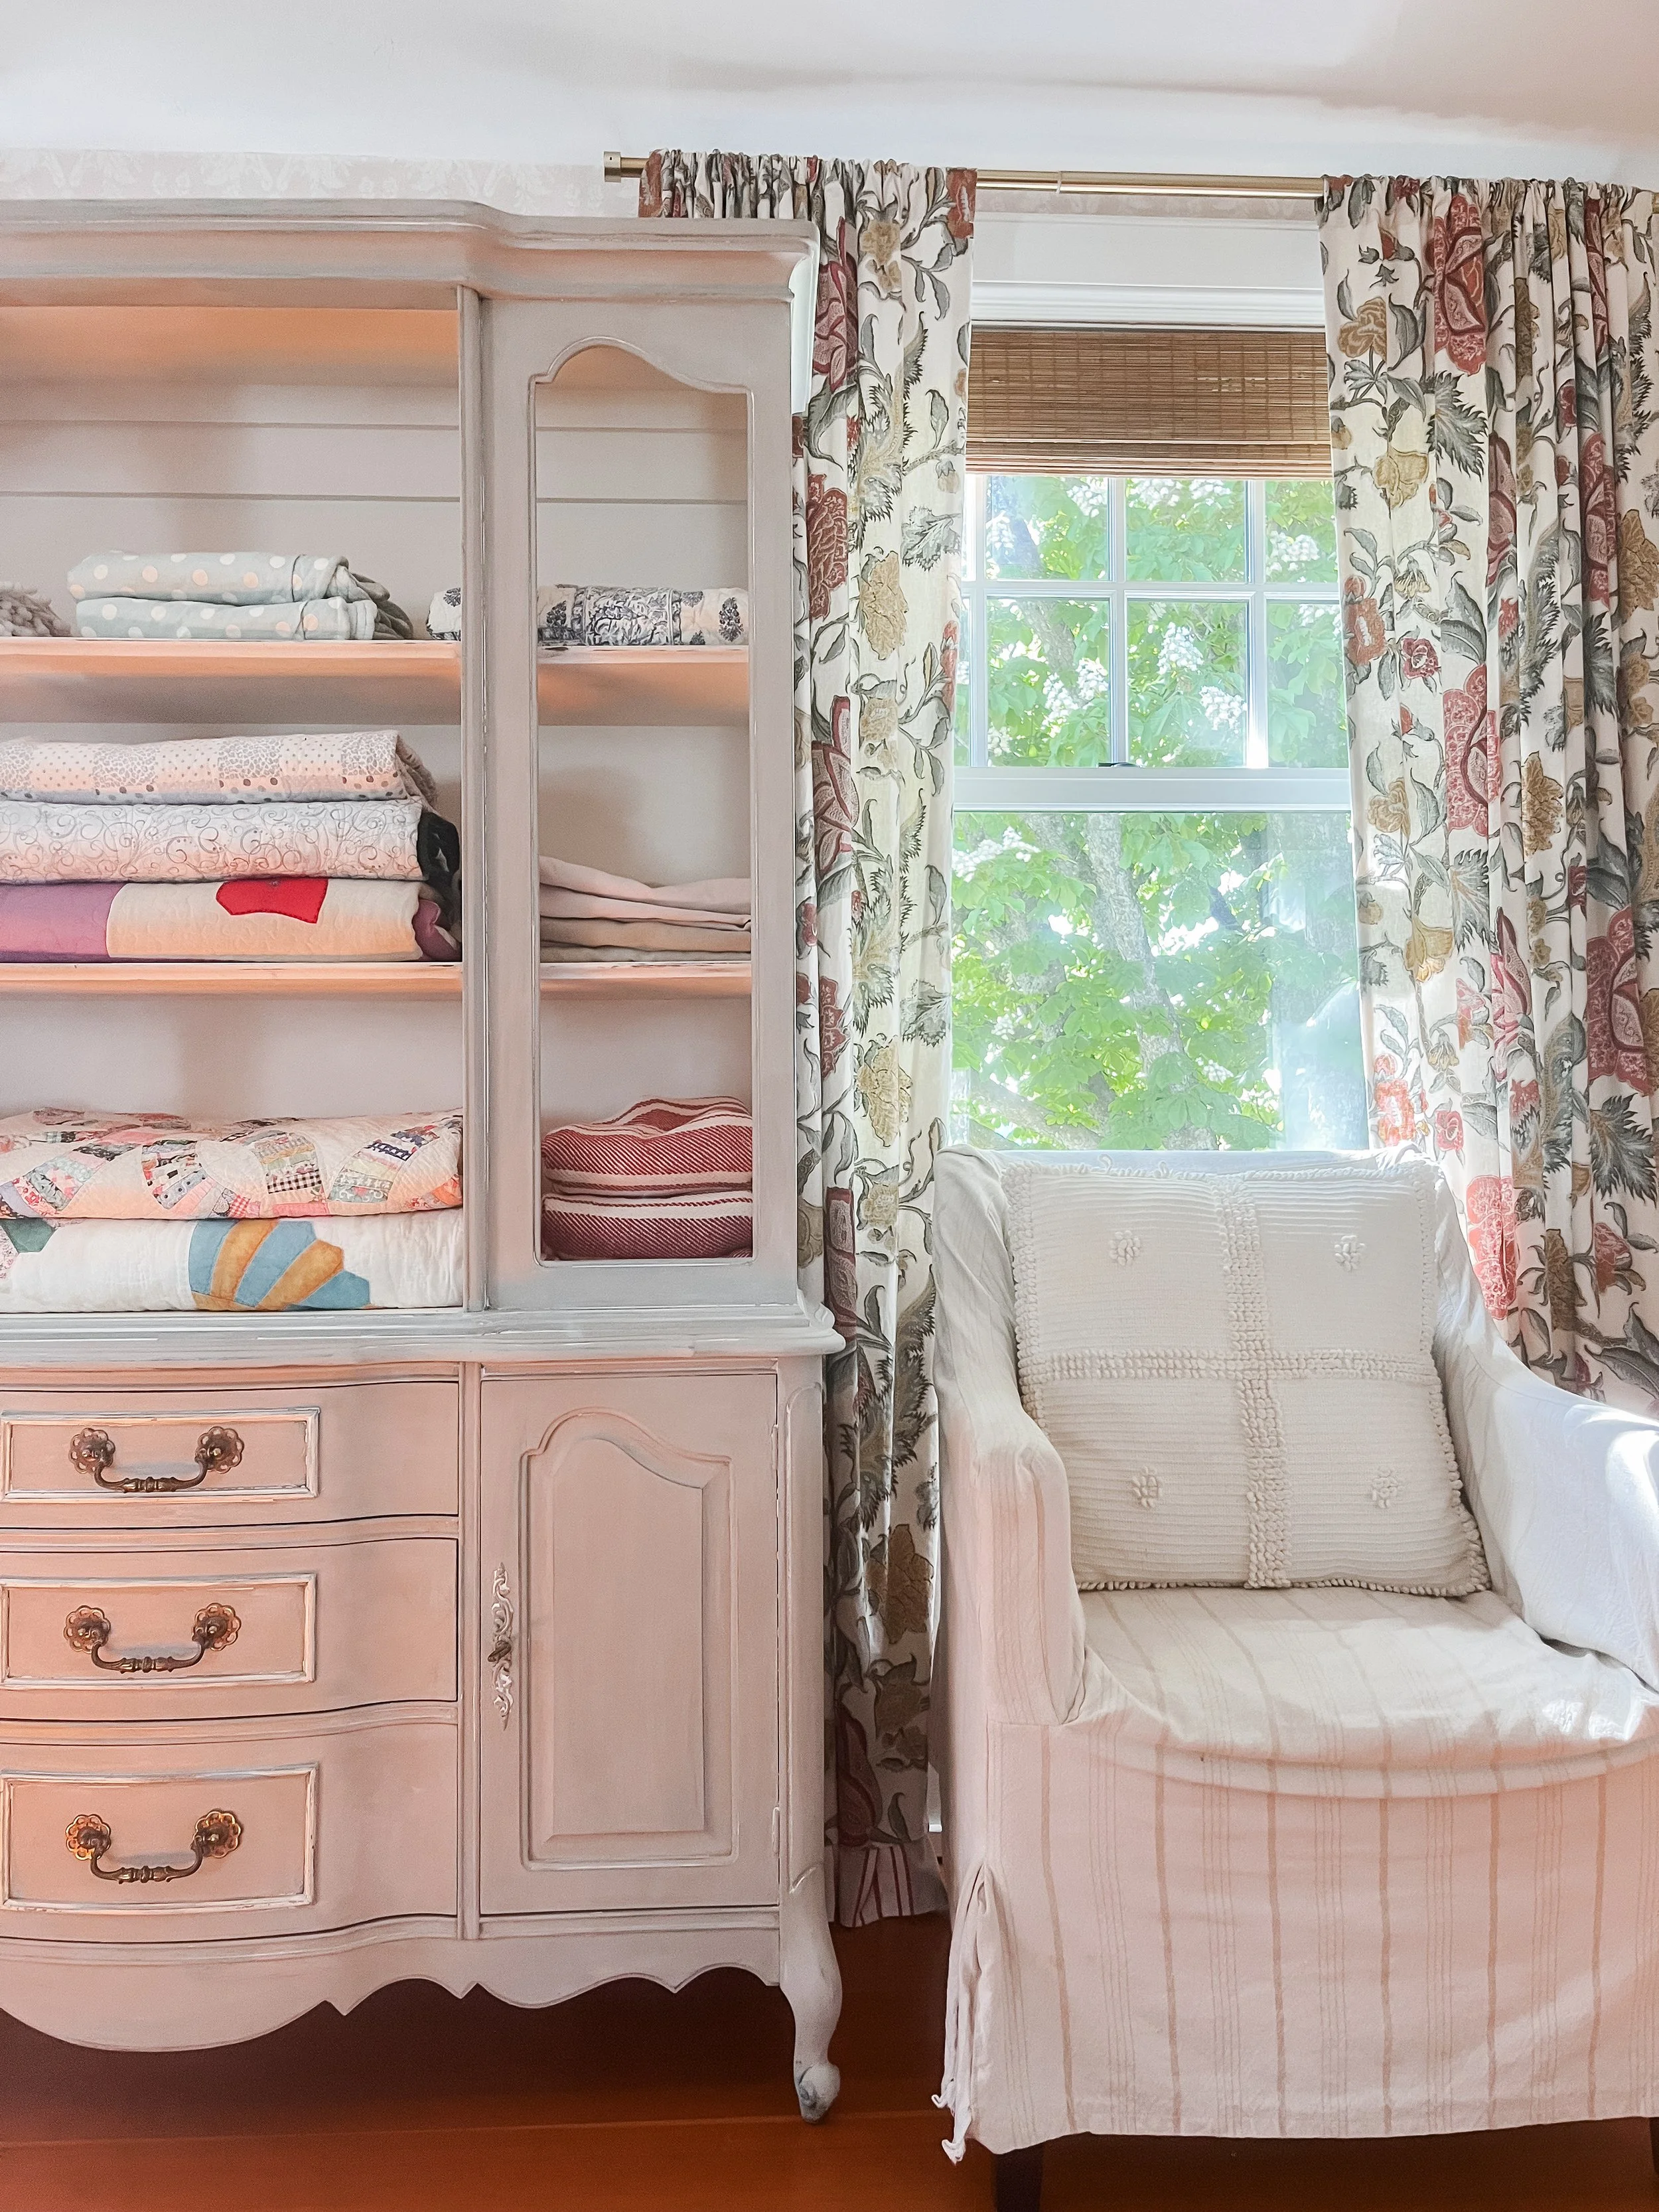
I purchased this hutch years ago and I used it for displaying candles when I had the brick + mortar shop in McMinnville. Since selling the shop and moving to the farm, this hutch was painted blue and holding books and study materials in our school room. Now both girls do most of their studies in their bedrooms, or at the kitchen counter, I decided to move it to our bedroom.
Bright blue wasn’t quite going with the soft pinks and grays in our bedroom :) so I looked through my stash of Miss Mustard Seed Milk Paint and mixed up a bowl of one of my favorite colors, Schloss.
I painted two coats, lightly sanded, and then finished it with a white wax.
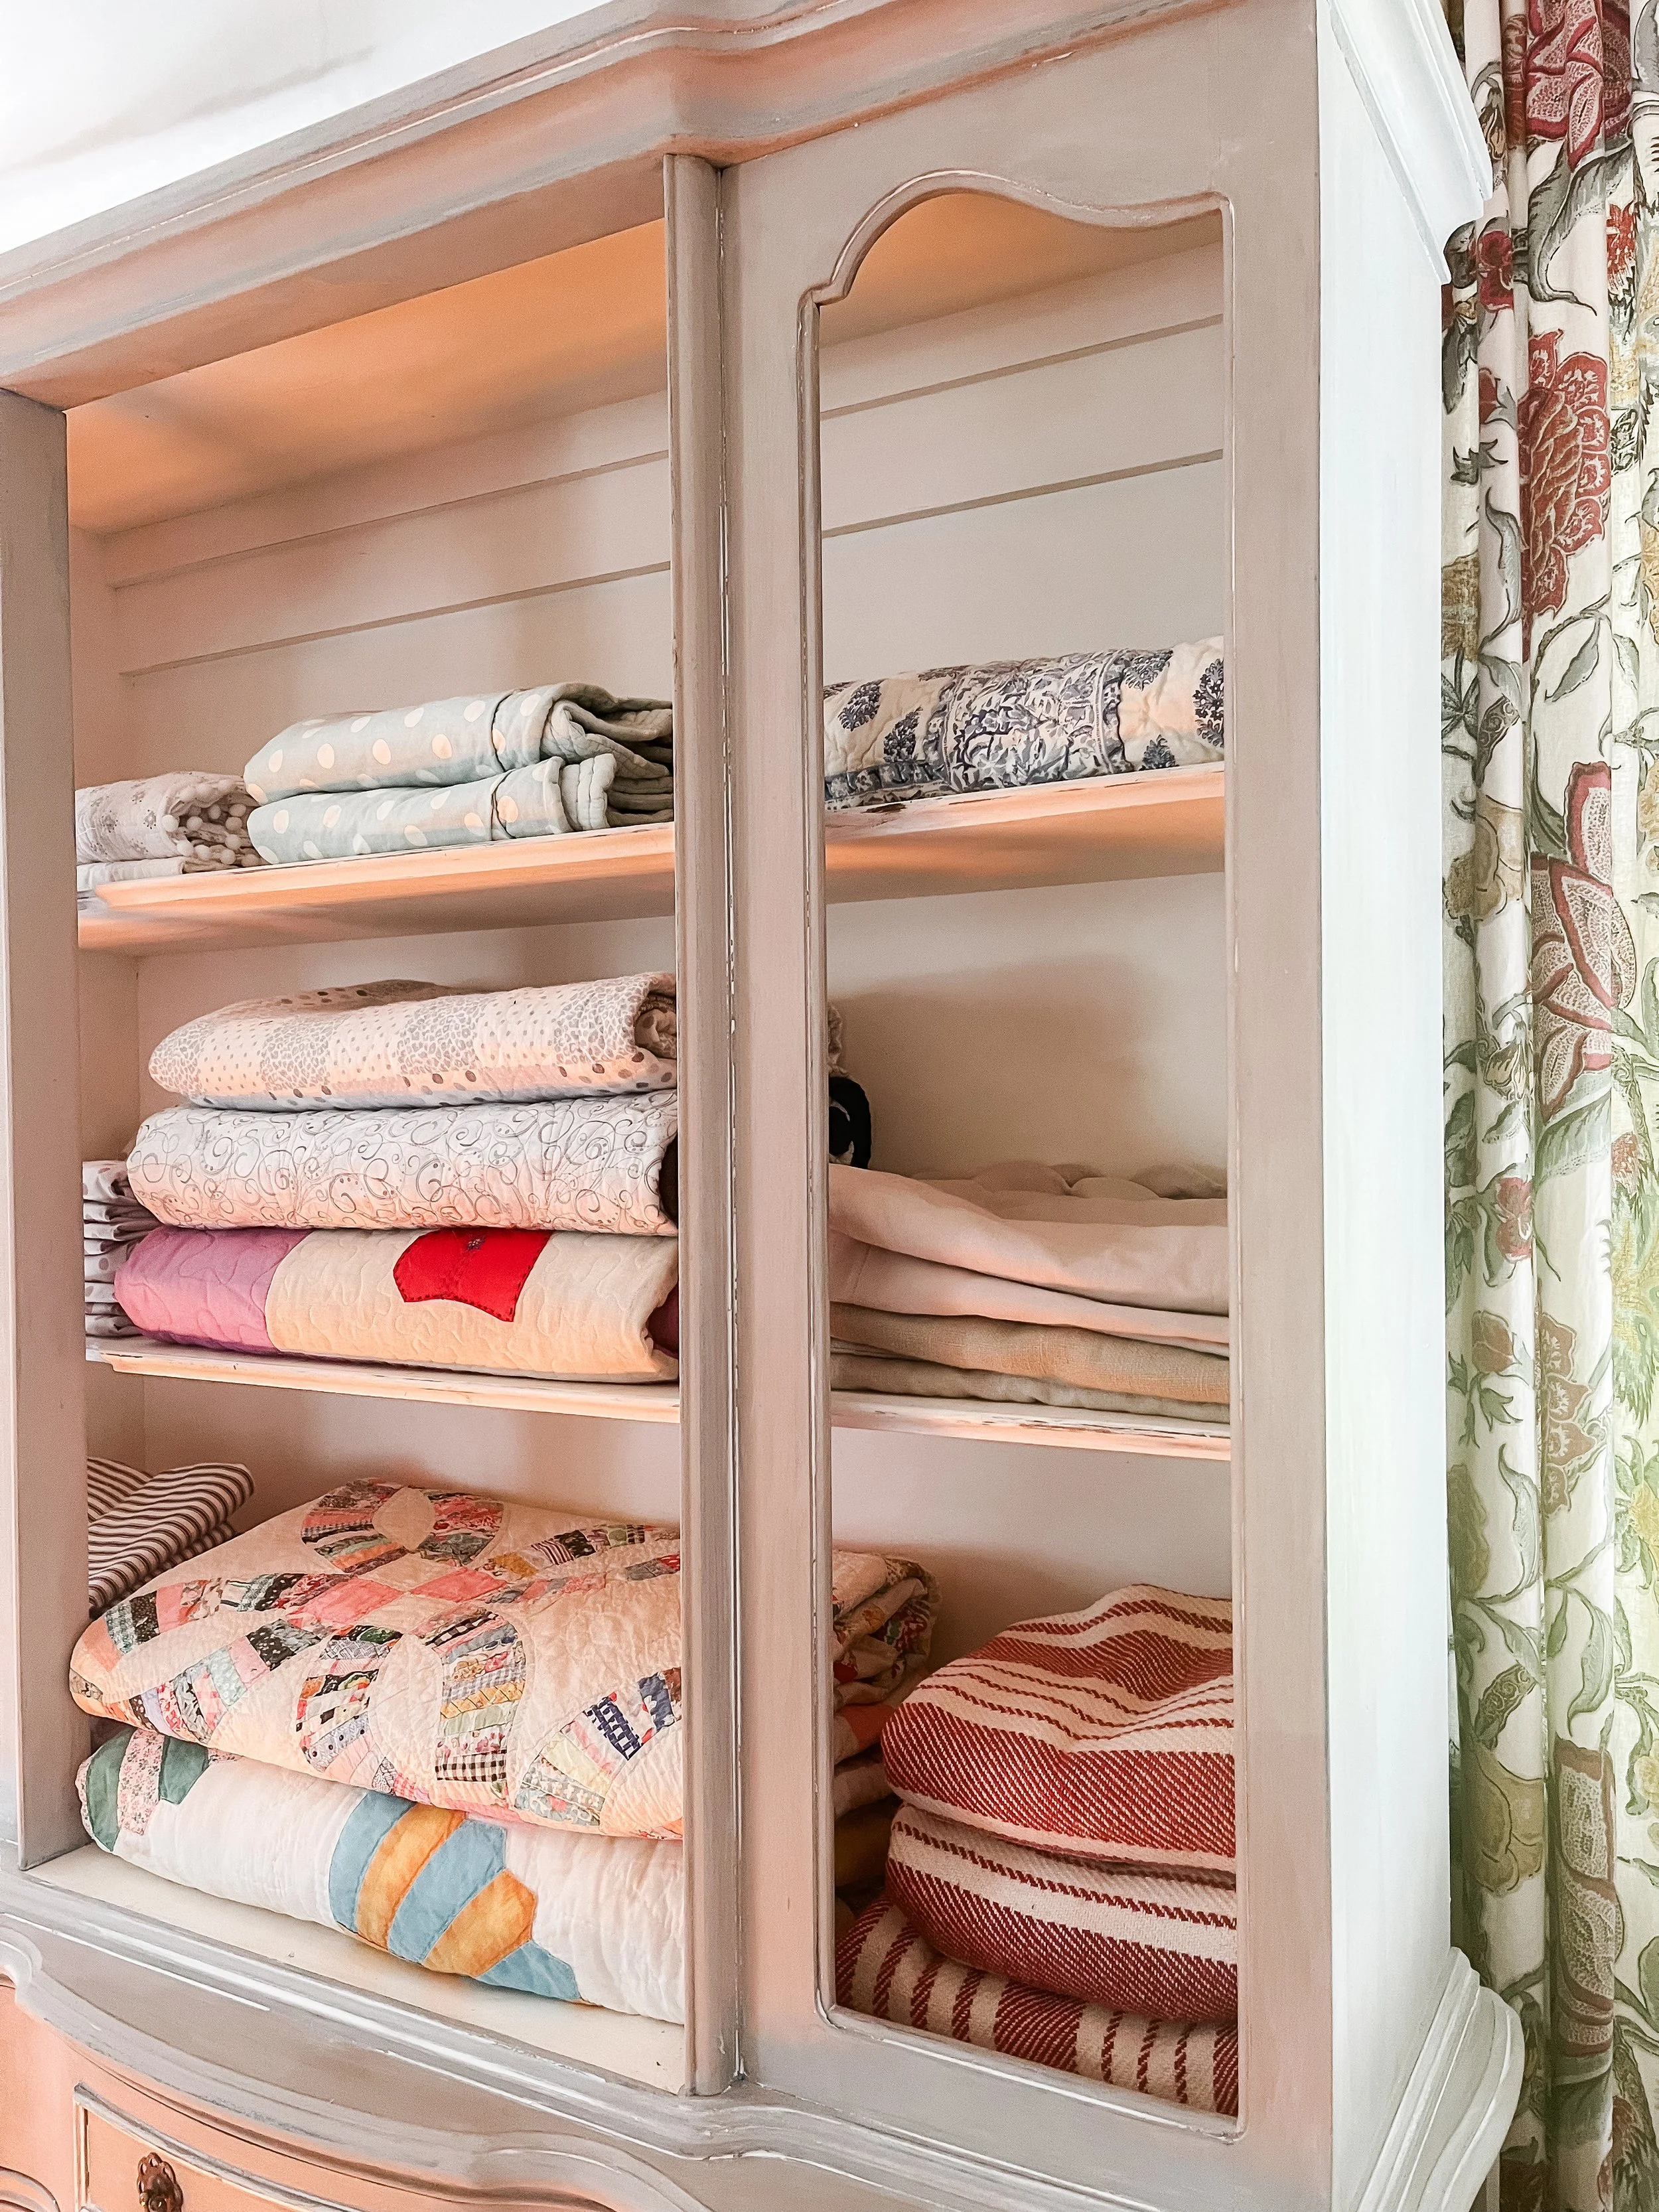
For now it holds quilts from my mom, and and some extra linens. I am sure I will change things up, but for now I am enjoying it in the bedroom and filling a space that I have struggled with filling for years!!
Are you working on any furniture projects? I always love a good painting project!!