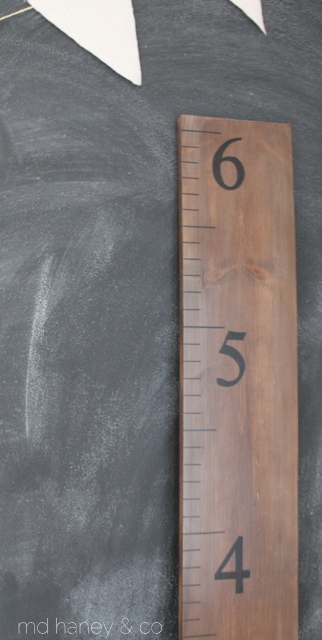
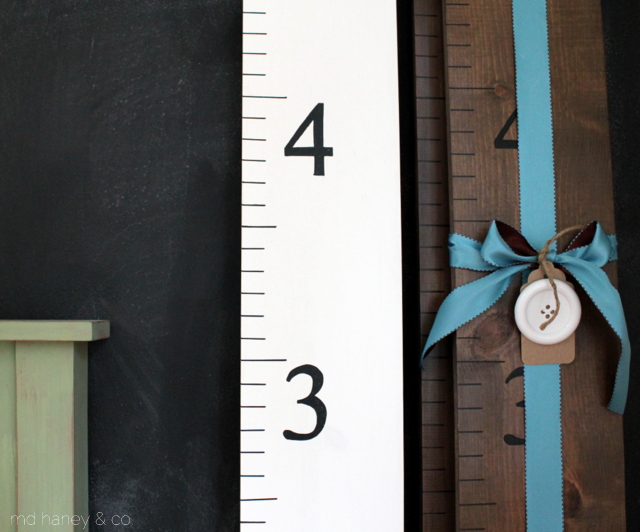
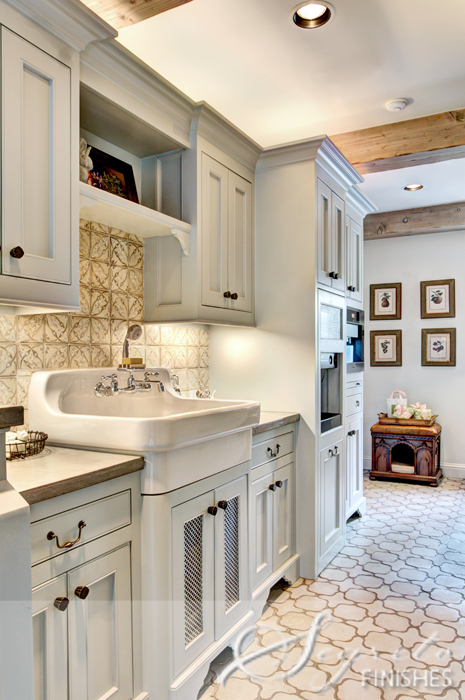
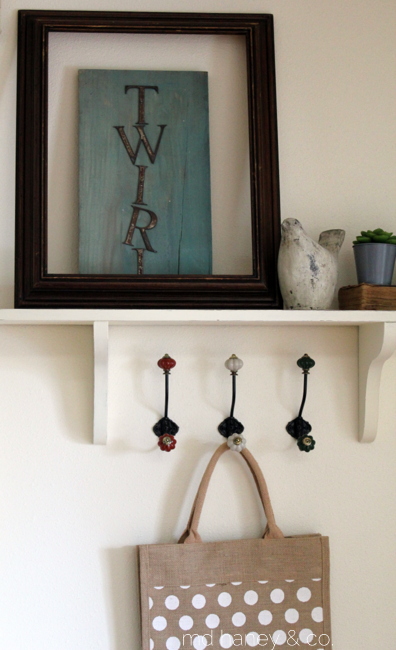
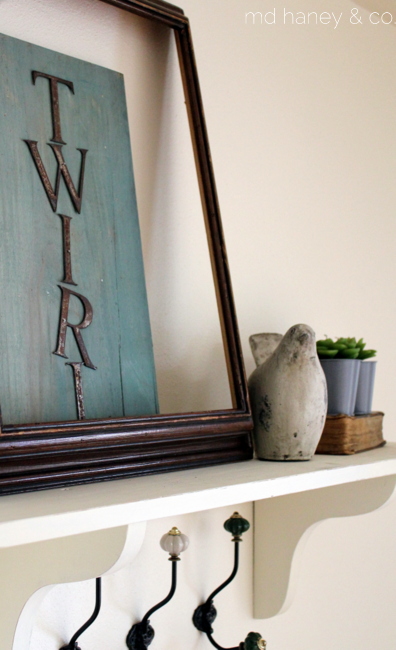
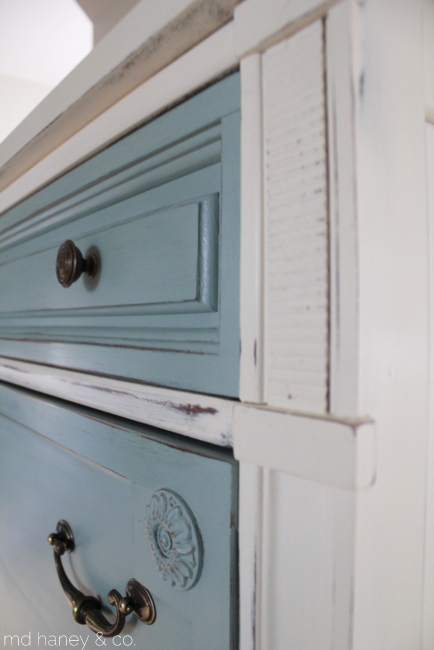
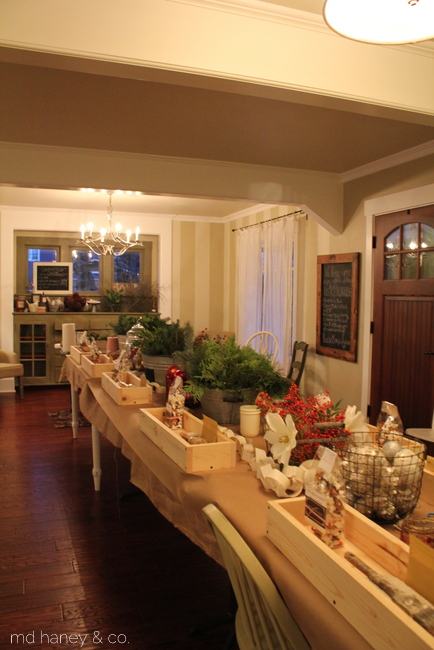
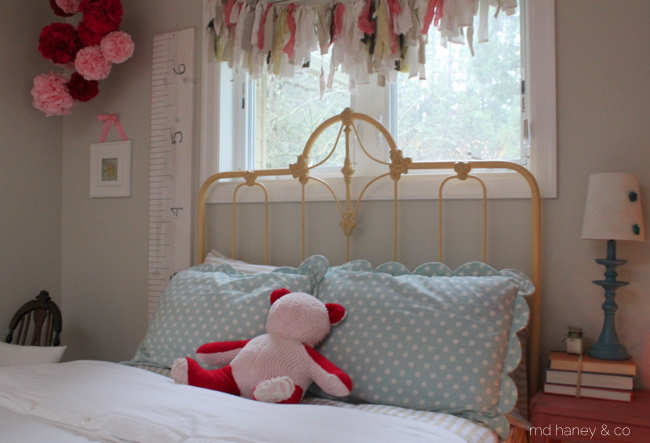
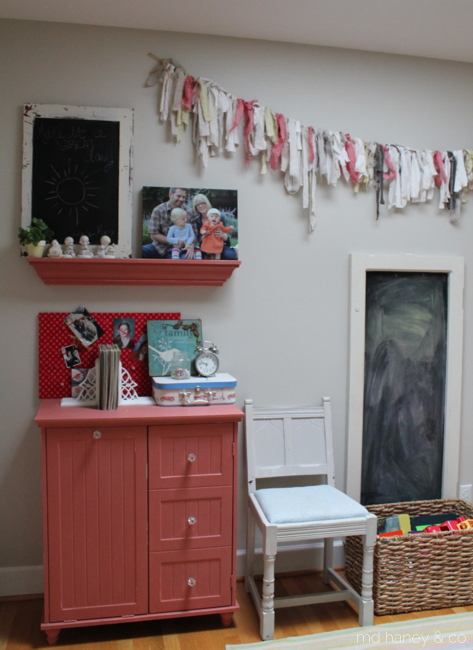
growing girls and a newly painted hutch

IMG_5830

I feel so blessed to be able to stay at home with my girls.  Most of my work can be done early in the mornings, at nap time or when the girls play at Grandma's.

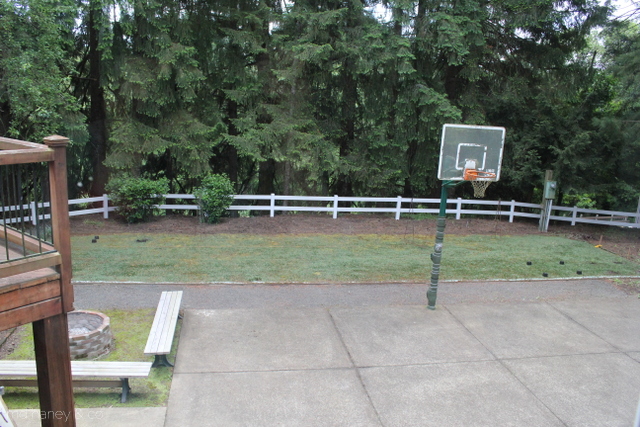
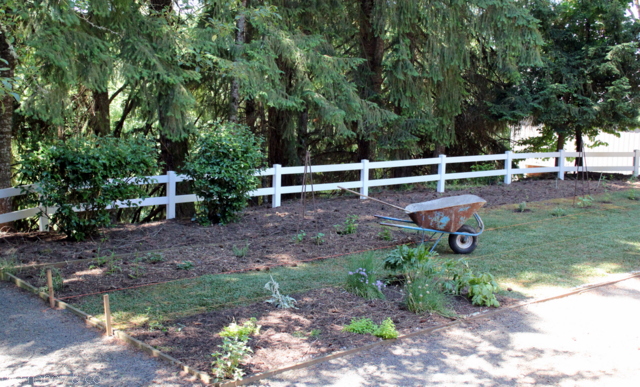
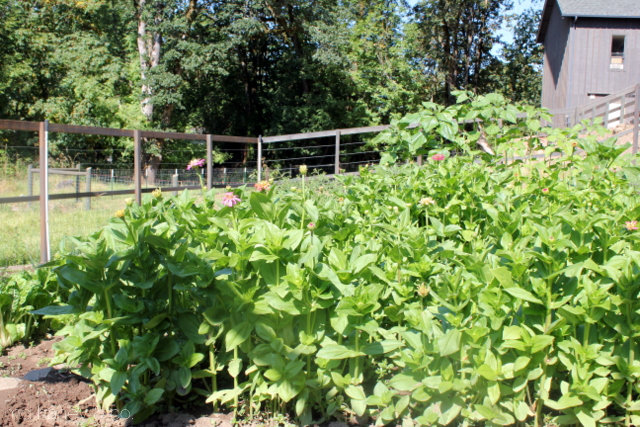
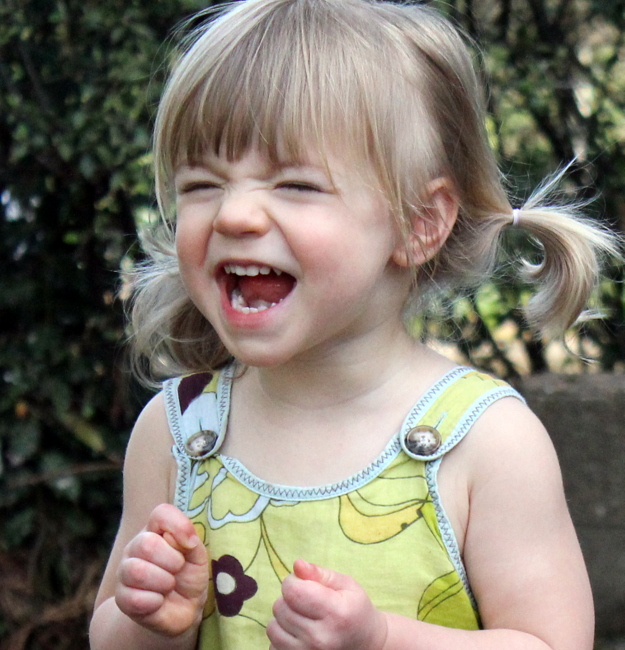
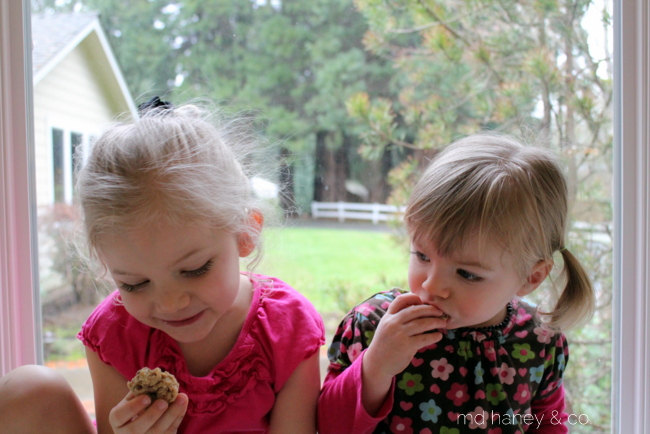
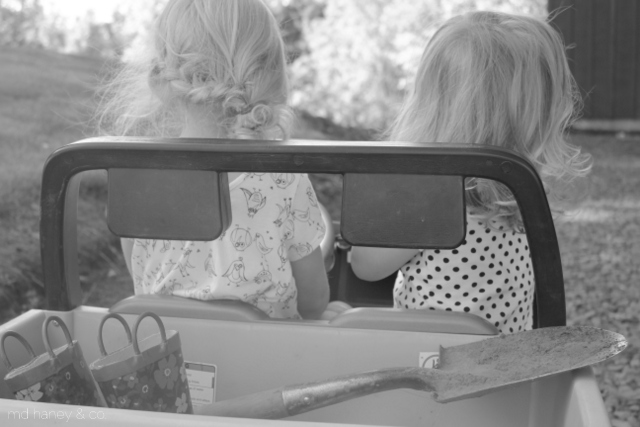
The other day, the girls and I were headed to the garden and Addilyn started the conversation…."my heart is so full right now. Savanna, do you love God with all of your heart, or just part of your heart?"  To which Savanna proudly replied "all of my heart."  Addilyn was pleased with her answer and replied "me too, that's why we have happy hearts.  Because we love God and He loves us even more".

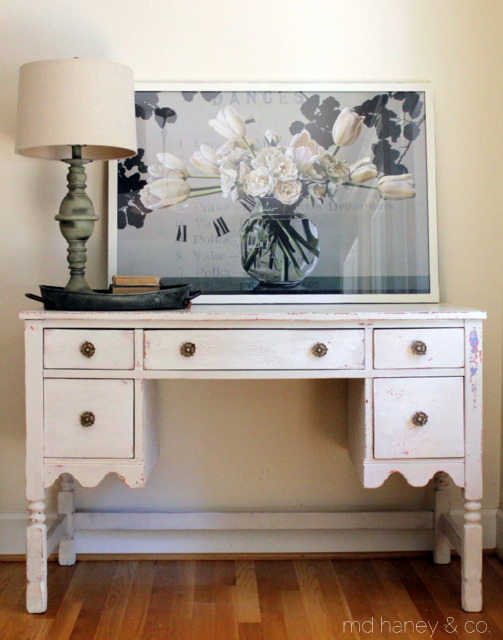
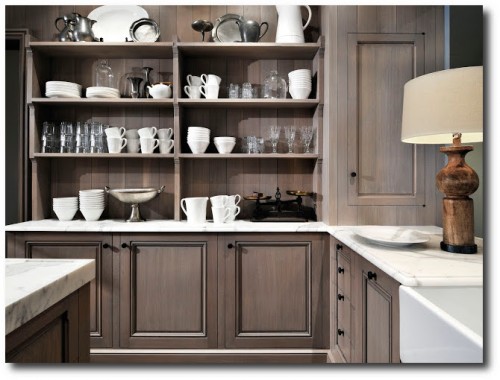
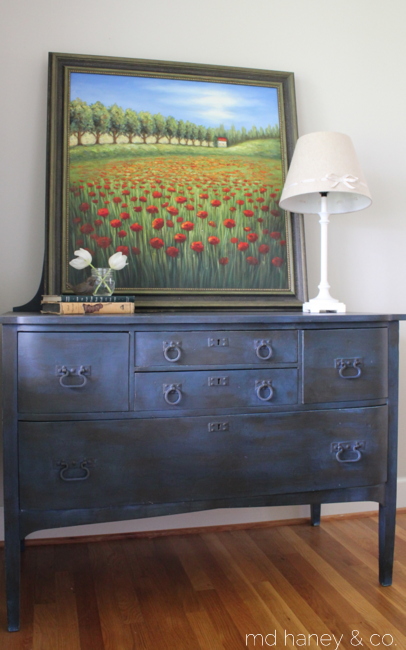
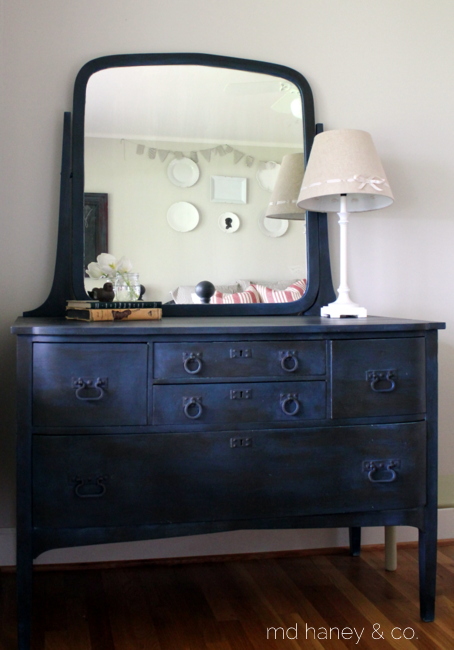
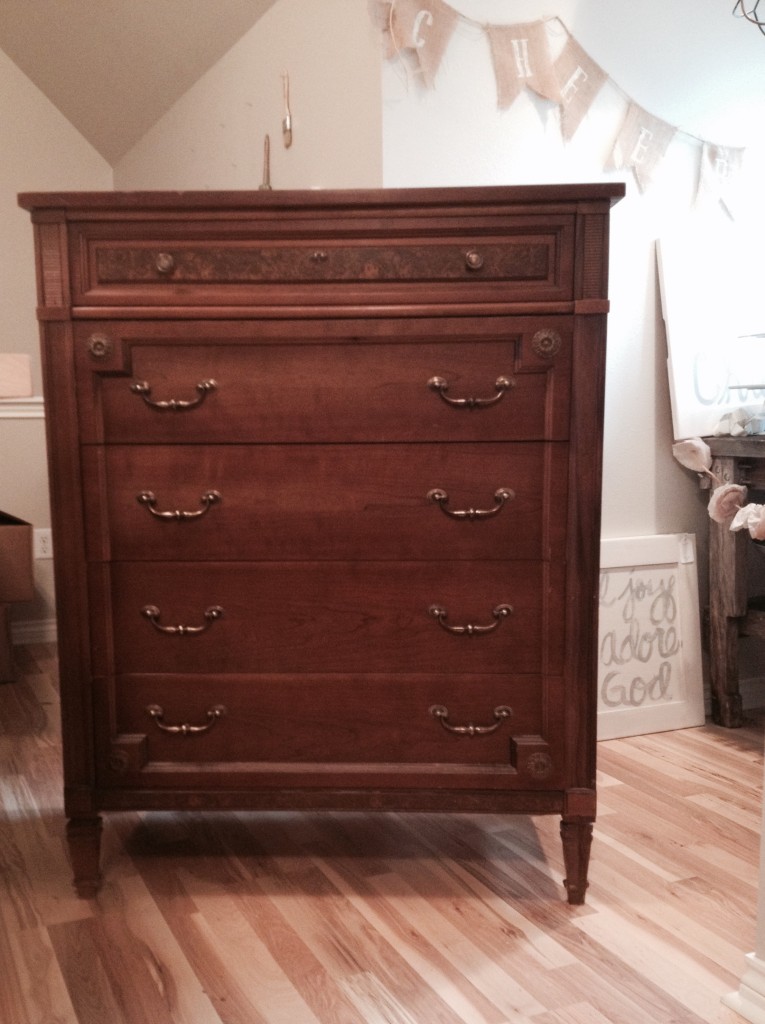
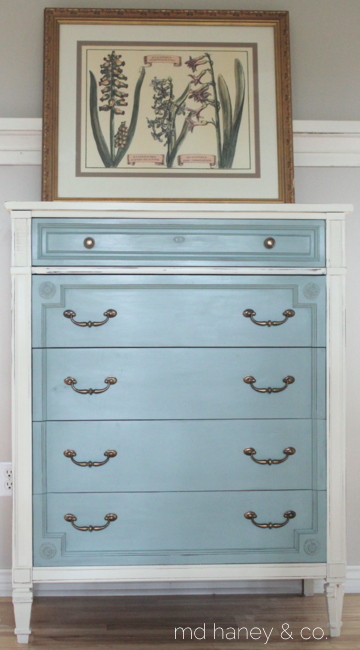
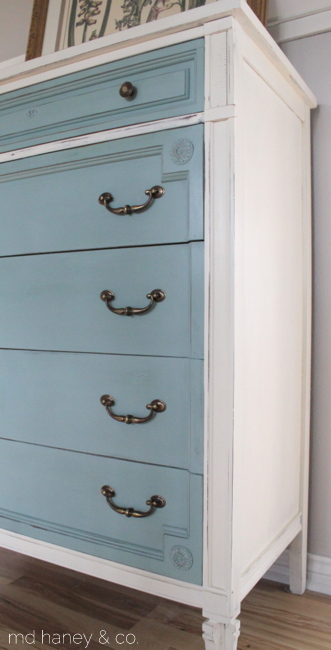
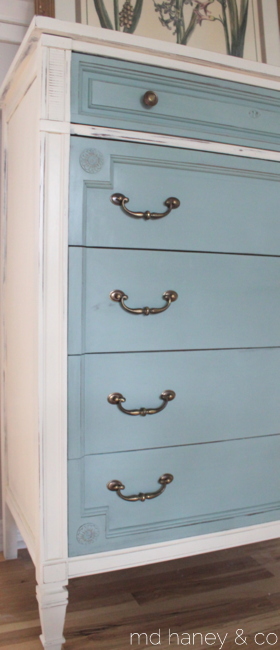
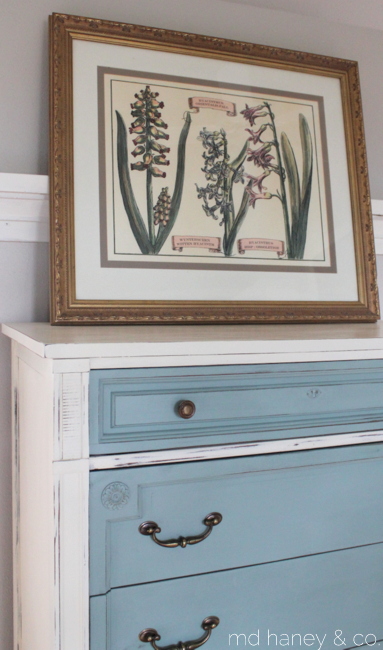
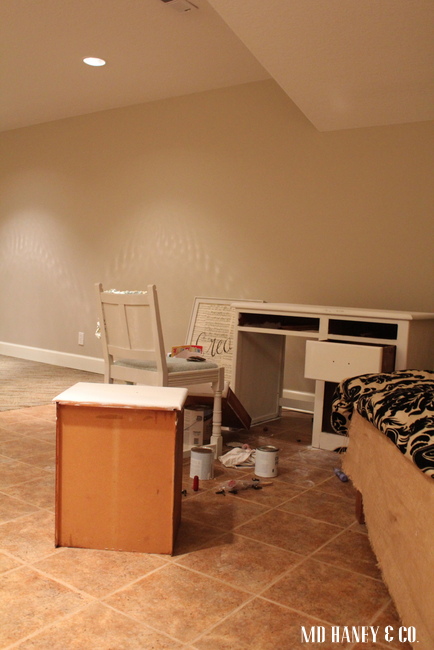
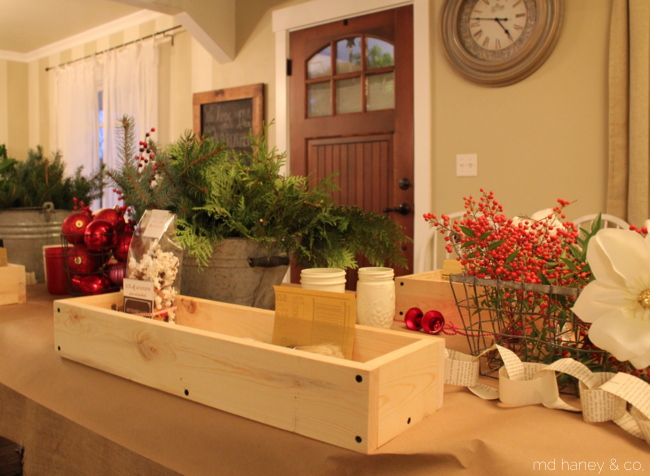
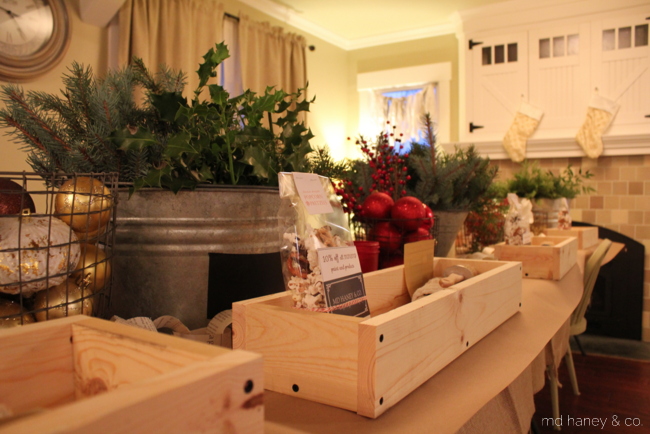
The little conversation melted my heart and was the little piece of encouragement I needed.  I LOVE my work!  I could work all day long, every day of the week.  It can be a challenging balance to work (especially self-employed) and be with the kiddos, but for us, in this season we are in, it is so worth being home with the girls.  The girls even helped me paint this hutch…..

IMG_5842

IMG_5846

IMG_5848

IMG_5850

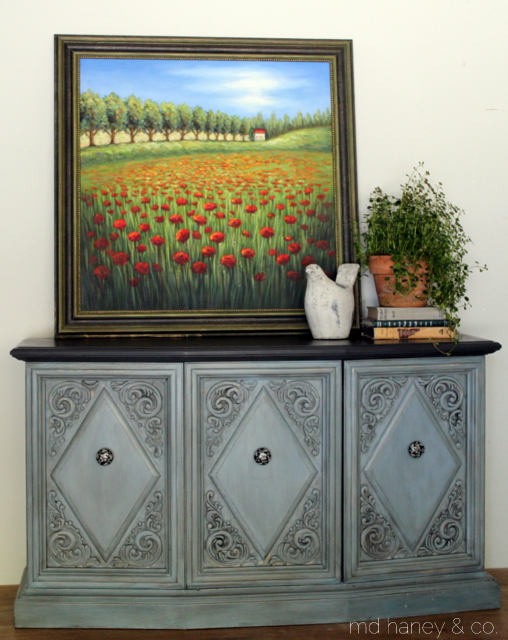
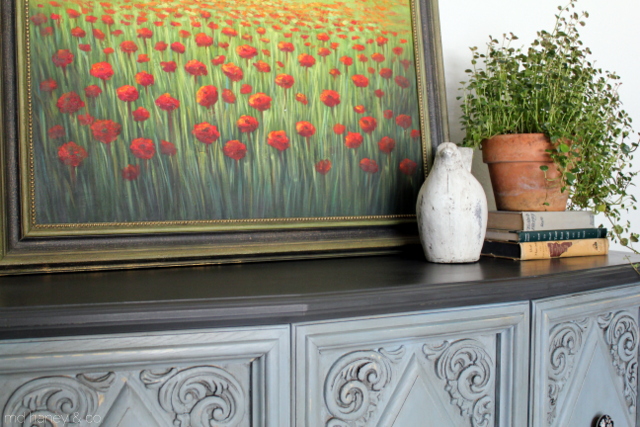
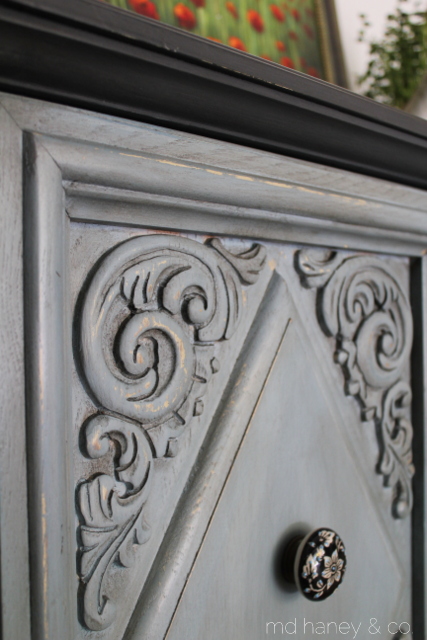
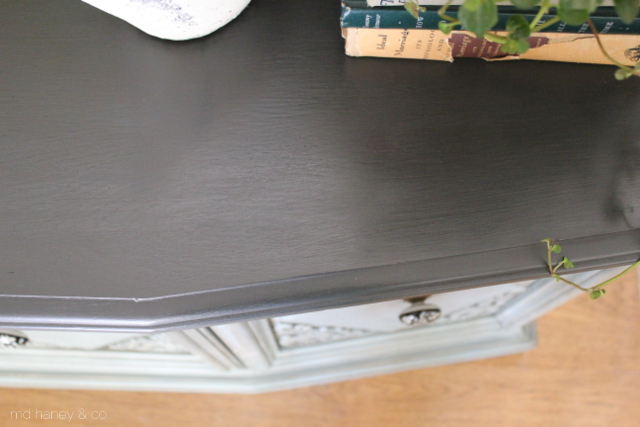
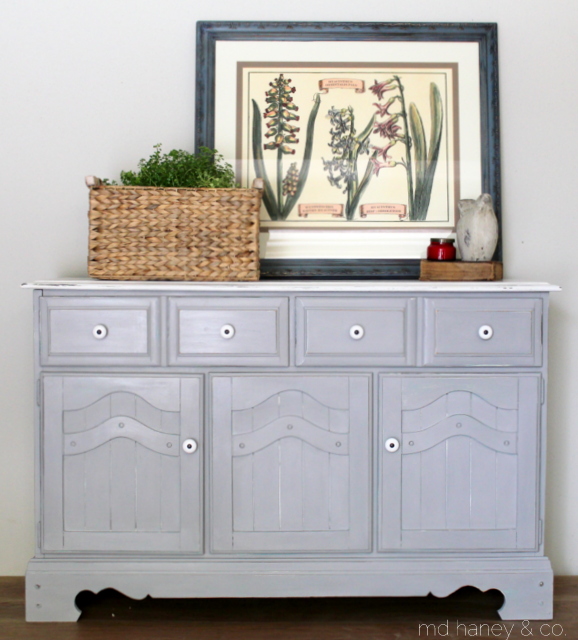
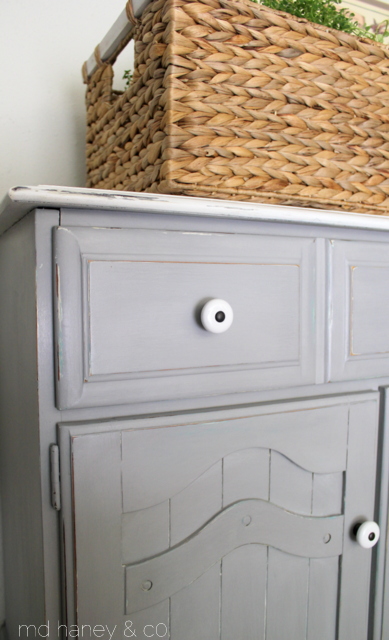
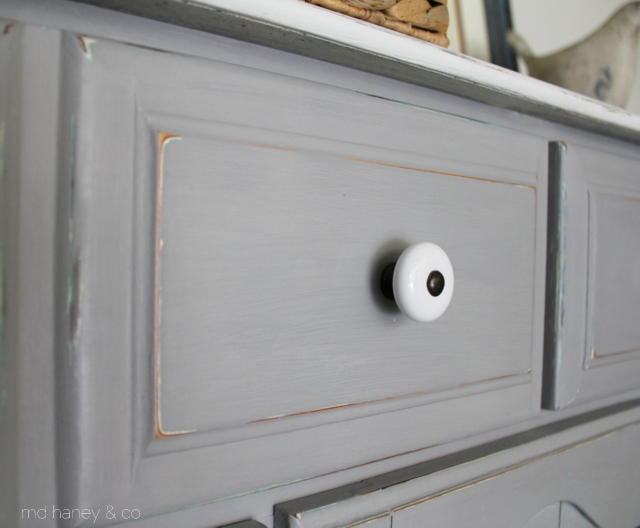
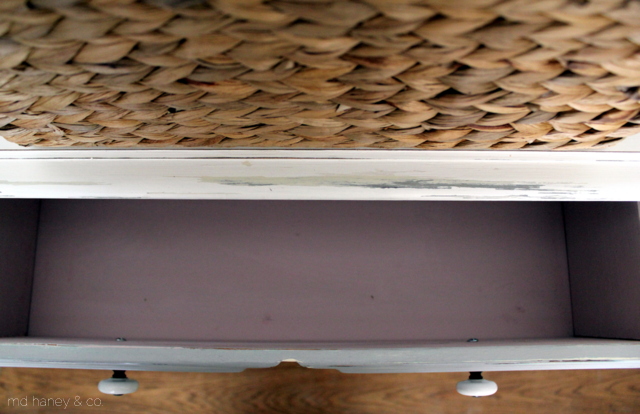
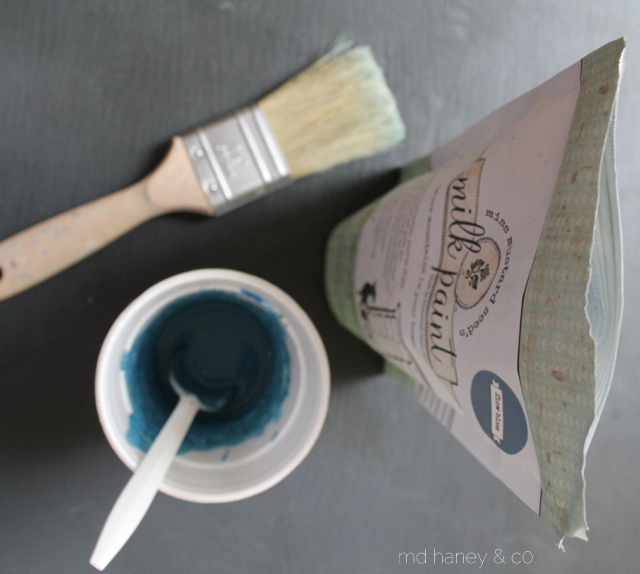
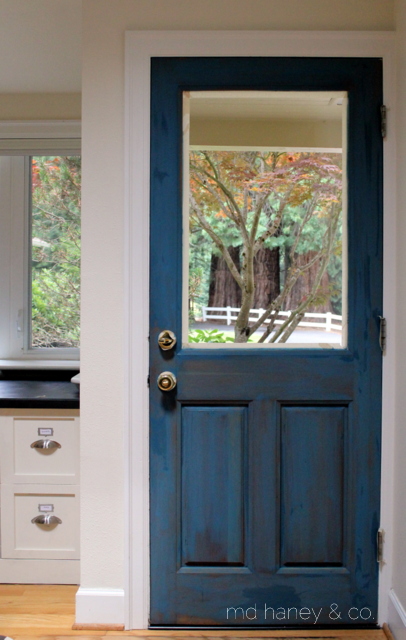
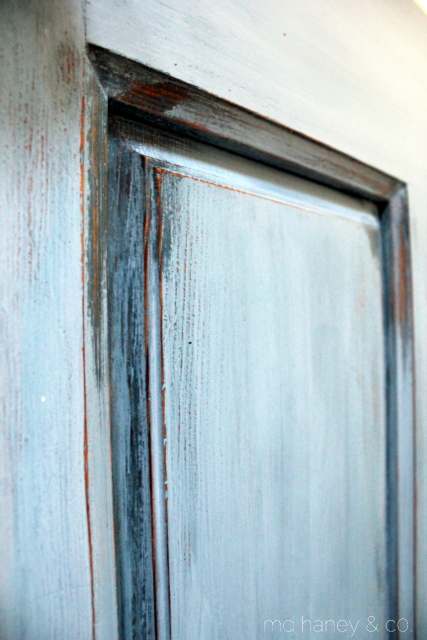
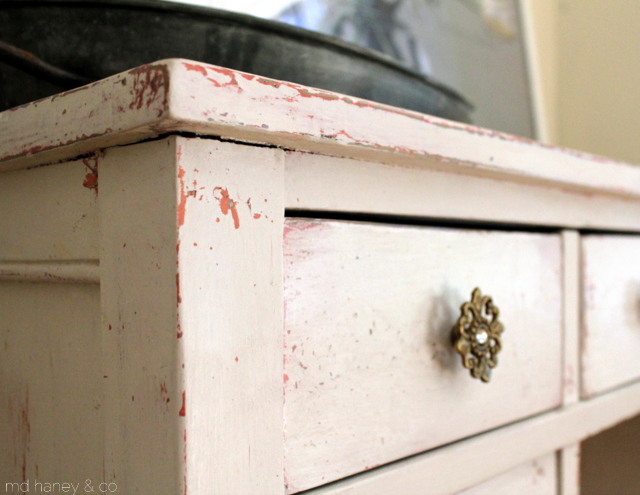
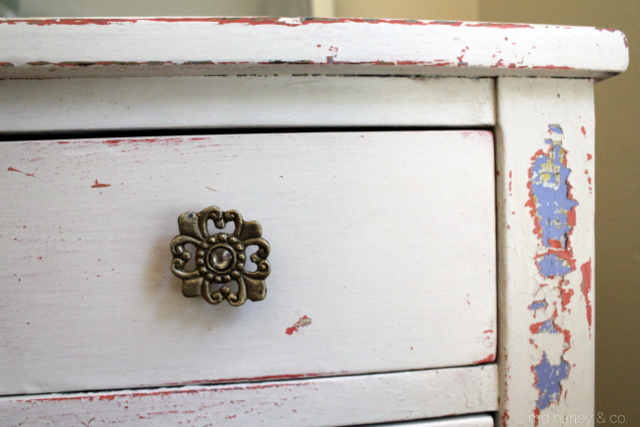
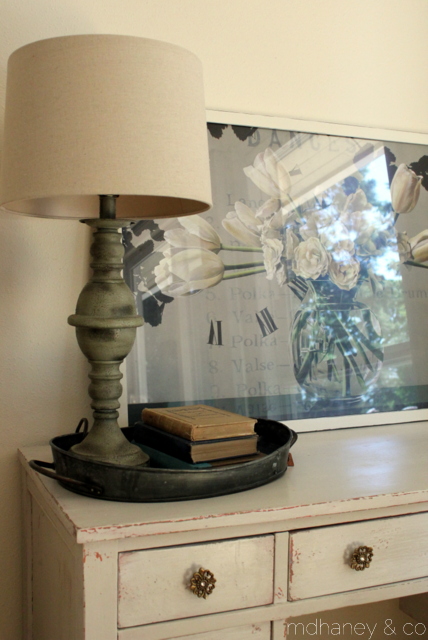
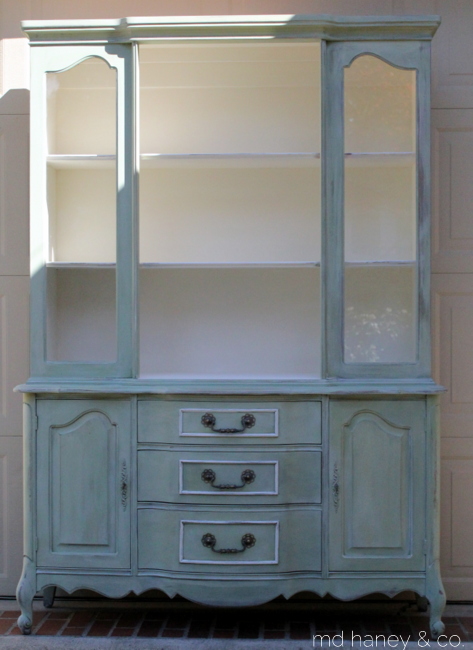
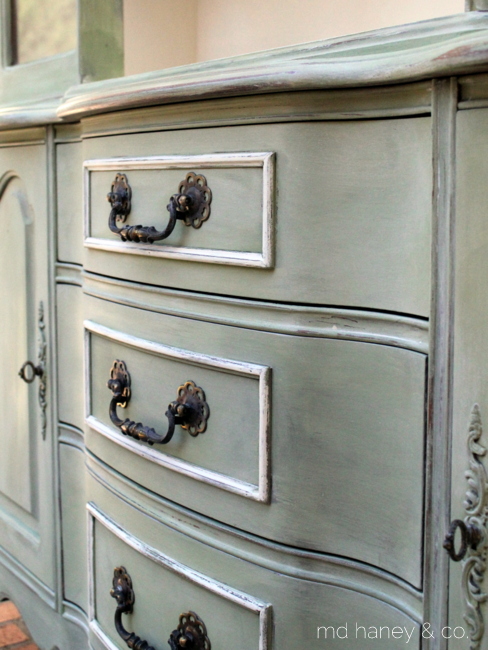
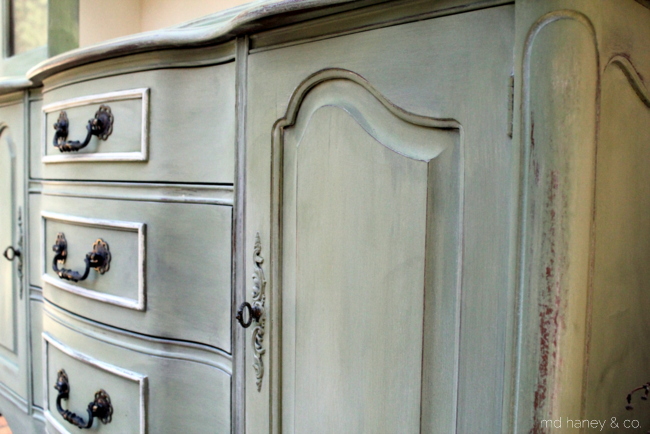
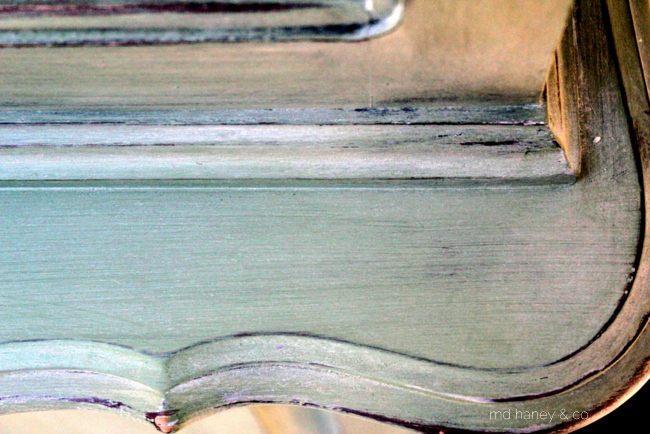
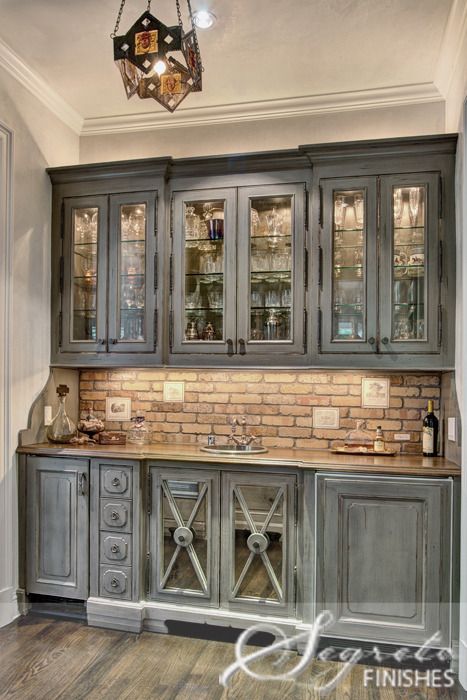
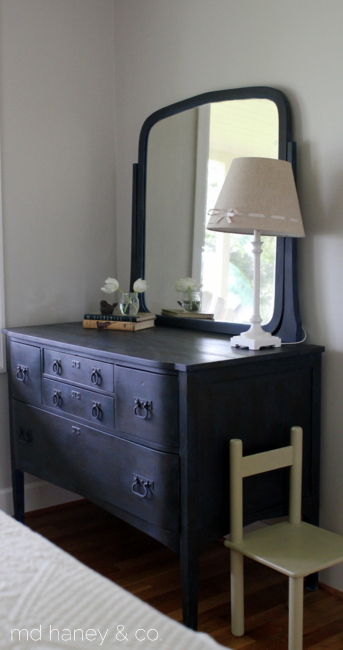
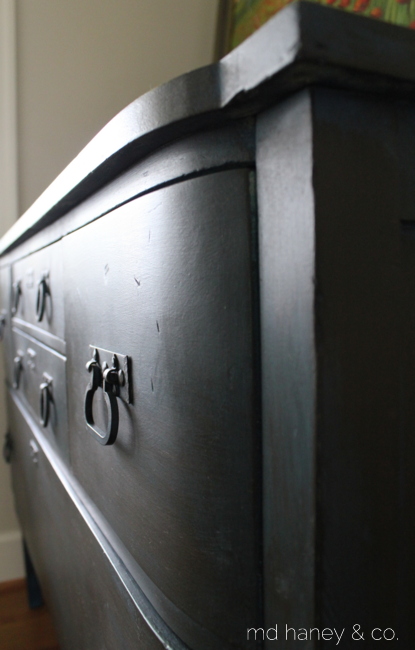
The top is painted with Annie Sloan Chalk Paint® (GRAPHITE) and waxed with two coats of clear wax and one coat of dark wax.  The inside is painted with Chalk Paint® (CREAM) and the bottom is painted with Miss Mustard Seed Milk Paint (BERGERE) and waxed with one coat of clear wax and one coat of dark wax.  This little beauty is headed to La Bella Casa this weekend so I can make room in the studio for more treasures!

Enjoy your weekend!  And your little ones!!

outside || our home

Oh I know it's been a while since I last posted!  Since summer is upon us in all of it's sunny, warm glory, I thought I would post a few pictures of little projects I have been working on outside.  Matt has been so busy with work (like he wakes up at 3:30am to start working, comes home for dinner around 6/6:30, and then some evenings even goes back to work in the barn!) that we haven't done any projects around our house.  But our 'to-do' list continues to grow, so hopefully this winter we can start back up on some of our own projects! IMG_5599

Our 'back yard' is were the girls play ride bikes and kick the soccer ball around.  We had this long stretch of artificial turf from when the previous owners had a batting cage.  I have been stumped as to what to do with this space!  We thought about a big play structure, but we couldn't find one that would fit right.  We thought about a soccer field, trampoline, the list goes on and on.  I finally figured an herb garden could be great there and go with our overall outdoor plan!  Plus, with artificial turf, I wouldn't have to mow the grass or worry about weeds ;-)

IMG_5666

We measured and laid out the beds.  I started cutting holes into the artificial turf and filling it with compost and soil, it took a while!

IMG_5805

IMG_5809

IMG_5811


I still have a lot of work to do, and eventually Matt will build a fence around it.  But for now, I enjoy having my herbs so close and a pretty view out my kitchen window.

IMG_5812

IMG_5815

We still have a lot of work to do on the barn this Fall!  Matt needs to build a barn door for the front entrance.

IMG_5817

He also needs to build a large barn door for the bottom entrance.  You can also see we need to get the retaining walls and gravel in before the rain starts!

IMG_5820

The girls and I have been enjoying the garden this year!  The girls wanted their own cutting garden so they could have fresh flowers in their bedrooms.  These girls crack me up!  Anyways, the zinnias and sunflowers are just starting to bloom...

IMG_5821

IMG_5822

IMG_5799

The girls and I just made our first batch of home made cucumbers!  Can't wait to try them!!  Have a lovely weekend!

PAINTED HUTCH || painted with Chalk Paint®

I often forget to take pictures of different pieces I am working on.  I guess I just get side tracked, or I am just ready to move onto the next project ;-)  However, I did remember so here are a few pictures on a small hutch I finished last week….

IMG_5769

The top is has three different colors/layers (all Chalk Paint®)…..French Linen, Old White, and the top layer is Pure White.  The bottom is painted with Paris Gray.  I lightly distressed the entire piece and then sealed it with Annie Sloan's soft wax.  After applying two coats of soft wax, I applied Miss Mustard Seed's white wax in areas and allowed it to build up, giving the piece a bit of a bleached look.

IMG_5774

IMG_5775

IMG_5778

I added new knobs, painted the interior and called it 'good'.  It's a darling little hutch and it will soon be on it's way to La Bella Casa!

IMG_5784

Enjoy your week and happy painting!!!

painting a new door + making it look old

One of the many things I love about our home, is the potential to never run out of projects!  In the next couple of years, we hope to do an extensive kitchen remodel.  Until then, when the 'itch' hits to change something up in the kitchen, I usually resort to paint ;-) We have a fir door in our kitchen, it's in pretty good shape (except for where the dog scratches when he wants to go out to play…..)  When we remodel, I would love to replace the current door with a dutch door, similar to this...

dutchdoor

For now, paint will have to do!

IMG_5702


IMG_5706

IMG_5708-001

(first coat ~ FLOW BLUE)

IMG_5725

IMG_5728

IMG_5734

I used Miss Mustard Seed Milk Paint for this project.  I applied one coat of FLOW BLUE (no bonding agent).  After the first coat of paint dried, I rubbed corners with vaseline.  The vaseline causes the next coat of paint to resist, it makes for great distressing!  I then applied two coats of SHUTTER GREY.  I distressed the door and finished it off with two coats of clear wax.  The picture isn't a very good representation, I feel it looks much better in person!

Just a fun and easy project that I was able to complete in an afternoon!

I hope to have a lot more pictures to post soon!!  Matt and I have both been super busy with work and I often forget to take pictures. ;-)  Plus, I am soaking up every summer minute with my girls, 2 and 4 years old is such a fun (and exhausting) age, I don't want to miss a second of it!!

CHIPPY VANITY || a painted vanity

I have this sweet little vanity that I got about 5 years ago.  I originally painted it for Addilyn's nursery.  I used milk paint (I was super pregnant and wanted something safe to work with) and painted it a sweet shade of light green.  I have always loved this little vanity, and had no intention of selling it!  However, I just don't have a place for it and I need furniture for my little space at La Bella Casa!  So, it got a makeover and will be headed to the shop next week….

IMG_5648  IMG_5654 IMG_5659 IMG_5651

IMG_5650

It was originally painted with a blue paint (probably lead based, the piece is very old).  When I got it, Matt completely sanded it down for me. I layered several milk paint colors and love the chippy, old look.  I sealed it with wax, added some pretty knobs, now she is all set for a new home!

hand made growth charts

It must be the time of year, a few weeks ago I received requests for 4 custom growth charts, all within a two days.  The last time I made a growth chart was at least 4 months ago, it's so funny how things ebb and flow!

I know that there are a gazillion growth chart tutorials online, but I thought I would share the way that I make them, and hopefully inspire someone to make their own growth chart!  They take a few hours to complete, but I break mine up into stages and the results are so worth it!!

IMG_5629

IMG_5634

IMG_5636

IMG_5638

IMG_5640

IMG_5645

Supplies Needed:

~ 6' pine board, (the width can be whatever size you prefer)

~ paint and wax (I used Annie Sloan Chalk Paint® for the white growth charts (Pure White) and Miss Mustard Seed Milk Paint for the dark growth charts (Curio).  I used Annie Sloan clear wax for both growth charts.

~ black paint pen

~ ruler 

~ saw tooth hooks

1. Paint the board, both sides.  Wax with clear wax.  

2. Using a sharp pencil and a ruler, mark the side of the board every inch.  The pine is soft enough that you can press the pencil into the wood and it will mark.  (I lay my board on the work table/counter, it's best to do this with the board horizontal.)   Once the inches are marked, go back with your straight edge and make a line at every inch.  I use the marks on my ruler as a guide.

3. Use a paint pen and a straight edge to go back over the pencil marks.  The paint pen gives crisp, bold marks.

4. Print off numbers 1-6 in your preferred font, I use TIMES NEW ROMAN.  Trace the numbers with a pencil.  Again, the pine is so soft that you will easily see your tracing line.

5. Color in the numbers with the paint pen.

6. Attach the saw tooth hook to the back and your growth chart is finished!

This would make a fun baby shower gift, new mama gift or just a gift to yourself ;-)  One of these days I am going to make some in fun colors!  What color would you choose?

parties for the kiddos || teaching little ones to paint

One of my favorite parts of working with paint, is teaching others how to work with paint. Even better, teaching little girls. They are always so excited, well behaved (the class typically runs just over one hour) and they are just plain cute! IMG_5603


IMG_5604

IMG_5600

IMG_5609

Sometimes Addilyn gets to help….which she loves!

IMG_5612

If you are interested in having a painting party for your kiddos, here is some more information!

kidsclass copy

Happy Painting little ones!!

PAINTING CABINETRY WITH MILK PAINT || Miss Mustard Seed Milk Paint

It's hard to believe, but we have been living in our home for a little over a year now!  Our first 'big' project for the interior of the home has been our basement.  We turned the 'bonus room' area into a play room for the girls.

IMG_4376

BEFORE

IMG_5197

AFTER

And we just finished part of the downstairs living space.  We still have a lot to do, but it's clean and now has furniture!

IMG_4411

BEFORE

IMG_5522

AFTER

When this area is completely finished (we still need to install the fireplace hearth and wire/glass on the cabinet doors) I will post a lot more photos.  However, my sweet hubby has asked that I let him finish the space before posting photos ;-)

One aspect of this little reno, is the entertainment center.  Since my dear husband was not a super talented, MVP, major league baseball player, we didn't have much of a use for a cool trophy case.  Matt modified the existing cabinetry so that it looked more like an entertainment center, we added some new glass doors, open shelves and a space for the ginormous TV.  Once the modifications were finished, I painted it with Milk Paint (TYPEWRITER) and sealed it with Hemp Oil.  I thought I would share a few tips on painting (previously finished) cabinetry with milk paint.

IMG_5518

IMG_5516

IMG_5514

IMG_5512

1.  Sand the cabinetry.  It doesn't need to be stripped, but you will have better results if you sand it with a course grit sand paper.

2.  Clean the cabinetry with TSP, Krud Kutter or a degreaser cleaner.  You can also use denatured alcohol to clean your cabinetry.  Once you have cleaned the cabinetry, wipe it down with a damp cloth, and then finally wipe it down with a dry cloth.

3.  Mix your Milk Paint well.  It's important to mix your milk paint, and continue to mix it as you paint.  (I applied two coats of TYPEWRITER.)

4.  Hemp Oil can be used as a top coat and it's  best on porous surfaces, so it can penetrate the surface instead of just hanging out on top.  Hemp Oil is your top coat, you don't need to apply anything on top of it.

5.  For this size of project, I used a brush to apply the Hemp Oil.  You can use a rag, but I feel the brush is easier.  I used the hemp oil to "wet sand" this cabinet.  To "wet sand", I brushed on the Oil, and sanded the entire piece with fine grit sand paper.  Once you wipe away the excess Oil with a cloth, you have a super smooth finish.  I wanted a slightly distressed look, so I sanded the edges with a bit more pressure.

6.  For an even finish, you will need to apply 2-3 coats.  The key with Hemp Oil,  is to only apply what the surface will absorb.  If you apply too many coats, the Oil will sit on top.

7.  While the oil is dry to the touch, it needs about 30 days to fully cure.  You can use the piece during this period, but it might feel a little oily to the touch while it’s curing.  I would recommend not setting items on the piece while it's curing.

I hope this inspires you to paint something!


PAINTED HUTCH || miss mustard seed milk paint

I finally finished painting a hutch that has been sitting in the garage for a few months.  I bought it to use as a milk paint display for the new shop, then things fell through with our downtown shop location so I just let the hutch sit un-finished.  Well, things are moving forward again with the shop space so it's time to get these pieces painted!

IMG_5493

IMG_5497

IMG_5491

IMG_5495

Since it will be a display for Miss Mustard Seed's Milk Paint line, I figured it should be painted and finished with Miss Mustard Seed products {wink}.  I layered, and dry brushed with IRONSTONE, LINEN, GRAIN SACK AND LUCKETT'S GREEN.  I accented some areas with LINEN, distressed the entire piece and finished with with white wax.  I left the original hardware because I liked the look of the brass.  That may change when it gets into it's new space, but for now it works!

IMG_5500

IMG_5499

IMG_5501

IMG_5502

We are starting to work on some outside projects {of course, before other projects are finished}!  I am starting to plan the garden, the chickens have spent the winter in the garden so I need my sweet husband to build a chicken coop and a new pen.  Of course we want to add some goats to our little family this summer, so they will need a little place to live, and the list goes on and on.  Plenty of fun projects to keep us out of trouble!

IMG_5444

And my little baby is turning two next week!  Time continues to fly and I am always reminded that each day is precious.  No matter how long the to-do list is, I always want to cherish the time spent with family and friends!

CABINETRY DESIGN || inspiration for custom paint finishes & cabinetry design

Matt and I are working on a large custom cabinetry project.  The clients are so sweet, the two designers we are working with are equally sweet,  and their new home is going to be beautiful.  Up until now, my time has been spent doing CAD drawings on the computer, and a lot of emails, now we are getting into custom paint finish/wood type/style specifics; the fun stuff!  Work has been busy (not much time for my own projects:-) so I thought I would show a few inspiration photos for the cabinetry paint finish and style.

west oak14w_edit

Gray-Wash-Kitchen-Cabinets-500x380

130617_067_0

101506986.jpg.rendition.largest

west oak6w_edit

Photo-House-Home-VMacdonald-BetsyAziz-ConnieBraemer-JA12-kitchen2

kitchen2

west oak3w_edit

kitchen-l

west oak10w_edit

There will be different paint finishes and cabinetry styles through out the home.  The goal is for the cabinetry to look collected over time, yet flow perfectly.  We are going to be using some reclaimed wood, and at this point our paint samples have all been Miss Mustard Seed Milk Paint samples.  I will be sure to show some of the finishes we came up with for samples!  So fun!!


RUSTED LETTERS || new to the shop

IMG_5408.jpg

A couple of months ago I purchased a few boxes of rusted letters.  All different sizes and a few different fonts.  Once I move to a larger shop/studio space {hopefully really soon!!}  I plan on offering more letters.  They are so fun and versatile.

IMG_5410

IMG_5413

They start at just $2 for the 3" letters and go up from there.  I have been using them in my Milk Paint 101 Class.  We work on various techniques and then paint a reclaimed piece of wood, the wood becomes the base of our sign and we attach the rusted letters to the wood.  The signs can also make great (and personalized) gifts!

IMG_5294

IMG_5415

I have used them in my studio....

IMG_5423

IMG_5420

IMG_5417

and in the little reading nook of the girls' playroom....and other little places 'here and there'.    If you would like to purchase the letters, you can pop into the studio any Friday, or if Fridays don't work, let me know and I can send you pictures and pricing.  They are so fun!

IMG_5428

IMG_5432

the cottage || SPRING CLEANING

Typically in March and April I do some major Spring cleaning at the cottage.  Our little vacation rental in Carlton keeps me busy in the summers!  I have cut the gardens way back and filled in a lot of flower bed space with shrubs and bark dust, but the flowers still need tending to and the cottage needs cleaning after each guest leaves.  I am always ready and excited for the start of the busy season {usually May} but then always ready for the busy season to come to an end {usually November}. I took the girls with me to take inventory of everything that needs to be done.  The list is long!  So I took a few new pictures for the vacation rental website page instead ;-)  I can't seem to find any interior 'before' pictures of this little cottage, I know I have some somewhere.  But this little place was definitely a 'fixer upper'!!

exteriors1


Mar12-cover

A few interior photos...


IMG_5360

IMG_5353

IMG_5361

IMG_5367

IMG_5364

IMG_5355

IMG_5381

IMG_5372

IMG_5388

IMG_5376

IMG_5394

IMG_5402


Once I get the outside in ship-shape, I will share some pictures of the exterior!  It's such a sweet little home and full of many memories!

behind the scenes work + a dresser

IMG_5329.jpg

Lately my work has consisted of A LOT of administrative/paperwork type work.  It always happens on the front end of larger jobs.  But, there is a light at the end of my paperwork tunnel, which means I get to move onto the pretty and fun part!  In the mean time, I have been puttering around the house and moving furniture here and there and organizing closets and such.

IMG_5348

IMG_5347

IMG_5336


I painted this dresser a few months ago and it sits in our guest bedroom.  The next room on my 'organization list' is the guest bedroom!  I want it ship-pity sharp for our summer house guests….and it will probably take me that long to get it ready!

** the dresser was painted and wax with Annie Sloan products.  first coat ~ Graphite. second coat ~ Napoleonic Blue. waxed with clear wax and then dark wax **


A FEW HOUSE UPDATES

I thought I would post a few photos of the many projects we have going on around our home.  We have lived here a year now, and I honestly thought we would be  a lot further along on our projects.  But, Matt is working on things as he has extra time and after 12 years of renovating homes, I am finally learning to just go with it!  To love the place I am in, no matter how it looks.  Not to mention that this property is amazing and we feel so blessed to call this place home!! IMG_5265

IMG_5266

IMG_5267-001

I finally finished pealing the wallpaper off of the top half of the walls.  One day soon I will post how I removed most of the wallpaper.  I jot an awesome tip from a blog reader and it worked perfectly!!!  My dear husband is going to panel the bottom five feet of the wall.  He is also going to cut an opening/doorway into the wall which will open up to the stairs/entry wall.  The walls are plaster and I did a great job of jacking up the walls with the scraper.  Oopsie!  Matt is going to apply a skim coat of plaster over the top half of the wall.  I will paint it and this room will be finished!

IMG_5268


**Just look at that cute face!  We won't mentioned how he has already stained the brand new oak stair treads with doggie slobber….it's a bit of a sore subject**


IMG_5270

IMG_5271

IMG_5272

IMG_5274


One project leads to another!  As soon as Matt gets something done in the basement, it leads to something else needing repaired or addressed!  However, he is making progress!  Matt will install paneling on one of the stairwell walls and he is going to open the other wall up with balusters, which will tie in with the dining room and the powder room……and you see how everything leads to another project! Which, by the way, we both love!

IMG_5273

And the barn is almost finished!  Matt still needs to build a sliding door for the front of the barn and a garage door for the basement storage area, and of course he has to finished the driveway parking area.  But, this is one project that is almost ready to be marked off the list ;-)

Within the next two weeks we will be starting a home renovation for an out-of-town client so I will have some great 'before pictures' to show you soon!  And hopefully some 'after' pictures of projects on our home ;-)

CHOCOLATE CHUNK & TOFFEE MONSTER COOKIE || recipe


No matter how buys life gets, I don't want my family to feel that they are not a priority.  I enjoy, but also work hard at, making our home a cozy, safe and loving place.  There is just something about baking cookies for my babies and sweet husband!  All the smells and tastes are what makes Home for our families….let them enjoy it!

IMG_5254

IMG_5252

IMG_5261

Here is the recipe.  Your family will love you for  baking these….I promise!

IMG_5254


CHOCOLATE CHUNK AND TOFFEE MONSTER COOKIE::
Pre-heat oven to 325.
Blend 1 cup butter softened, 1 cup sugar, and 1 cup packed brown sugar, blend until smooth (about 2-3 minutes)
Add 2 eggs and 1 ½ tsp vanilla, blend.
In separate bowl: mix 2 cups flour, 1 tsp baking soda, 1 tsp salt.
Combine all ingredients and then ADD in 2 cups chocolate chunks, 2 cups toffee bits, and 3 cups quick oatmeal.
Mix all ingredients by hand and bake at 325 for 10-12 minutes. Take them out before they fully cooked and let them rest on the cookie sheet for 3-4 minutes.  Cool on a wire rack.

WALLPAPER ||to paper or not to paper?

The dining room in our home has 2-3 layers of wallpaper.  When we first moved in, I started ripping the paper thinking it wouldn't be a big deal.  After 1 day of that, I stopped.  Well, I got the bug again.  We have almost been in our new home for 1 year!  And the dining room is starting to bother me.  Soooooo, I started on the wallpaper again.  Removing wallpaper is not for the faint of heart!  What an awful chore!  I enlisted the girls help, and that was fun, but they moved on after 30 minutes or so.  (Matt tested for lead and fortunately this wallpaper doesn't have any.)  I am into about 6 hours of removing wallpaper, and this is my progress...

IMG_5249

That is wall 1 of 4.  Oh my.

IMG_5250

Matt is going to cut in an opening (to go into the entry and to easily go down to the basement) into this big wall and we decided that he will install a wainscoting on the bottom half of the dining room walls.

IMG_5251

And I am such a wallpaper-removing-wimp, the thought of this wall and the beam kills me, so he is going to trim out the entire wall and give it a built-in look.  But, I still have a lot of work to do!

There are a few different methods and ideas on removing wallpaper.  Sometimes you are lucky and it comes right off, not the case here.  I am using a product called DIF.  It's a gel and it comes in a spray bottle.  Before applying it to the wall, you use a handy tool to score the wallpaper, than spray on the DIF.  Let is set for 15 minutes and it's easier to peel the paper off.

4FZY3_AS01

I have really wanted to wallpaper a few walls in the house.  But now I just don't know if I want the drama of removing the wallpaper when I am ready for a change.  I have looked at quite a few beautiful rooms with fabric walls and I love the thought of easily changing out the fabric with you are ready for a change.

7f7b01caec13a84ea20b9799cc222bdc

fabric-wall

Thoughts?  Have you had a good or bad experience with wallpaper?  Do tell!

A PAINTED DRESSER || before + after

Last month I found this darling dresser.  I am slowly trying to accumulate furniture pieces for when I move the shop downtown.  (By the way, it looks like we may have found a great spot!  I will share the details within the next week or so, when everything is finalized.)

Here is the BEFORE photo…..darling little details on this dresser!

dresser copy


And after….

IMG_5248

IMG_5246

IMG_5244

IMG_5238

IMG_5240

I cleaned the dresser with a de-greaser cleaner and then wiped it down with warm water.  I scuffed it up a bit with 100 grit sandpaper, it was pretty shiny.

I painted the drawers DUCK EGG, and the frame OLD WHITE.  I distressed the edges and then gave it two coats of clear wax.  I left the original brass hardware because I just liked the look of the brass against the blue.

Once I move the shop downtown, I will list her for sale.  If I don't keep her for myself ;-)

Happy Painting!

PAINTING GINGHAM CHECKED WALLS || how to paint a gingham checked wall

Several months ago I ordered a beautiful taupe, buffalo check wallpaper to hang in our stairwell.  The rolls are still sitting in their wrapper ;-)  We have since decided to panel our stairwell and I thought I would use the wallpaper for our bedroom.  Well, the wallpaper color clashed just enough with the wall color.  Since I didn't have the energy to re-paint the bedroom and attached bathroom and closet, I decided to come up with a different plan of attack!  I have painted stripes before (both in the cottage, and in our last home), but I just wasn't digging stripes for the master bedroom.  I googled "painting gingham checked walls" and a great tutorial from Southern Living popped up.

Perfect!  In less than 6 hours and $50, I had a beautiful gingham checked wall!

IMG_5167

If you feel inspired to paint a gingham checked wall, I highly recommend following the instructions posted by Southern Living!  In a nutshell, you are measuring, leveling, drawing horizontal lines, taping and painting (mixing the paint with clear mixing glaze).

IMG_5169

Once your horizontal lines are complete, you do the same thing vertically!

IMG_5202

IMG_5212

IMG_5211

IMG_5227

It's a subtle change, which I love.  My sweet but very picky/perfectionist husband even liked it and complimented me on the straight lines!

IMG_5216

And this was happening as I was trying to snap some photos of the bedroom wall ;-)

IMG_5215

IMG_5217

IMG_5220

One day I may feel inspired to hang wallpaper in the bedroom, but for now I am content with the gingham checked wall!

THE PLAYROOM

A week before Christmas we had carpet installed in the playroom!  It was good to have a deadline and feels so good to have a room finished!  The girls spend a lot of time in this room.  We are so close to finishing our basement living room too….. IMG_5201

Matt is working on the finish work now.  Look at that cool brick we found under the drywall of the fireplace.  We may paint the brick, but we shall see!

IMG_5200

Matt is building an archway from the playroom to the basement living room, almost like a secret room. ;-) We plan on having paneled walls through out the house, so this will tie in nicely.  I know it's trendy right now, but we plan on remodeling the entire home and I think it will all flow perfectly.

Below are a few BEFORE photos

IMG_4376

IMG_4377

IMG_4378

And here is the space now.  A little brighter, cleaner and the perfect spot for a playroom!

IMG_5174


IMG_5173

IMG_5176

IMG_5178

Matt turned an akward closet into a little book nook for the girls.  He added some shelves for a few of their favorite books and it is one of their favorite spots.  I still need to make a super cozy cushion, but for now this works.

IMG_5179

IMG_5183

IMG_5186

IMG_5187

IMG_5189

IMG_5197

IMG_5192

IMG_5195

There are still quite a few things I want to do in this space, but for now it works so great.  We sure love this house!  We have a handful of house projects that we should be wrapping up soon, so I will have plenty of pictures to post!

CENTERPIECE WORKSHOP + A BIG GIRL BED

So this weekend we hosted a centerpiece workshop.  It was a lot of fun and always a treat to meet new ladies!!  I never remember, or have time, to snap photos of events, but this time I tried to be intentional of snapping a few photos.  {My apologies about the quality of photo, all of the lights were on and I am not a professional:}

IMG_5106

IMG_5109

IMG_5110

IMG_5105

IMG_5111

It was such a fun workshop!  Friday night we had a full house, and Saturday morning had a few less but still full and fun!  Each lady painted their box with Milk Paint and then filled it with fresh greens and embellishments.  It's so fun to see how different each centerpiece turned out.  Everyone walked away with a beautiful centerpiece and a giant smile, so I would say it was a success!

And in 'Haney news'….

we just got a dog.

The sweetest bulldog ever!  He is such a sweet heart and the girls love him! tank

The roof is going on the barn.  We were going to install a metal roof and then last minute we switched to a comp roof.  Lots of reasoning behind the switch but I will spare you the details!

barn1

And with Savanna getting Addilyn's big girl bed, Addilyn got a 'new' big girl bed.

IMG_5128

IMG_5124

IMG_5120

IMG_5126

IMG_5115

I purchased this bed years ago at a barn sale.  It was rusted and chippy and I didn't have a space for it but I just loved it!  It sat in the garage for years and then last year, my sweet husband scraped all of the loose paint off and we painted it with Chalk Paint®, {1 part old white and 1 part arles.}  We decorated Addilyn's room for Christmas, and both of the girls love snuggling and reading on her new bed.  This is such a fun {and very exhausting} age.  It melts my heart to see the girls playing together!  I try to remind myself that this stage will pass so soon and I want to be present and cherish our times together.

Well, I need to get back to painting the basement entertainment center before the girls wake up!  Hopefully I will be able to post 'finished' photos soon!!

xoxo