PAINTED FABRIC || painting fabric with Chalk Paint®
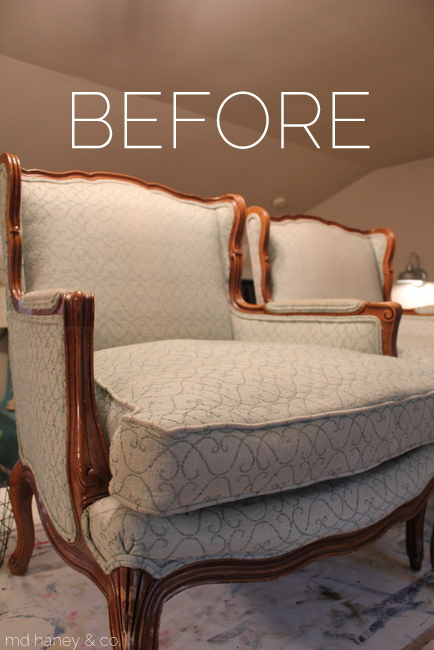
/A few weeks ago, I received a phone call from a lady; they were moving her mom to an apartment and needing to downsize. She wanted to know if I would like to come look at the items they were needing move. I loaded up the girls, picked up a girlfriend and we were on our way. She had a beautiful table and chair set. Absolutely beautiful! But, it was a big set and I didn't have room. So I came home with a pair of chairs and some smaller treasures.
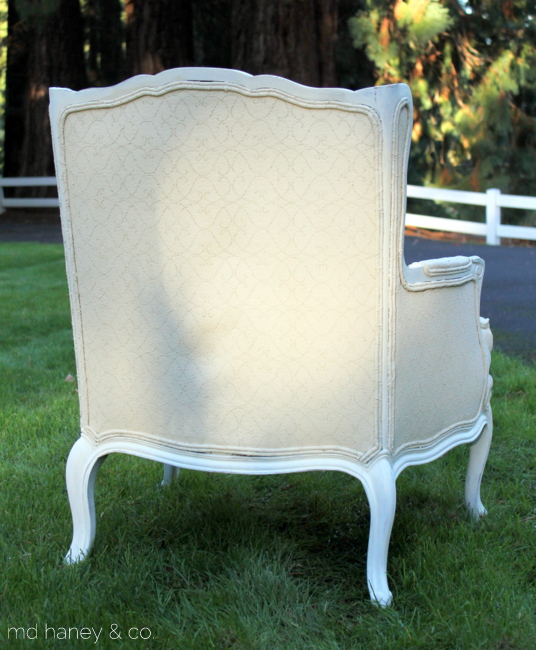
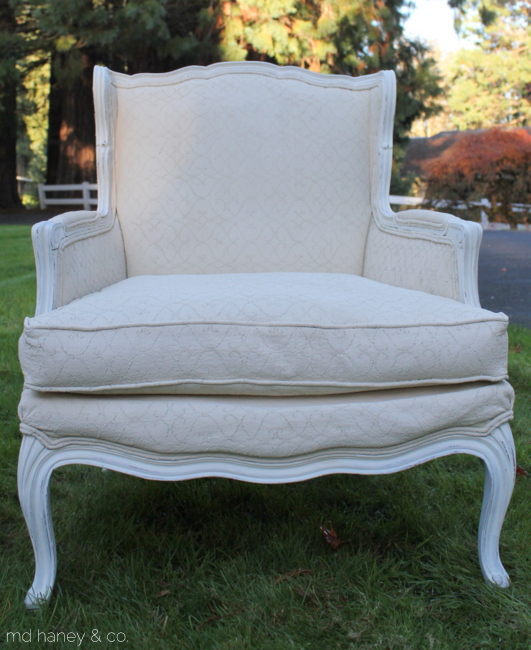
The chairs were in really good shape, and super comfortable. Since I don't have the skills necessary to reupholster these beauties, I decided to paint them.
Here are the details on how I painted fabric with Chalk Paint®.
- Vacuumed the fabric and trimmed the loose strings.
- Wiped down the wood with a warm, damp rag. After allowing the wood to dry, I painted two coats of Milk Paint {Miss Mustard Seed Milk Paint ~ ironstone} on the wood. I was fine with the paint chipping, so I did not apply the bonding agent.
- For the fabric, I added water to Chalk Paint®. I added 4 parts {OLD OCHRE} Chalk Paint® to a mason jar and 1 part water. Shake it good to thin the paint down a bit. By thinning the paint down it helps the paint to cover easier, and it makes it a bit softer to the touch once it dries.
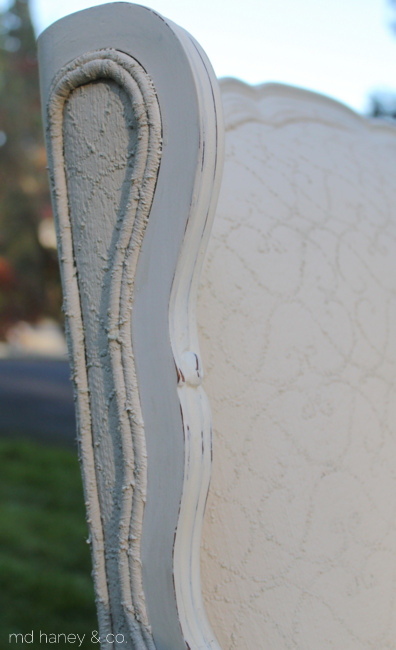
- Once the fabric was painted, I touched up the painted wood with an artist brush. I didn't tape anything off, so naturally I had a bit of the fabric paint color on the wood details. I sanded the edges of the wood to give the wood a distressed look.
- The last step was to apply clear wax to the wood and the fabric. The wax helped to soften the fabric and also provides a protective barrier.
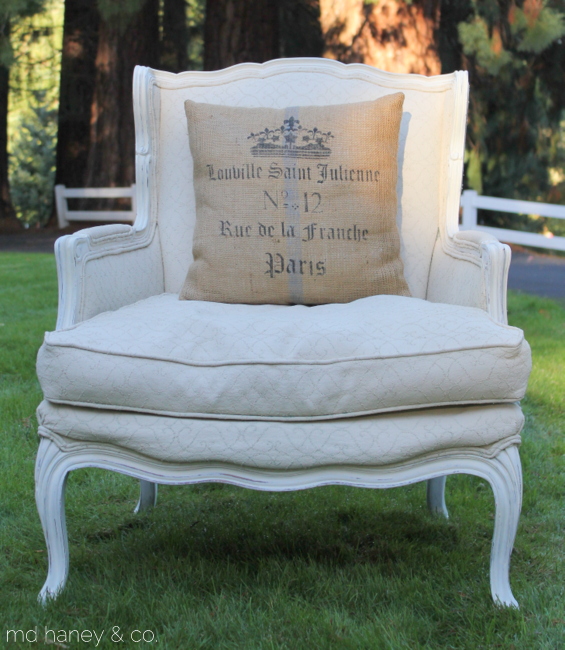
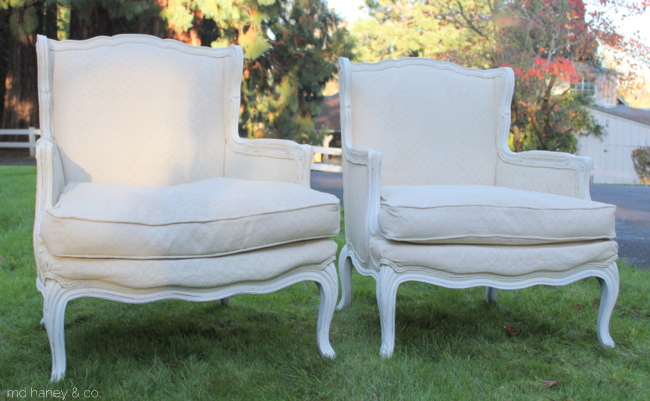
I am very happy with the results. The fabric is not 'crunchy' or hard. It's not super soft like cotton or linen, it feels more like an outdoor fabric. One day I may have these chairs reupholstered, but for now I am very happy with how they turned out! And no sewing skills were required ;-)

