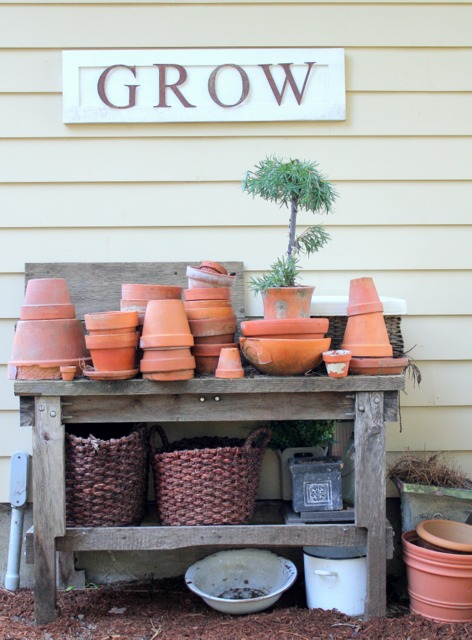
GROWING THE SHOP || a little update

The shop has been open for a little over a year now!  I am continually amazed at how time flies. I especially see how fleeting time is when I look at my babes.  Sweet growing girls are 6 and 4 and it feels like they were both just itty-bitty yesterday!

shop shelves

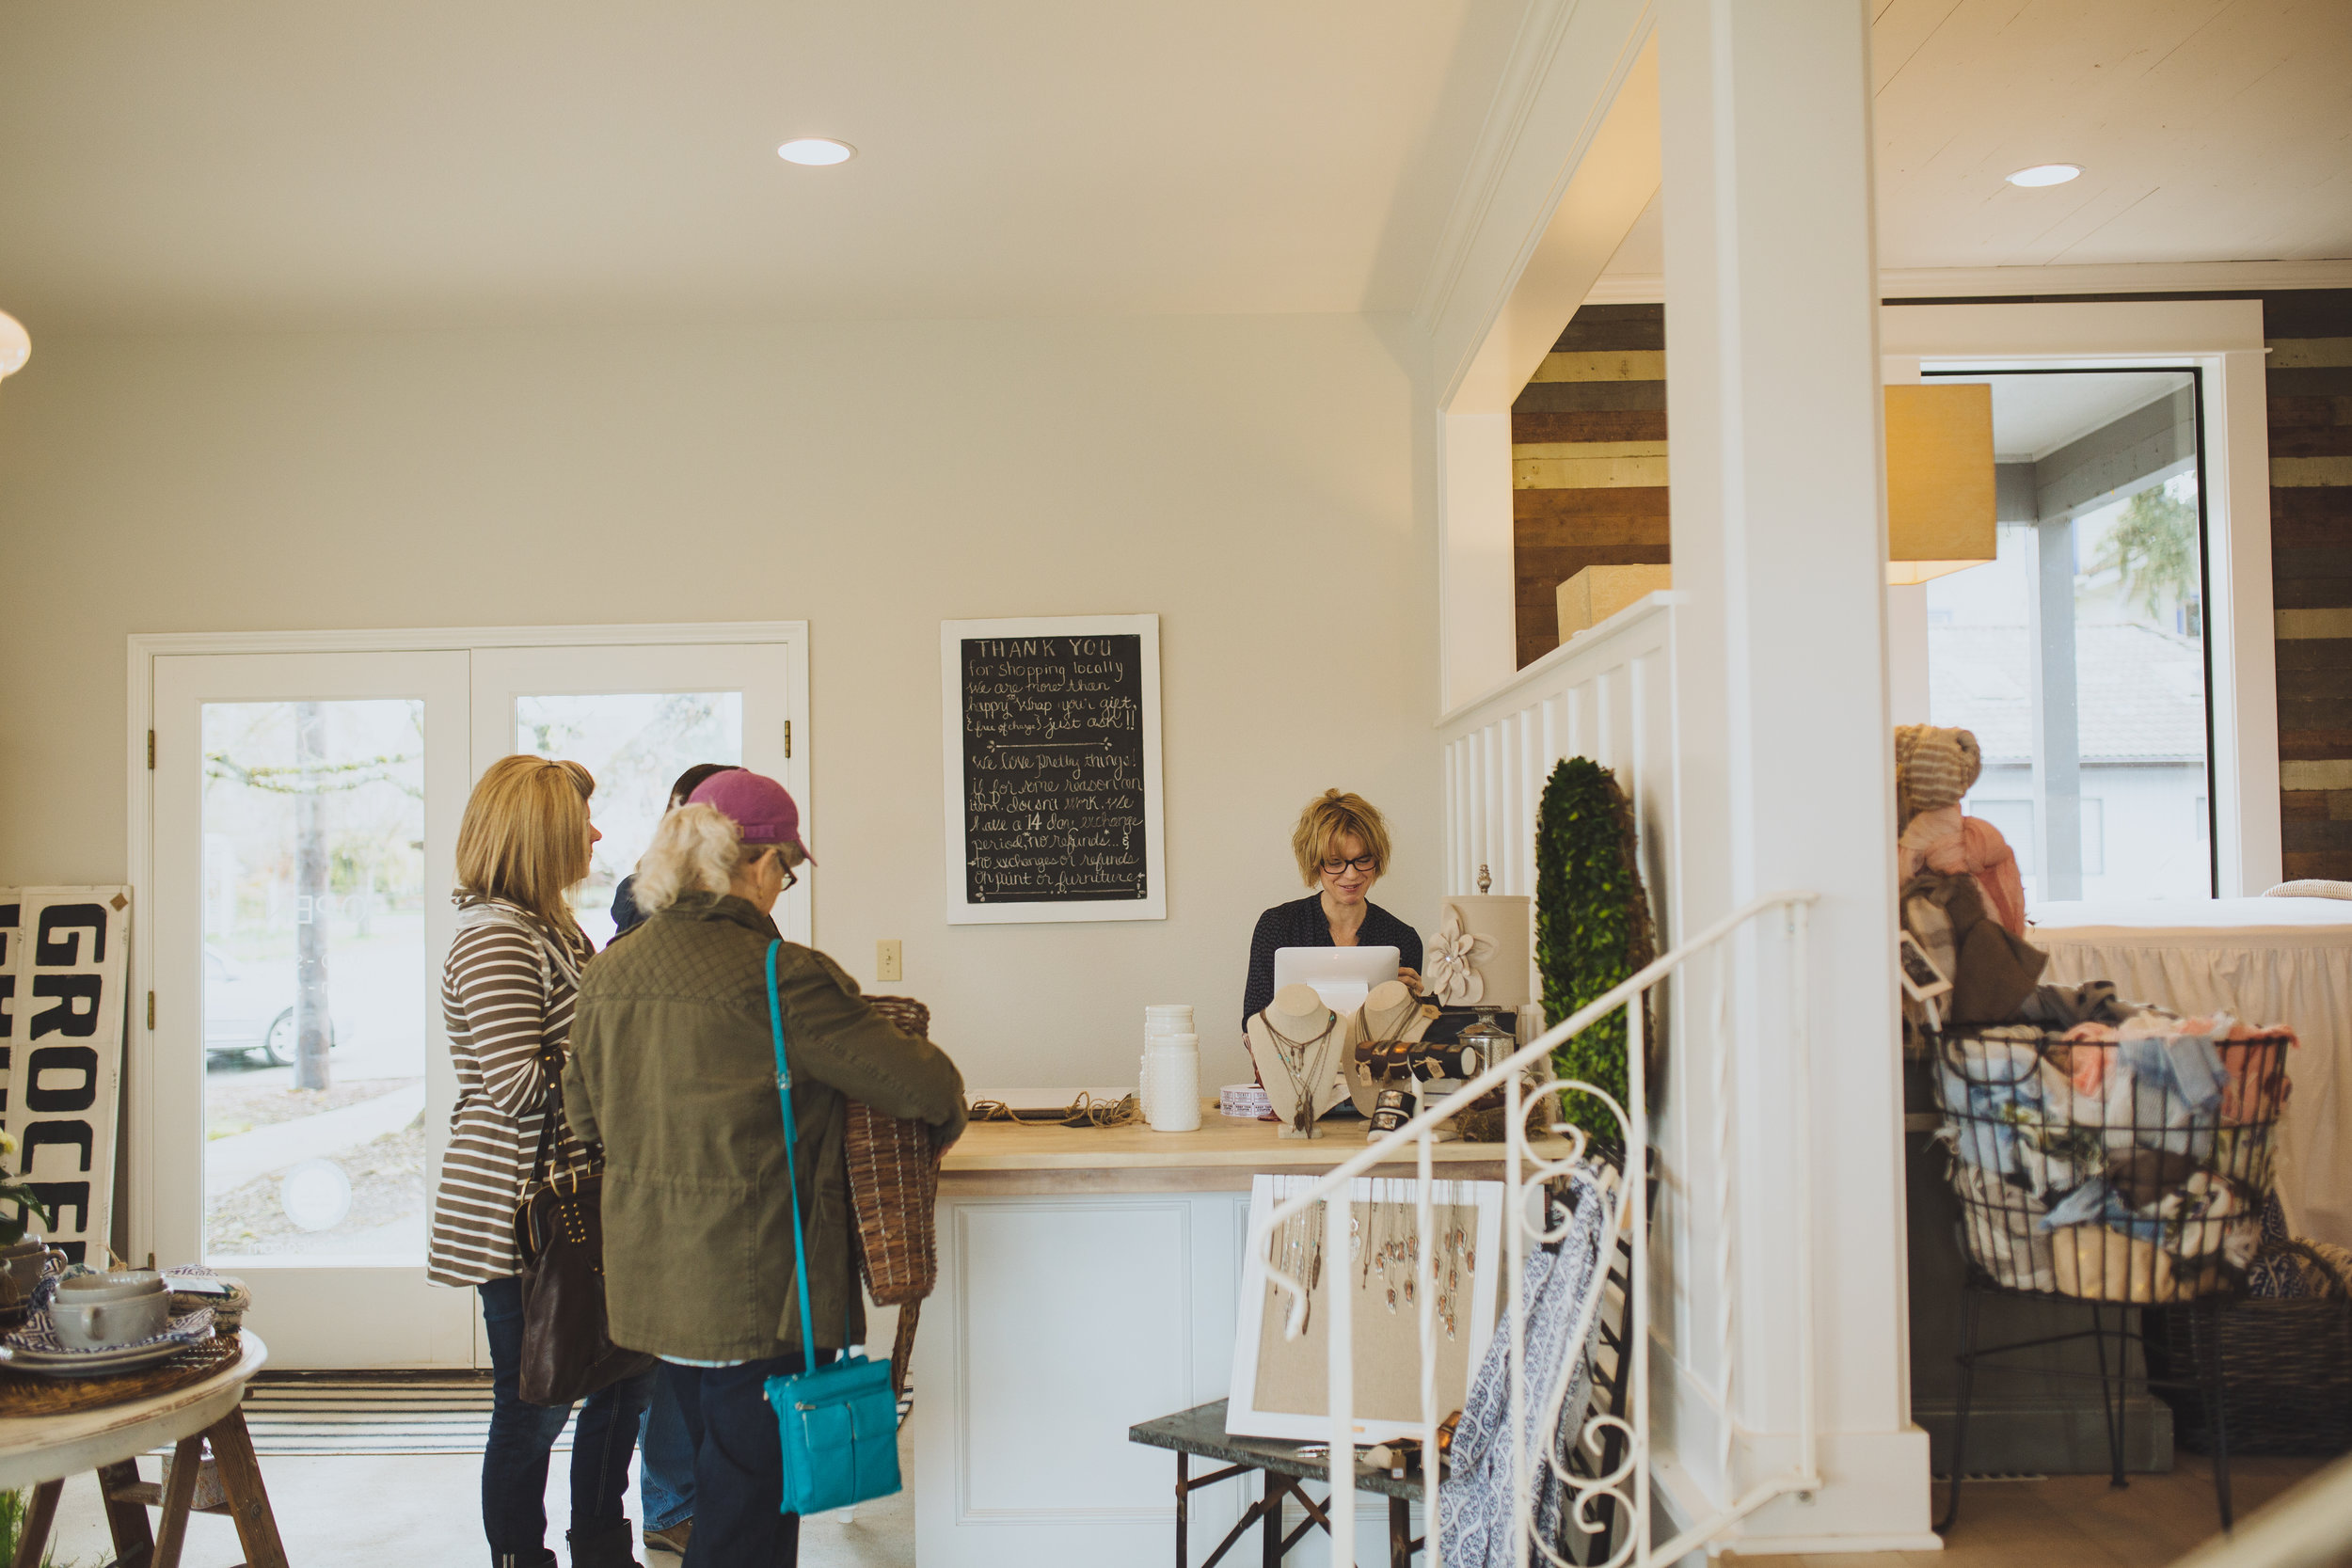
People have asked how things are going at the shop.  Are things busy?  Have you found your rhythm?  I have realized, opening a shop (for me!) has been much like having a baby.  That first year is new and exciting and exhausting.  A little after a year and I have my rhythm.  Just like you figure how to go grocery shopping between naps and how you can be productive (or totally relax) during naps!  I am at that stage now.  It's good, and we have a healthy balance of work and home life.  I look back at last year and I honestly have no idea how I opened the shop, worked at the shop, had two little girls by my side (except for two mornings of pre-school) took on decorating projects, managed the cottage and still helped Matt.  God's grace carried me through!  If you asked me to do it again, I don't know what my answer would be.  Again, just like having a baby.  You ask a mama if she is ready to give birth again and it depends on how fresh that memory of childbirth is :-)

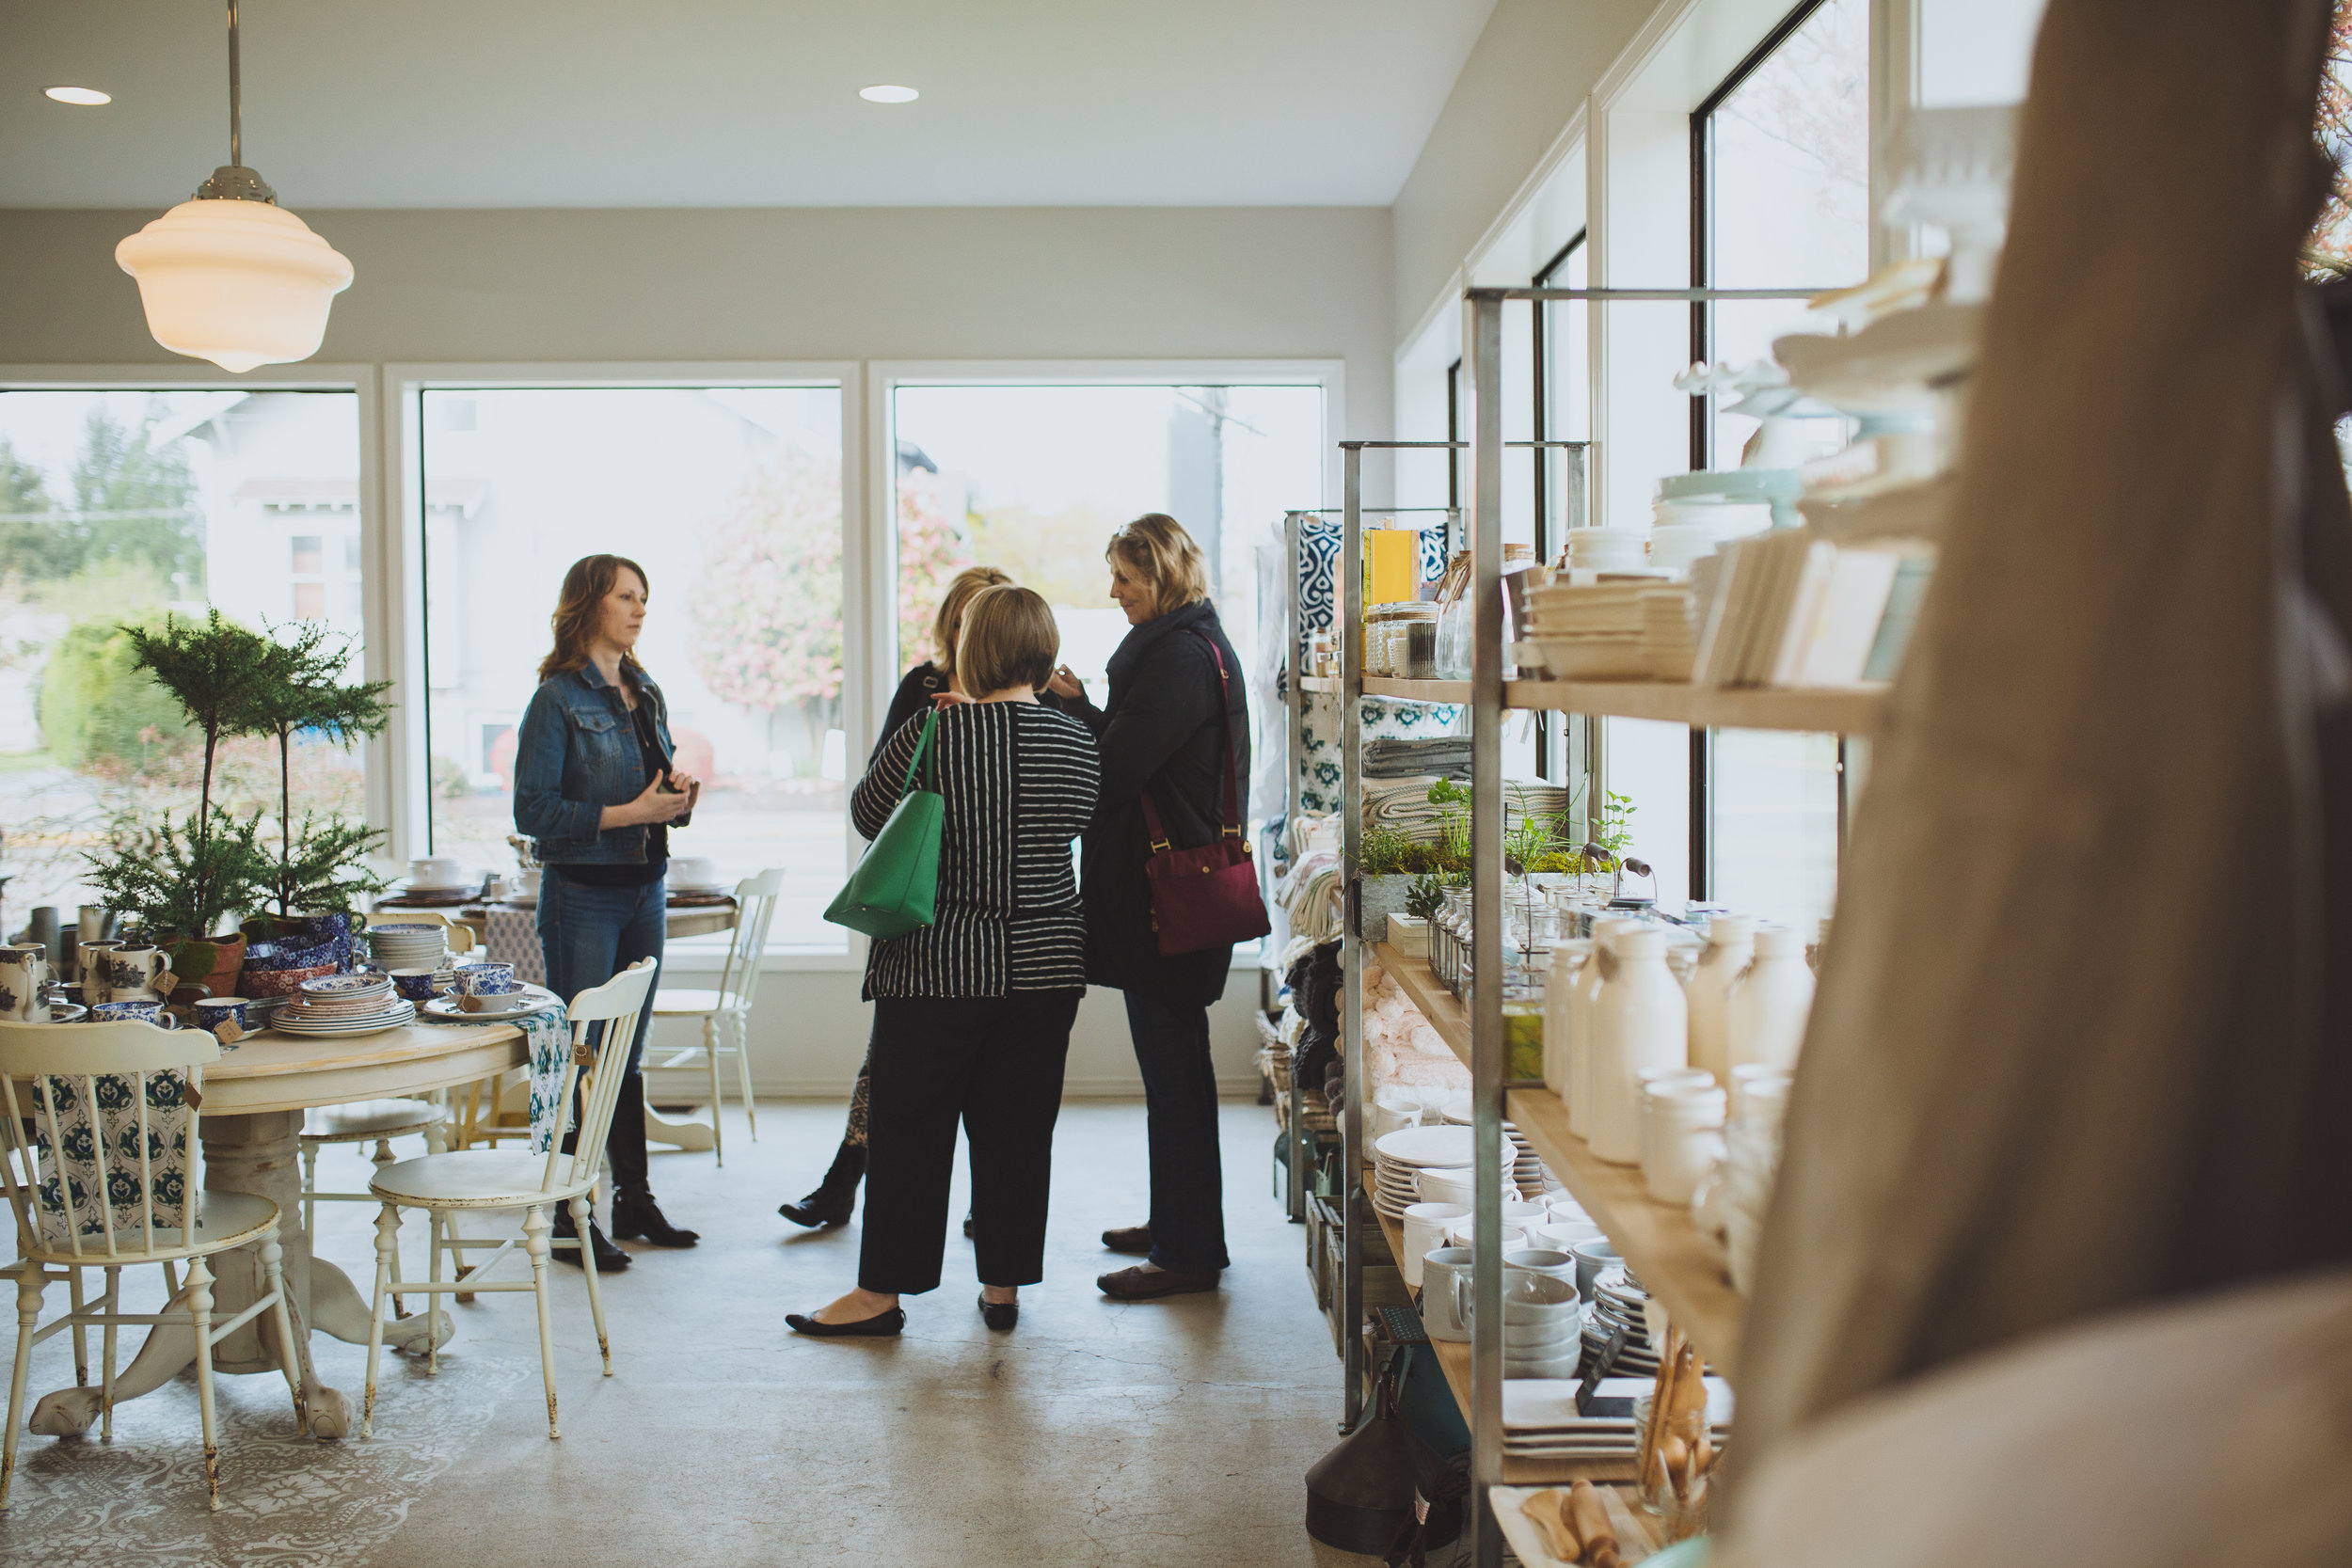
Savanna and I have our routine and we are at the shop together Wednesday mornings.  I also have the best shop girl, sweet Natalie, who is at the shop all four days that we are open.  That is a game changer for me!  I love working at the sho.... seeing customers and friends, helping customers with paint colors and decorating questions!  However, I soon realized that being at the shop all of the time was sucking my creative energy.  Plus, I missed being at home!  I am very much a home body and I missed working in the garden and puttering in the kitchen.

shop hutch

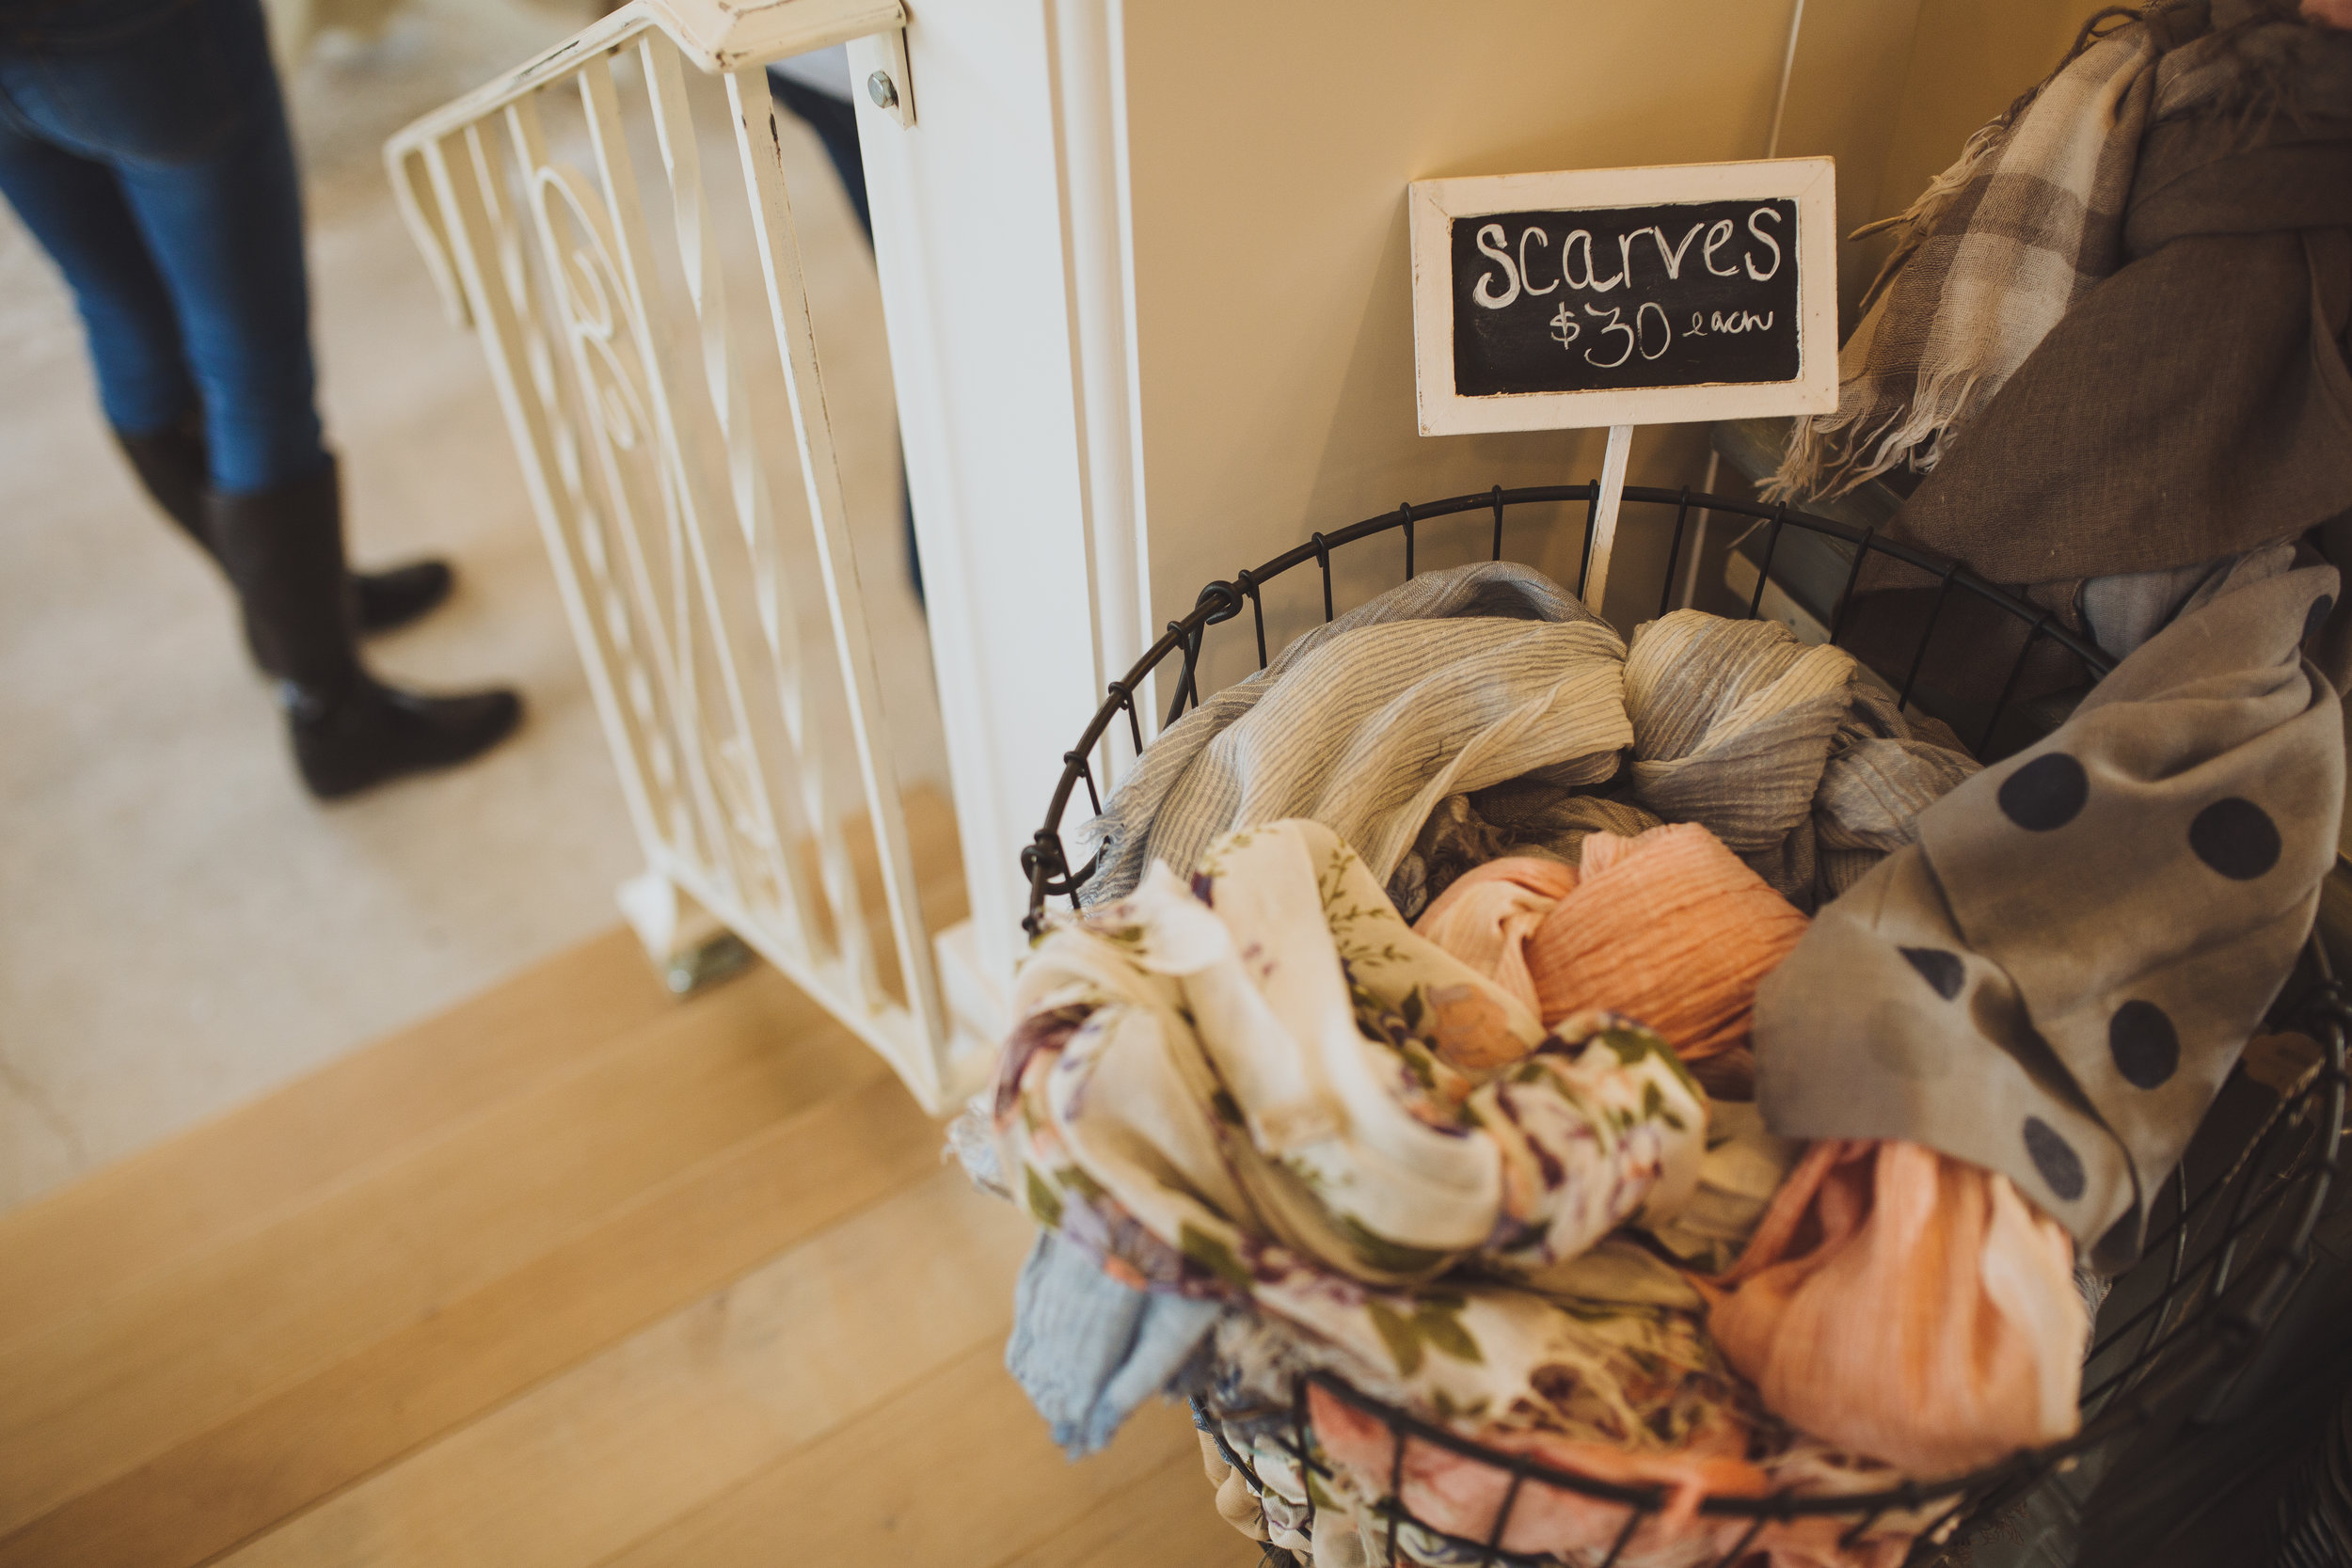
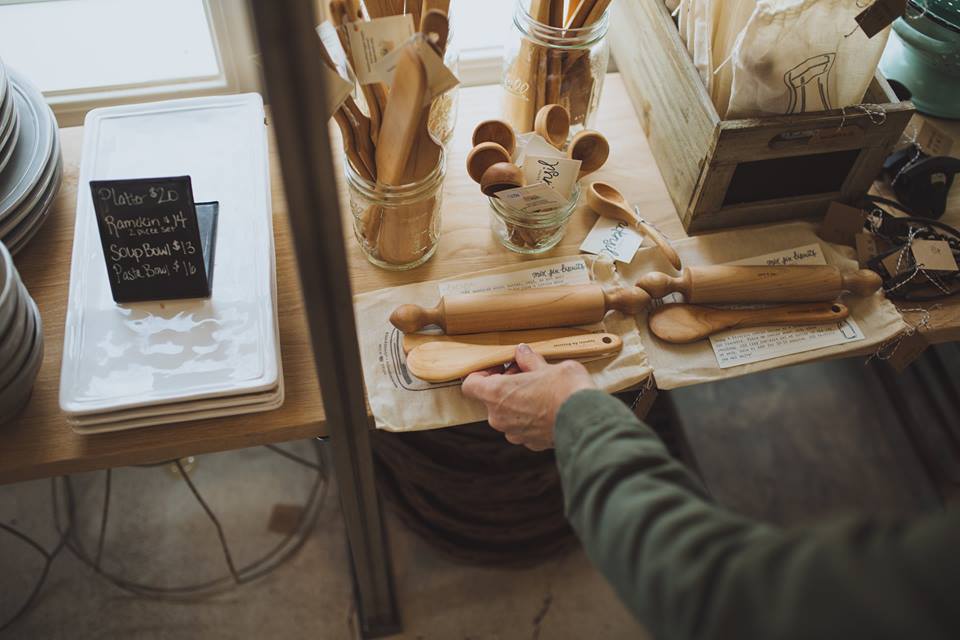
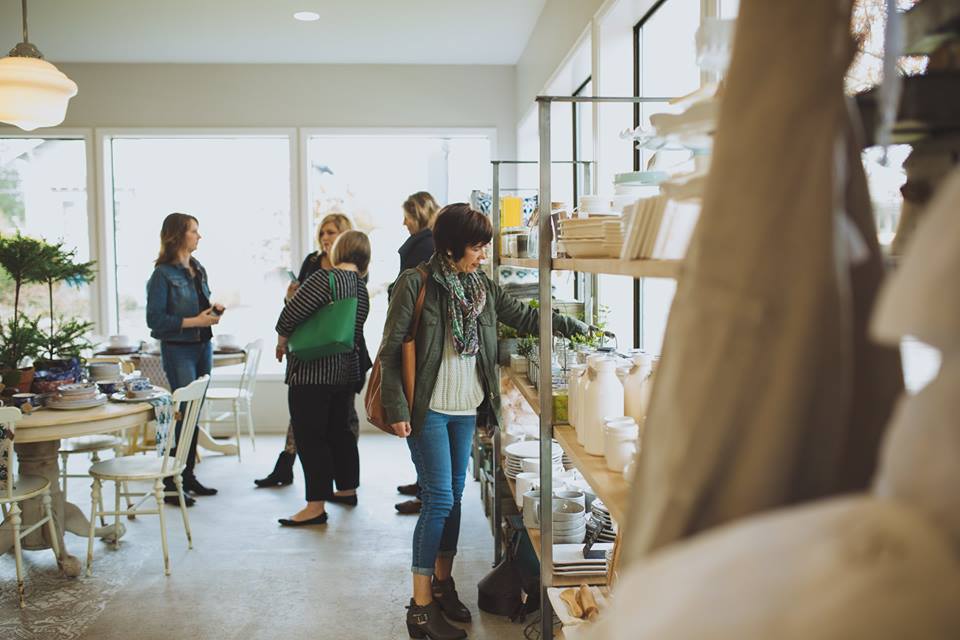
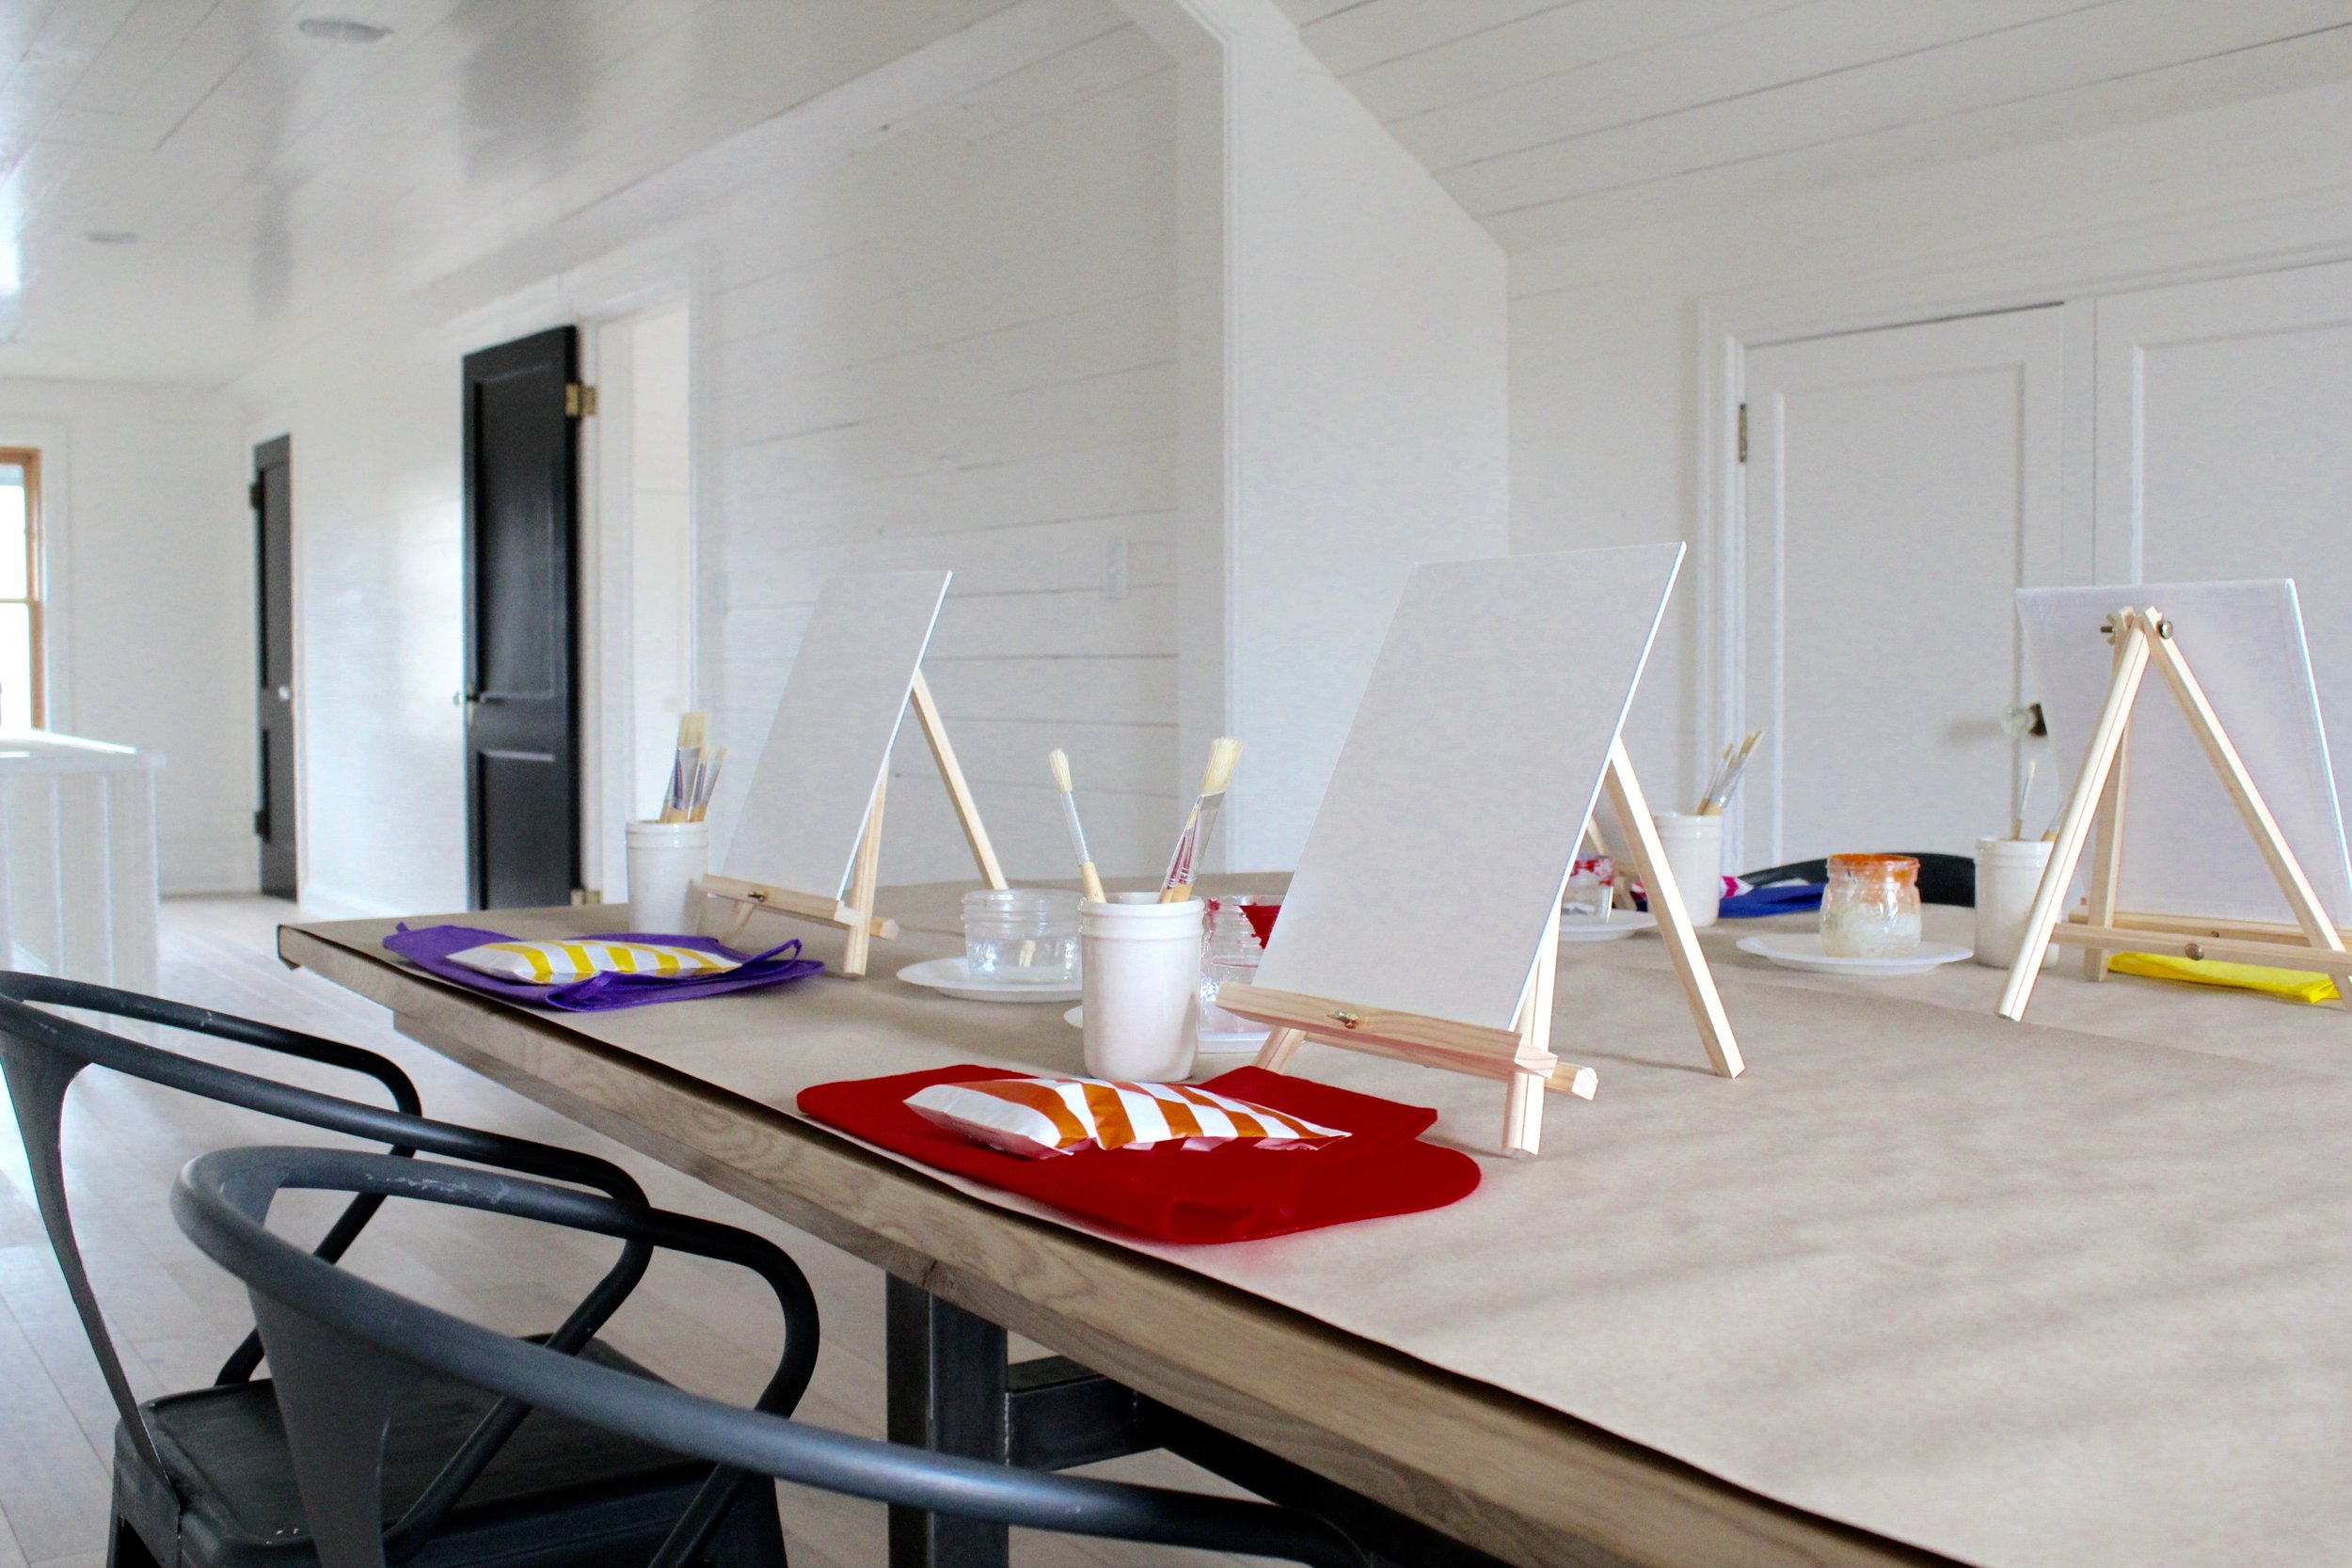
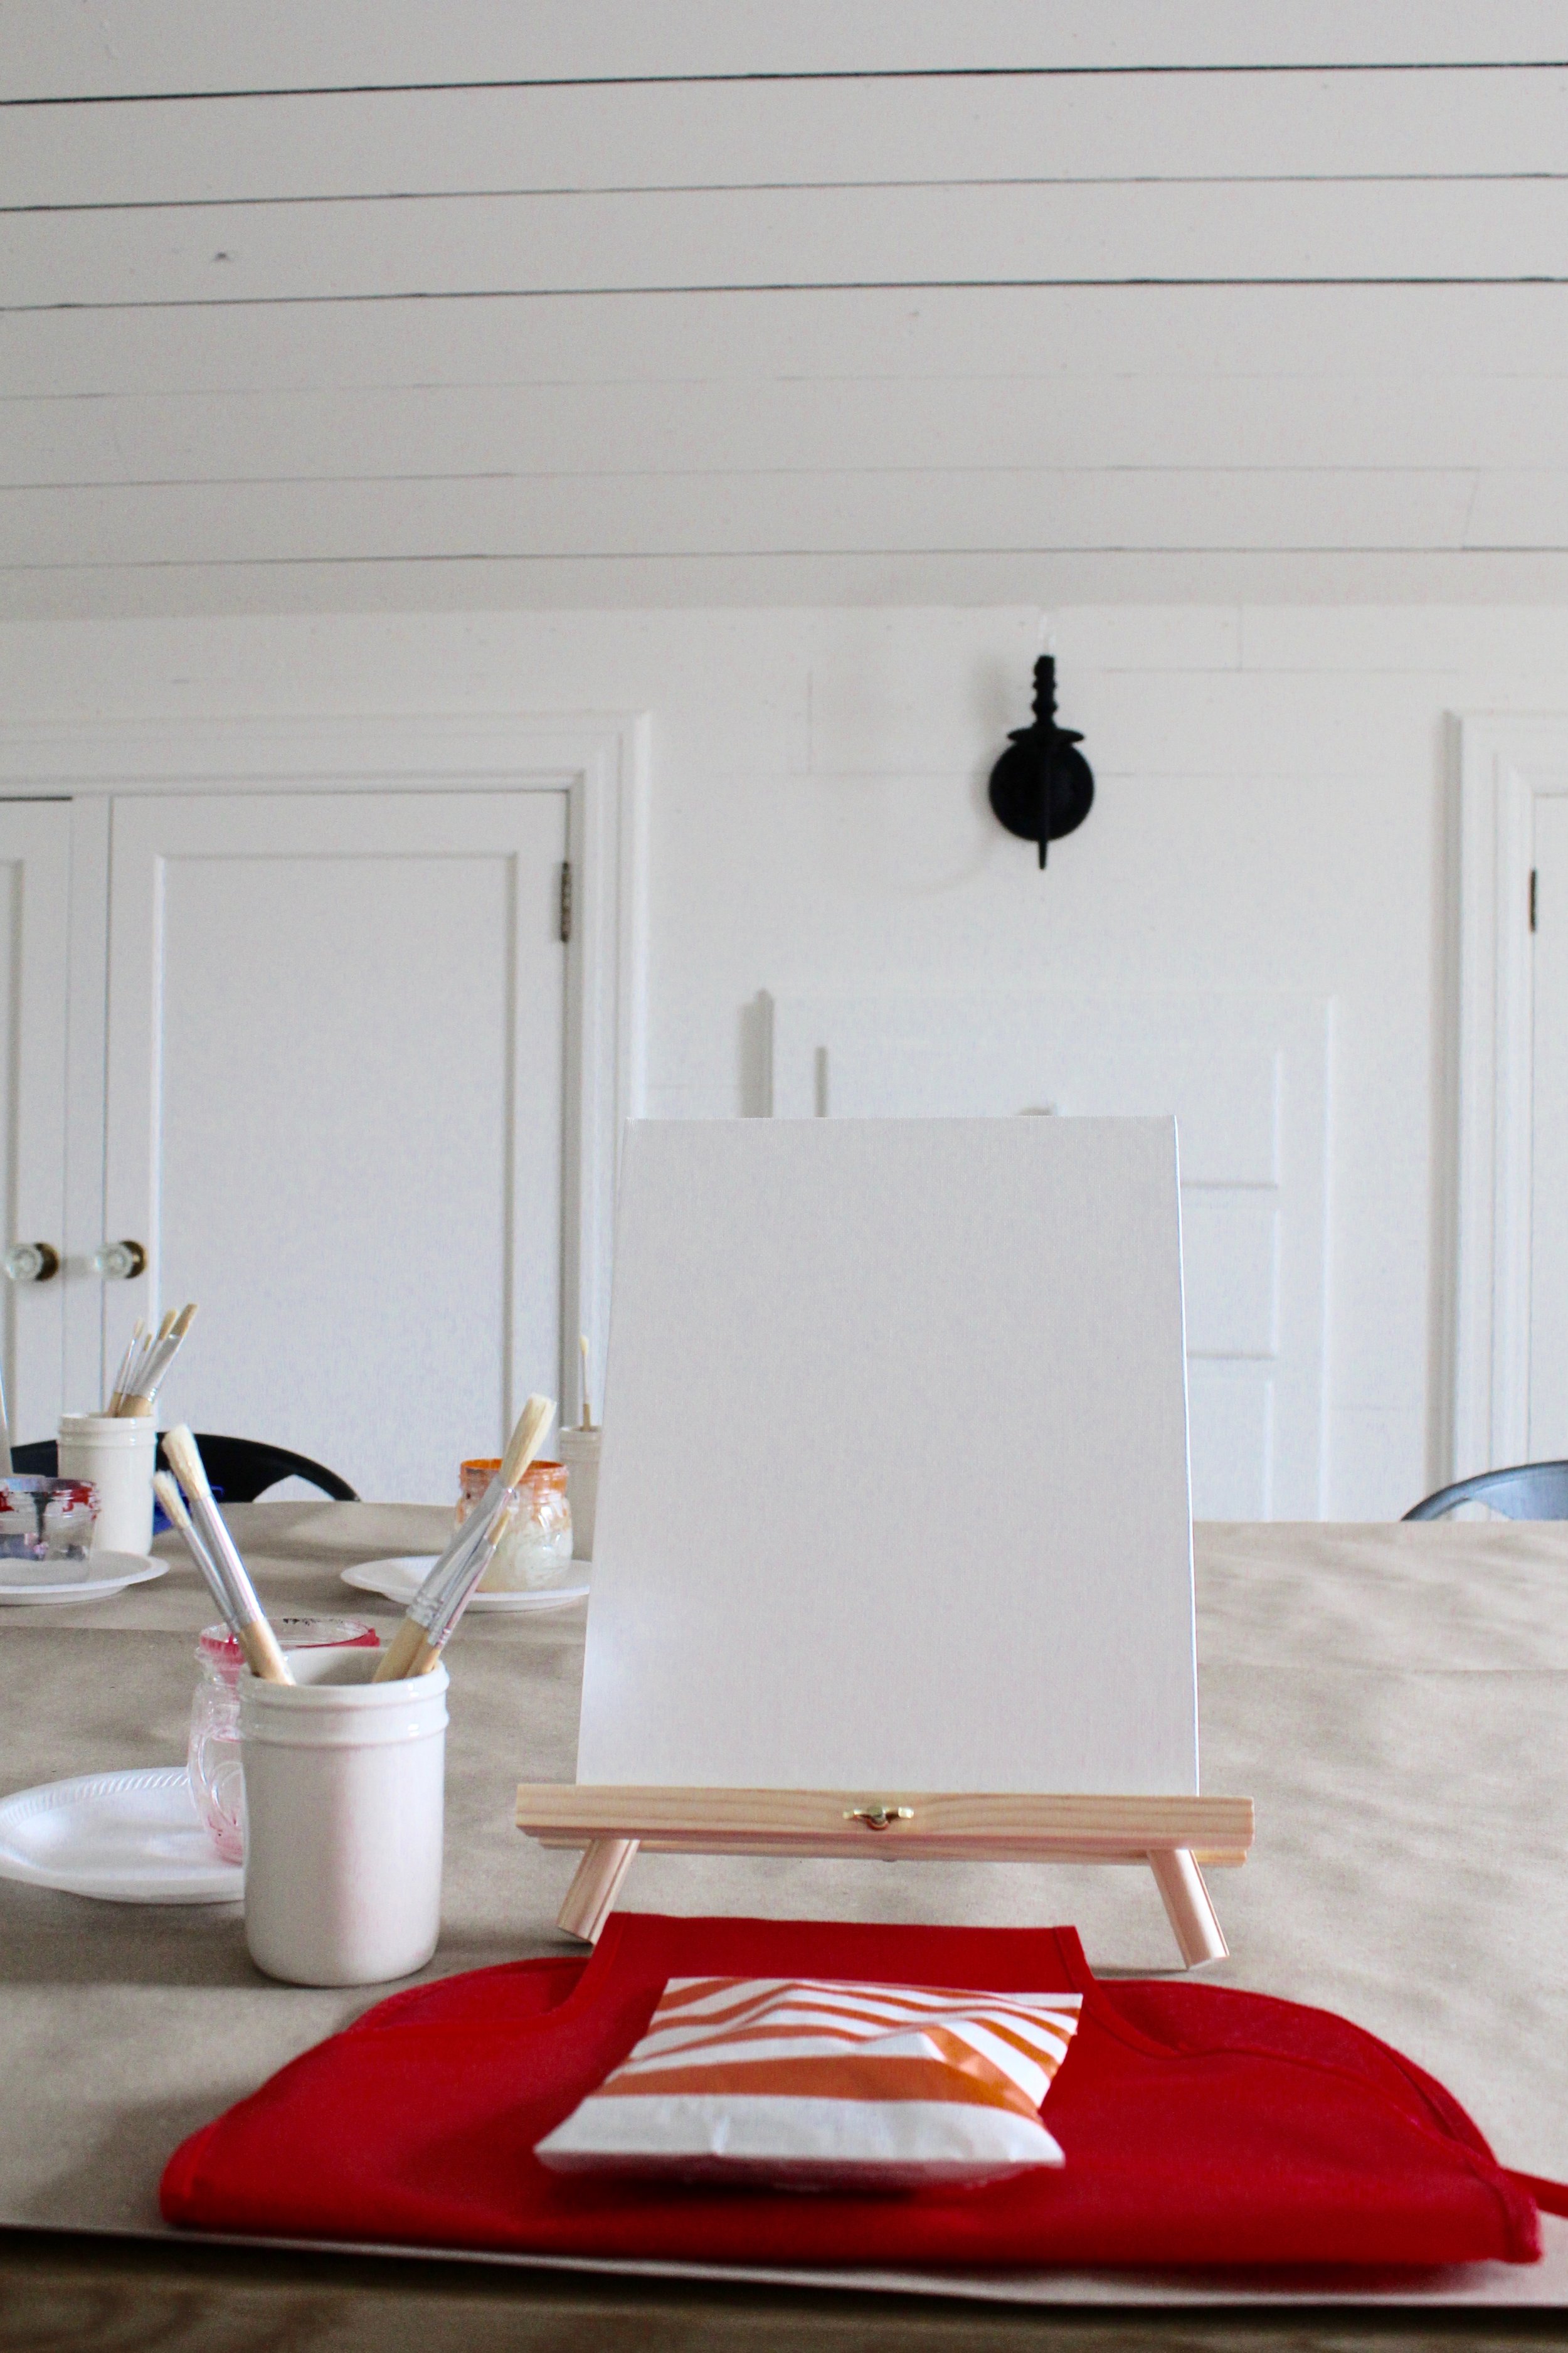
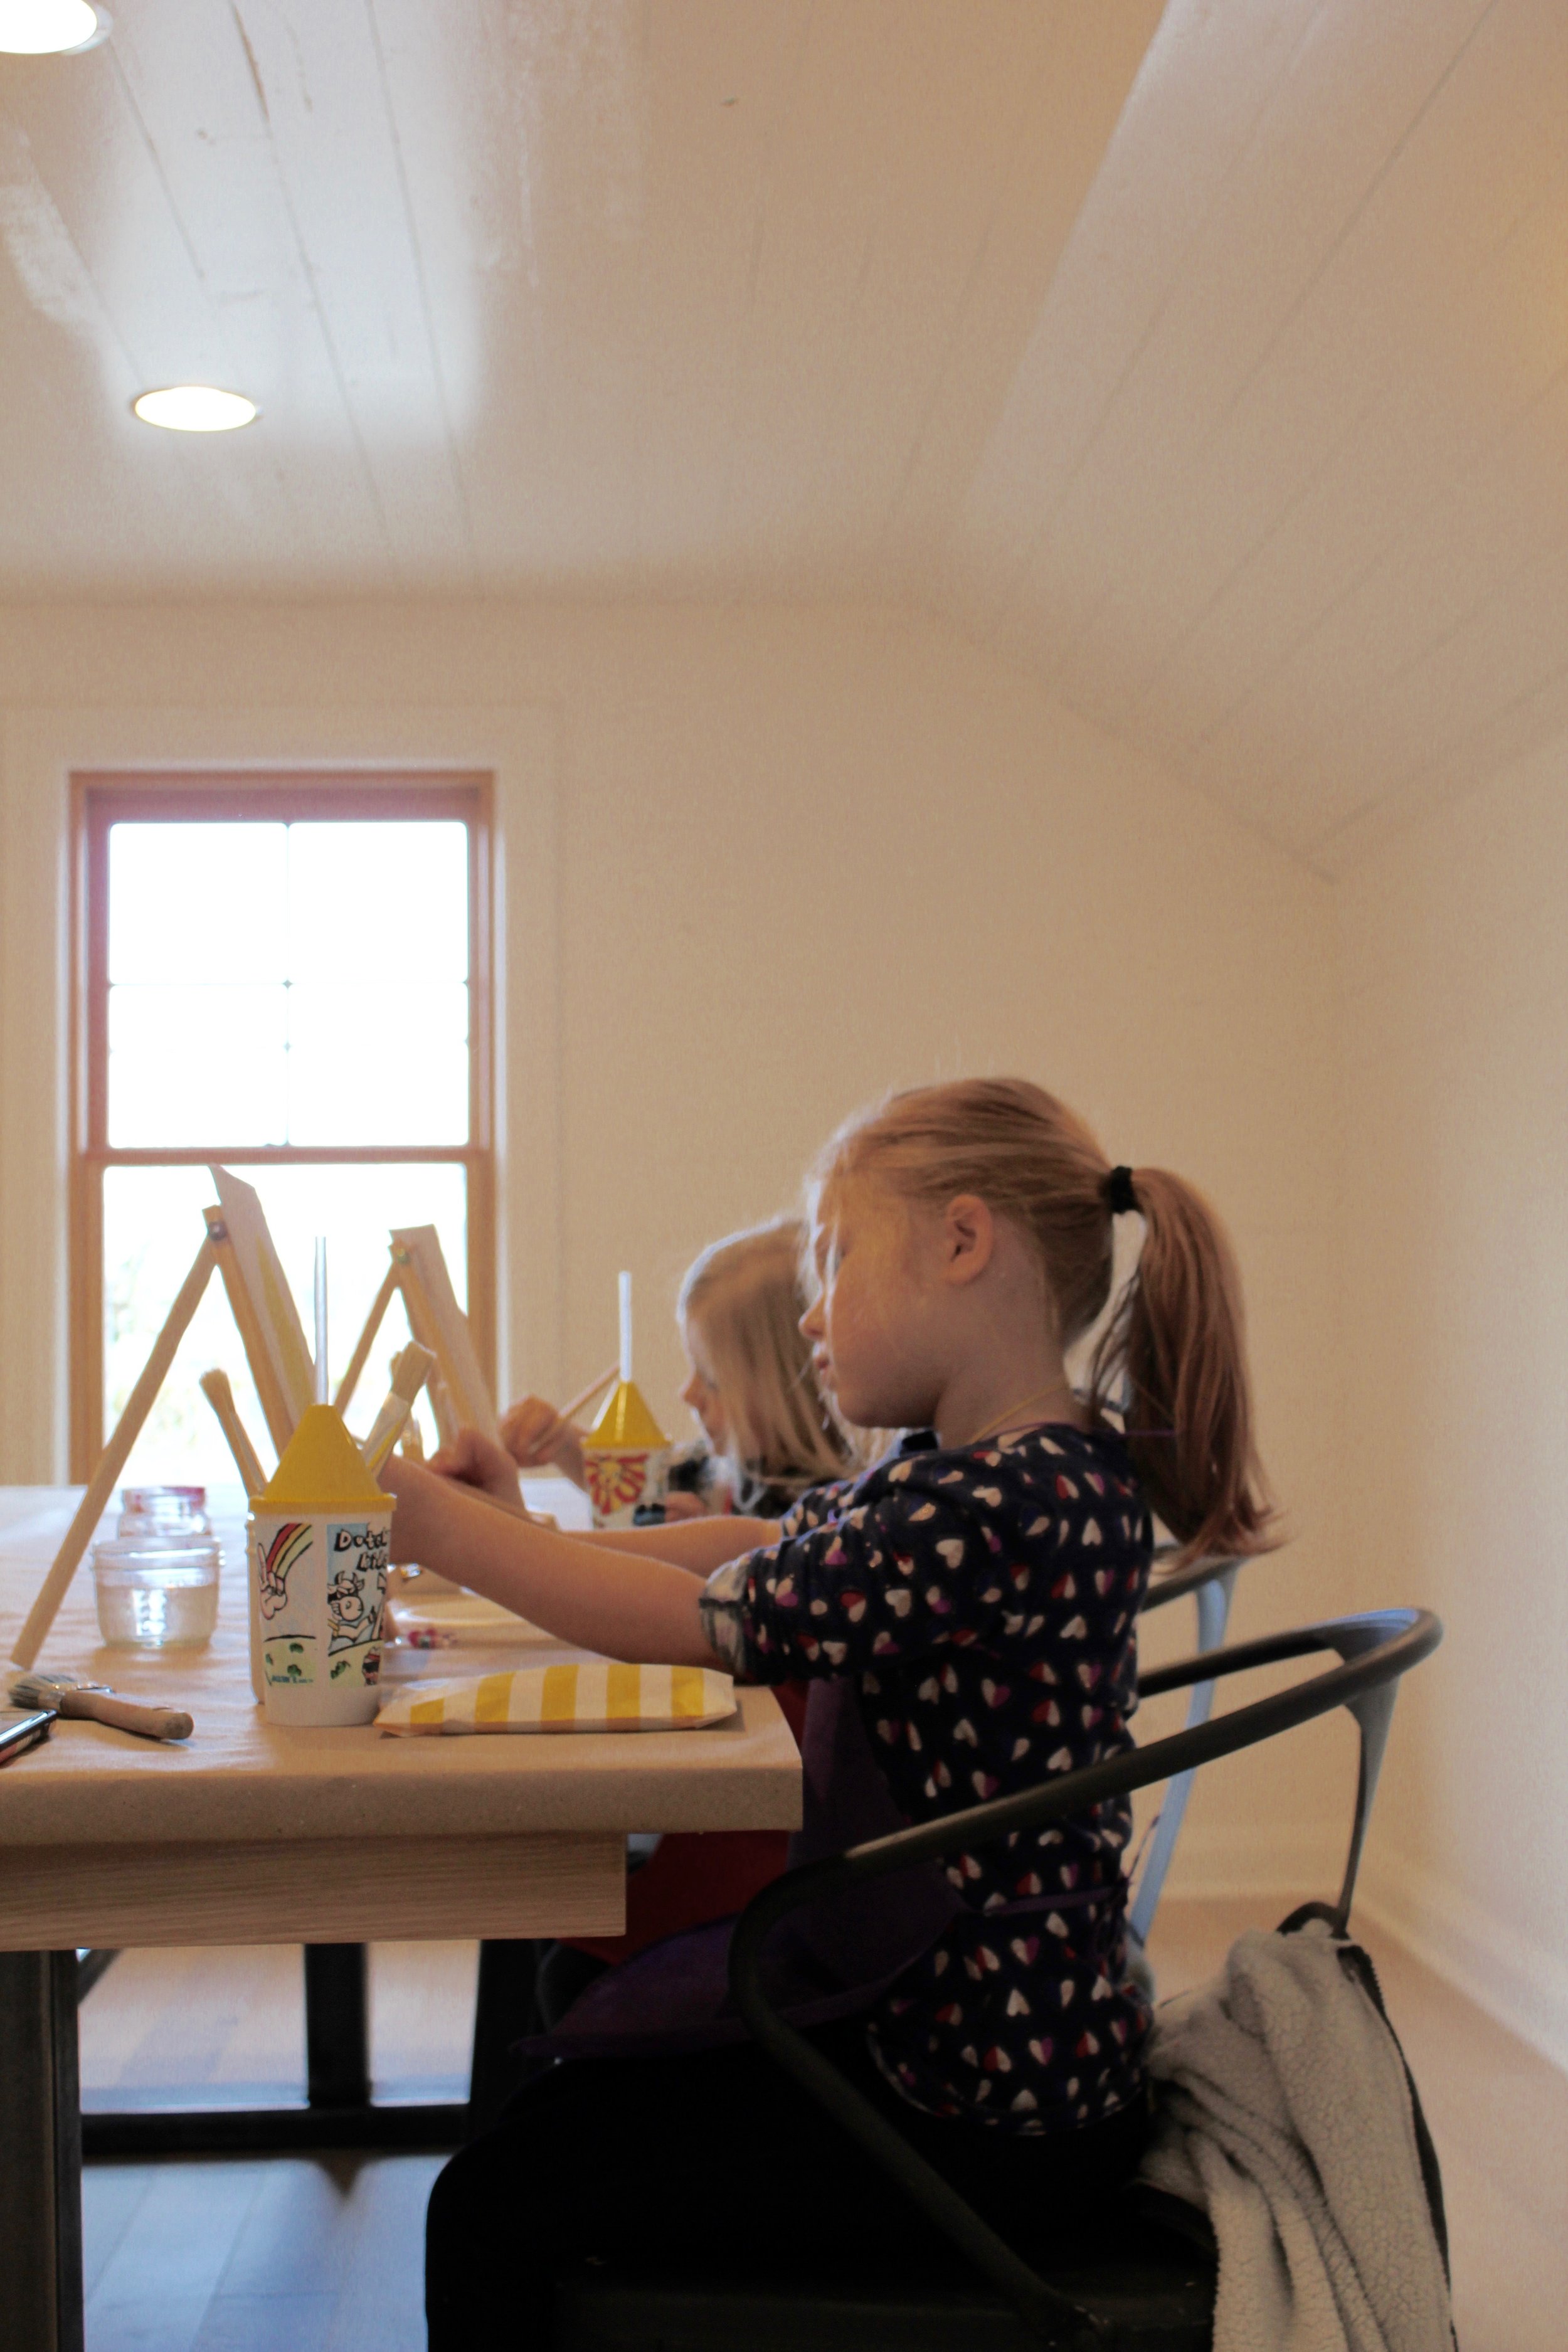
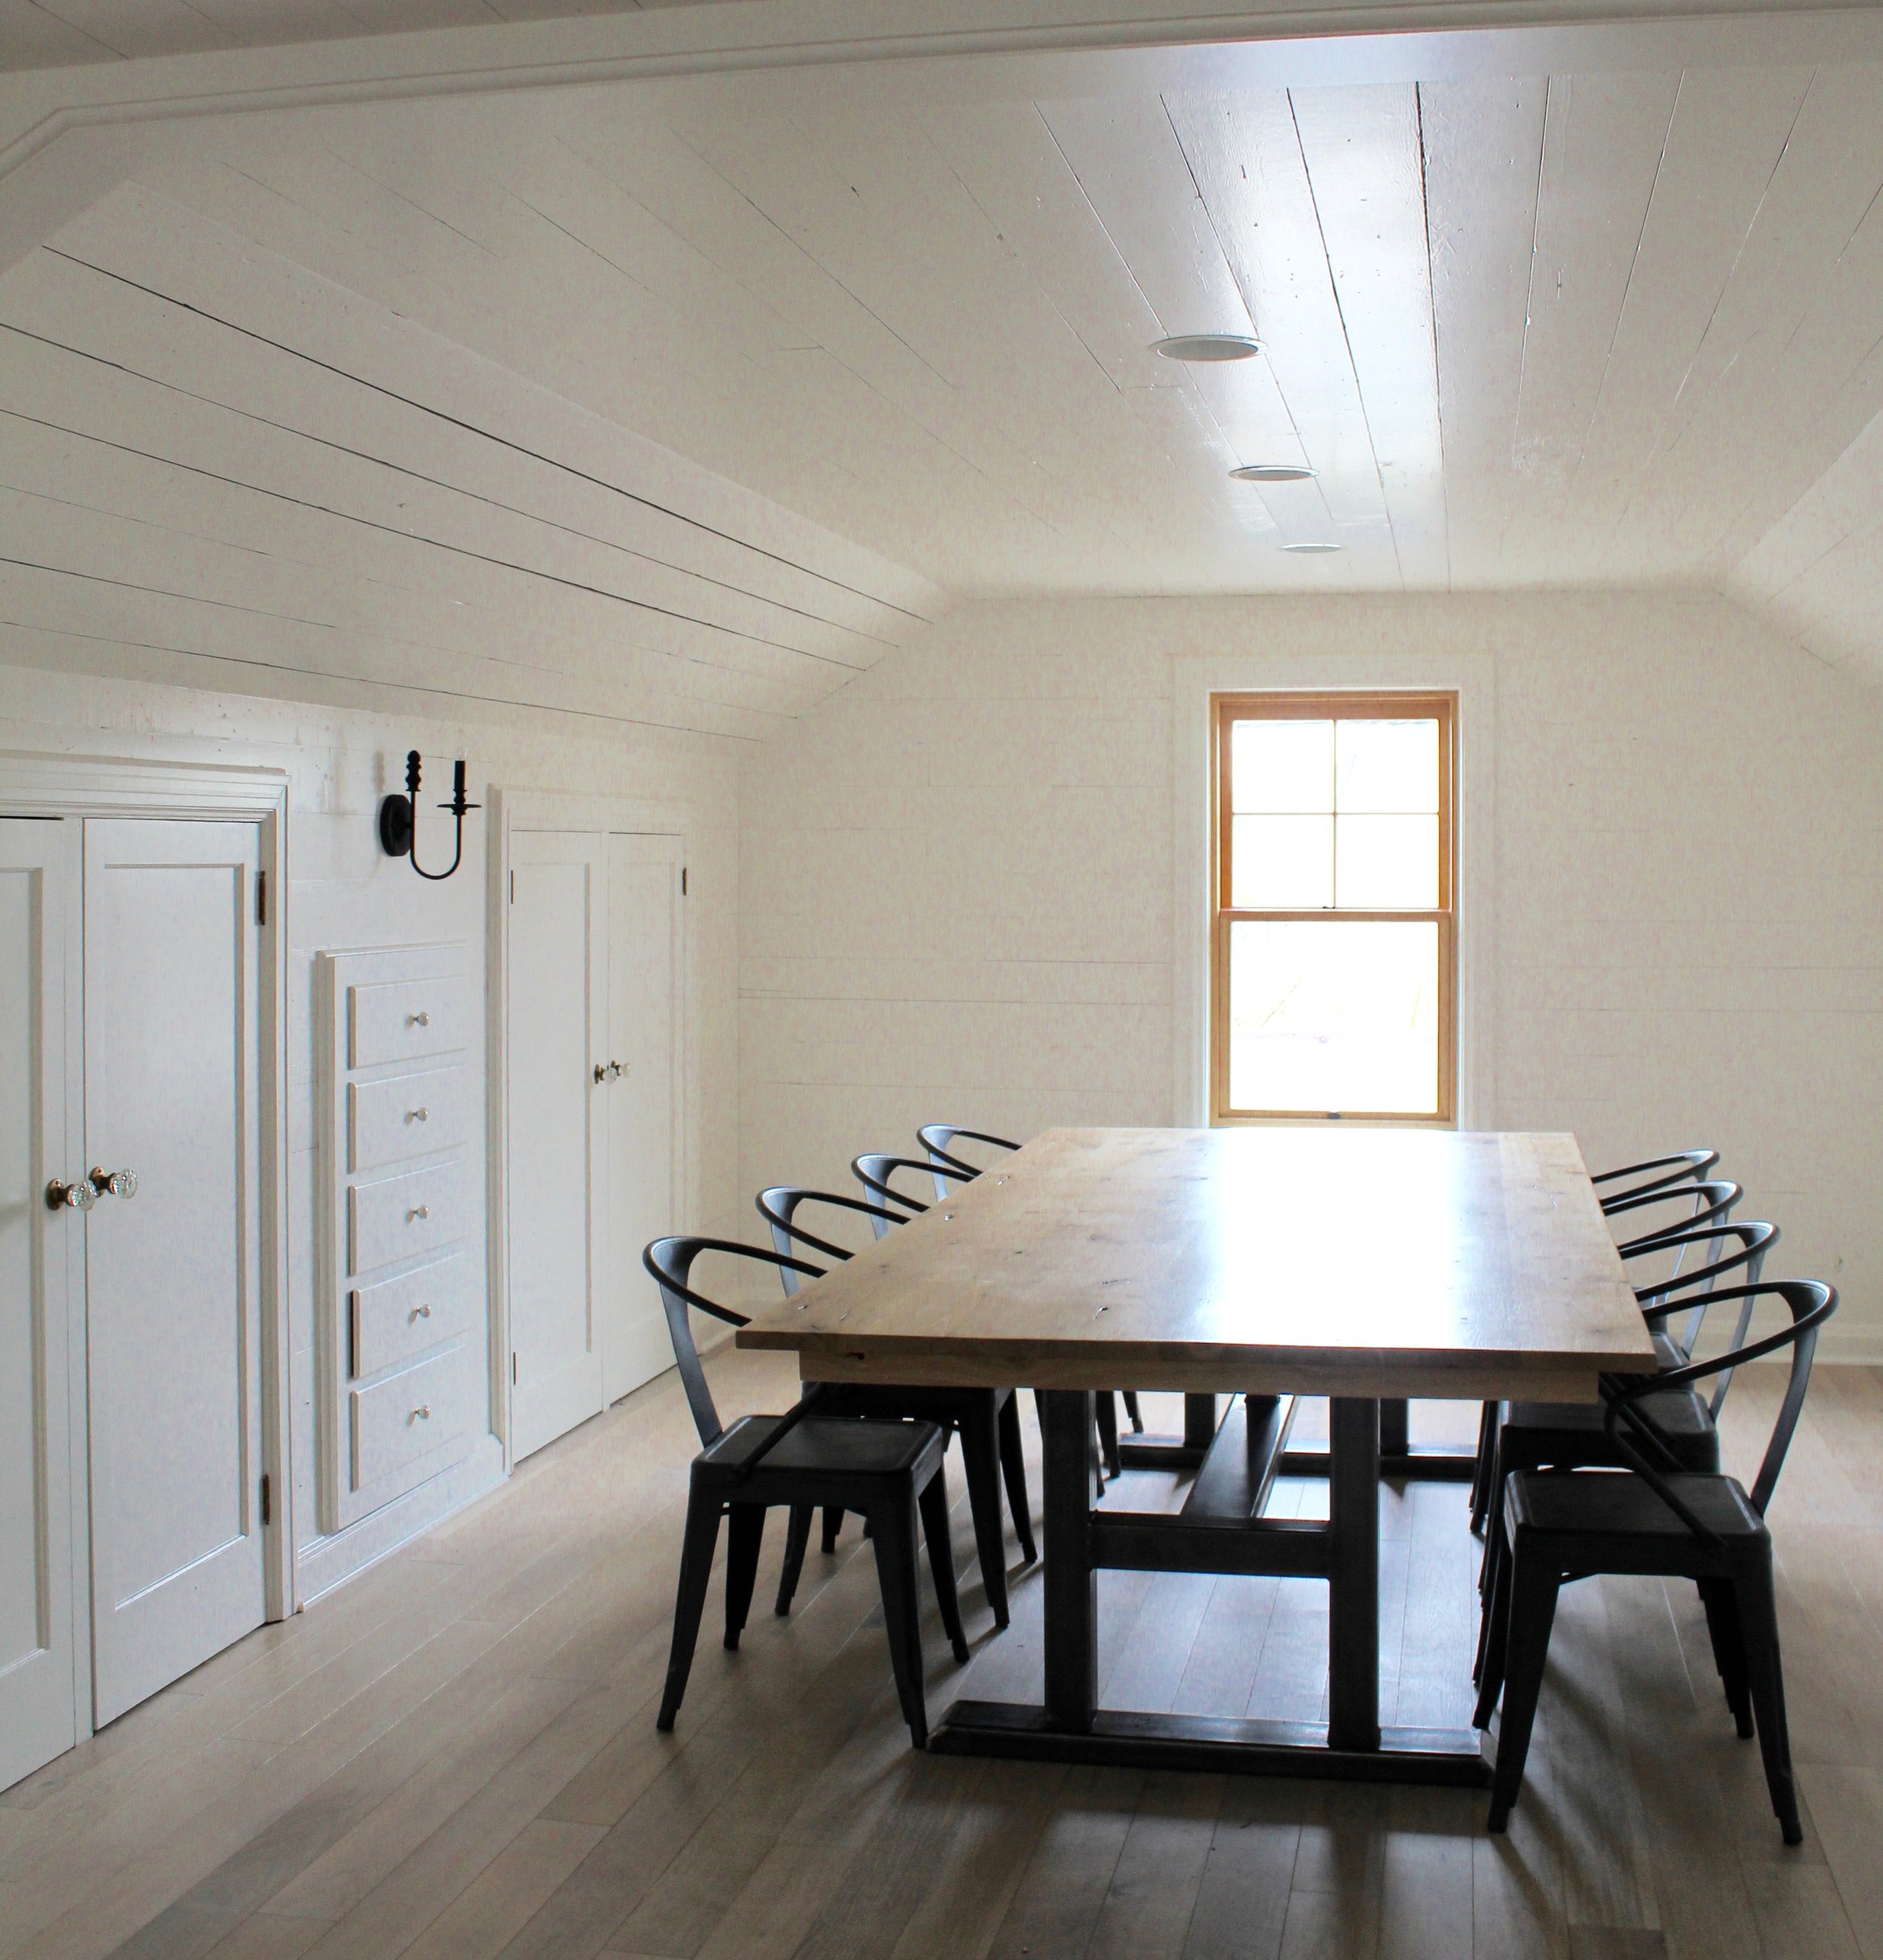
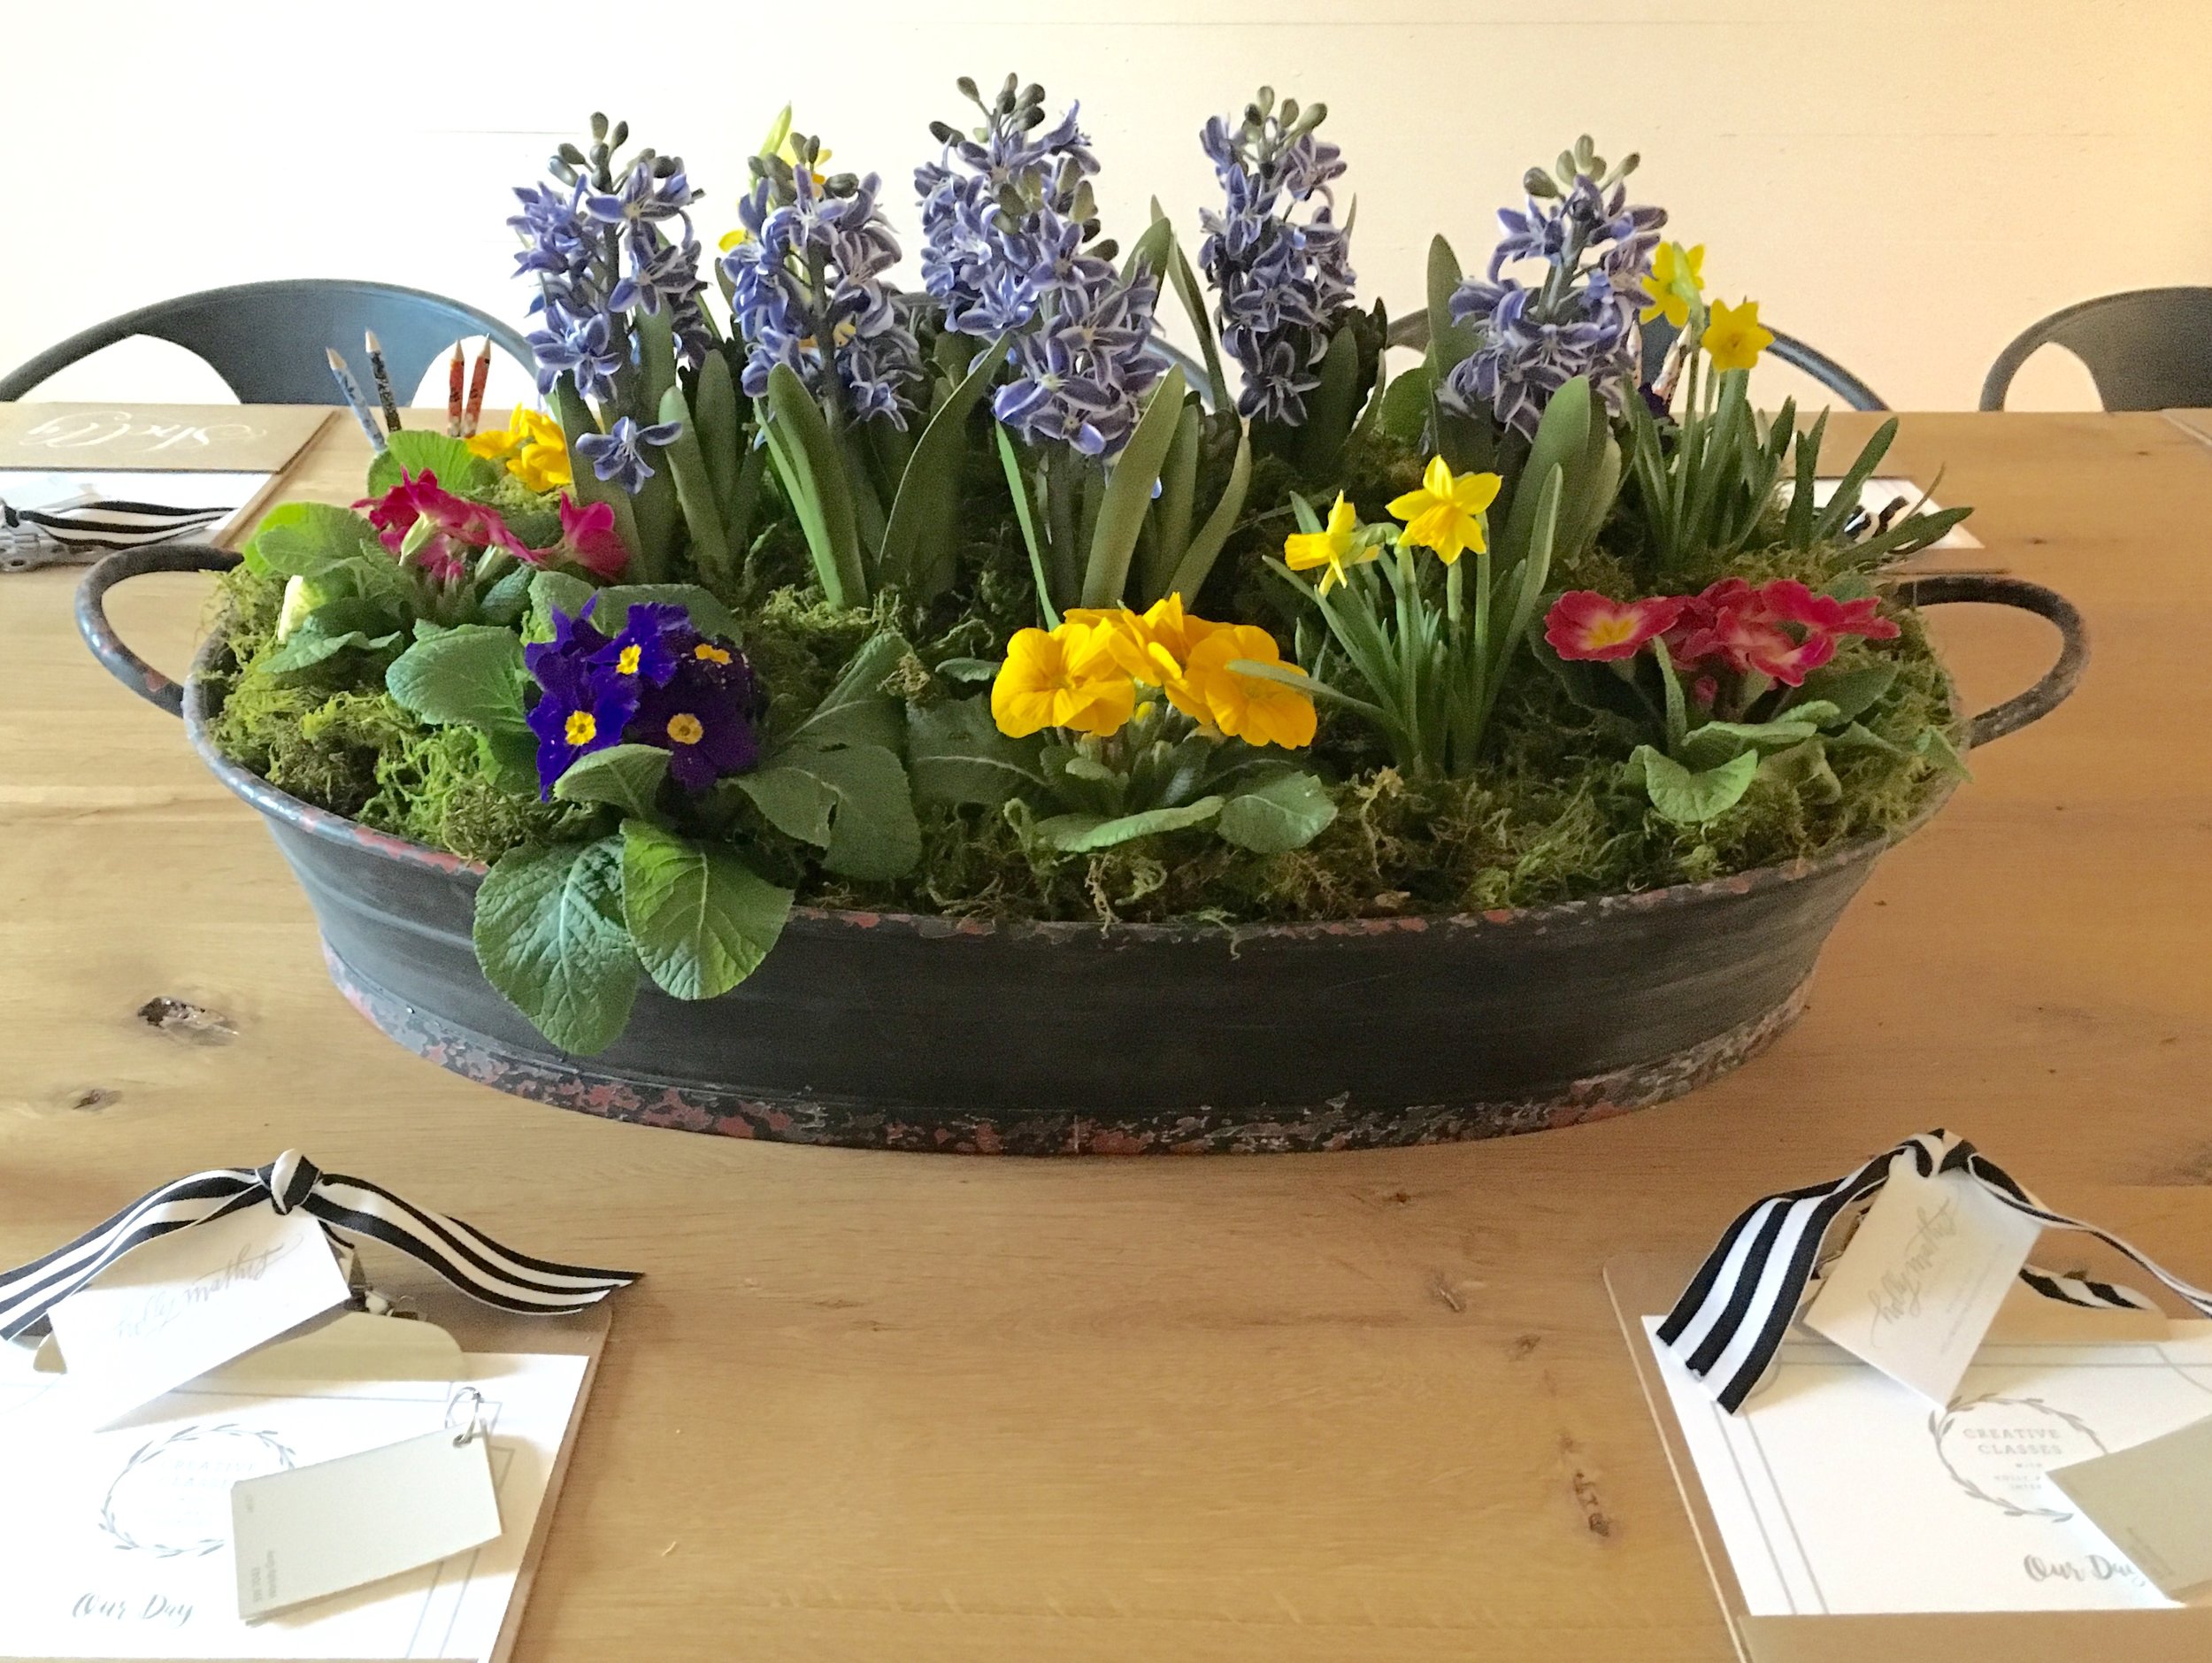
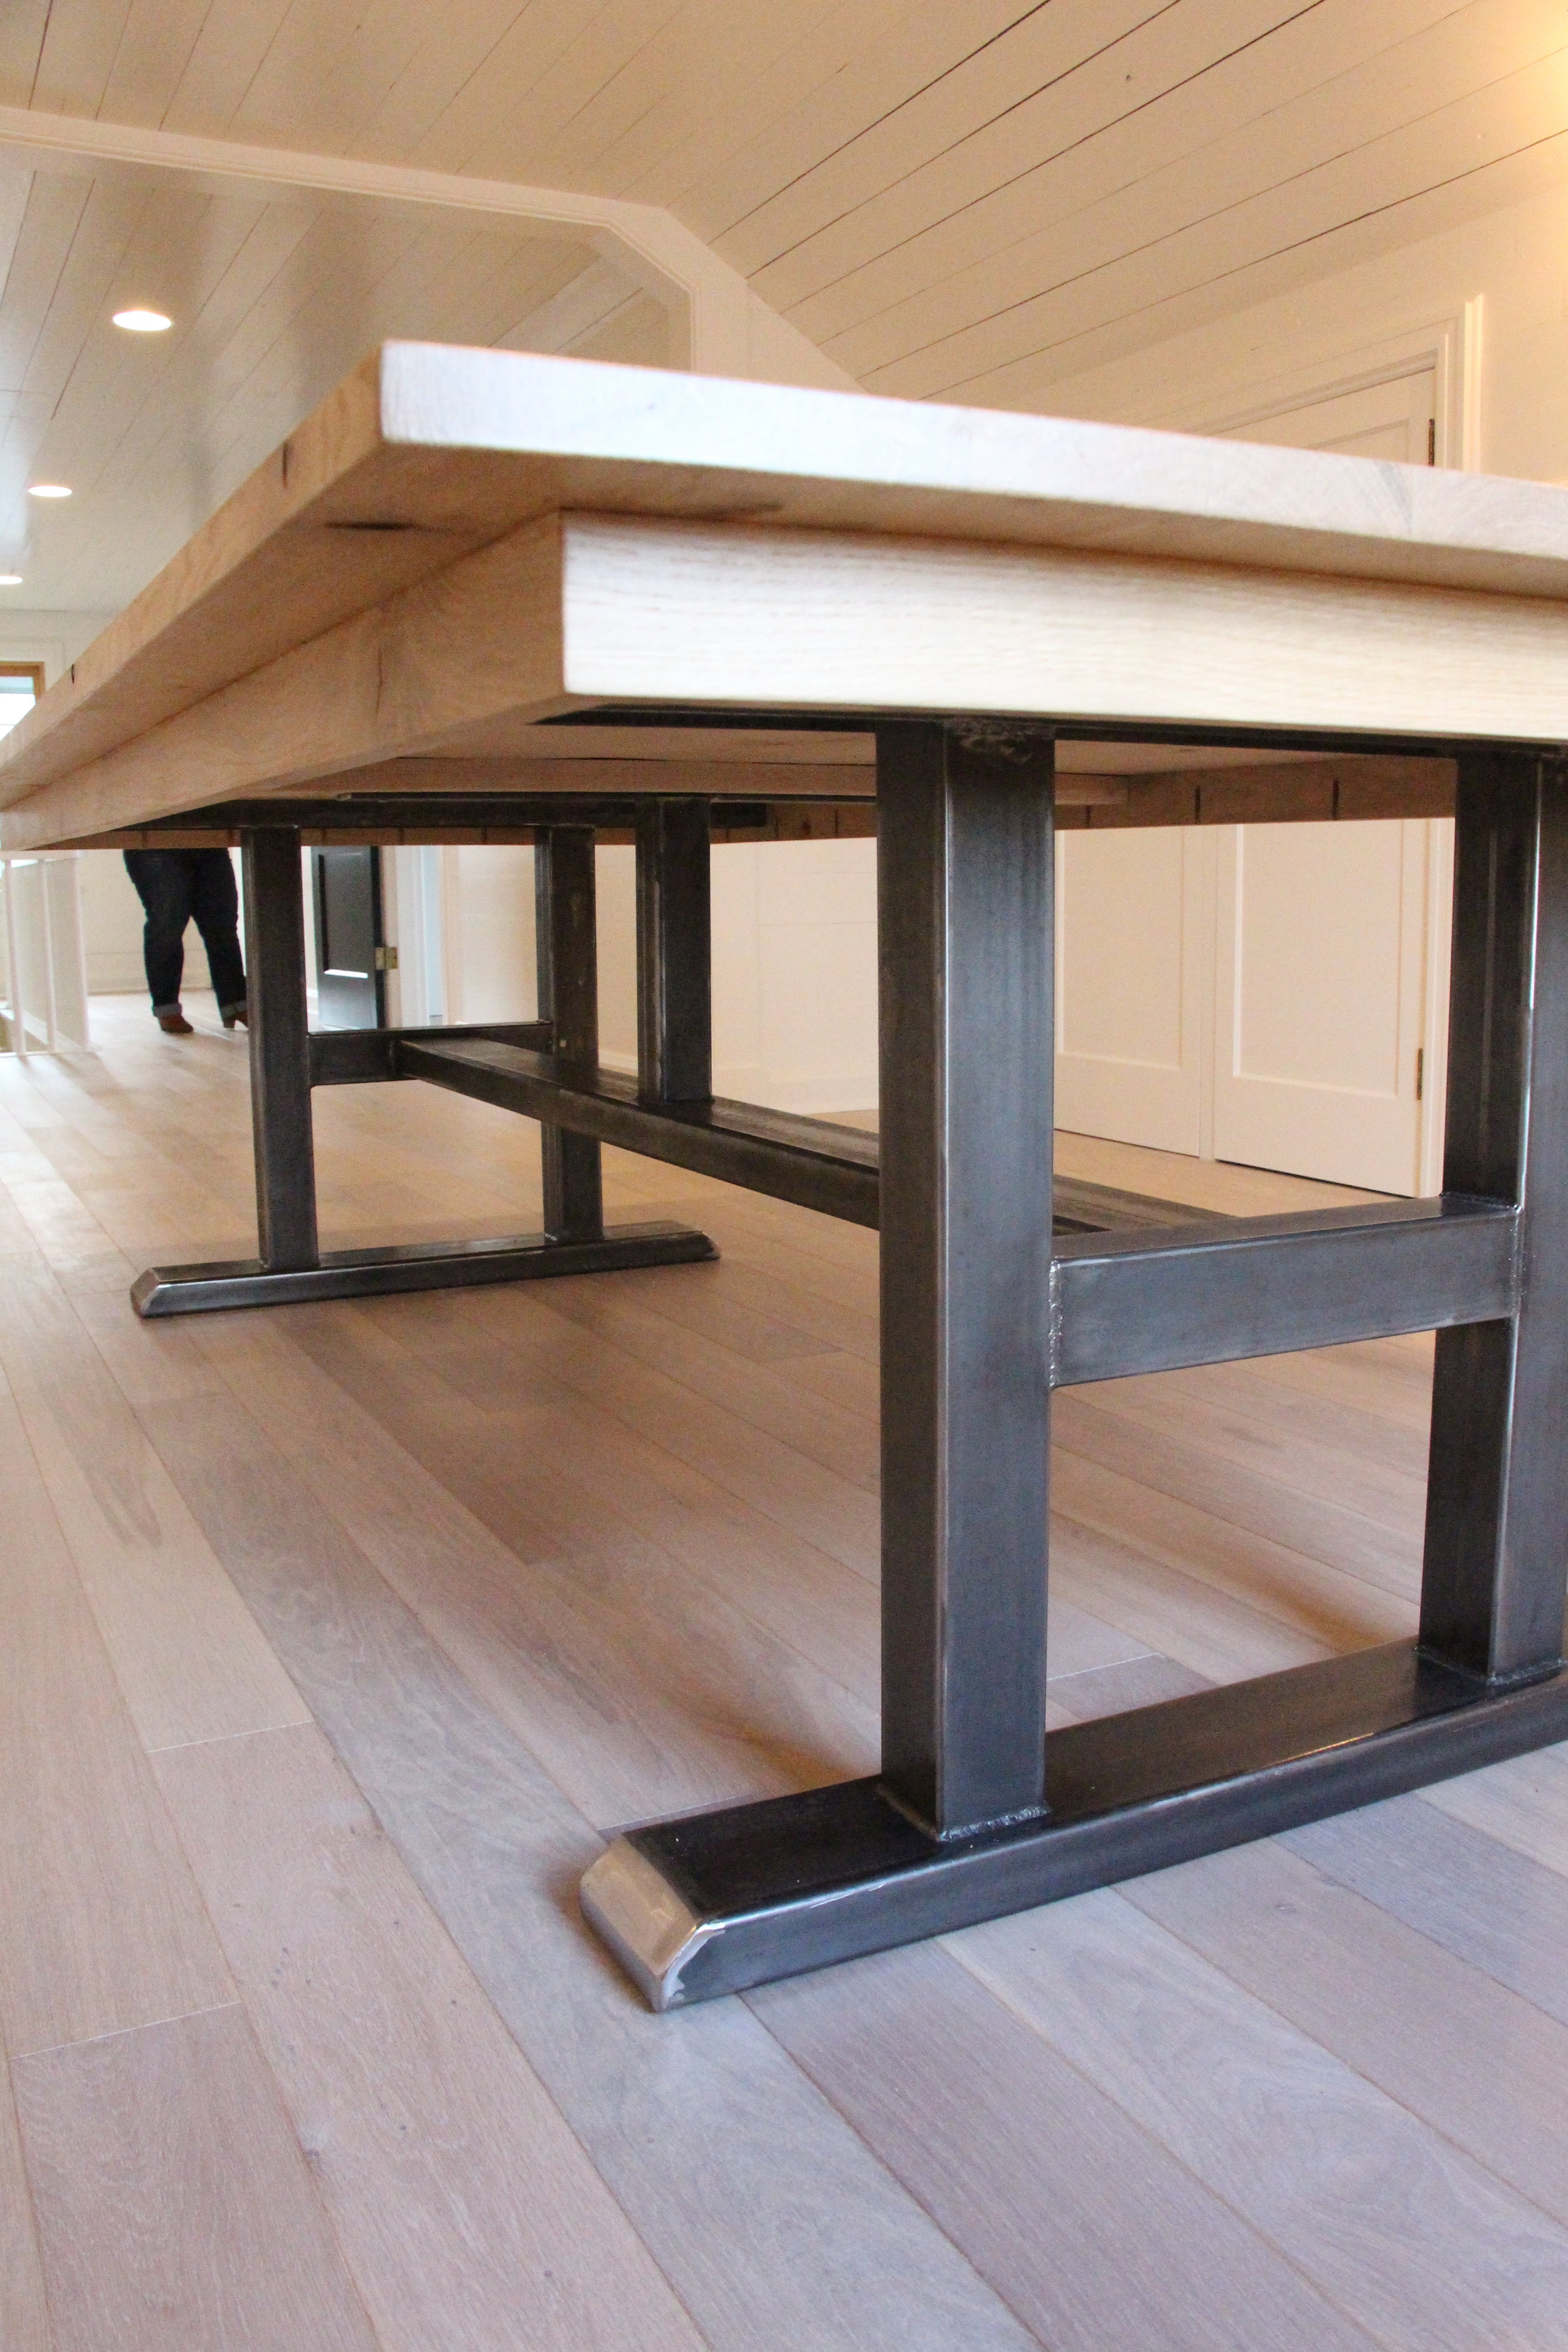
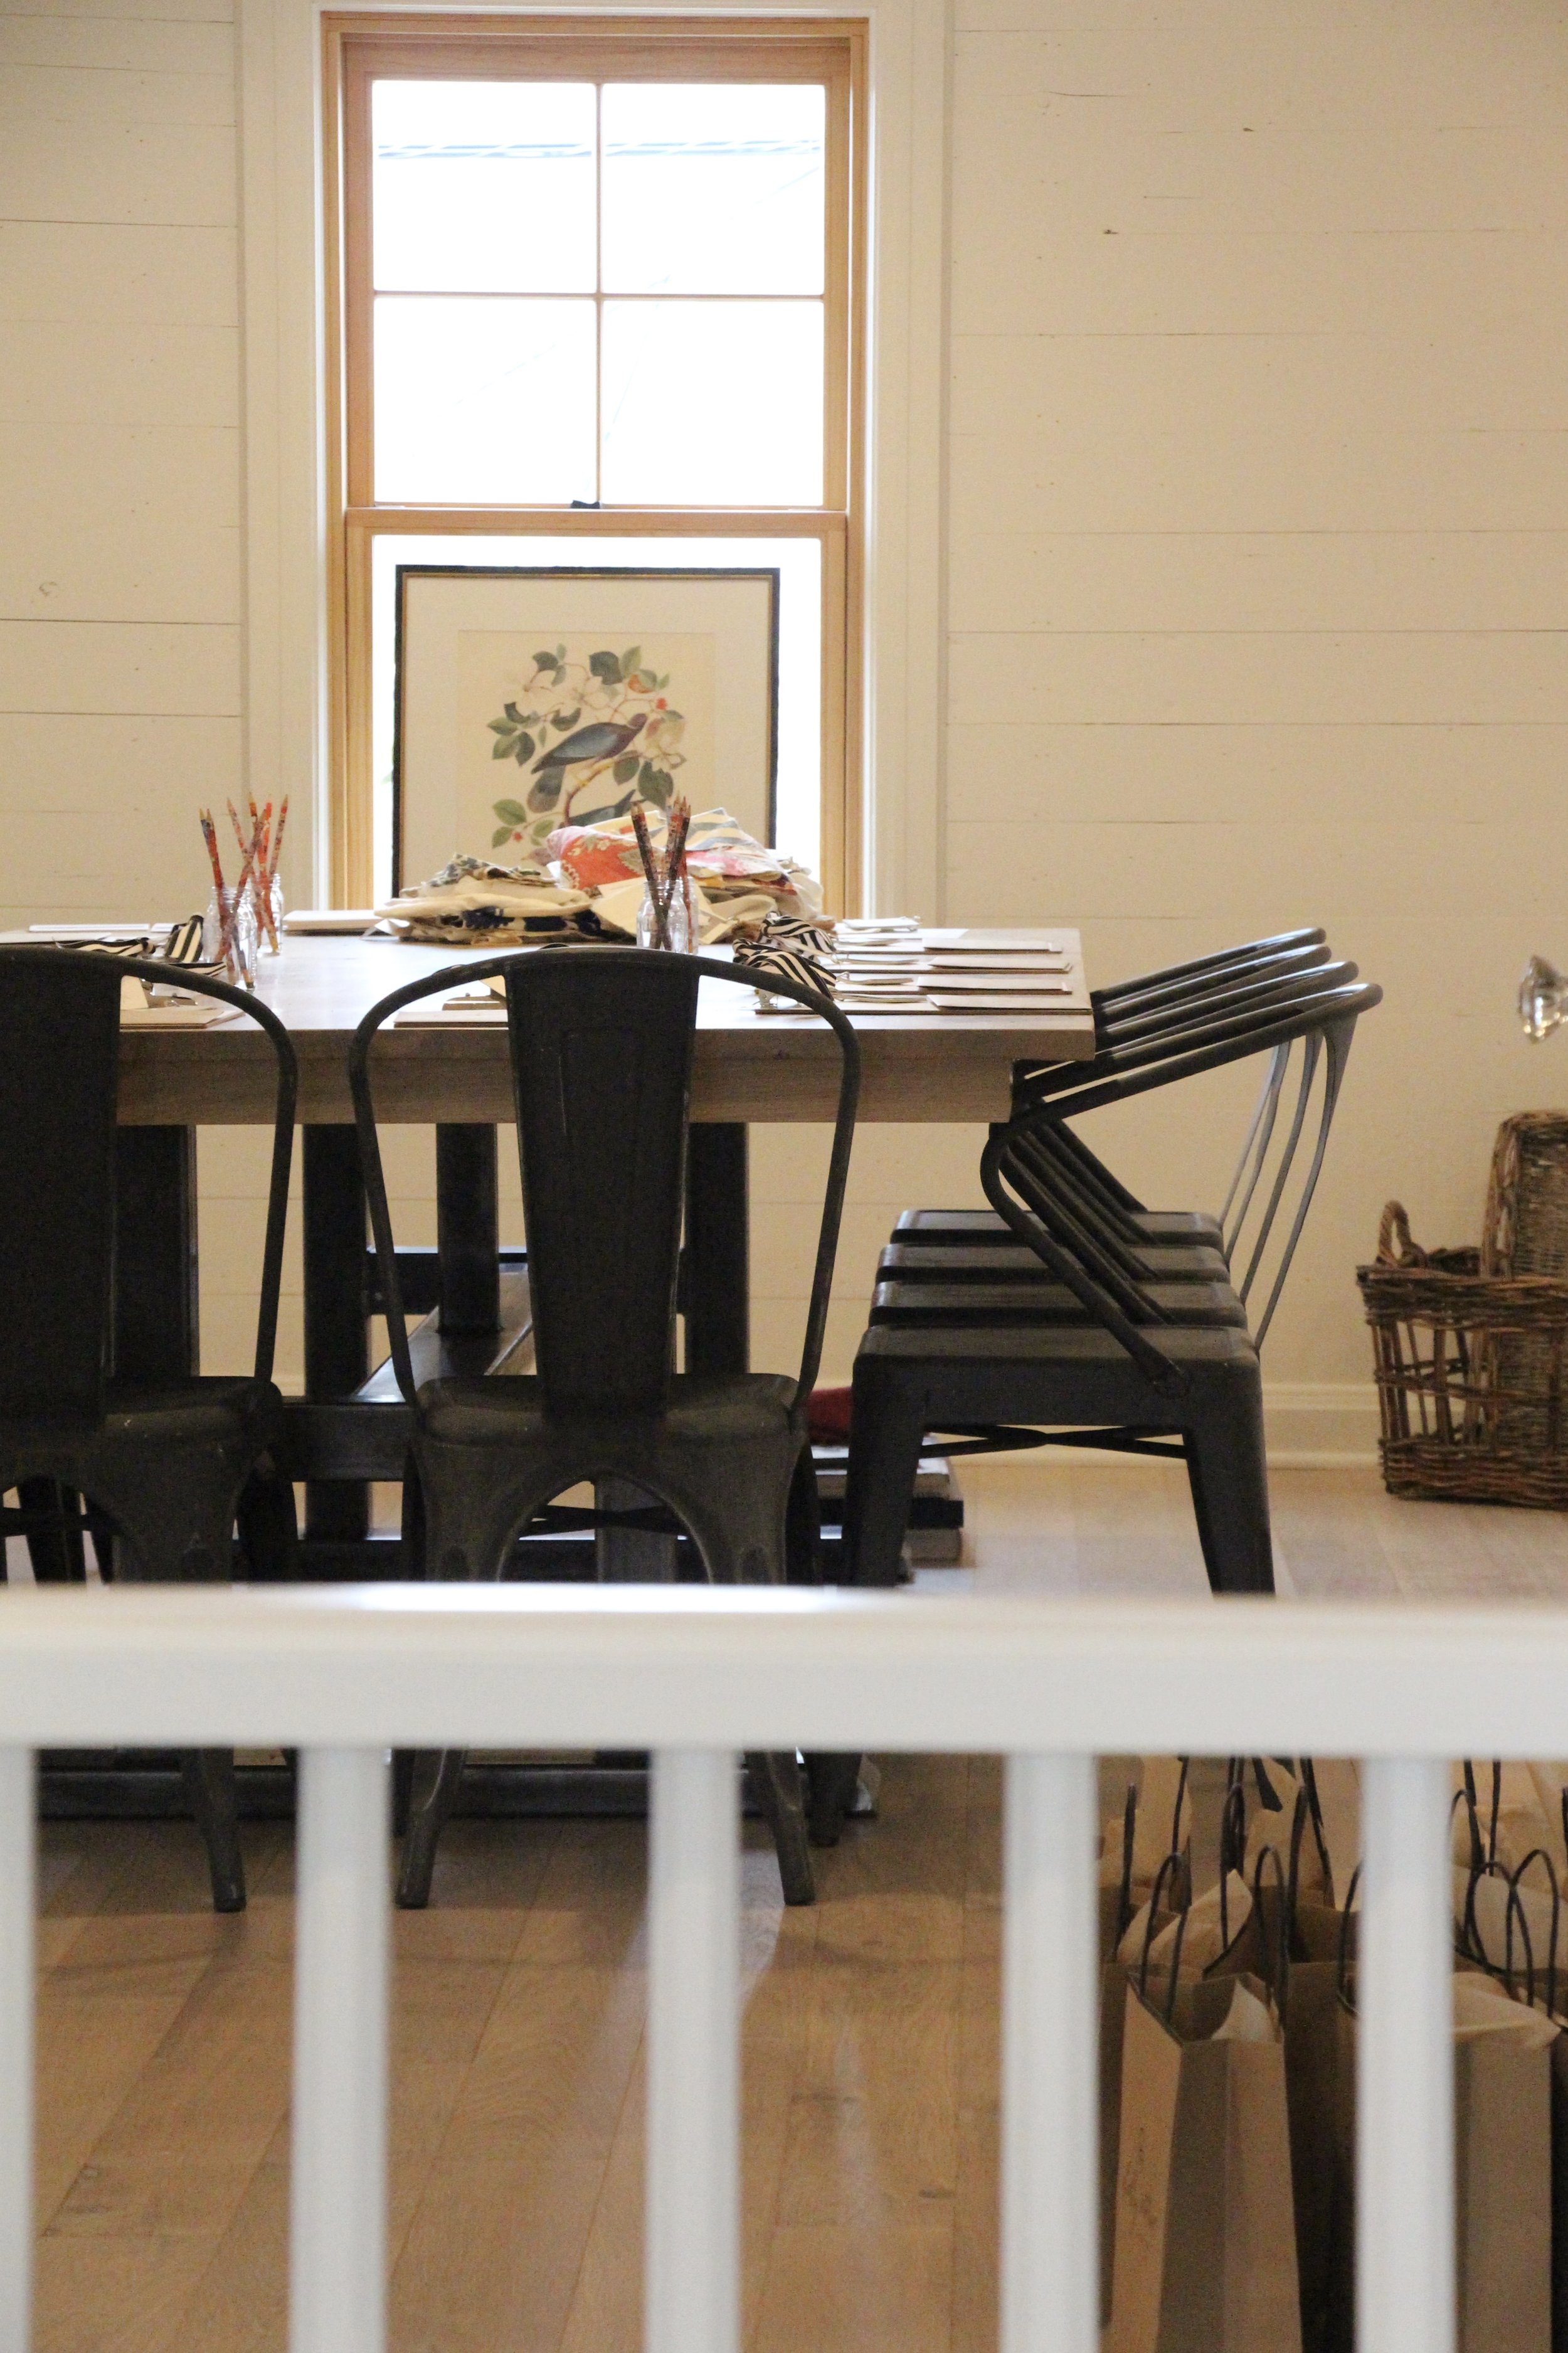
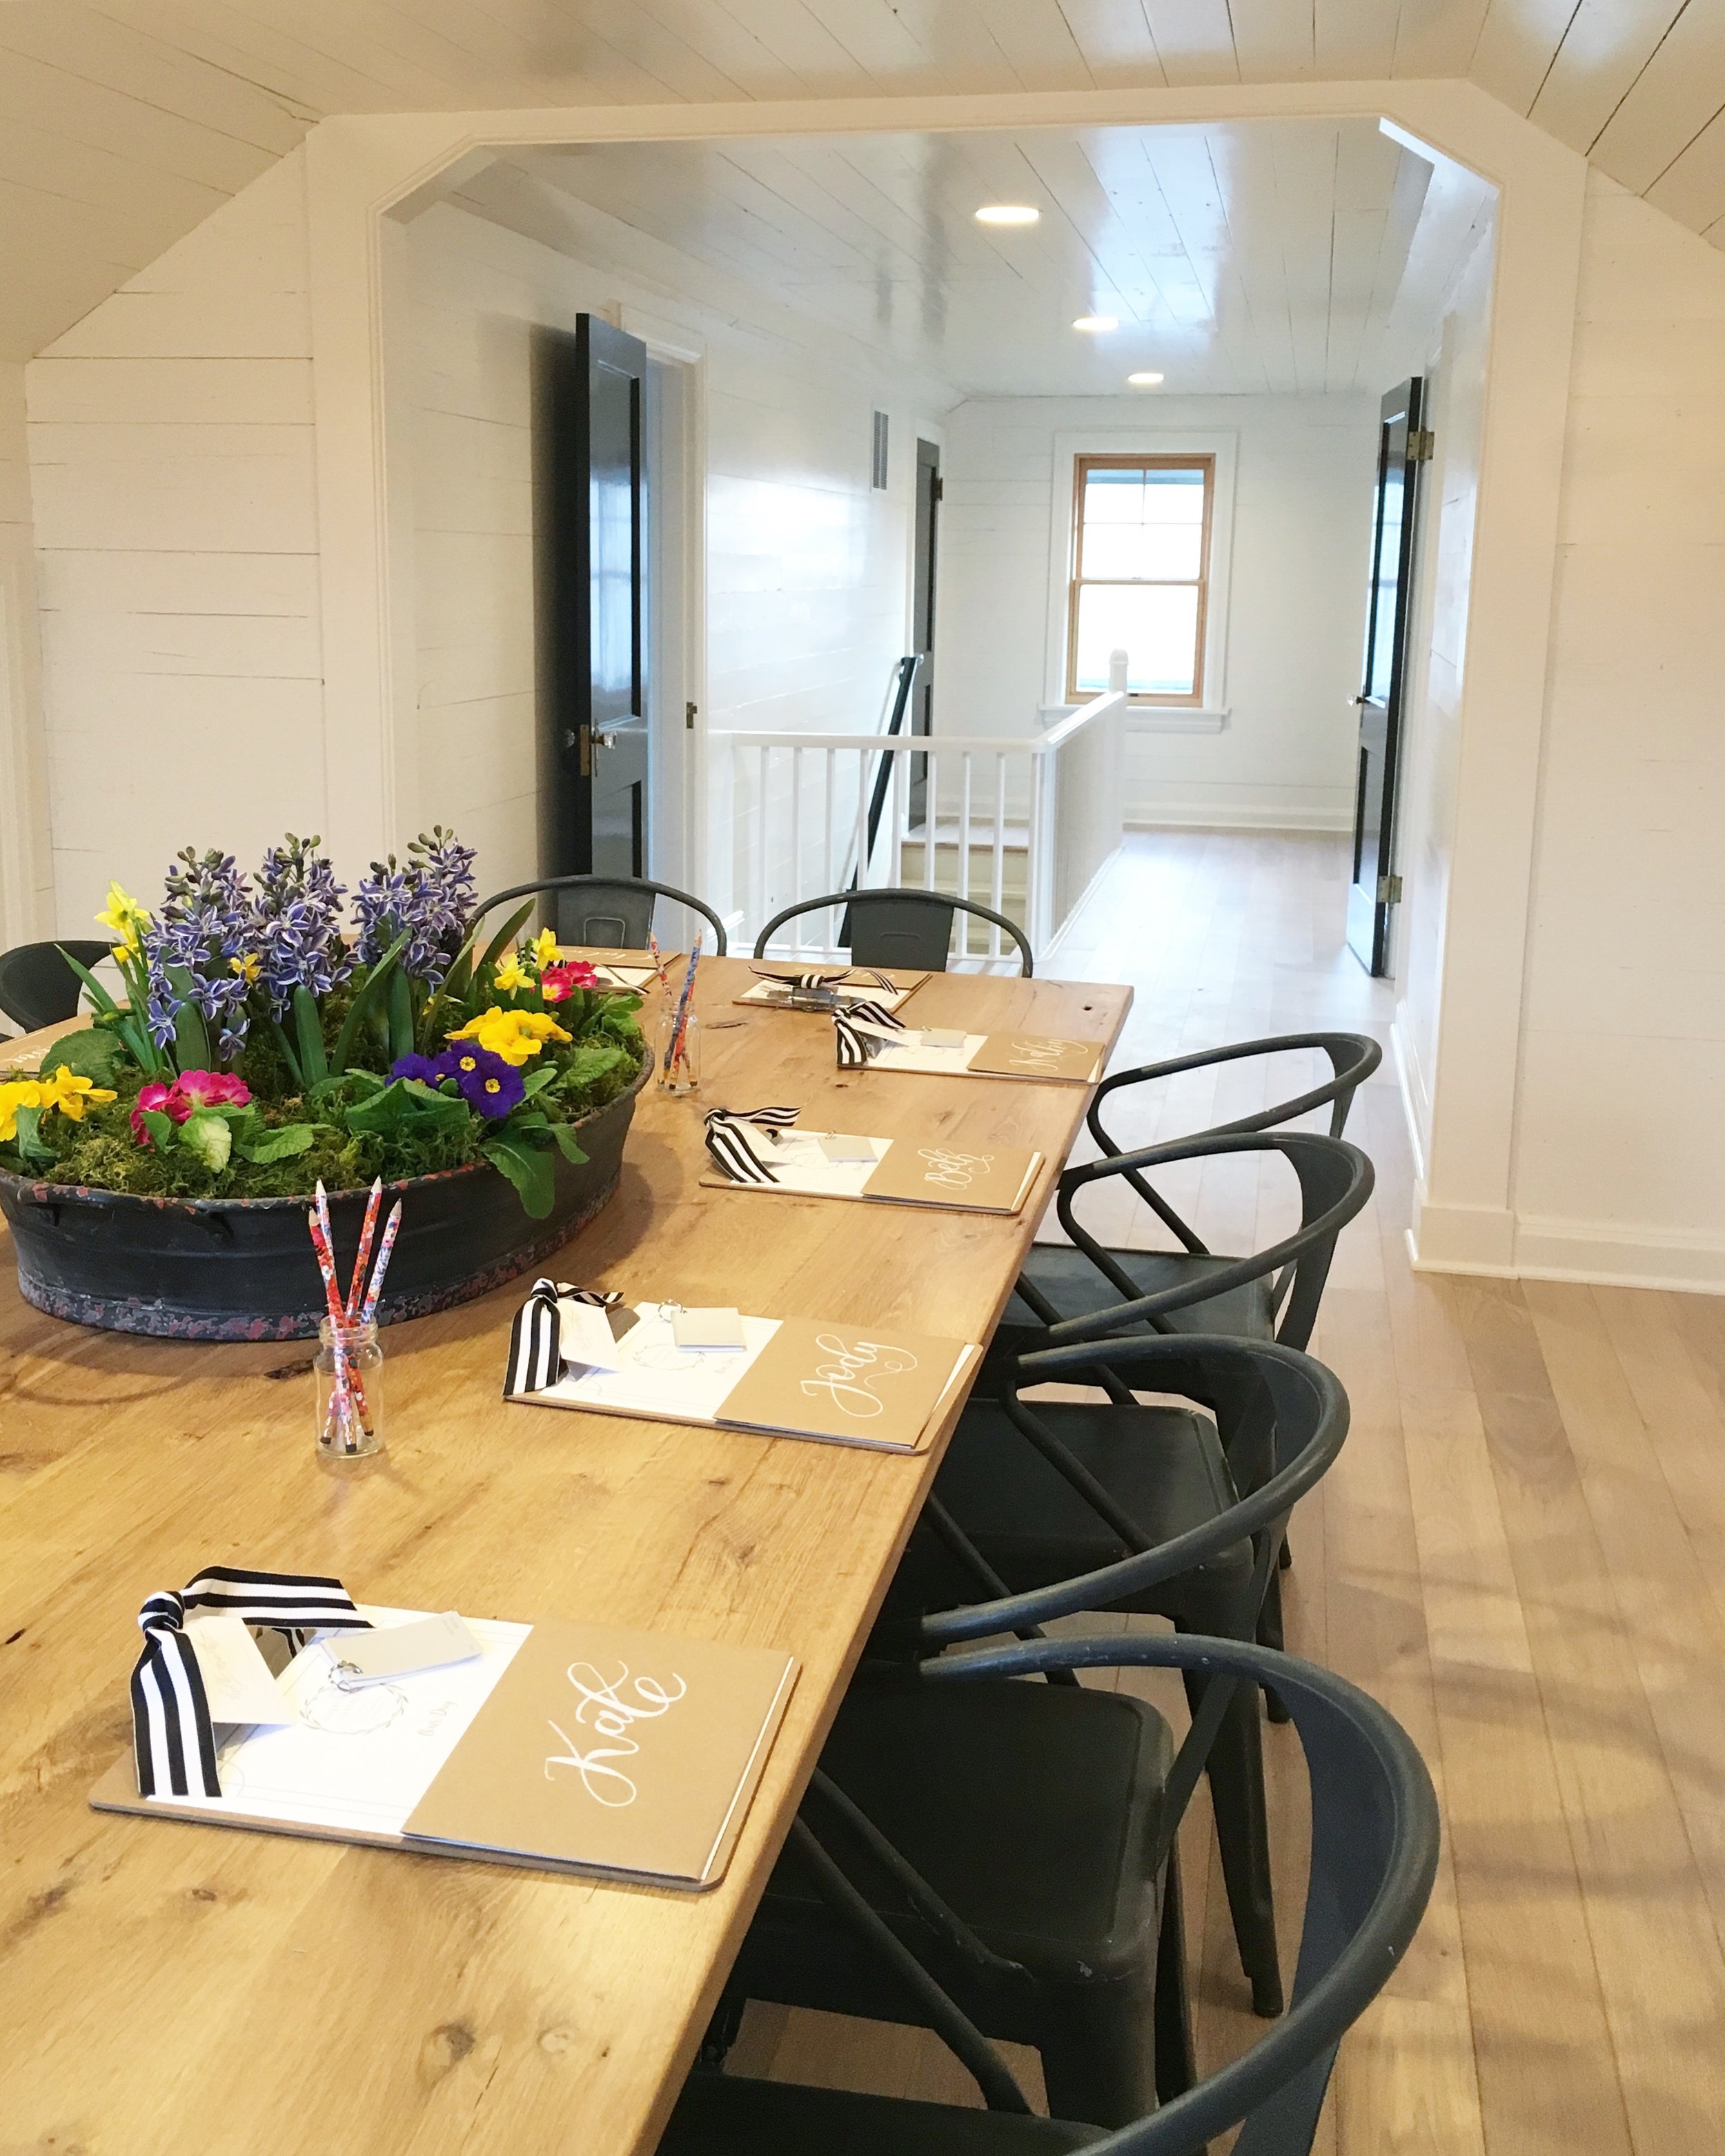
Now that I have my creative energy back and a good home/work/play balance, I am so excited to announce that we are expanding the retail area!  We are moving the paint upstairs so the entire upstairs space will be for creative workshops, paint mixing and creative inspiration. We are growing the retail downstairs and I am so excited for what's coming!  

shop dresser

So, for the next few weeks the shop will look sparse and a little mis-matched as we are busy painting furniture and moving things all around.  And hopefully finding new ways to inspire everyone who walks through our doors!  In the mean time, thank you for the kind notes and emails and I look forward to continuing to share tidbits of our shopkeeping and remodeling journey with you.

xoxo-Darci

BUFFET || painted with MMS MILK PAINT

buffet

I found this beautiful, but worn out and damaged, buffet a few weeks ago and I couldn't wait to start painting it!  I like painting pieces at home, instead of at the shop.  At home I can paint in the garage/studio and the girls can play outside.  Much better than dragging them to the shop while I paint for a few hours at a time ;-)

This piece is a newer piece, but it had a lot of damage.  I sanded and used wood filler to fix most of the cosmetic problems.  I decide to paint this piece with Miss Mustard Seed Milk Paint.  I used one of her European colors, 'Schloss'.  It's a beautiful gray/brown and I just love it with the dark top!!

buffet2

The top is a wood veneer but the veneer was so thin, it wouldn't stand up to me sanding out all of the water marks and rings.  I decided to use Milk Paint on the top too, I used 'Curio' to give the look of a heavily stained wood top.  I sealed the entire piece with MMS Tough Coat and then I added two coats of MMS antiquing wax on the top.  

We had the perfect spot for it at the shop!  Dimensions are at the shop so please feel free to call or email if you are interested!  It's a biggie (and a heavy one!) and for sale at the shop for $595.

buffet3

Hope you have a great week!!!!

free demo || ANNIE SLOAN SOFT WAX

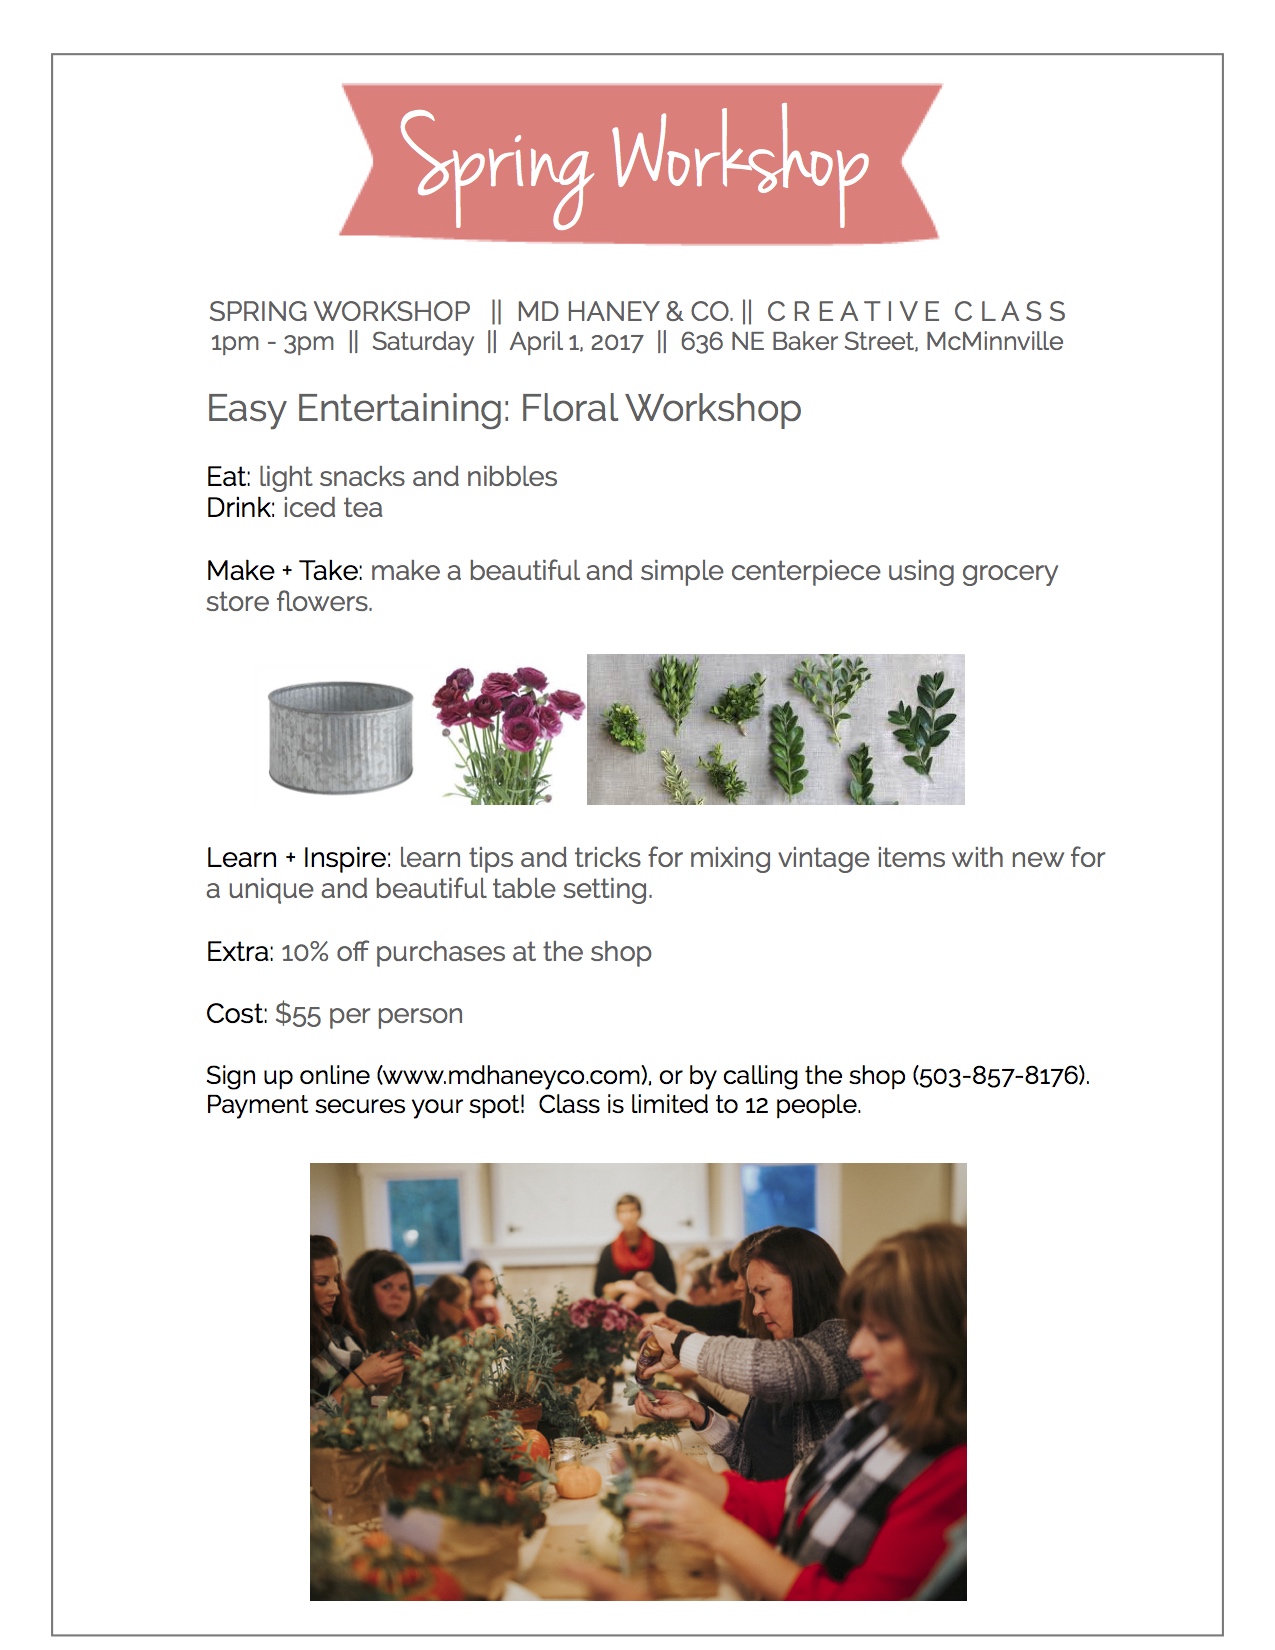
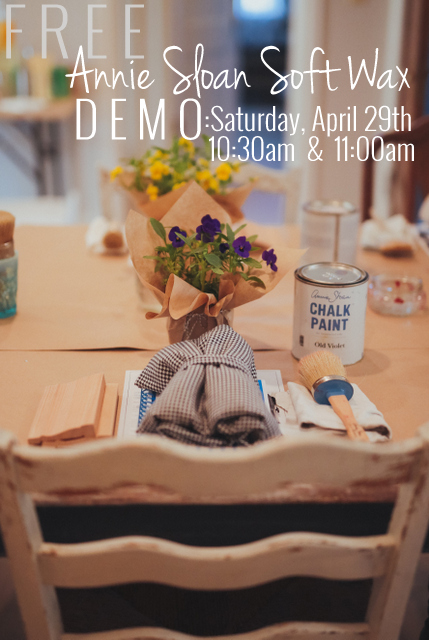
I would say the number one product we receive the most questions about, is Annie Sloan's soft wax.  It is such a fantastic product!  However, it can cause frustration if it's not applied properly.  Next Saturday, I am going to offer two {free} demonstrations on applying soft wax.  A little way to help customers who are struggling with the soft wax and for whatever reason can't attend a BASICS painting class.  Here are the details for you local peeps!

W H E N:  Saturday, April 29th, 2017

T I M E: 10:30am and 11:00am

W H A T: demo on applying Annie Sloan soft wax, 10% off your purchase of a wax brush, coffee + muffins

C O S T: free

Each demo is limited to 12 people.  Although there is no cost, you do need to sign up at the shop.  You can sign up by calling, emailing or stopping by the shop!

ready for spring || BEAUTIFUL JORD WOOD WATCHES

This post is sponsored by Jord Wood Watches. When the kind folks at Jord Wood Watches contacted me to see if Matt wanted to try one of their new wood watches, I immediately said yes!  I have seen these beautiful watches on Instagram and other blogs, and was drawn to their simplistic beauty.  I thought it was an added bonus that my sweet hubby is a wood worker, I knew he would appreciate the fine craftsmanship and beauty of this watch.

Our weather here in the Pacific NW has been unseasonably wet.  Rain, hail, thunderstorms and a little bit of sunshine!  I feel like all we are wearing these days is mud boots and slippers!

Sunday was sunny (wahoo!) and we celebrated Matt's birthday.  He sported his beautiful new watch.....the pictures truly don't do the watch justice.  It's such a beauty.

These classic and unique watches are crafted right here in the U.S.A and Jord uses sustainable resources from around the world.  Jord offers custom sizing when you order it online.  We took Matt's watch to the local jeweler and they easily removed two links, now it fit's him perfectly!

When it arrives in the mail, it comes packaged in a beautiful wood box.  Just opening the beautiful box is an experience.  My father-in-law and brother-in-law are both wood workers and we are thinking of gifting these for Christmas.  They would make unique and beautiful gifts!! They also have beautiful women's watches too!  I have already selected a couple different options for my Christmas list....you can never plan too early ;-)

I know Matt will wear this beauty for years to come.  It's classy but not too showy....just like my hubby!

I am hosting a fun giveaway on IG this weekend!  The generous folks at Jord are giving away a $100 credit to their store!  Go to https://www.jordwatches.com/g/darcihaney.  Just by entering the giveaway you earn a $25 credit to their store!!  The giveaway ends Sunday (4/16) at 11:59pm.  Best of luck!!!

SPRING ENTERTAINING CLASSES

Hello!  I am so ready for Spring!!  It has felt extra cold, wet and gray this winter and this girl is looking forward to some sunshine.  Anywho, I am excited to announce the details for the Spring Entertaining Classes......

The Fall Entertaining Class sold out really fast, I am hoping to be able to accommodate more ladies by offering two, smaller workshops.  I will post more details in the coming weeks.  In the meantime, grab a girlfriend and sign up, it's going to be a lot of fun!!!

a paint party || ADDILYN'S 6th BIRTHDAY

My little sweet pea turned 6 last week.  It's so true what everyone told me....'time flies when they are young'.  I have really enjoyed each season and phase, but this age is a lot of fun!!! She is not one for big parties and get togethers, so a very small party with just her closest friends was right up her alley.  I was sick so I honestly didn't put the time and effort into it that I normally would have, but the girls all seemed to have a fun time....and I did too!

Just a simple set up in the workshop area of the shop....they each had an apron, 8 x 10 canvas, painting easel, paint brushes and paint.

We made these sweet little honey bee hives from craftymorning.com.  They turned out darling and it proved to be just the right amount of time and skill because the girls seemed to enjoy themselves without getting frustrated ;-)

The party was suppose to happen Saturday morning but got rescheduled because of a sick friend and a sick mama ;-)  We still went with the doughnut and breakfast theme though!

It was a simple party but such a fun way to celebrate my little sweet pea.  It's so easy to get caught up in the world of Pinterest and Instagram and think that a simple party or get together is not enough.  That it always has to be 'Pin' worthy.  So not the case!!!  It's all about spending time together and loving on others.

painted dresser || Chalk Paint® + MMS Milk Paint

About a month ago I picked up this cutie of a dresser at Habitat.  I thought it had darling lines and it was in good shape, it just needed some paint!

I kept the original brass hardware and I painted this dresser with 3 coats of Miss Mustard Seed Milk Paint, MARZIPAN.  I painted the sweet trim pieces with Annie Sloan Chalk Paint®, OLD WHITE.  I lighting sanded, just to distress the edges.  I sealed the entire piece with two light coats of Annie Sloan Clear Wax.

This cutie is for sale at the shop for $285.

before + after || upstairs offices and workshop area at the shop

Last week Matt finished the upstairs office + workshop space!

We bought this old house turned retail building just over a year ago.  We wanted to have the upstairs finished before our grand opening (March 27th, 2016) but we just ran out of time....and money was running out too!  I am so glad we waited!  After being at the shop, we figured exactly how we would use the space, and that is different from how we originally thought we would use the space!

Here are some BEFORE pictures....the upstairs space was originally 3 bedrooms.  It had three layers of wallpaper, over drywall.  The floors were yucky, the windows were rotting, the lighting was bad, and it was hot in the summer and cold in the winter.

We removed all of the wallpaper and drywall.  Under all of those layers, we found shiplap!  We sanded it and sprayed it white.  Matt spent a lot of time sanding and spraying those walls...they really look amazing!

We sprayed all of the doors with a pure black satin paint.  
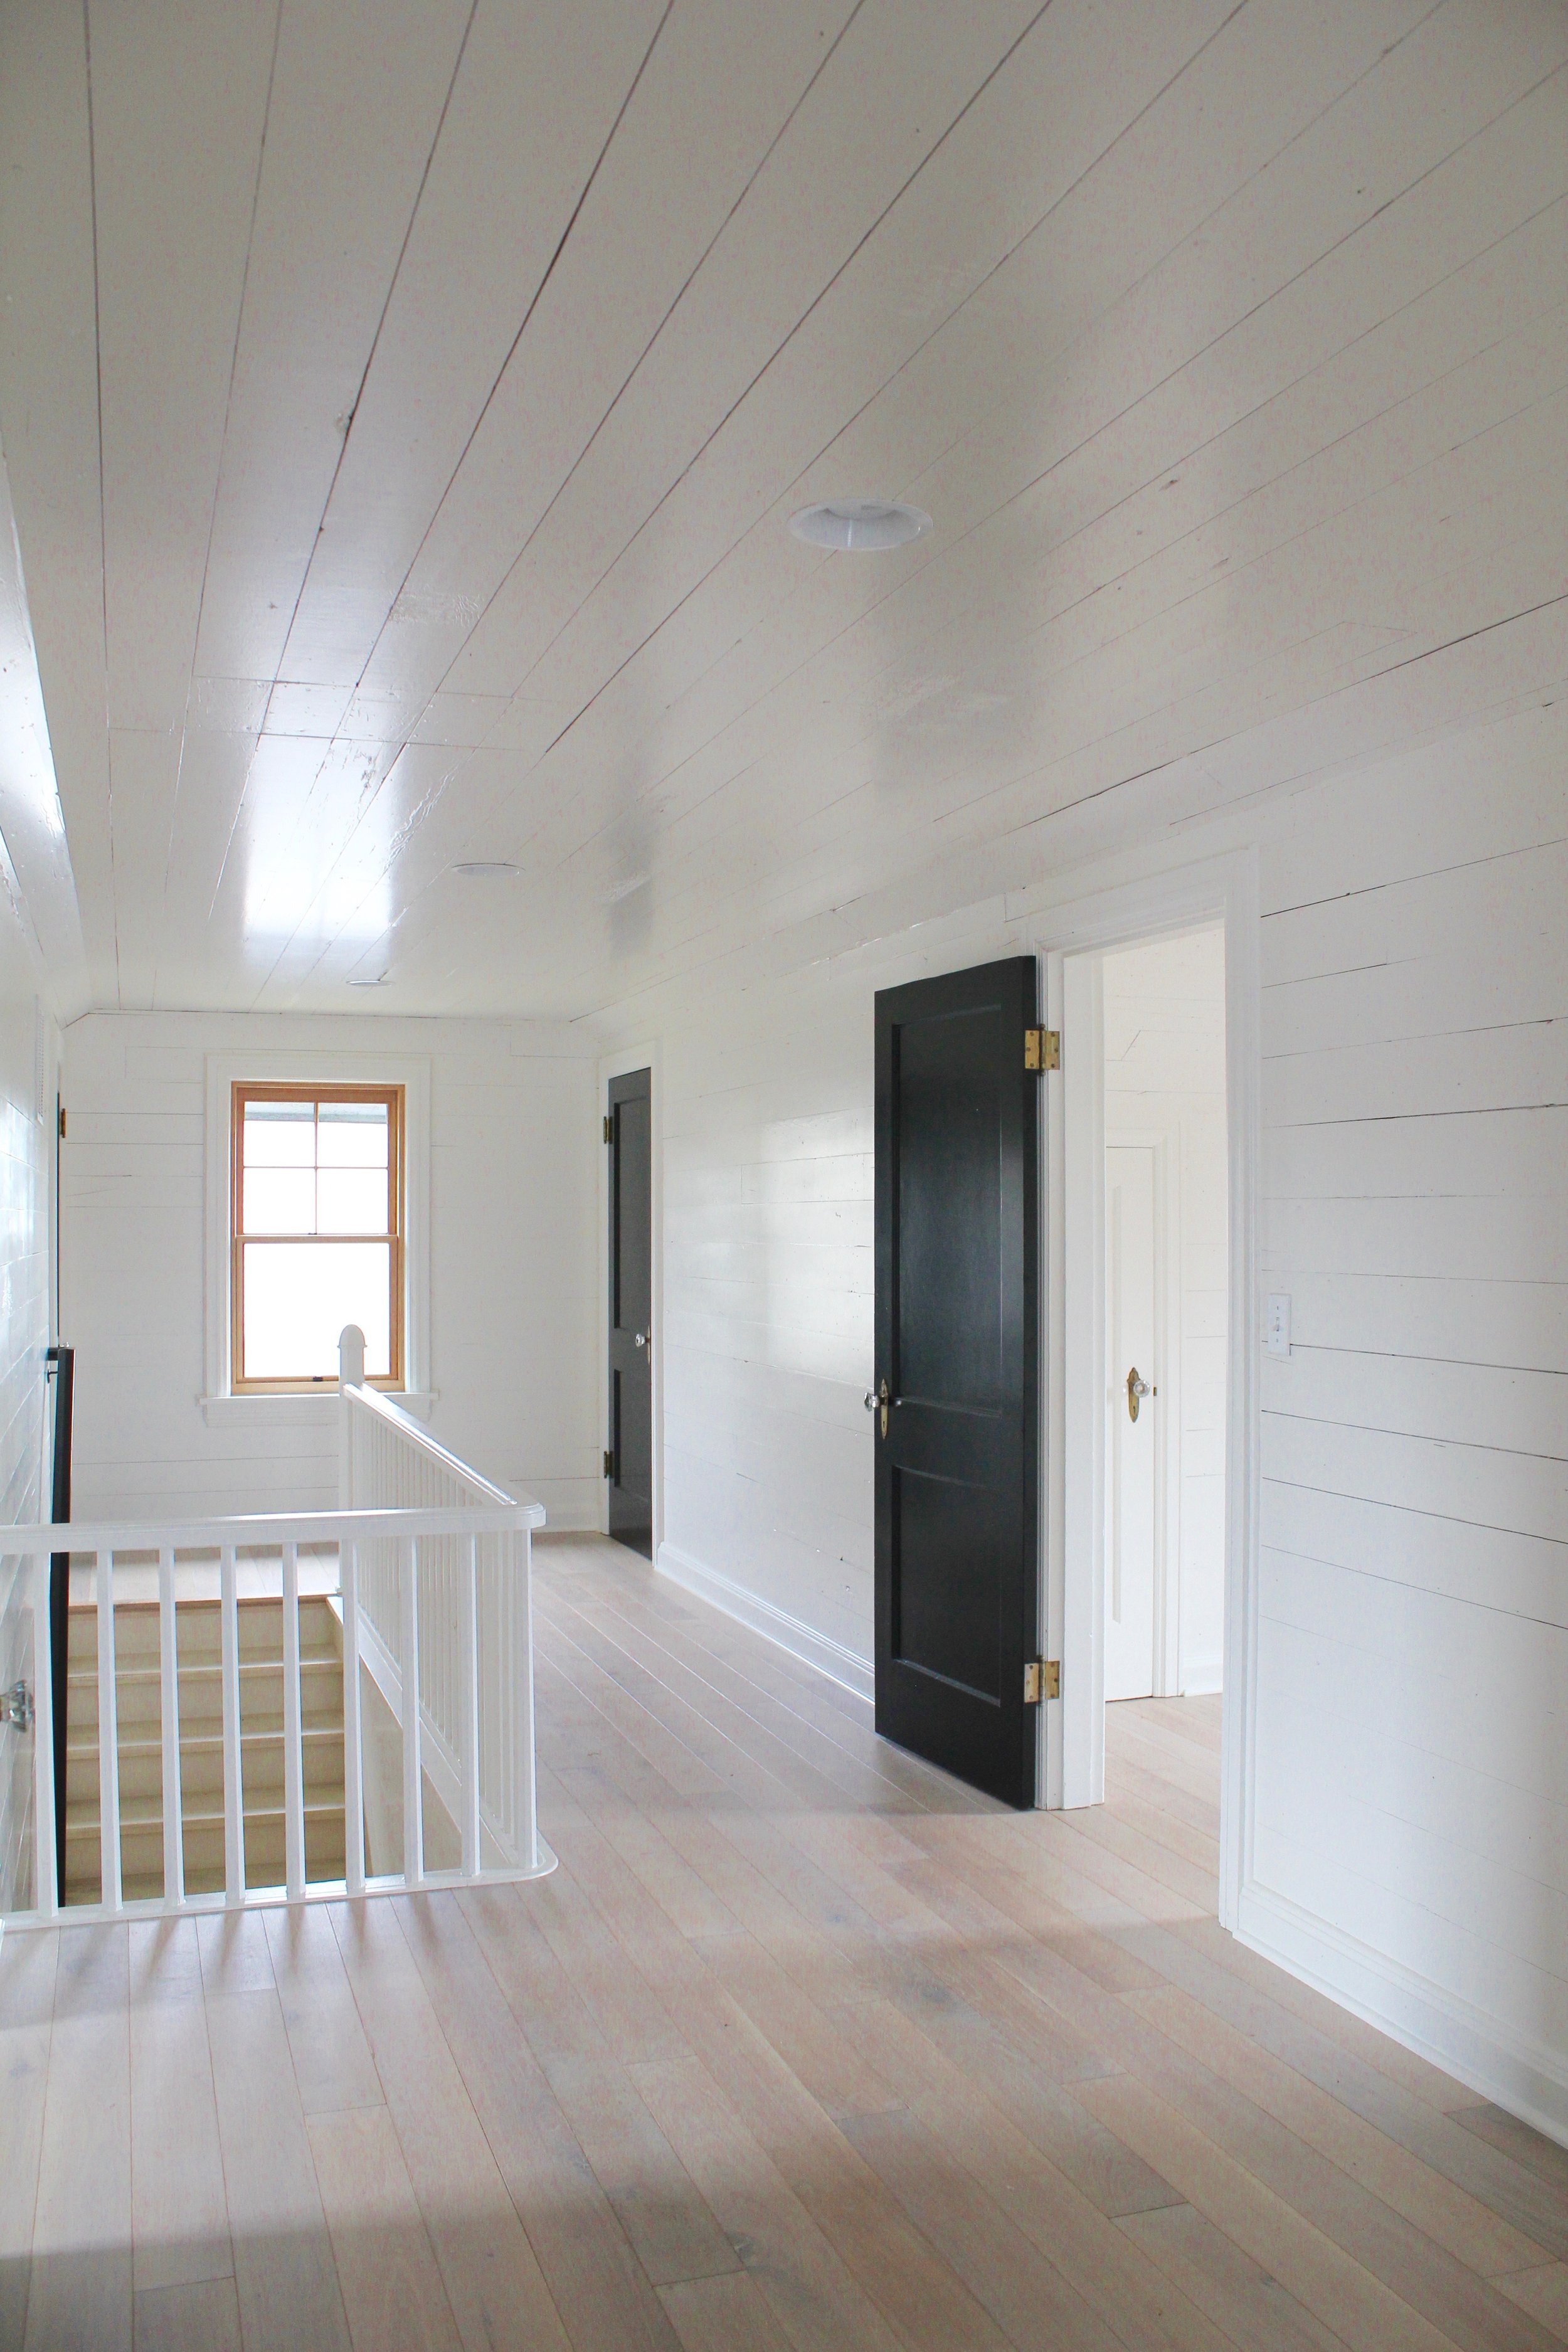
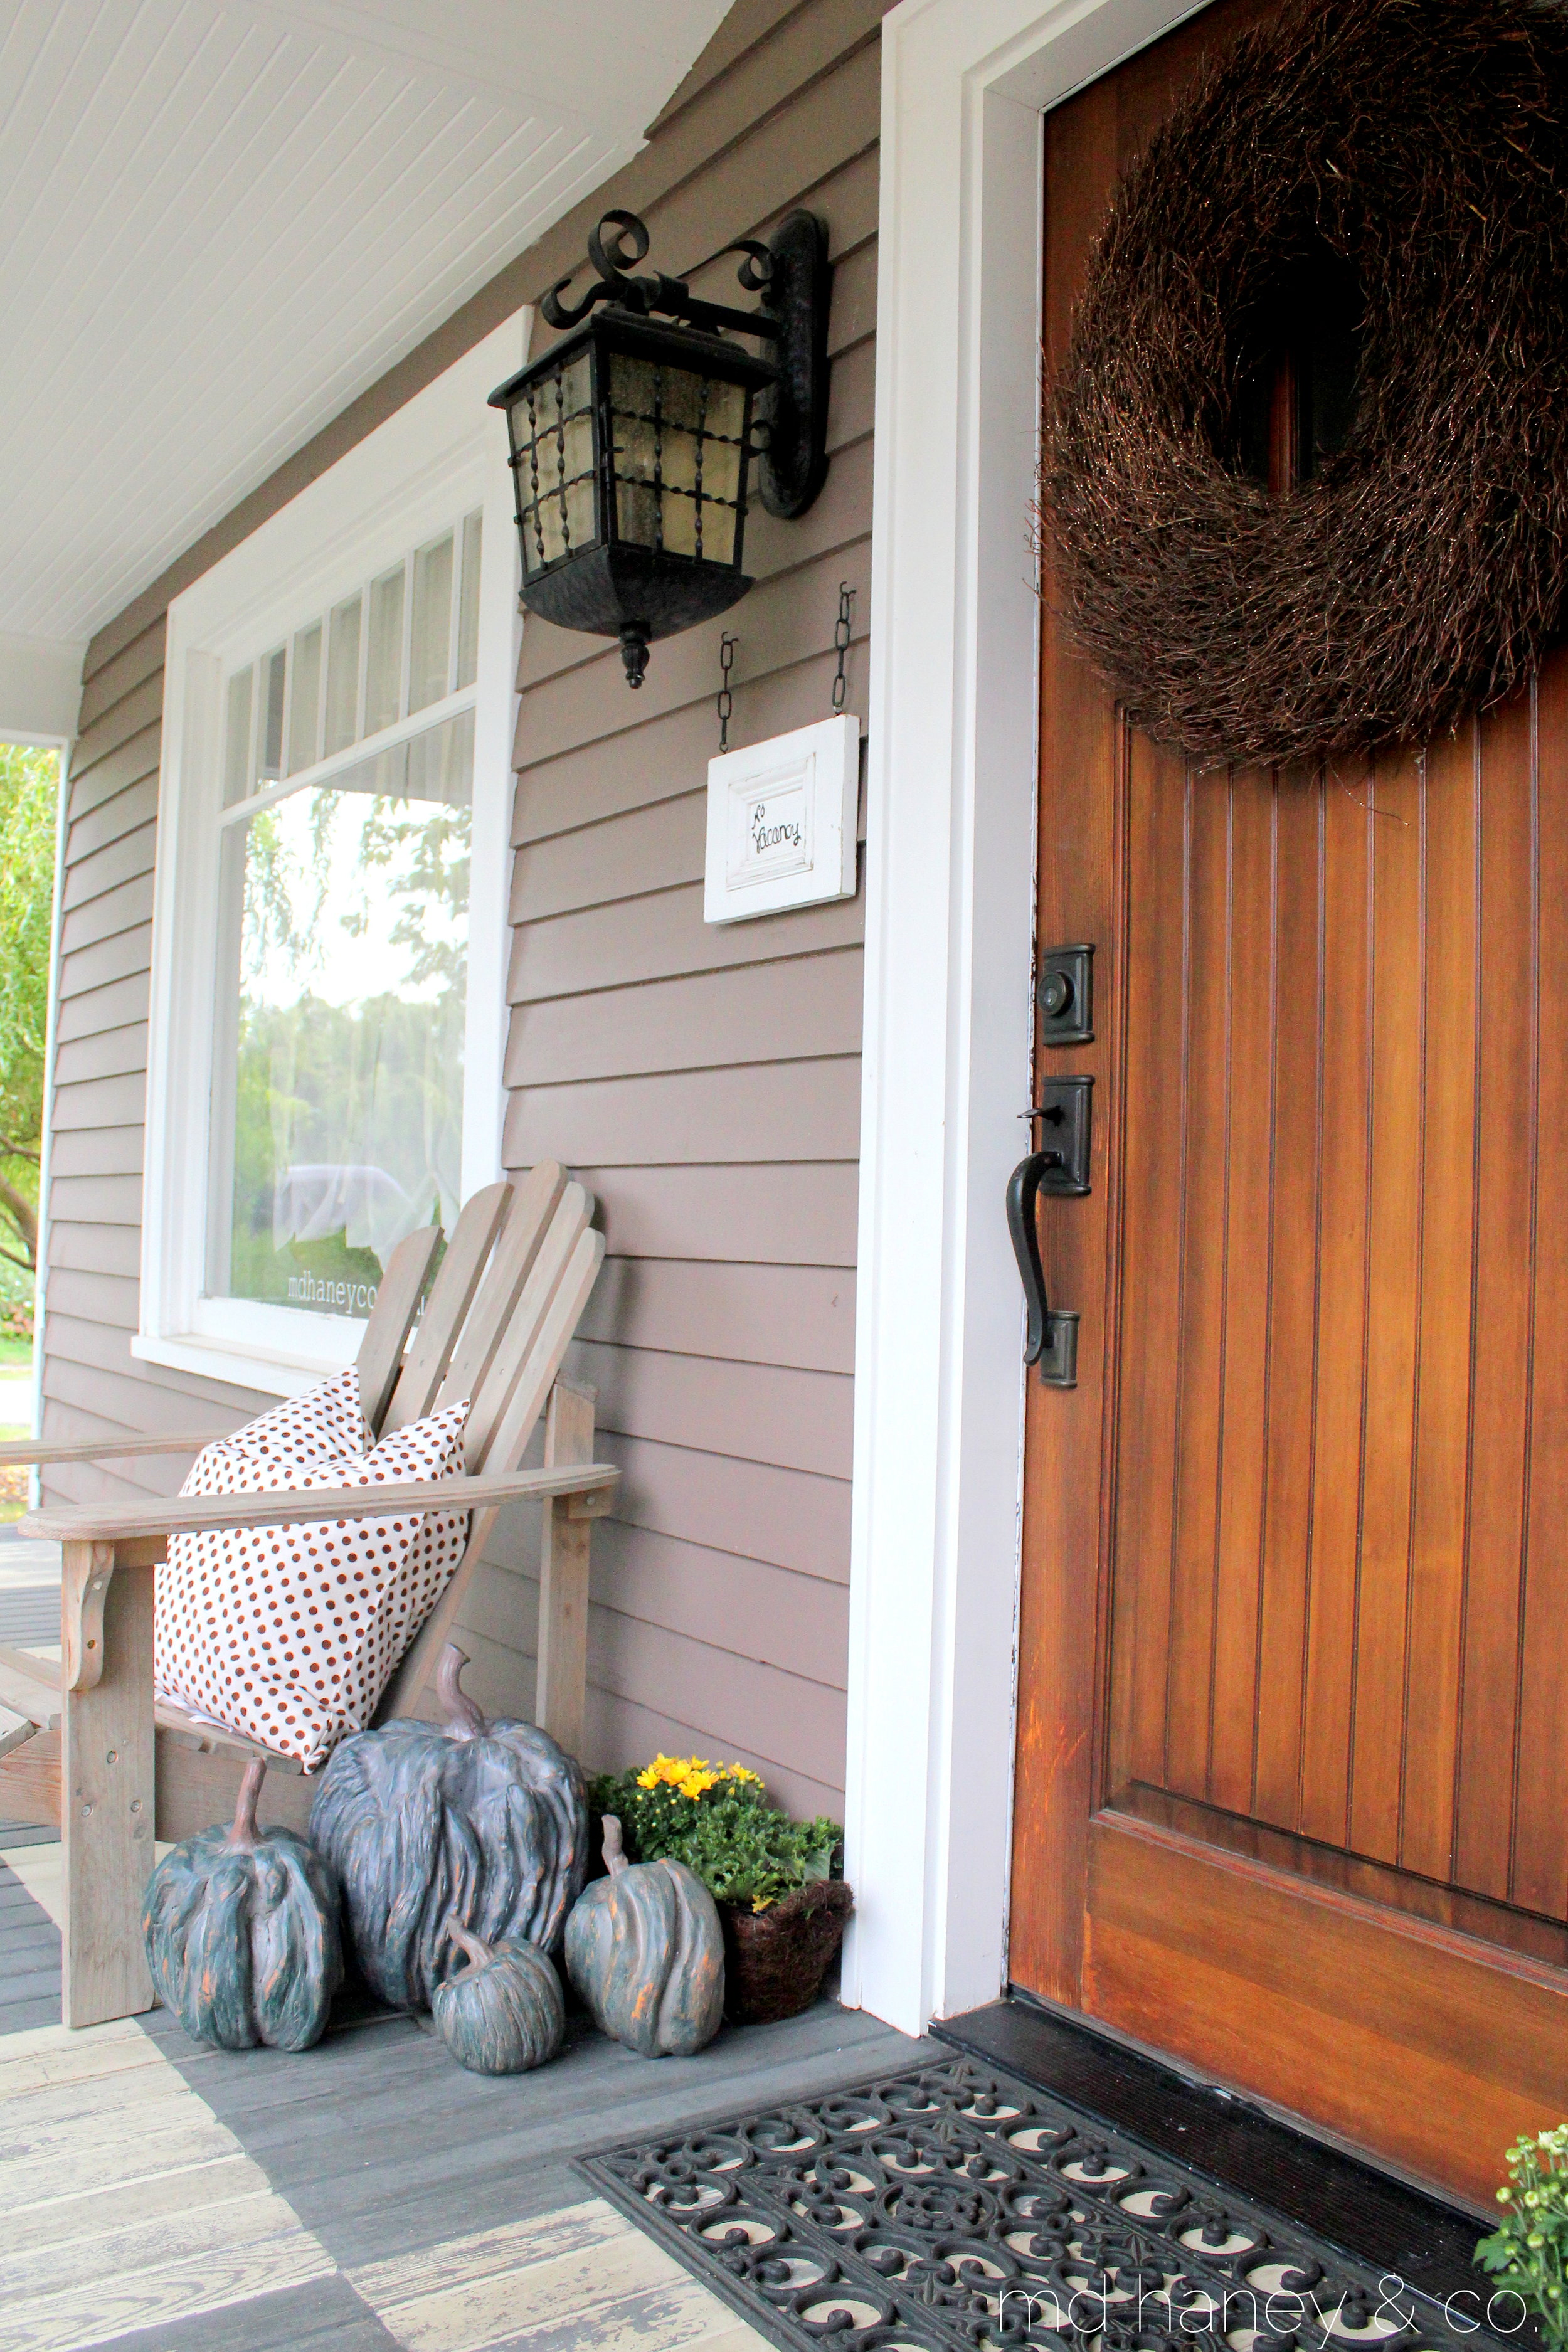
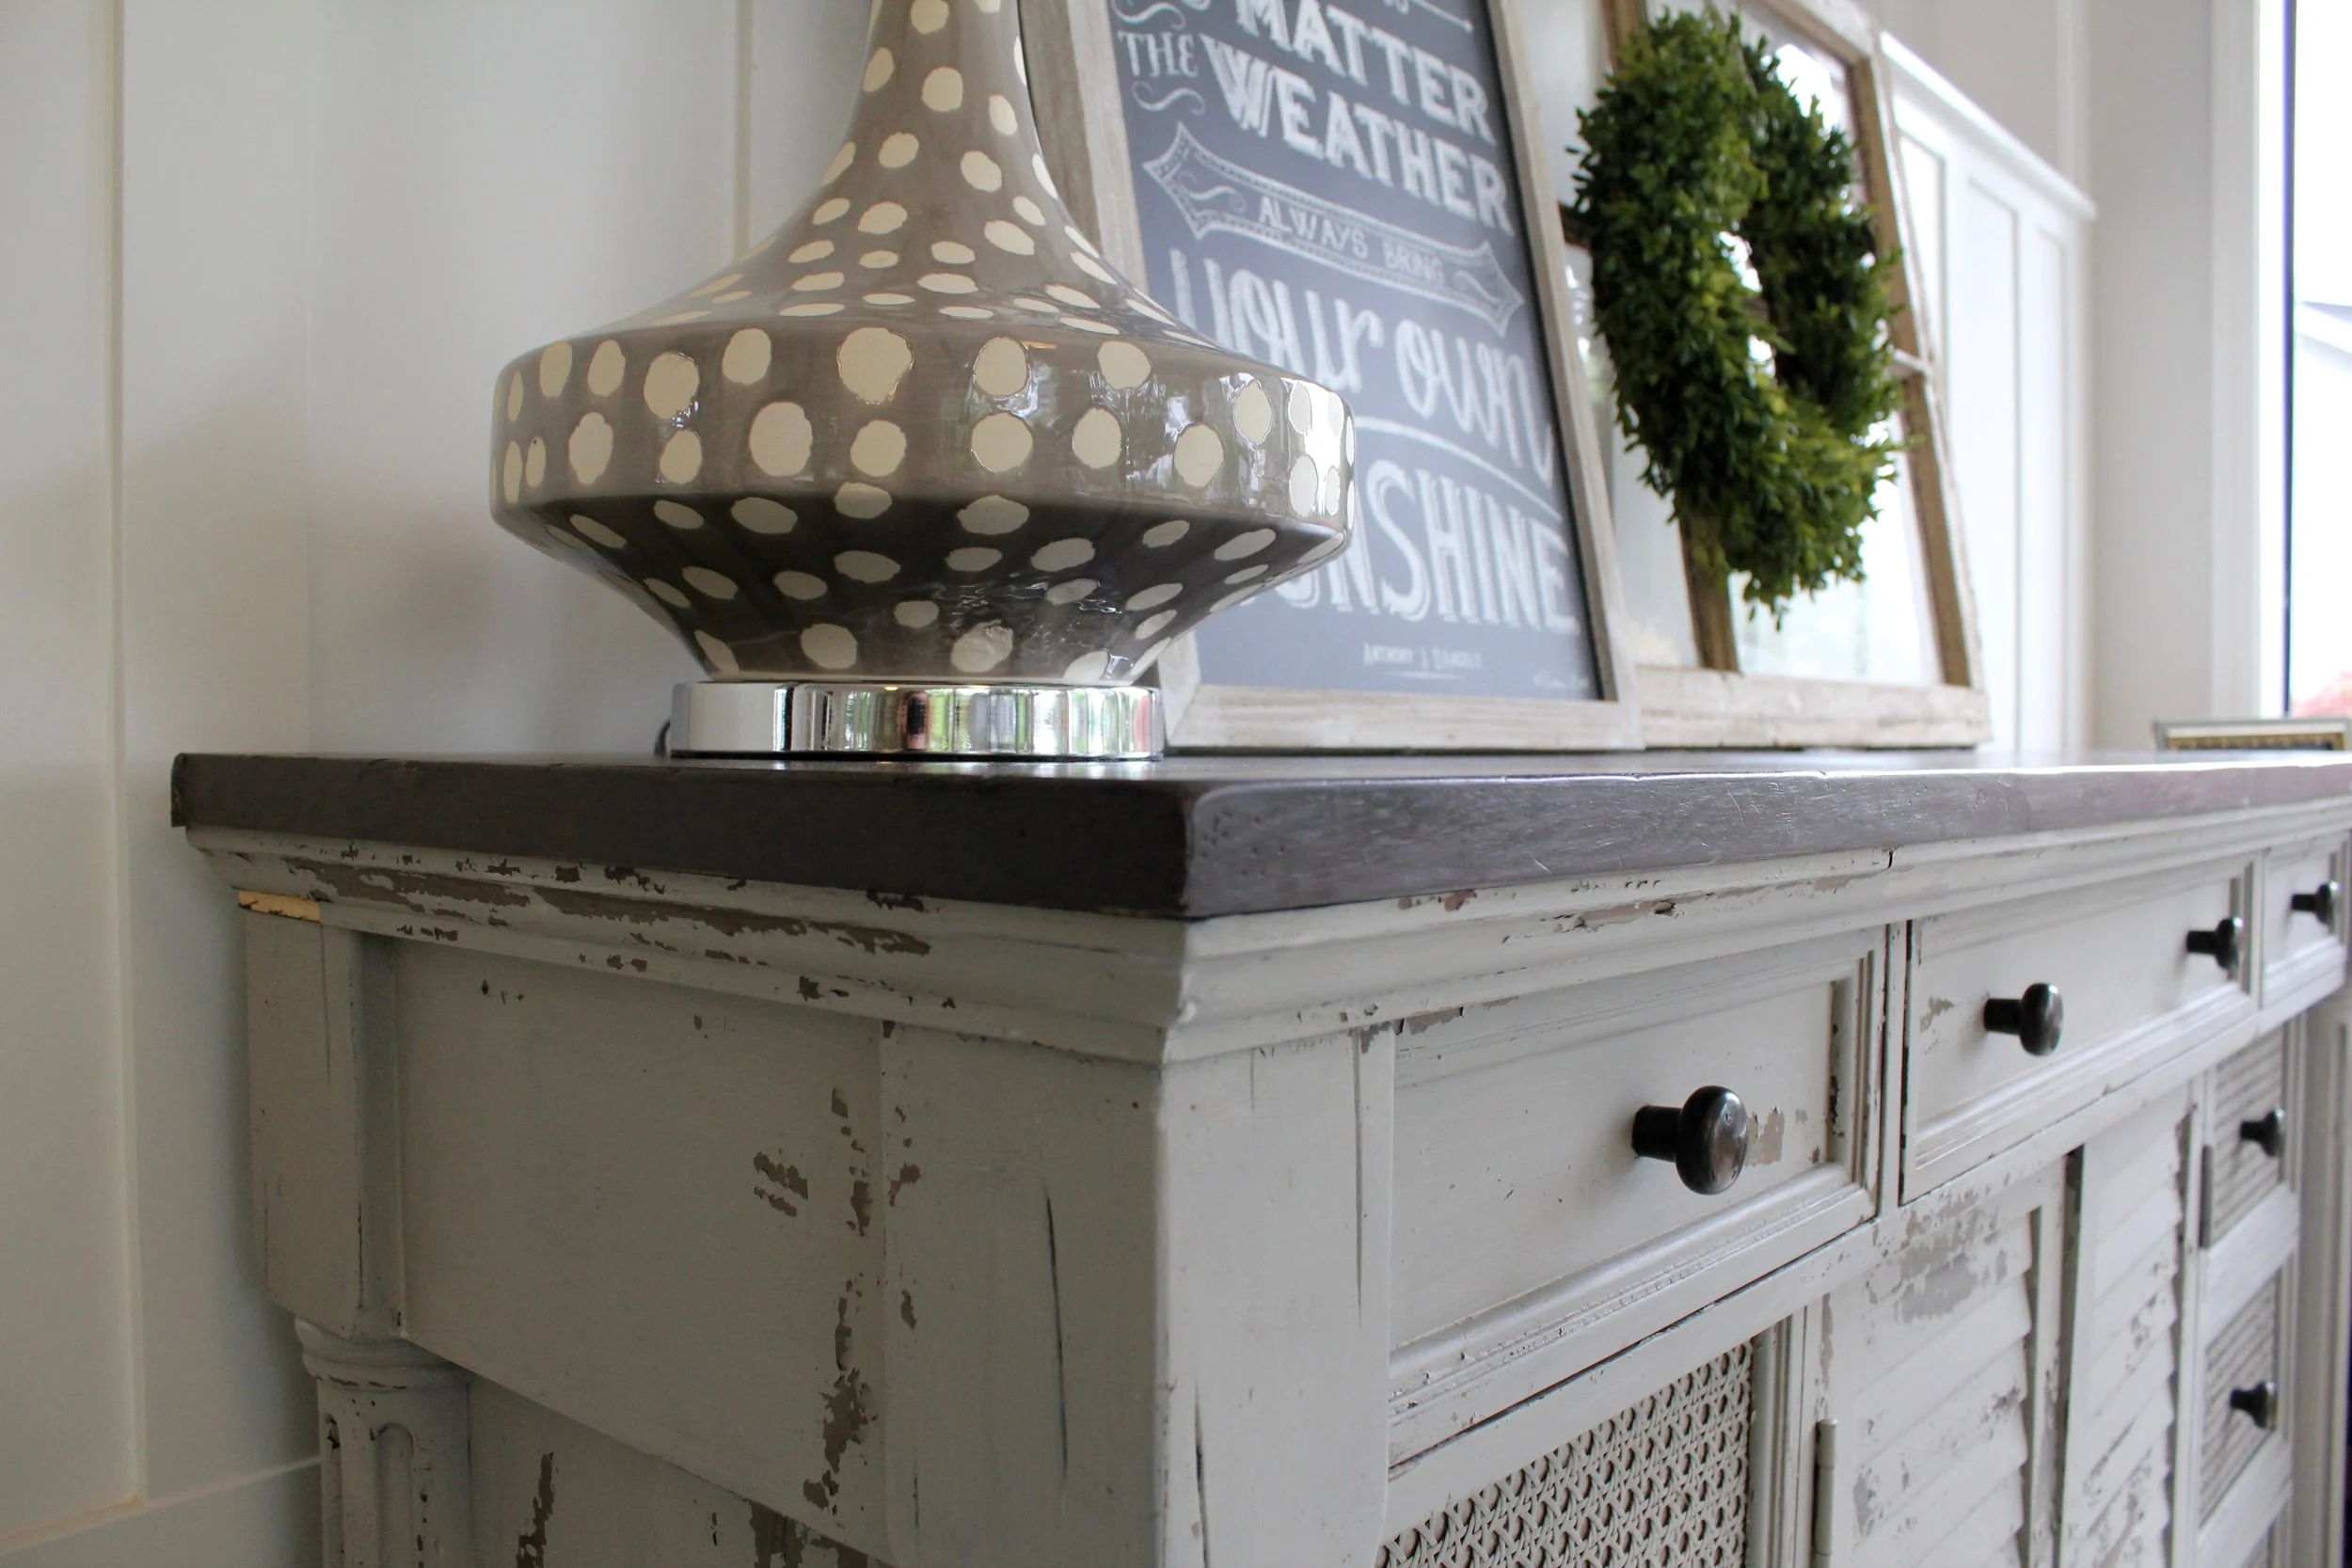
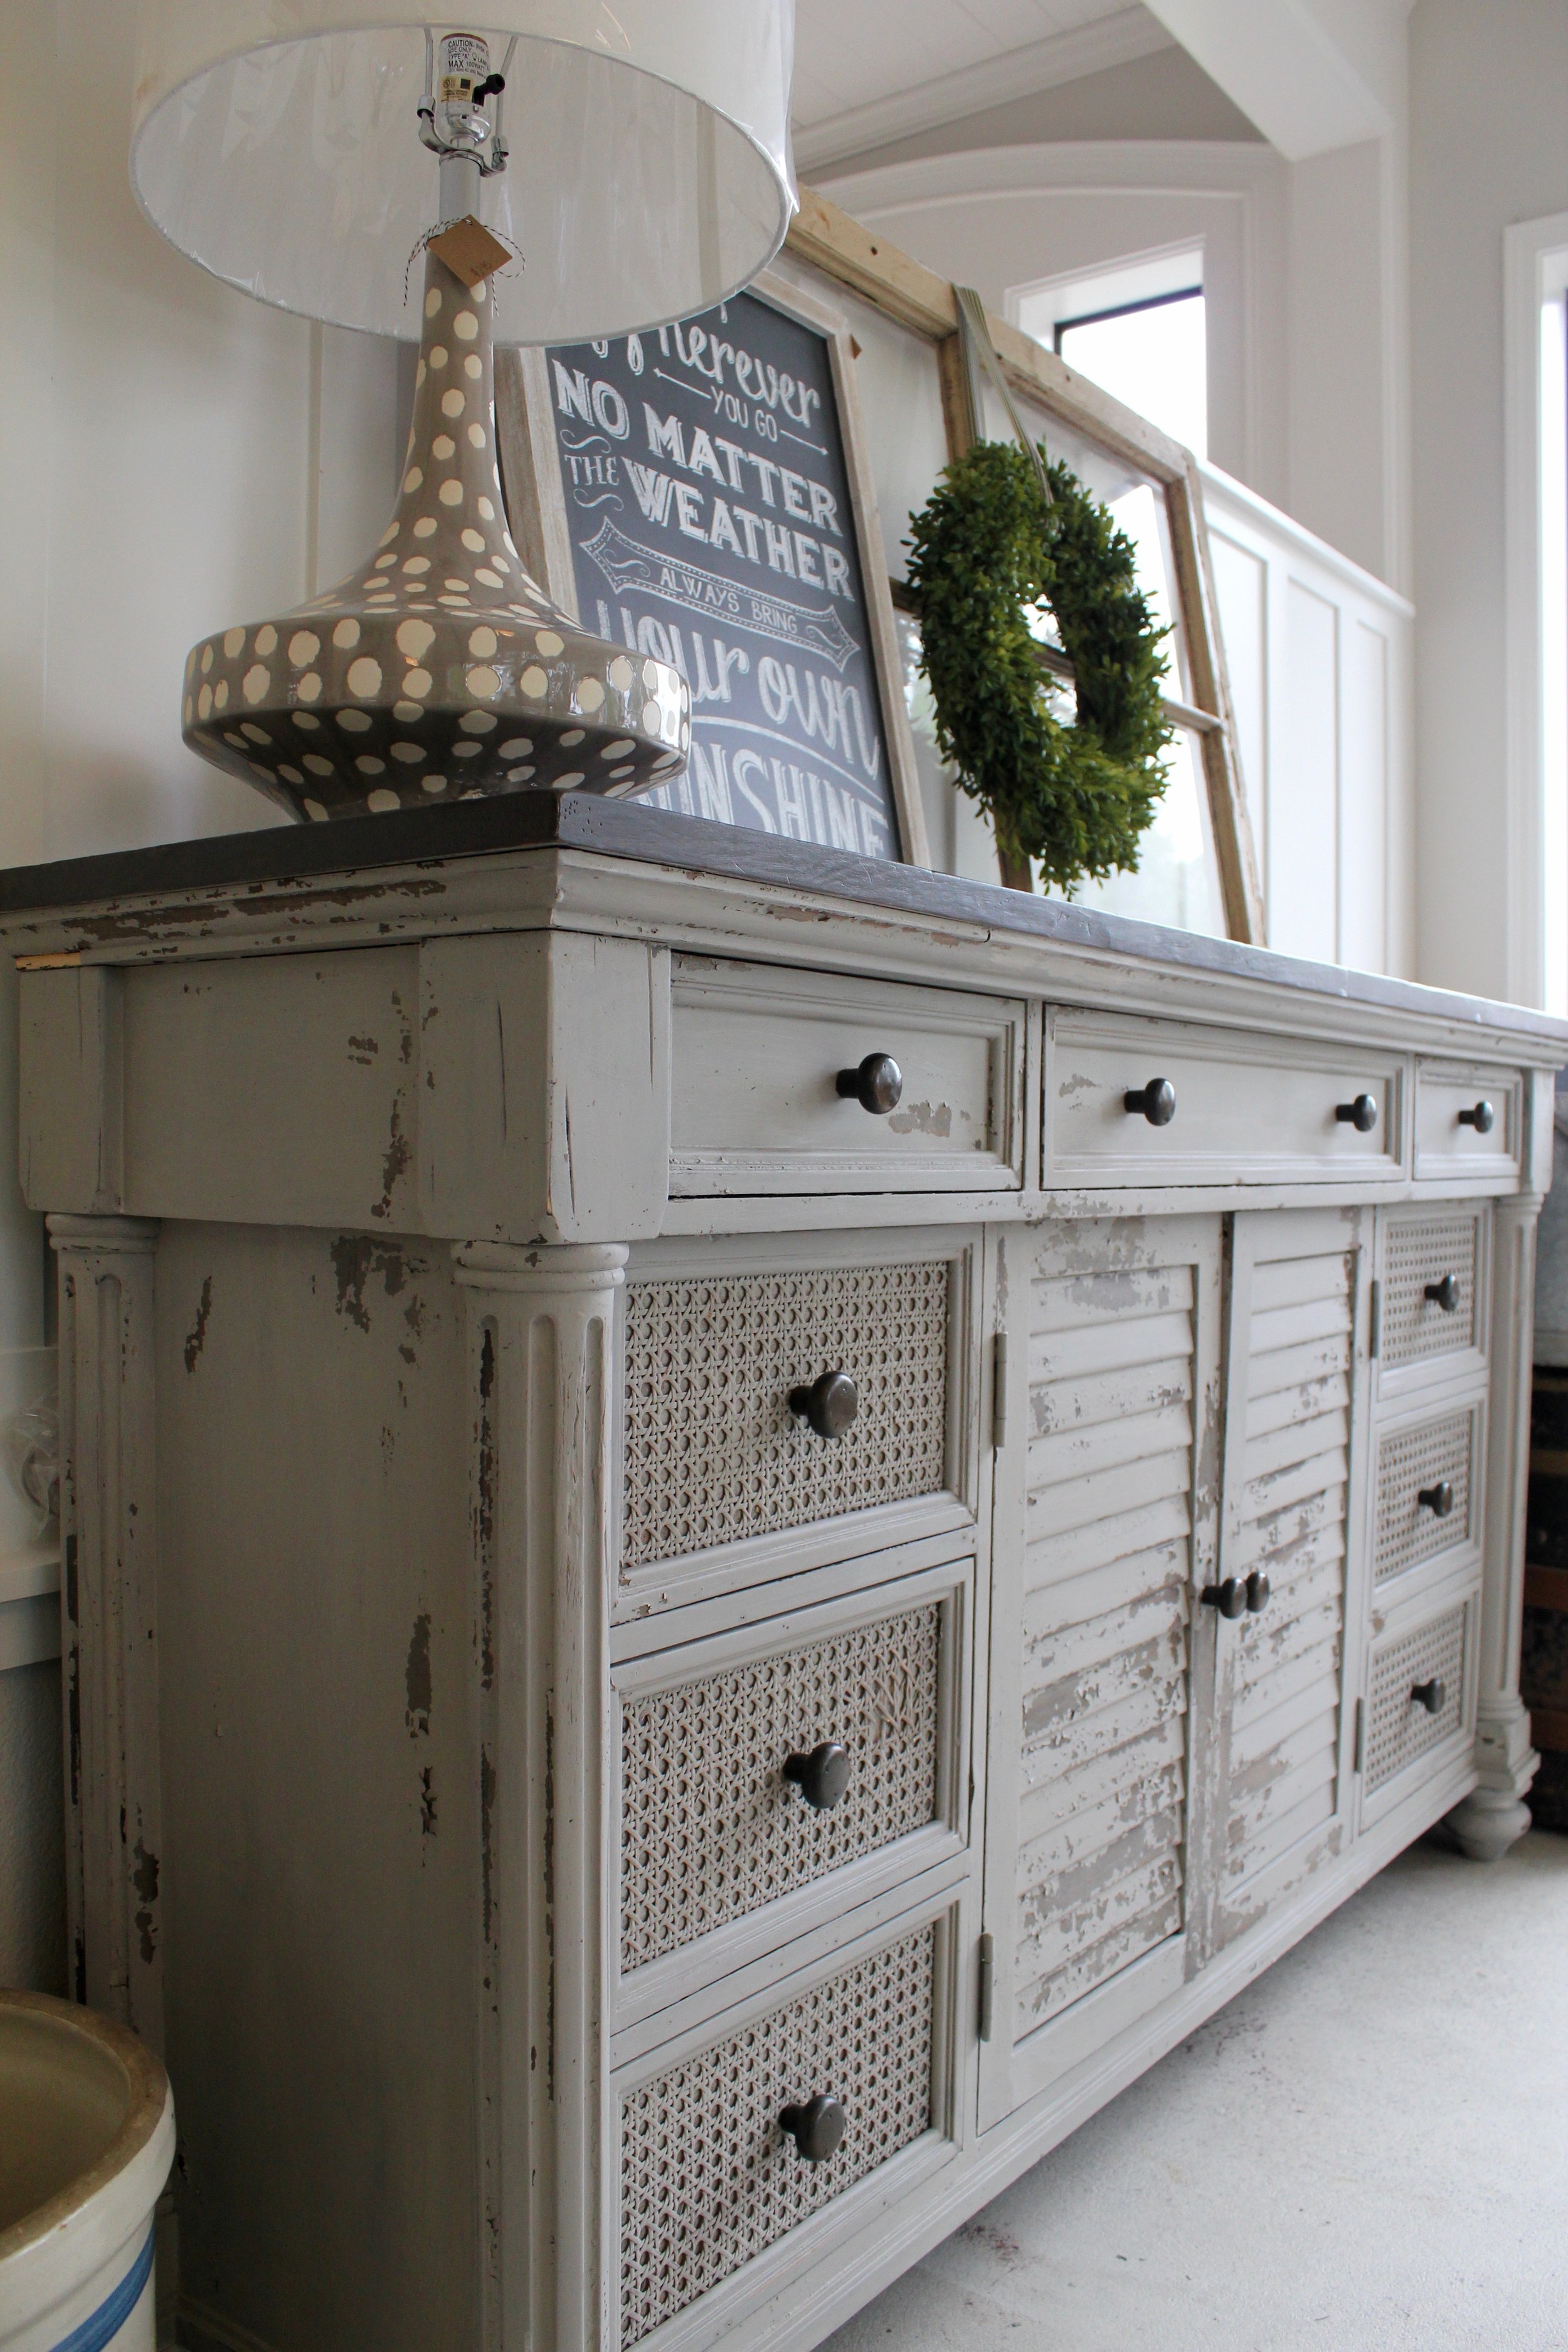
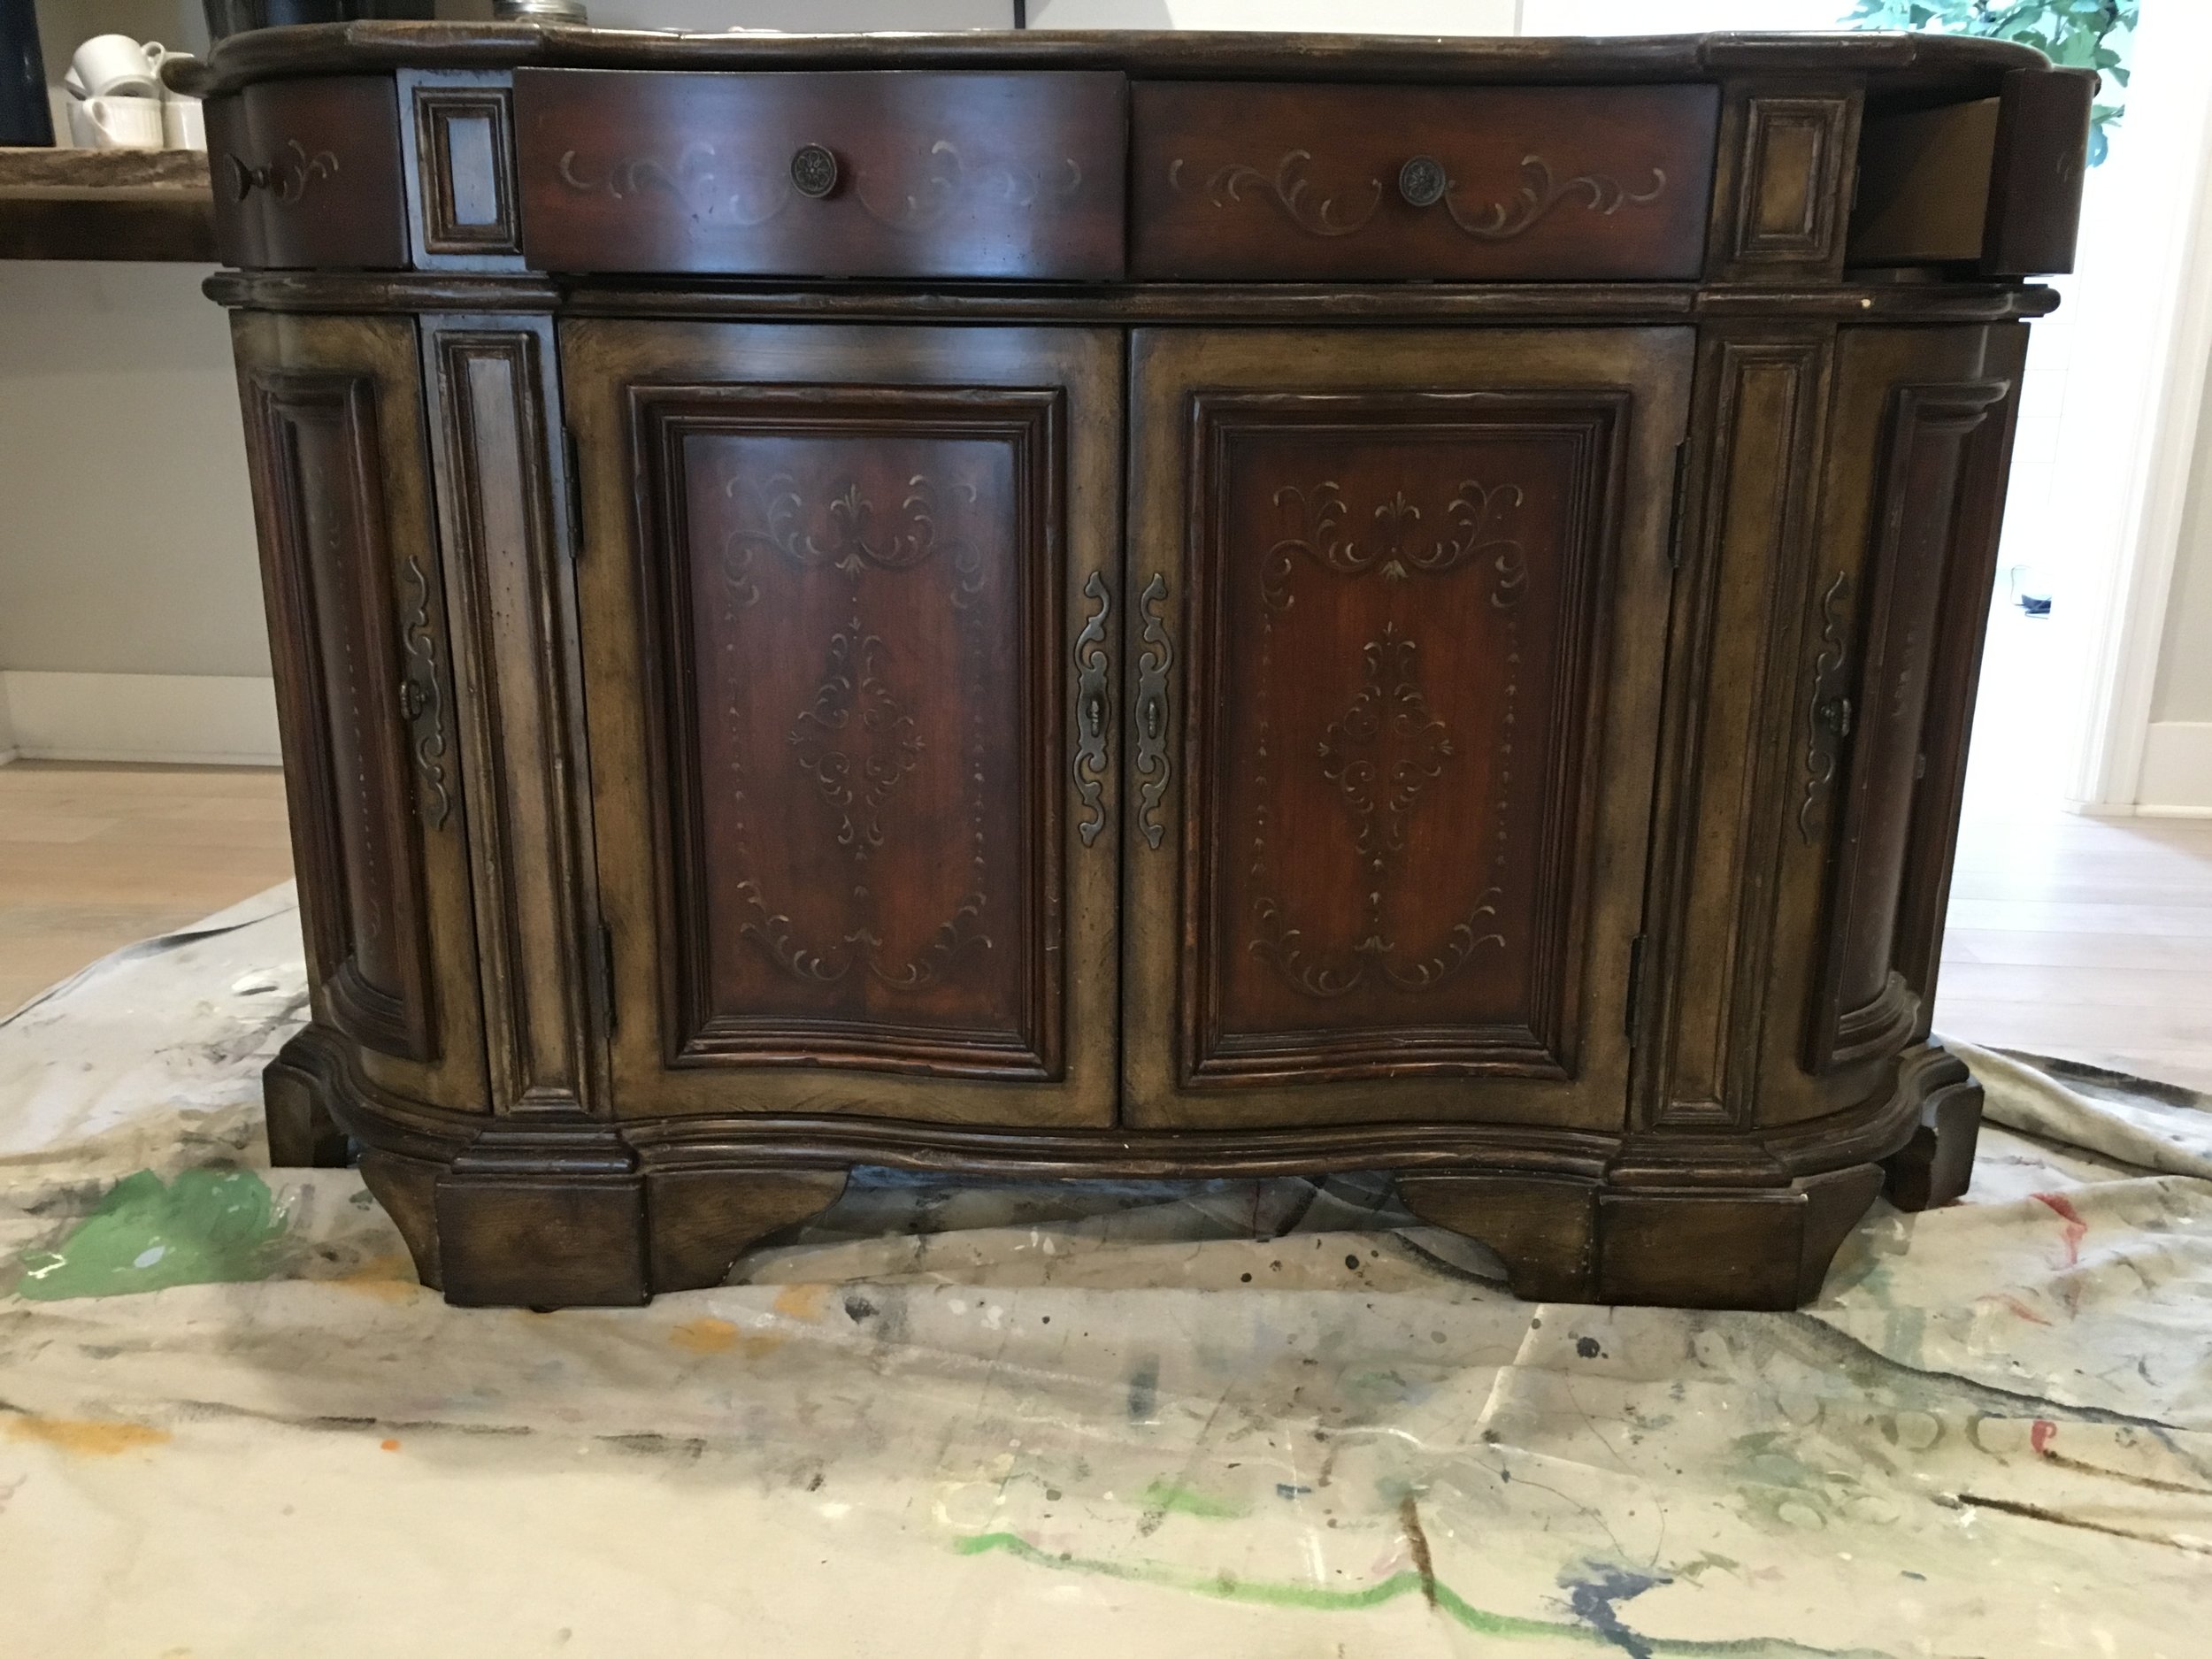
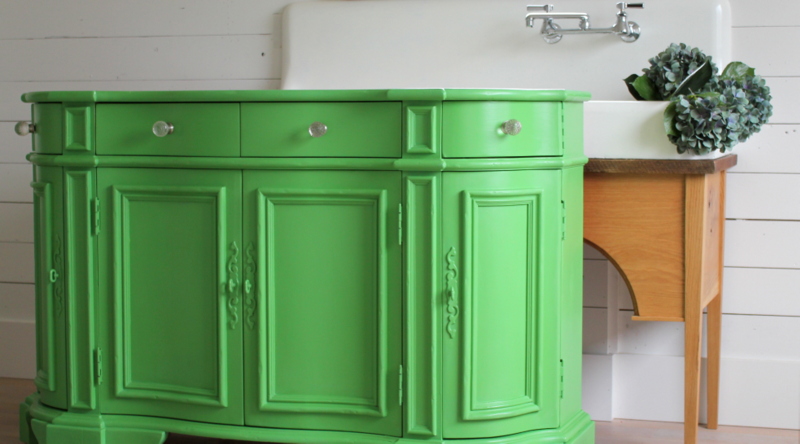
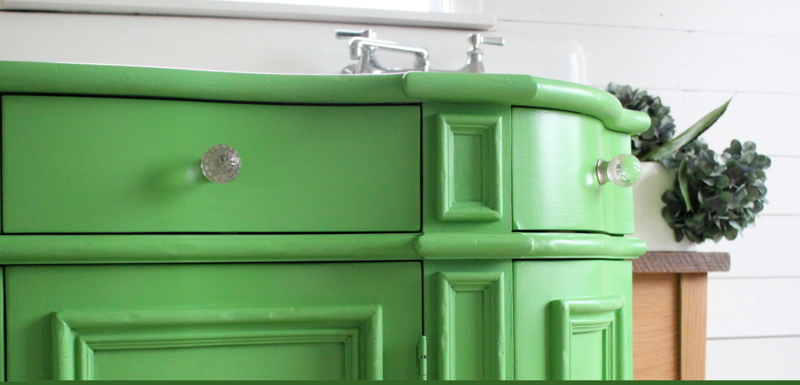
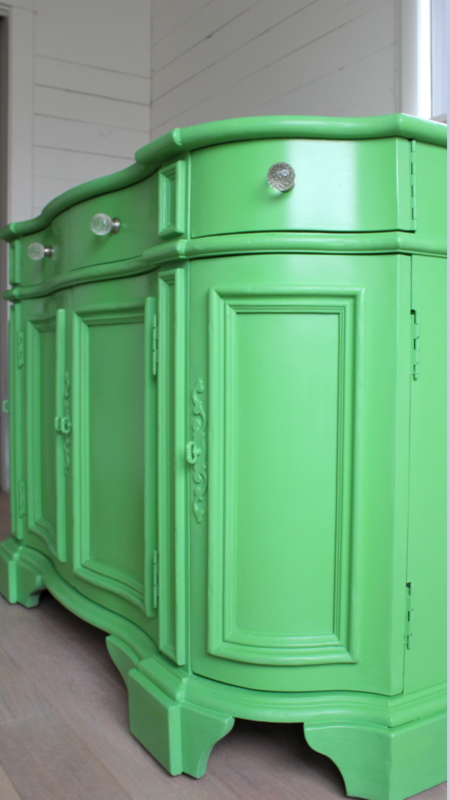
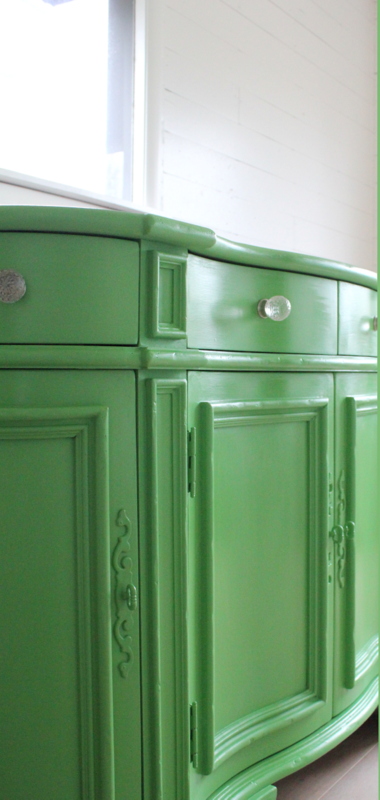
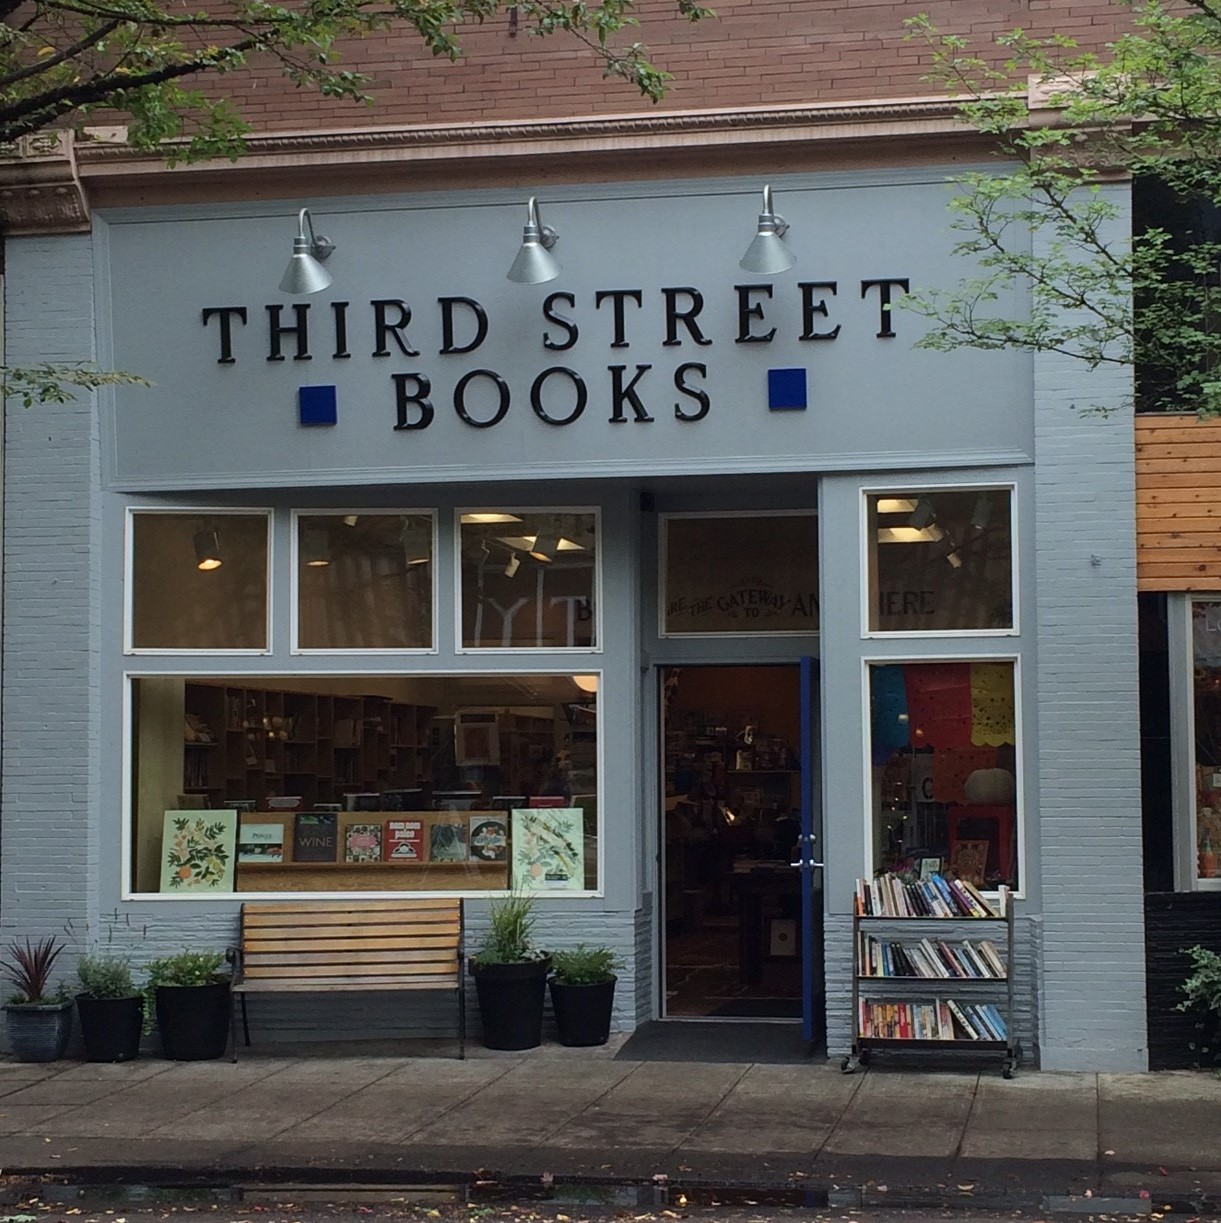
The doors and hardware are original!

We added can lights and two sconces in the workshop area.  We also added new engineered hard wood flooring, the same that we have downstairs.  The HVAC was updated to make the space comfortable and we replaced the windows with new wood windows.  Can you believe these darling built-ins?  I love, love, love the character of old homes!

My Christmas present from my sweet hubby, was this amazing table!  He used white oak for the top, which matches my downstairs shelving, and he welded the base, which also matches my shelving.  They had to bring it up in two pieces because it is so big and heavy!  It's perfect for classes and workshops!  I am one lucky girl!!

It's a blank canvas at this point!  I still need to fill the office spaces, but I am not in a huge rush.  I love it simple and clean so I am just enjoying it as it is!

xoxo

Darci


a creative weekend with new and old friends

Would you believe that I did not get one picture of any of us ladies?  We had some incredible talented ladies in town this weekend and the only (and very few) photos I snapped were of spaces or things...no people!  Geesh!

I met Holly last summer when I headed down to Texas to take one of her creative classes.  I have followed Holly for years and it was so inspiring, and such an honor to meet her!  Well, we became buddies and lots of emails and texts later, she decided to come up and offer one of her creative classes in McMinnville!

My job was to take care of flowers and food and to have a place to host her.....

I planted this huge and really cool tray with a combination of fake hyacinth bulbs and live primroses and daffodils.  We sell the hyacinth bulbs at the shop-they look so realistic!  They will last for years and they don't have the scent, which can be a bit overwhelming for some.  The primroses and daffodils were purchased at the grocery store.  I nestled the bulbs in, just where I wanted them (still in the pots) and topped everything with moss.  Easy peasy!

Of course I didn't snap any photos of the food because I never seem to have enough time to get things prepared and take pictures!

My dear hubby built this beautiful table, just for our workshop space.  I absolutely love it!! It comfortable seats 12 and it has extra meaning to me because he built it!  He also finished the upstairs space at 2:30am the night before we were setting everything up!  He is a keeper I tell ya!  I will do another post soon on the details of the upstairs space ;-)

Melaine of My Sweet Savannah joined Holly in Portland and those two talented ladies stayed at the cottage.  It was such a treat to meet Melaine, she is a sweet one Holly and I were already scheming as to how we could get Melaine to host a sign making workshop and we would come help her!

Truly a treat and a blessing to meet so many fantastic and talented ladies!  Most of these photos are from Melaine, she was kind enough to share as I never seem to make the time to take pictures!

Have a great week and I will be back soon with more pictures and details of the upstairs workshop space!

xoxo

Darci


painted furniture || ANTIBES GREEN CHALK PAINT®

A dear friend of mine is giving herself a beautiful home office.  She has switched some rooms around and is making a space that is absolutely bold and beautiful, just like her!  She had a solid hutch that she wanted painted, it's going to be her pop of color in the new office.  We settled on Annie Sloan's ANTIBES GREEN..... hutchbefore

It is a beautiful piece of furniture.  Solid, well built and has some really great storage.  It was a lovely piece to paint!

hutch1

2017-01-09-23-00-53

2017-01-09-22-59-22

2017-01-09-23-01-30

2017-01-09-23-02-50

I used Annie Sloan Chalk Paint, ANTIBES GREEN, Annie Sloan lacquer and Annie Sloan Clear Wax.

The hutch was originally intentionally distressed.  It had manufactured worm holes, gouges and was made to look old.  She wanted the new look to be shiny and crisp, no sanded edges or distressing the paint.  This piece took four coats of paint (I watered down each coat, I wanted it smooth!) two coats of Annie Sloan Lacquer and one coat of Clear Wax.  I can't wait to see this beauty in her new office space!  I hope this has inspired you to paint something....maybe something bright and bold!

xoxo


HOLLY MATHIS INTERIORS || creative class

hmcreativeclass I am so excited that Holly Mathis is coming to our little shop to teach one of her Creative Classes!  I had the pleasure of visiting Holly in Texas and attending this class.  Holly is so very inspiring and extremely talented.  Truly.  I have followed her for years and loved her authentic decorating style, as well as her beautiful heart.  It's going to be a joy to have her!

The class will be all about how to FRESHEN YOUR HOME FOR A FRESH NEW YEAR! Topics and discussion will focus on finding your style, mixing patterns, favorite paint colors and materials and the basics related to decorating your home in a “Pinterest, perfect world” while remaining authentic and true to yourself and your budget and lifestyle! I will be doing a little guest speaking as well explaining a bit about MMS Milk Paint and Annie Sloan Chalk Paint.

blogcottage1

When I left Texas this summer, Holly had inspired me in so many ways.  I hope you can attend this class.  It's going to be such a fantastic day!  We are going to take a break from learning and go tour the cottage too.

I can't wait to show Holly how fantastic our little community is.  One of the many things I love about this area is the variety of things to do!  Definitely shopping on historic 3rd Street.......tsbfrontoutside

some good eating.......

16455997-mmmain

and maybe some wine tasting....

348s

Of course, if any of you ladies are coming from out of town, the cottage will be available....you can see details and photos as well as book online here.  You can reserve your spot in the class here or here.  I sure think this could be a fantastic Christmas gift too, you might want to let Santa know  ;-)  I know we will have more details to post, but put it on your calendar.....it's going to be such a fun and inspiring day!!

fall entertaining class || a creative class at the cottage

A few weeks ago I hosted my 3rd annual FALL ENTERTAINING CLASS.  It was such a fun evening and I think the ladies had fun too!  The weather held out and it was a cool, cloudy Fall evening.  Just perfect for a night of friendship, food and creativity!

blogcottage1 blofcottage2 blogcottage3

The girls and I decorated the front porch with colorful pumpkins and different squash, as well as a few mums and ornamental kale.

blogcottage7

Each lady received a SWAG bag to take home.....just a fun little bag full of goodies and another way to say THANK YOU!

blogcottage8 blogcottage9 blogcottage10 blogcottage6 blogcottage5 blogcottage4 blogcottage10

blogcottage11 blogcottage12 blogcottage13 blogcottage15 blogcottage14 blogcottage16 blogcottage17

We made new friends, created pumpkin succulent centerpieces, enjoyed yummy food and drinks.  I think it's safe to say that each and every one of the beautiful ladies that attended, walked away with a full heart and a head full of fun and easy entertaining and decorating ideas!

Thank you to Brittany Rossman Photography for capturing the evening in photos!

Thank you to each and every one of the ladies who attended!

And thank you to my mama who helped me serve the ladies that evening....

Happy Thanksgiving friend!!

xoxo~Darci

removable wallpaper || little girl's bedroom

So, I have wanted to add some wallpaper to Addilyn's room for a while, it's just been low on the priority list.  Well, I finally pulled the trigger and on Sunday afternoon, the girls and I installed the sweetest, removable wallpaper.  Can you believe that?!?  It's removable.  No messing up the walls when you want a change and pretty easy to install!! wallpaper

wallpaper


desk

I have slowly collected and painted things for her room, all things that match her striped Dash + Albert rug.  It's just the sweetest rug with cheerful, fun, girly colors.  I wanted the wallpaper to match what was already going on in her room.....

pillows

deskanddoor

wallpaper

The girls are at such a fun and sweet age.  We sure have fun together!  Even hanging wallpaper....although we had our moments ;-)

teddybear

This is Ted.  Matt gave Addilyn Teddy Bear for her first Christmas.  She sleeps with Ted every night, so sweet.  Ted is quite worn and very well loved, and wears some pretty dresses....

nightstand

gallery

dresser
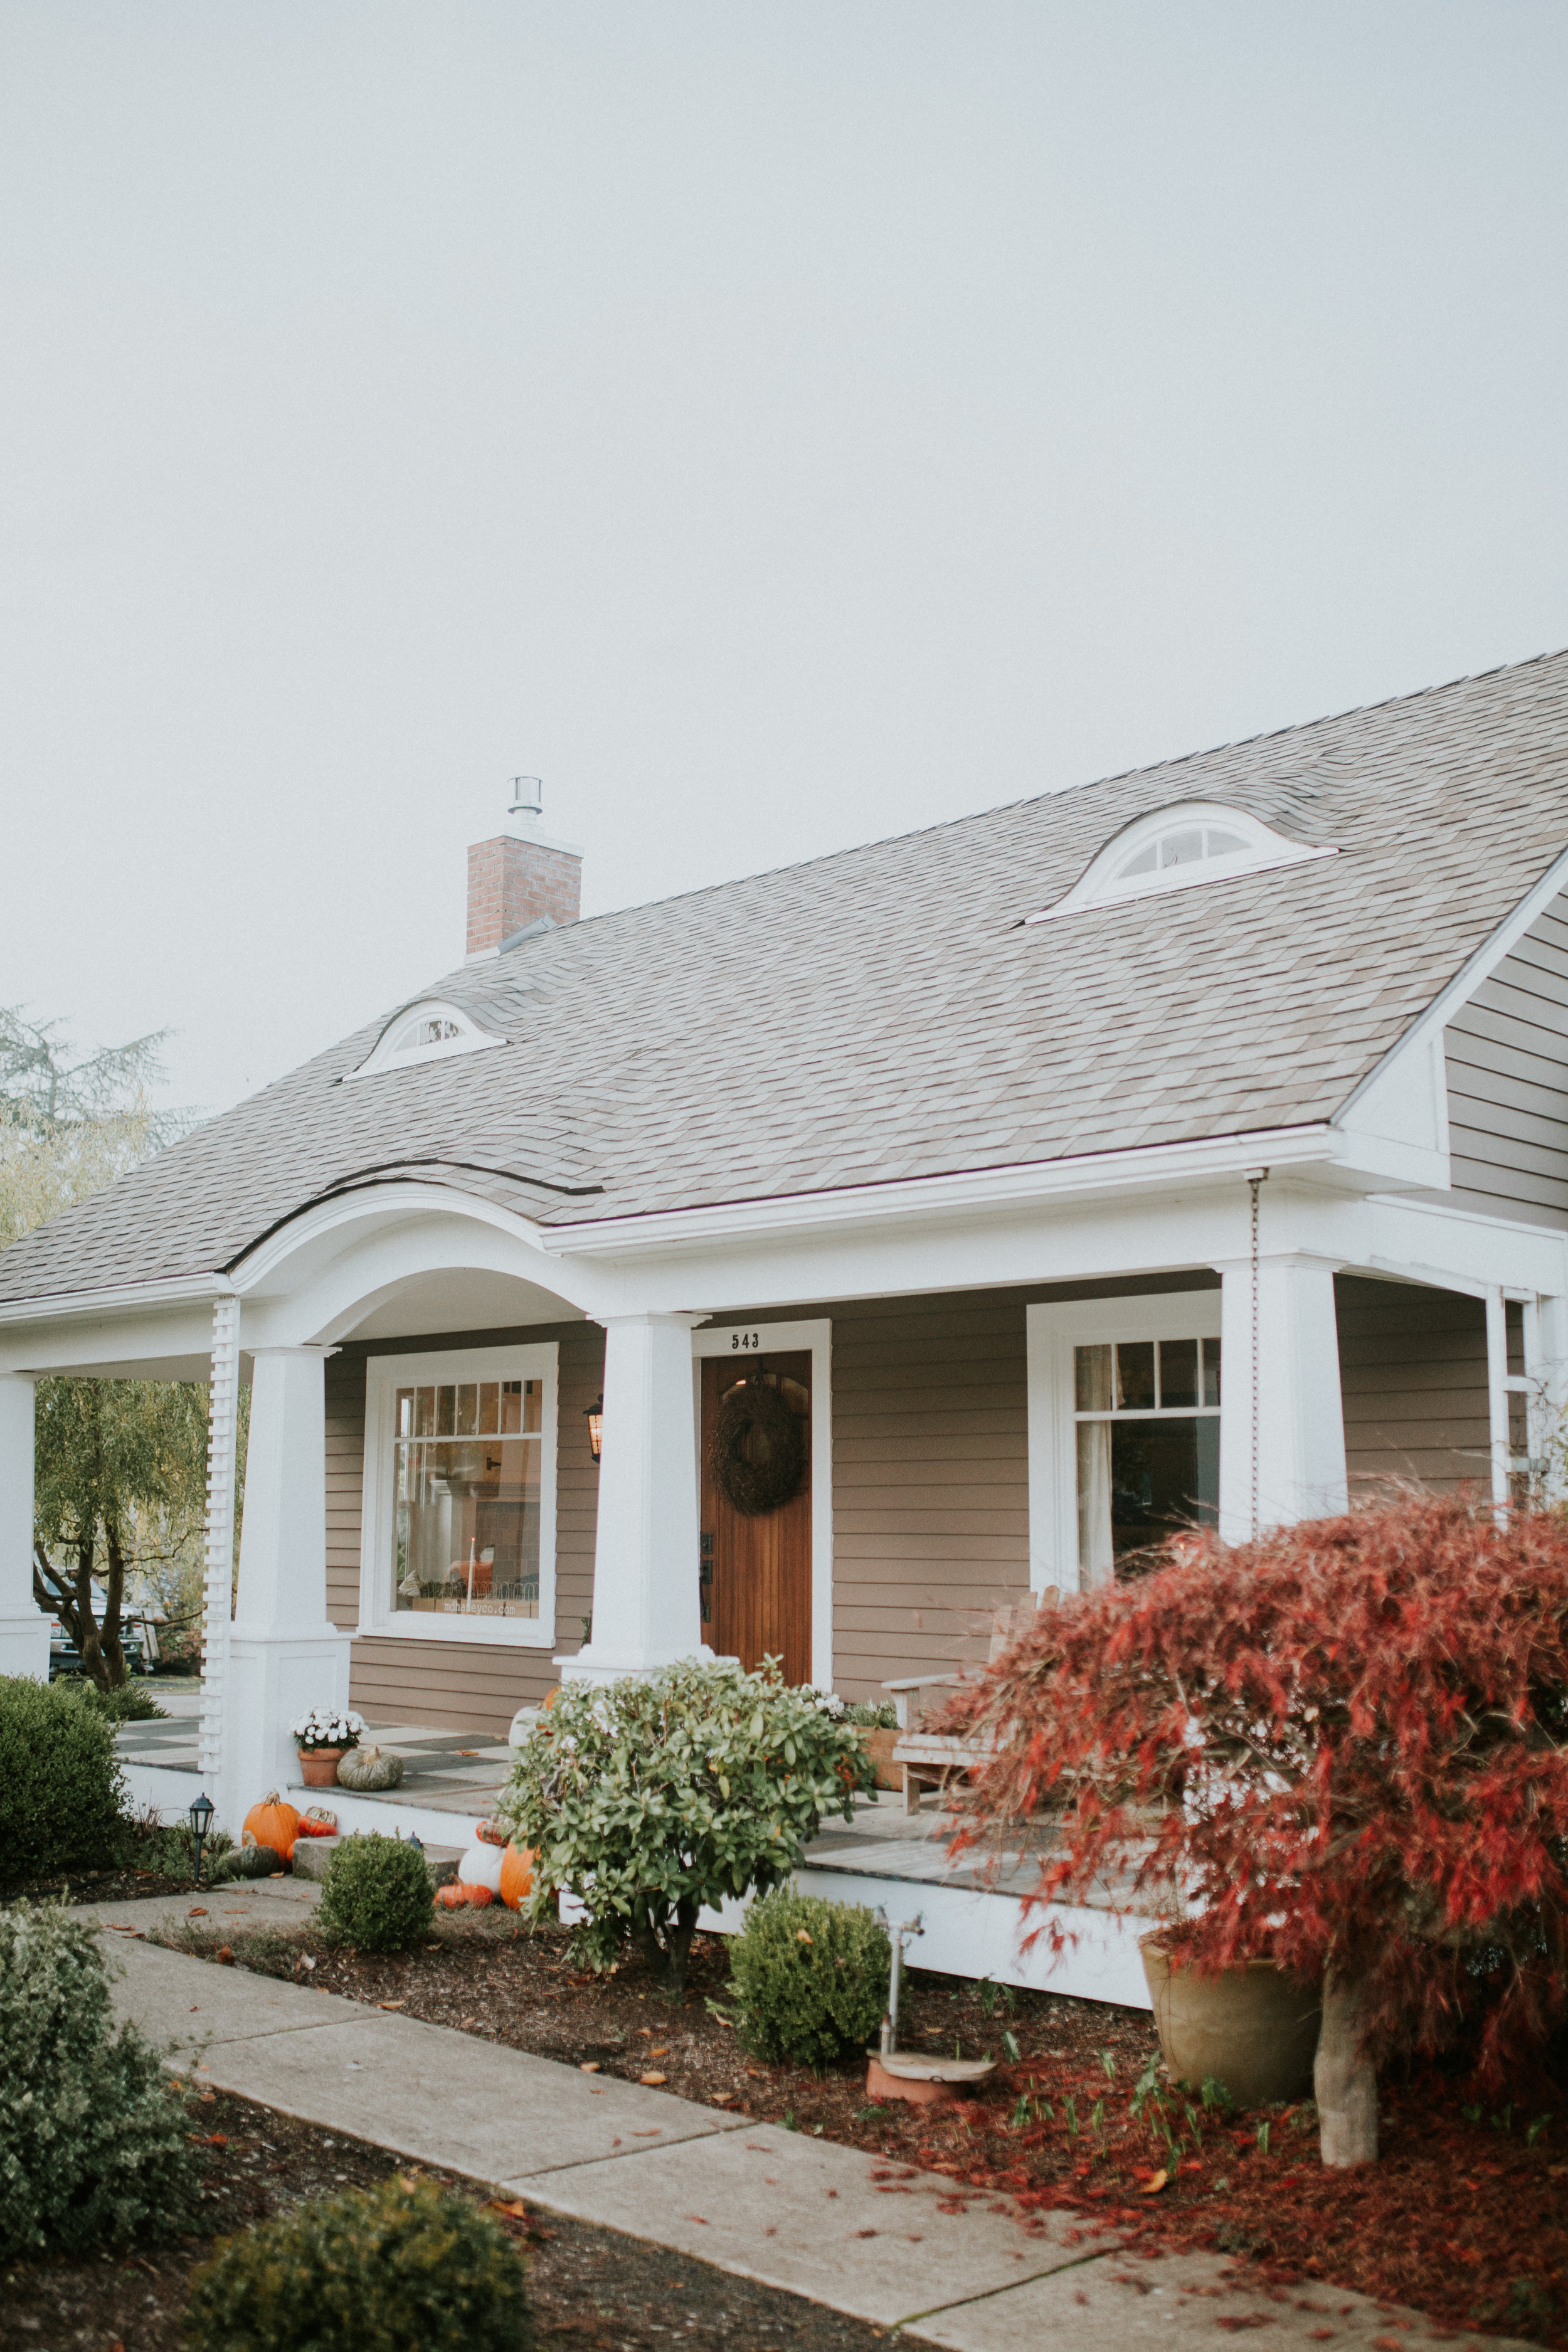
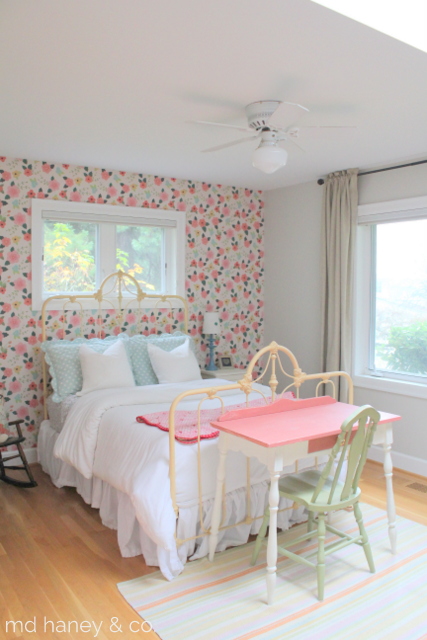
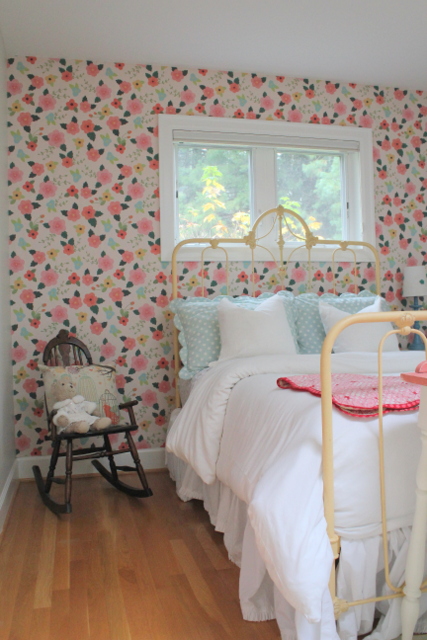
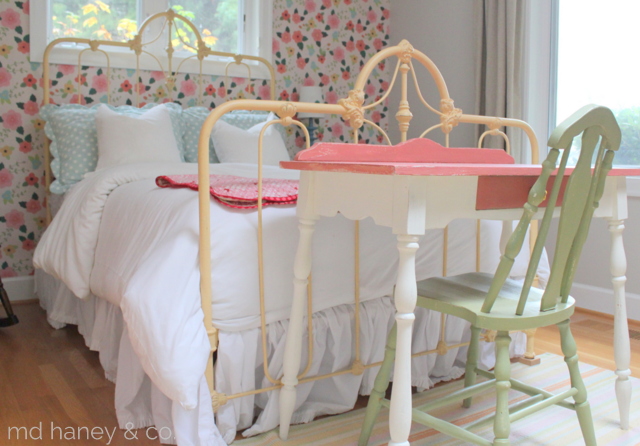
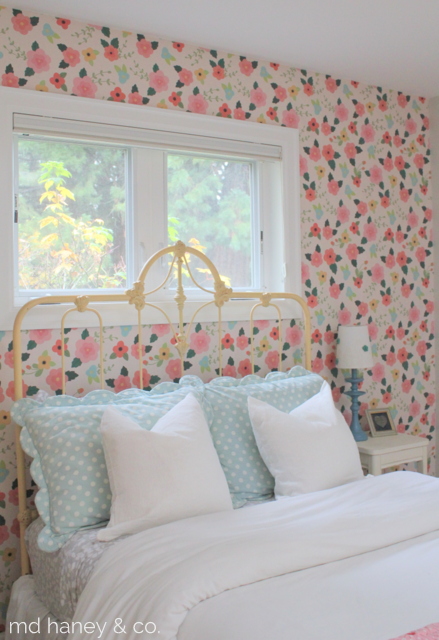
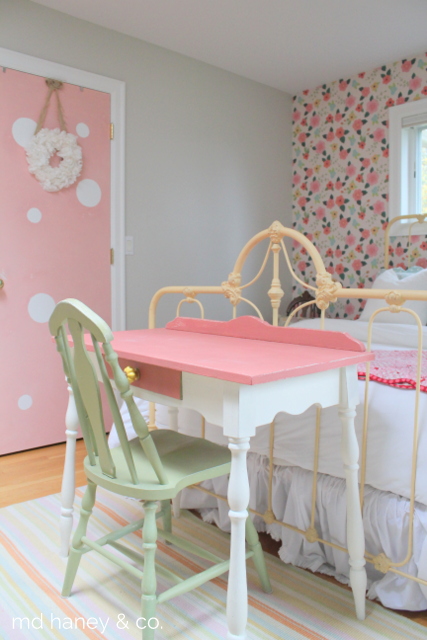
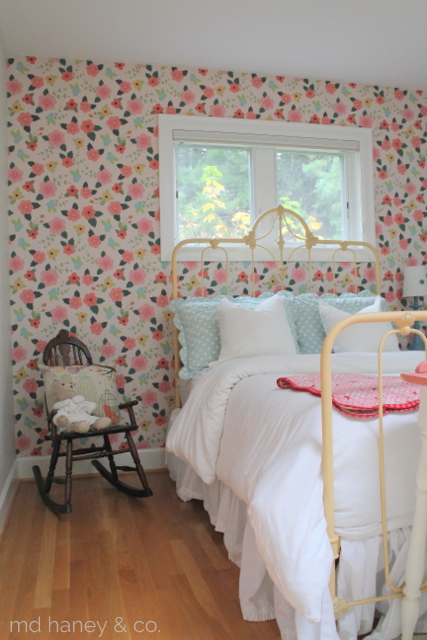
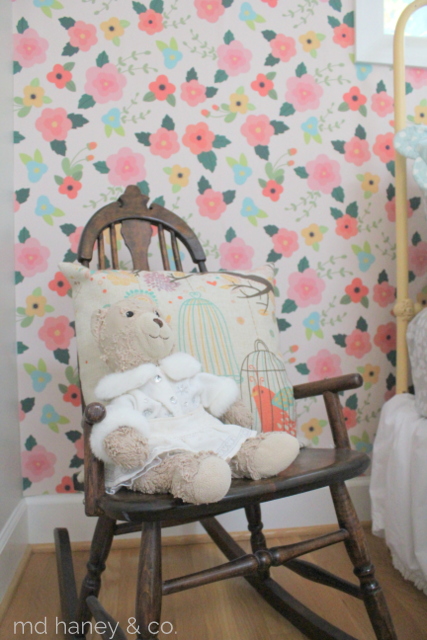
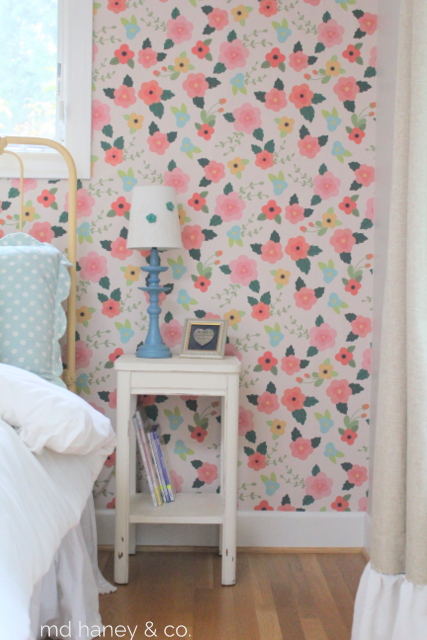
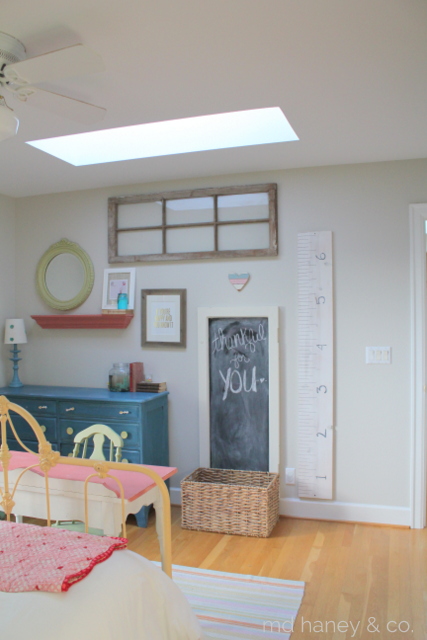
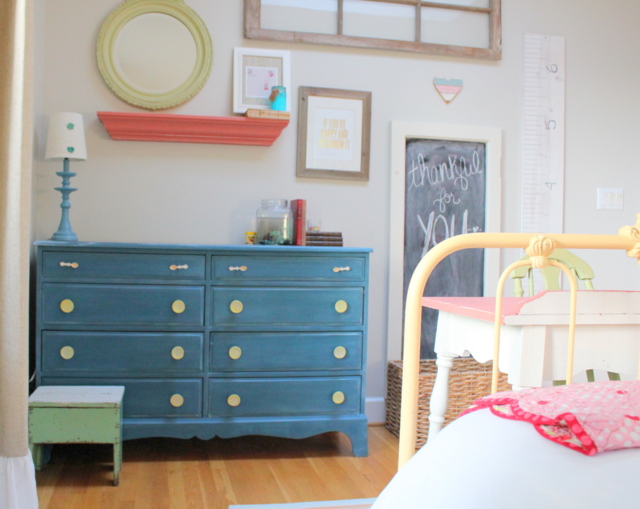
I just love how bright and cheerful her little room is.  In case you are curious....

Dresser: painted with Miss Mustard Seed Milk Paint, FLOW BLUE.  Lightly distressed and sealed with clear wax.

Stool: vintage

Metal Bed: vintage.  Painted with Annie Sloan Chalk Paint, 1 part OLD WHITE and 1 part ARLES.  Sealed with clear wax.

Writing Desk: vintage. Painted with Annie Sloan Chalk Paint, OLD WHITE and SCANDINAVIAN PINK.  Lightly distressed and sealed with clear wax.

Chair: vintage. Painted with Miss Mustard Seed LUCKETTS GREEN.  Lightly distressed and sealed with clear wax.

Night Stand: painted with Annie Sloan Chalk Paint, OLD WHITE, lightly distressed and sealed with clear wax.

Wallpaper: removable wallpaper from WALLS NEED LOVE, LOTUS print.  

welcome Christmas + faded charm pop-up shop

christmasflyer-copy 
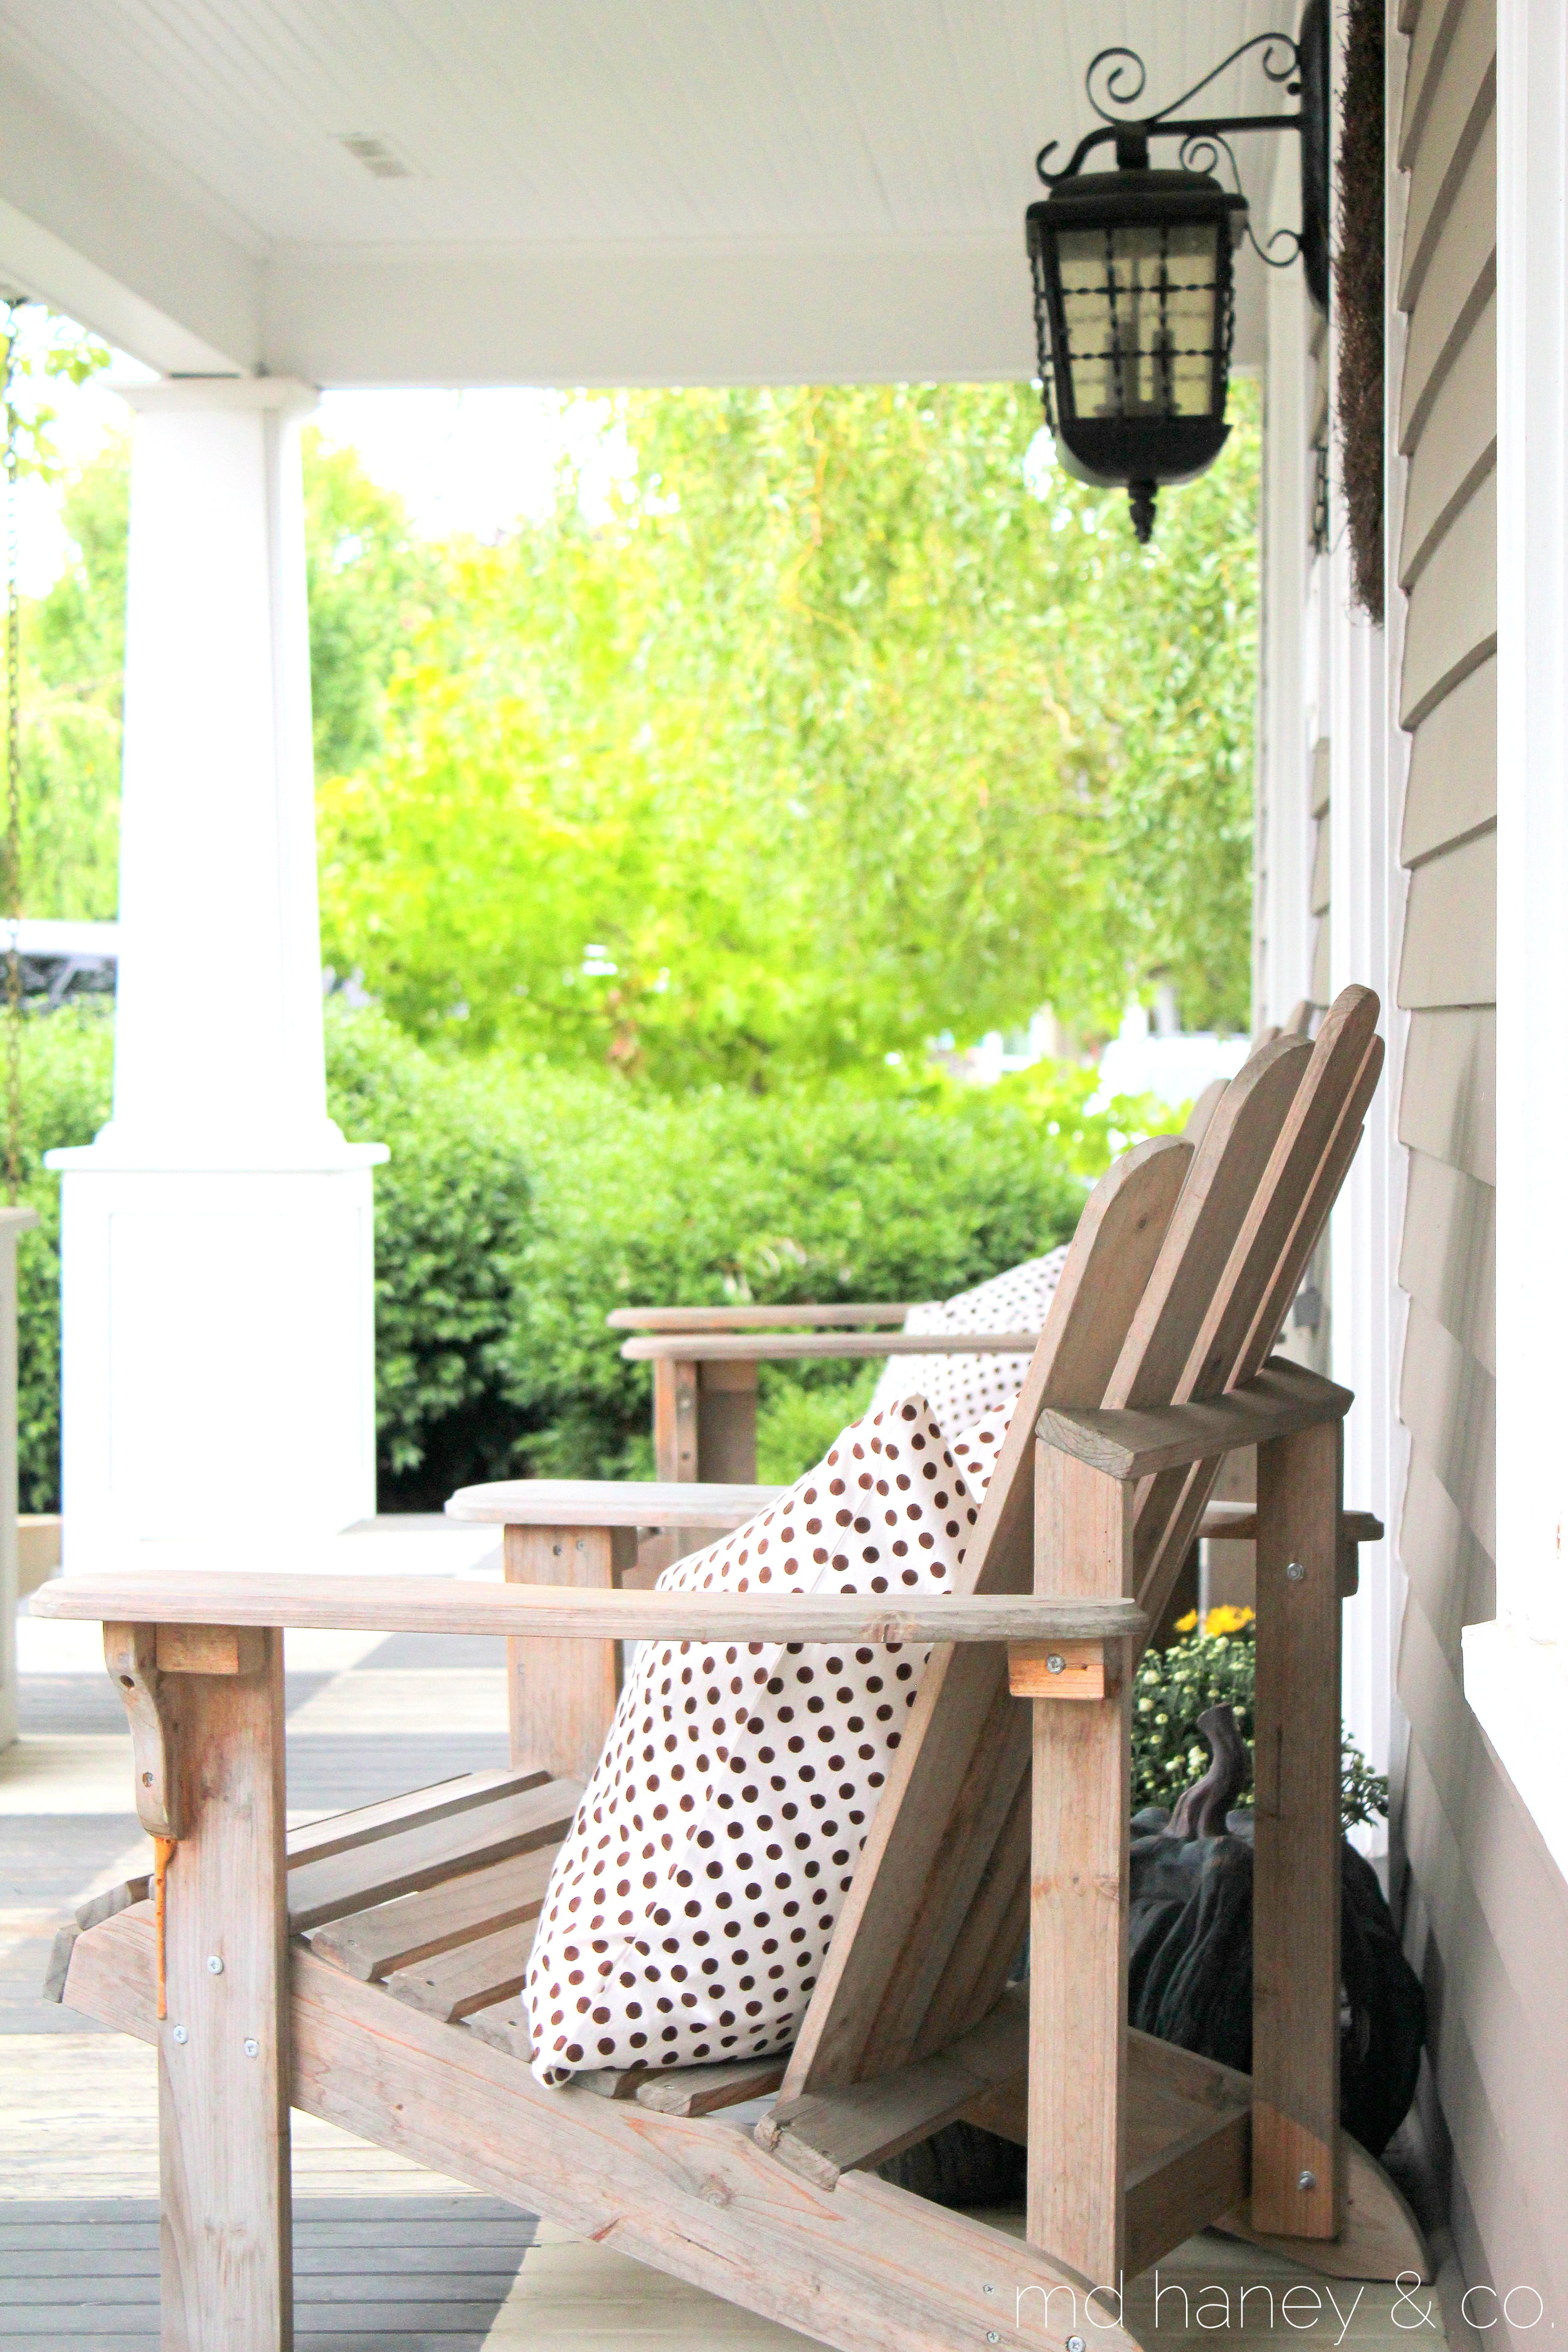
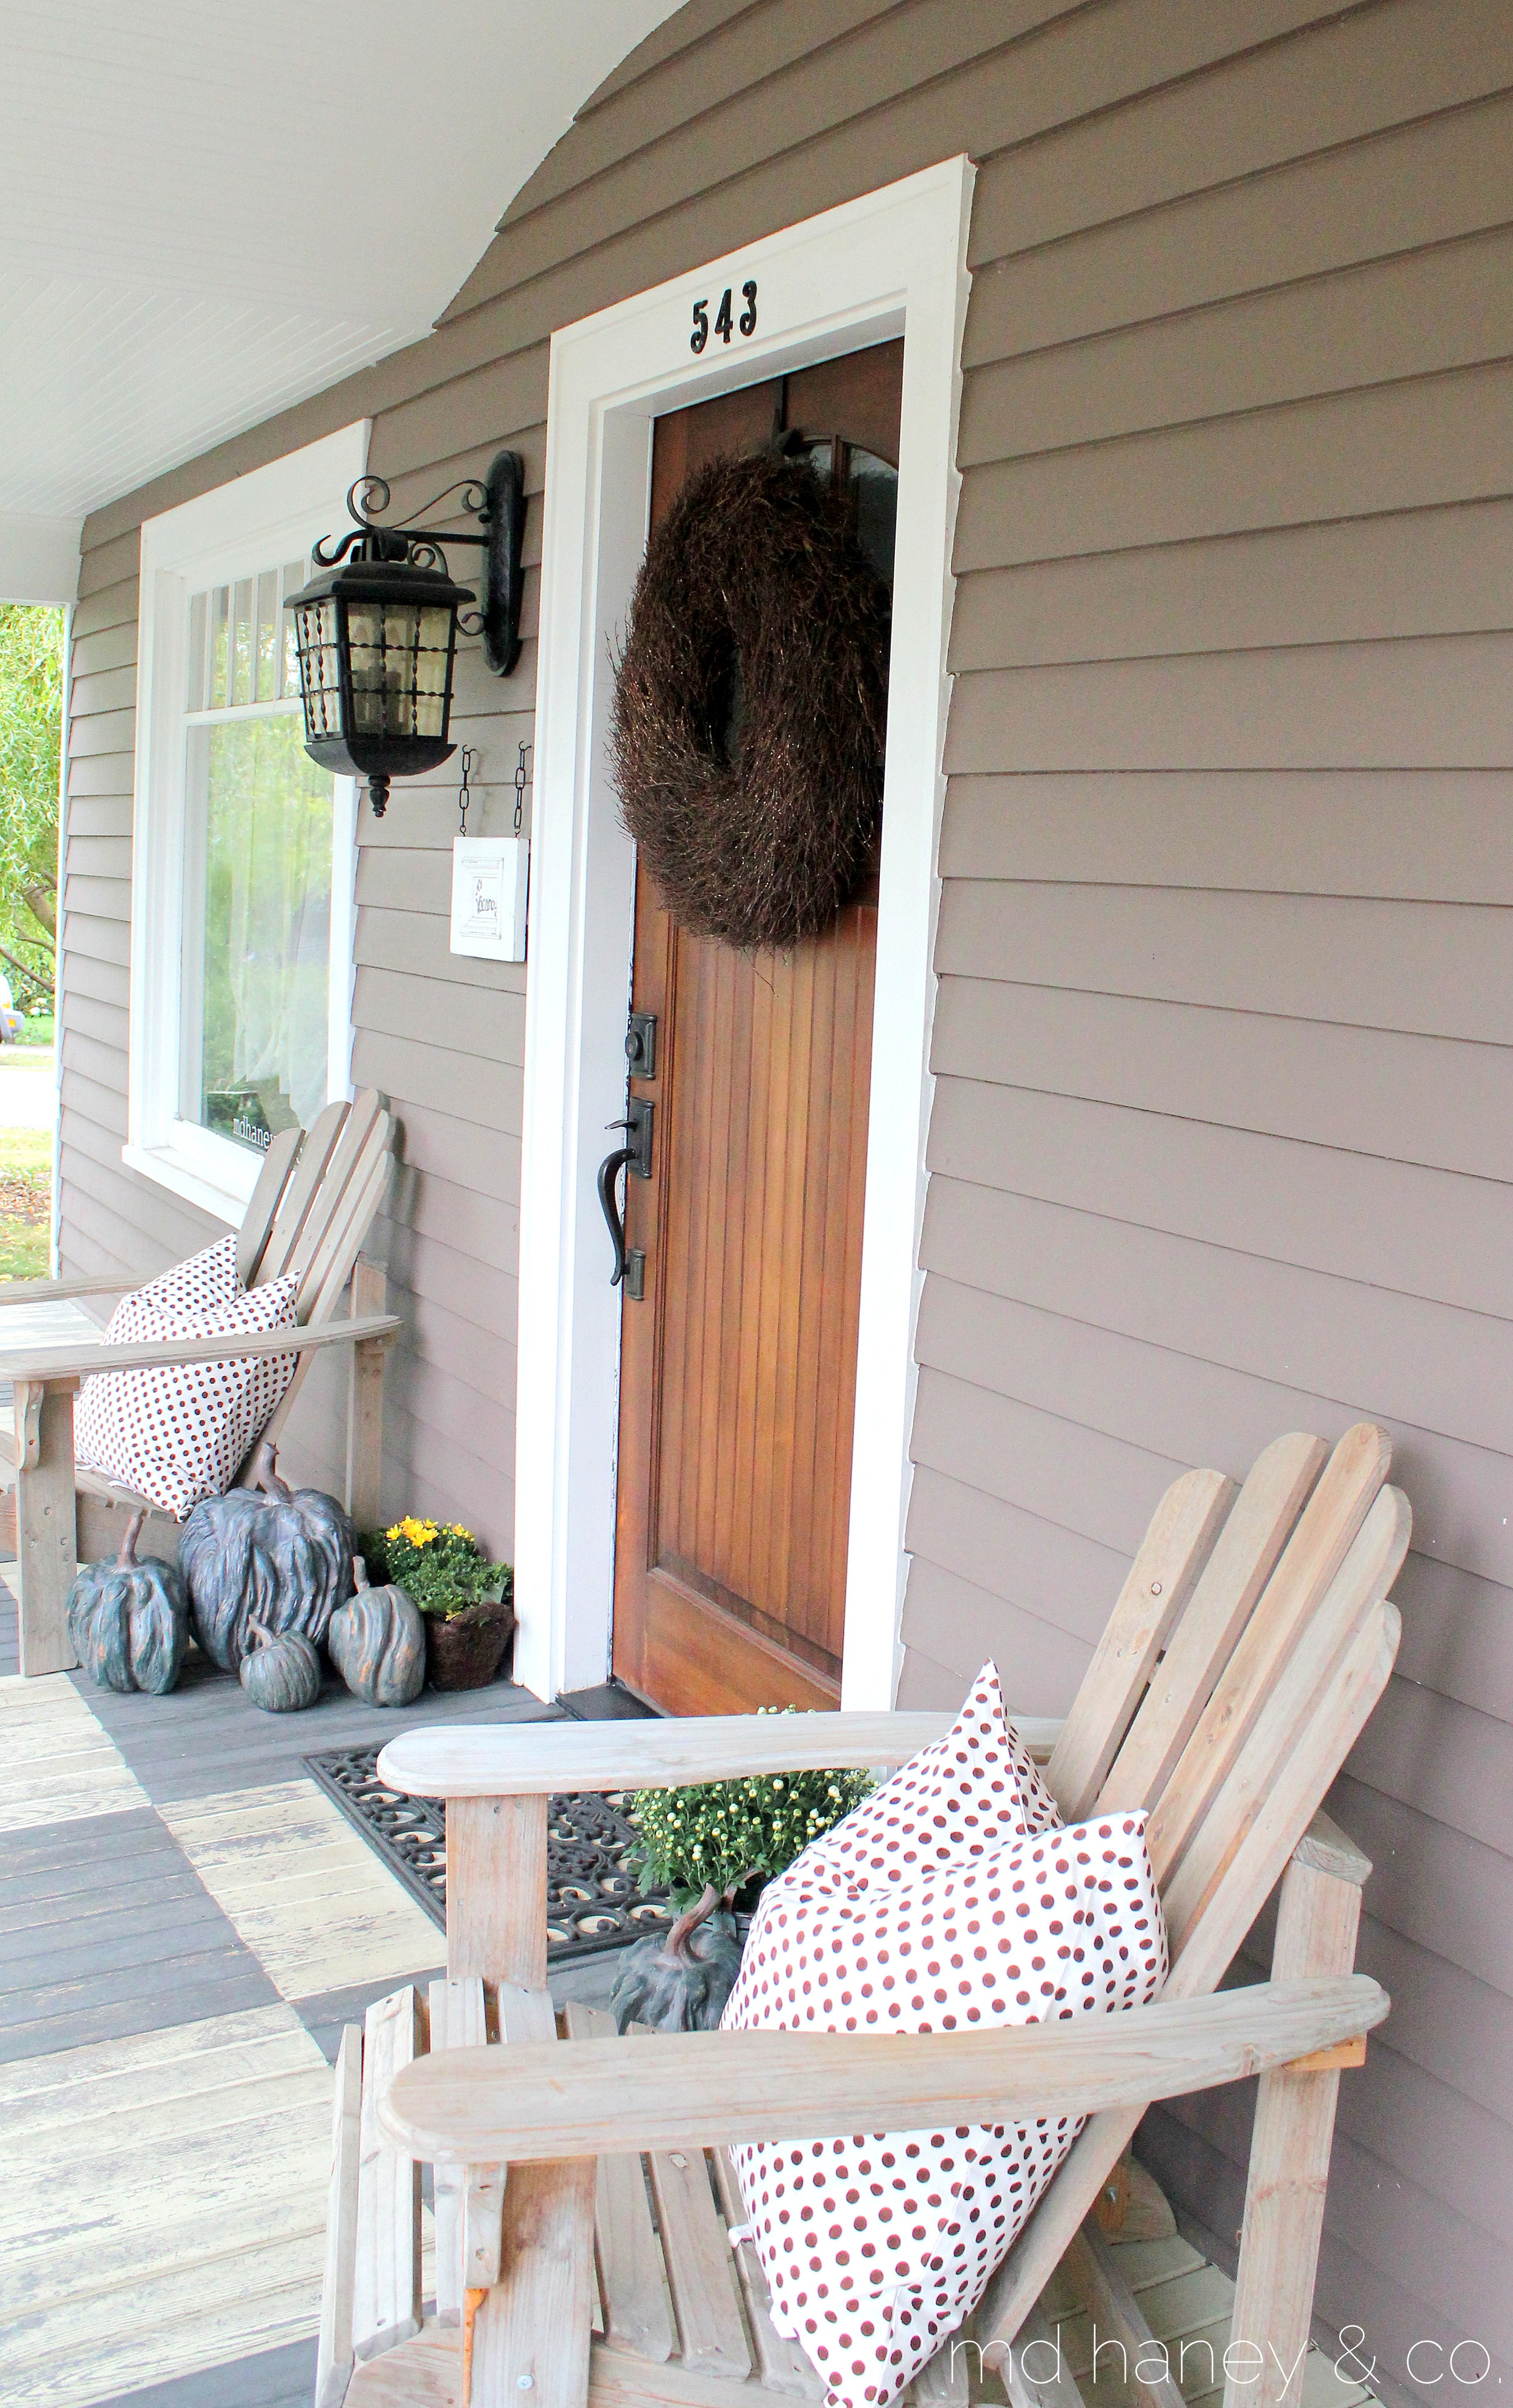
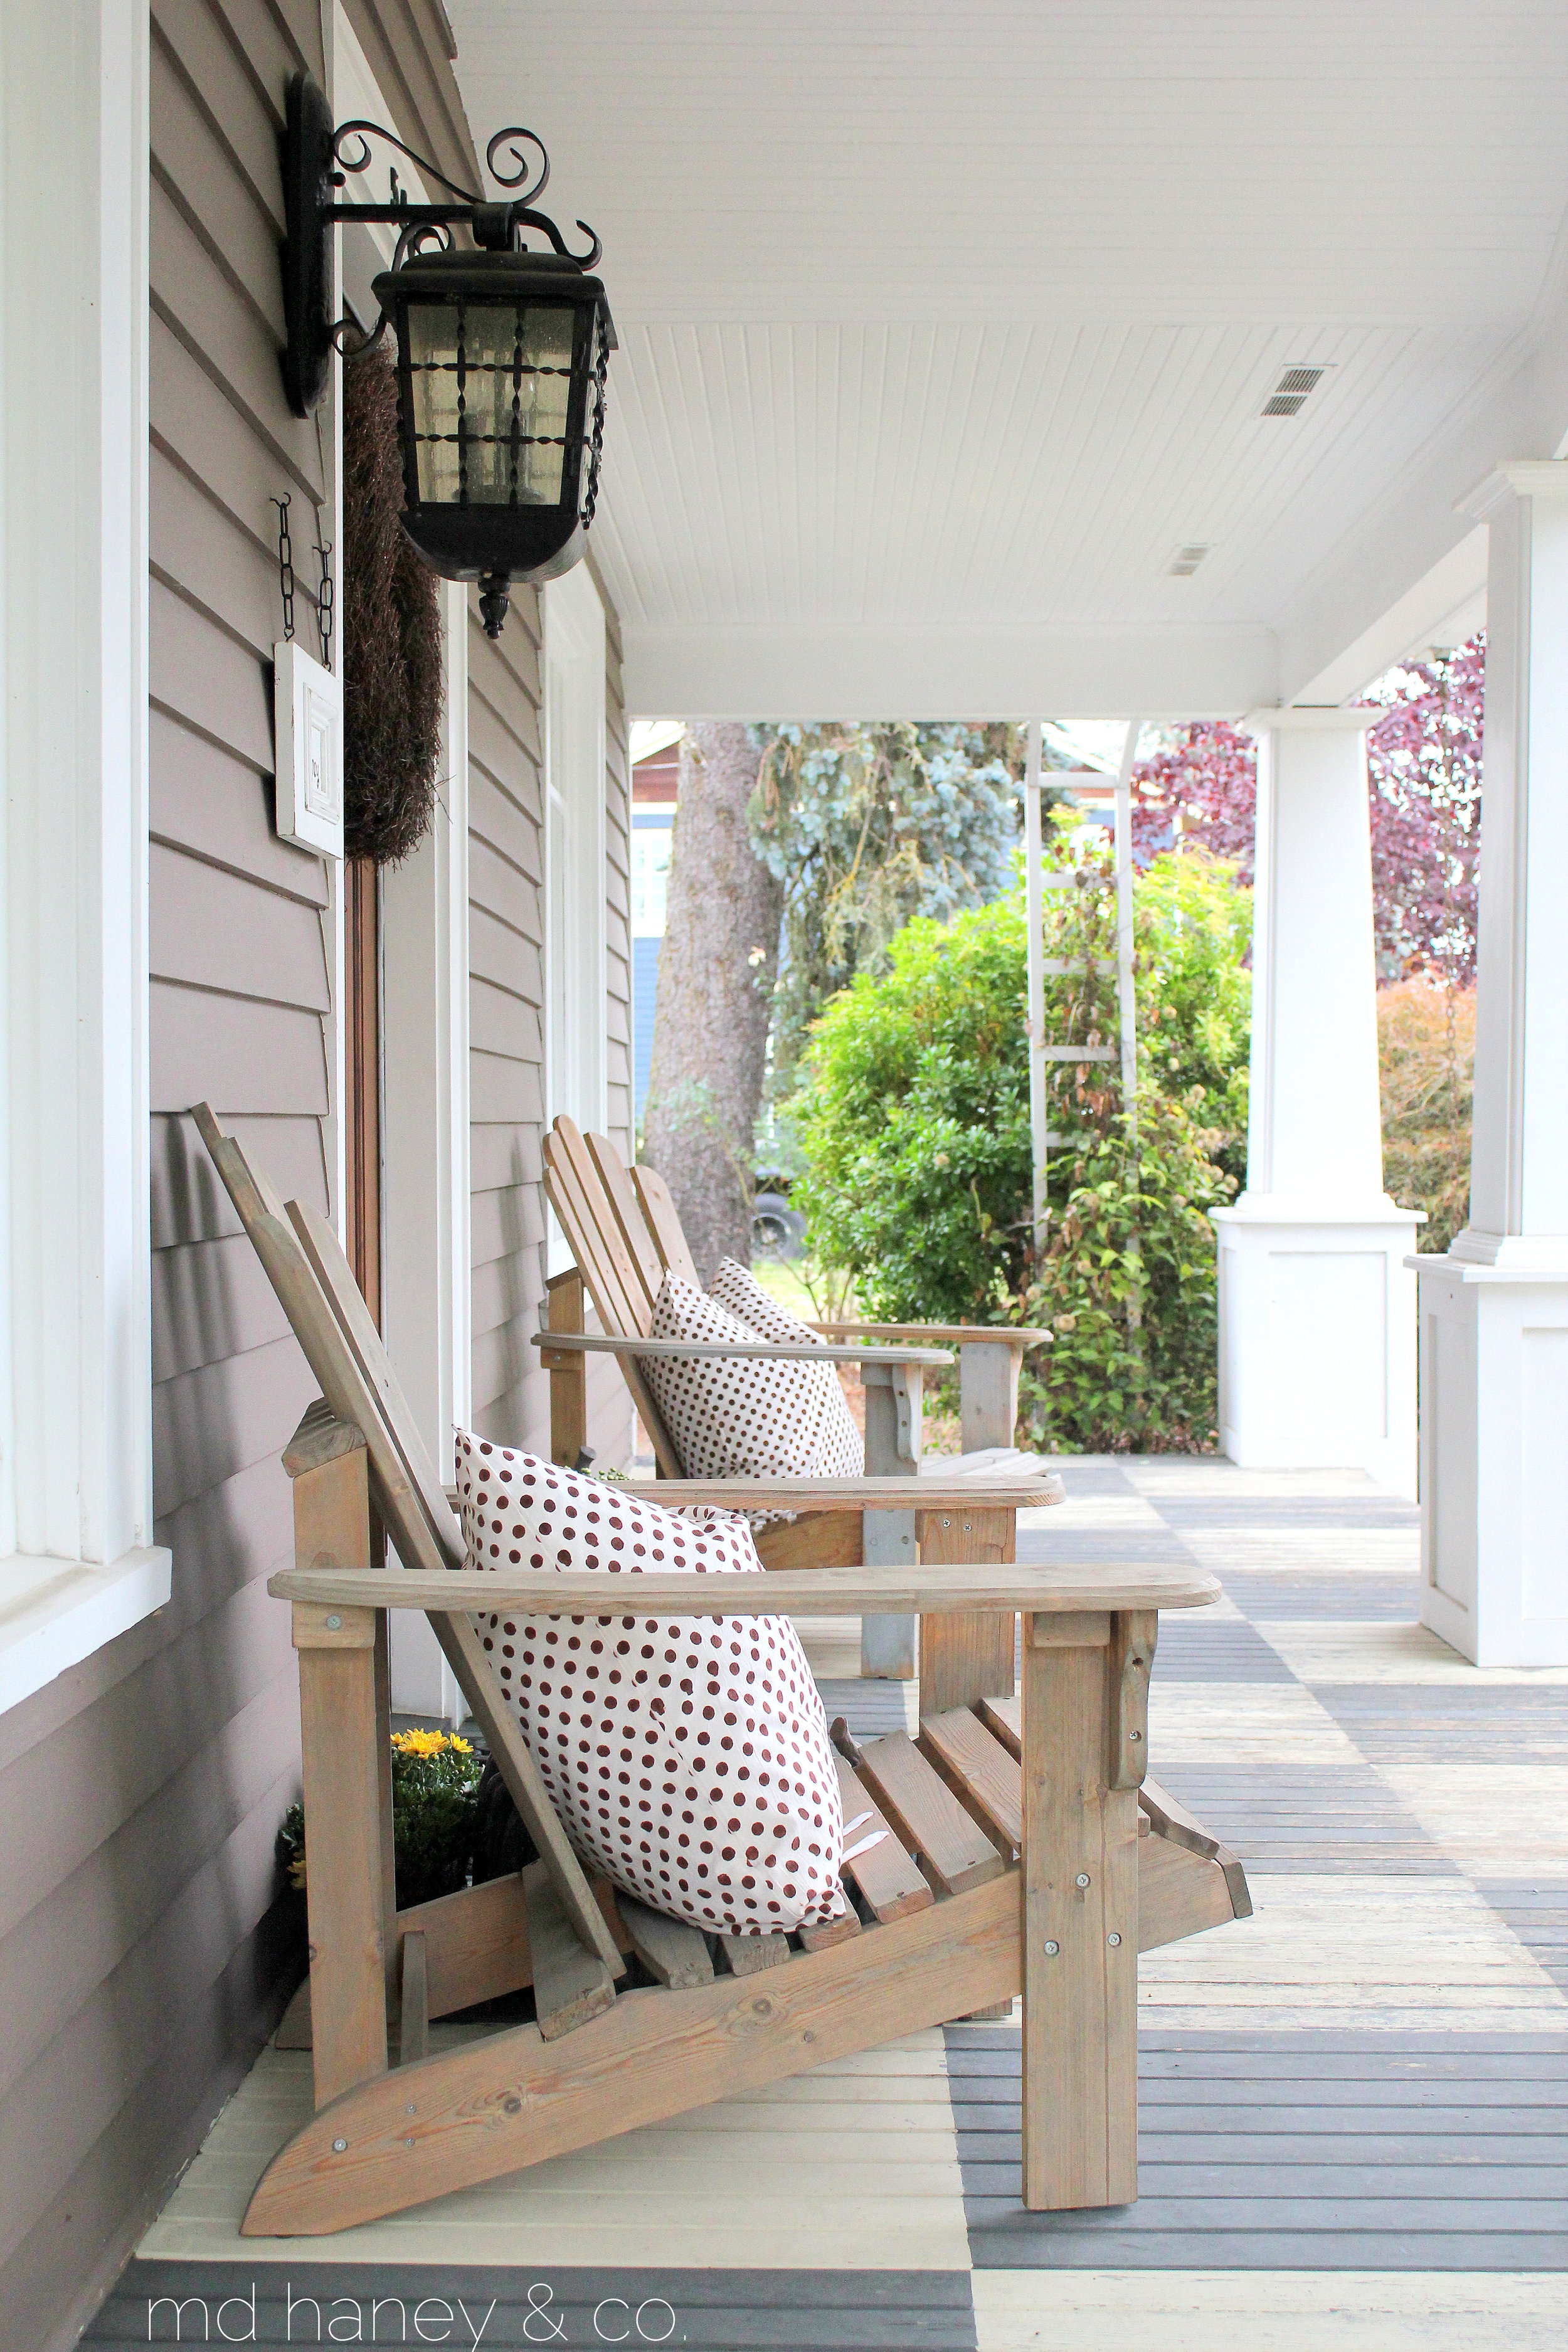
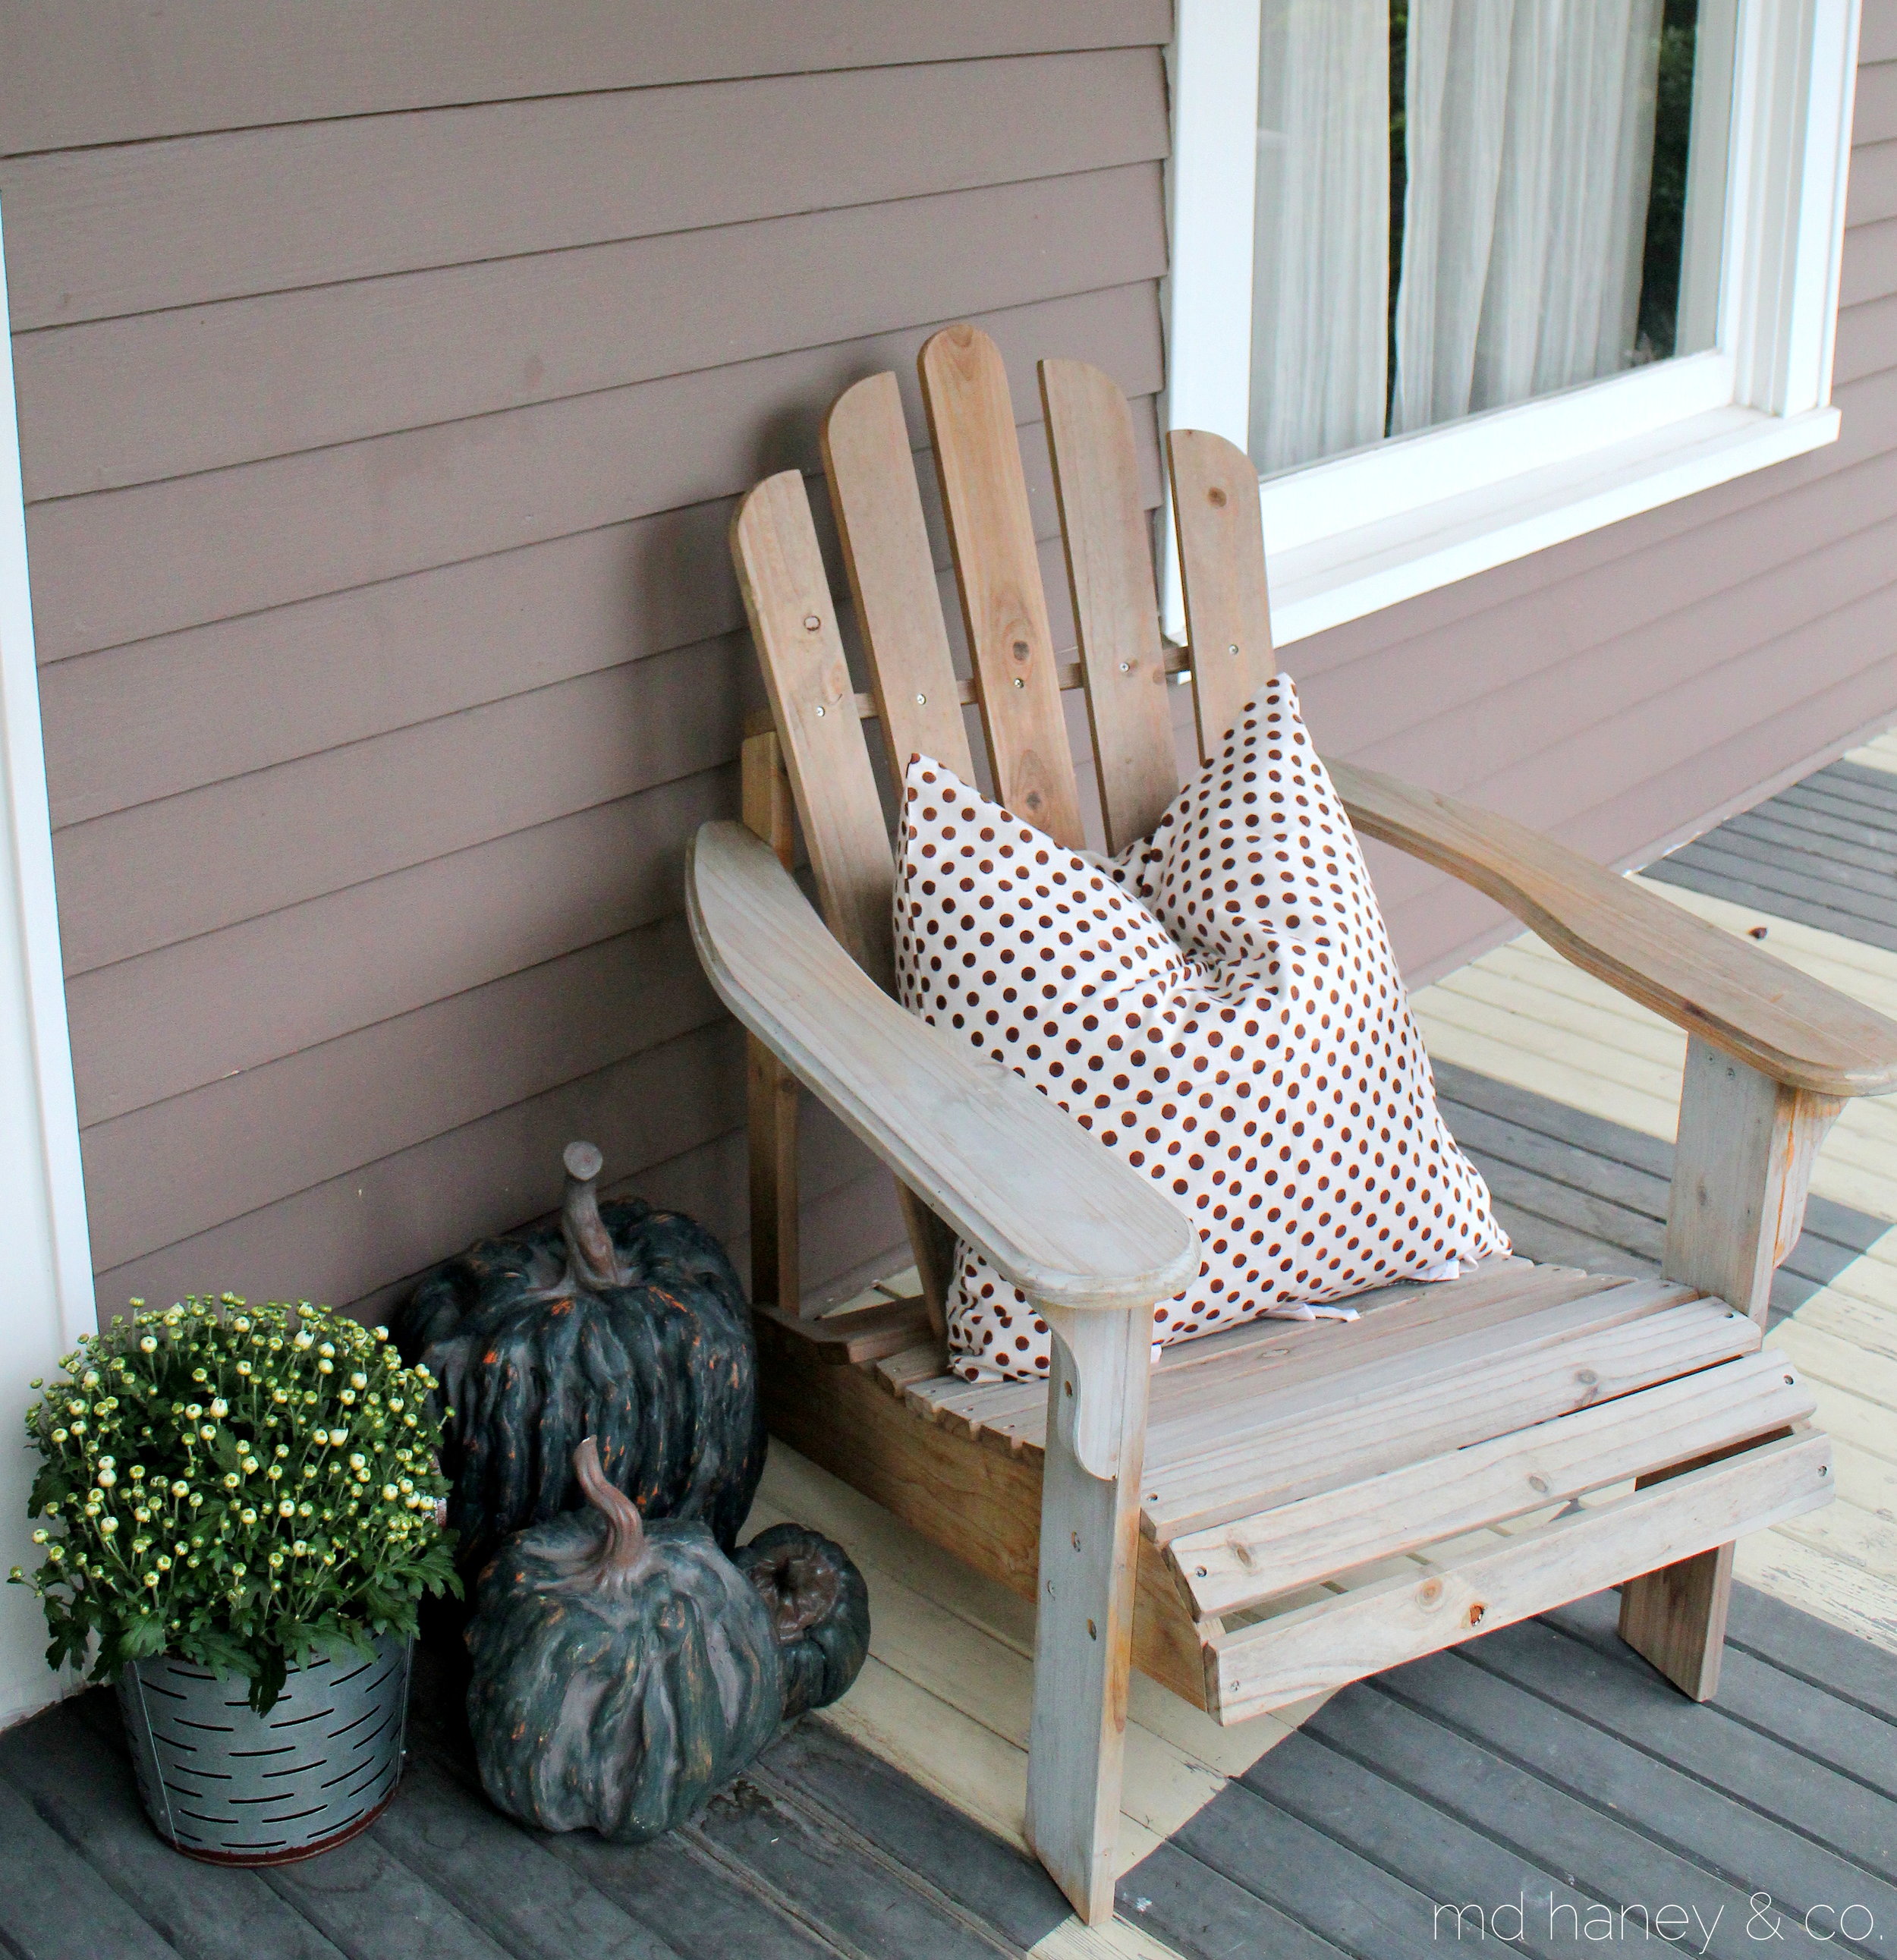
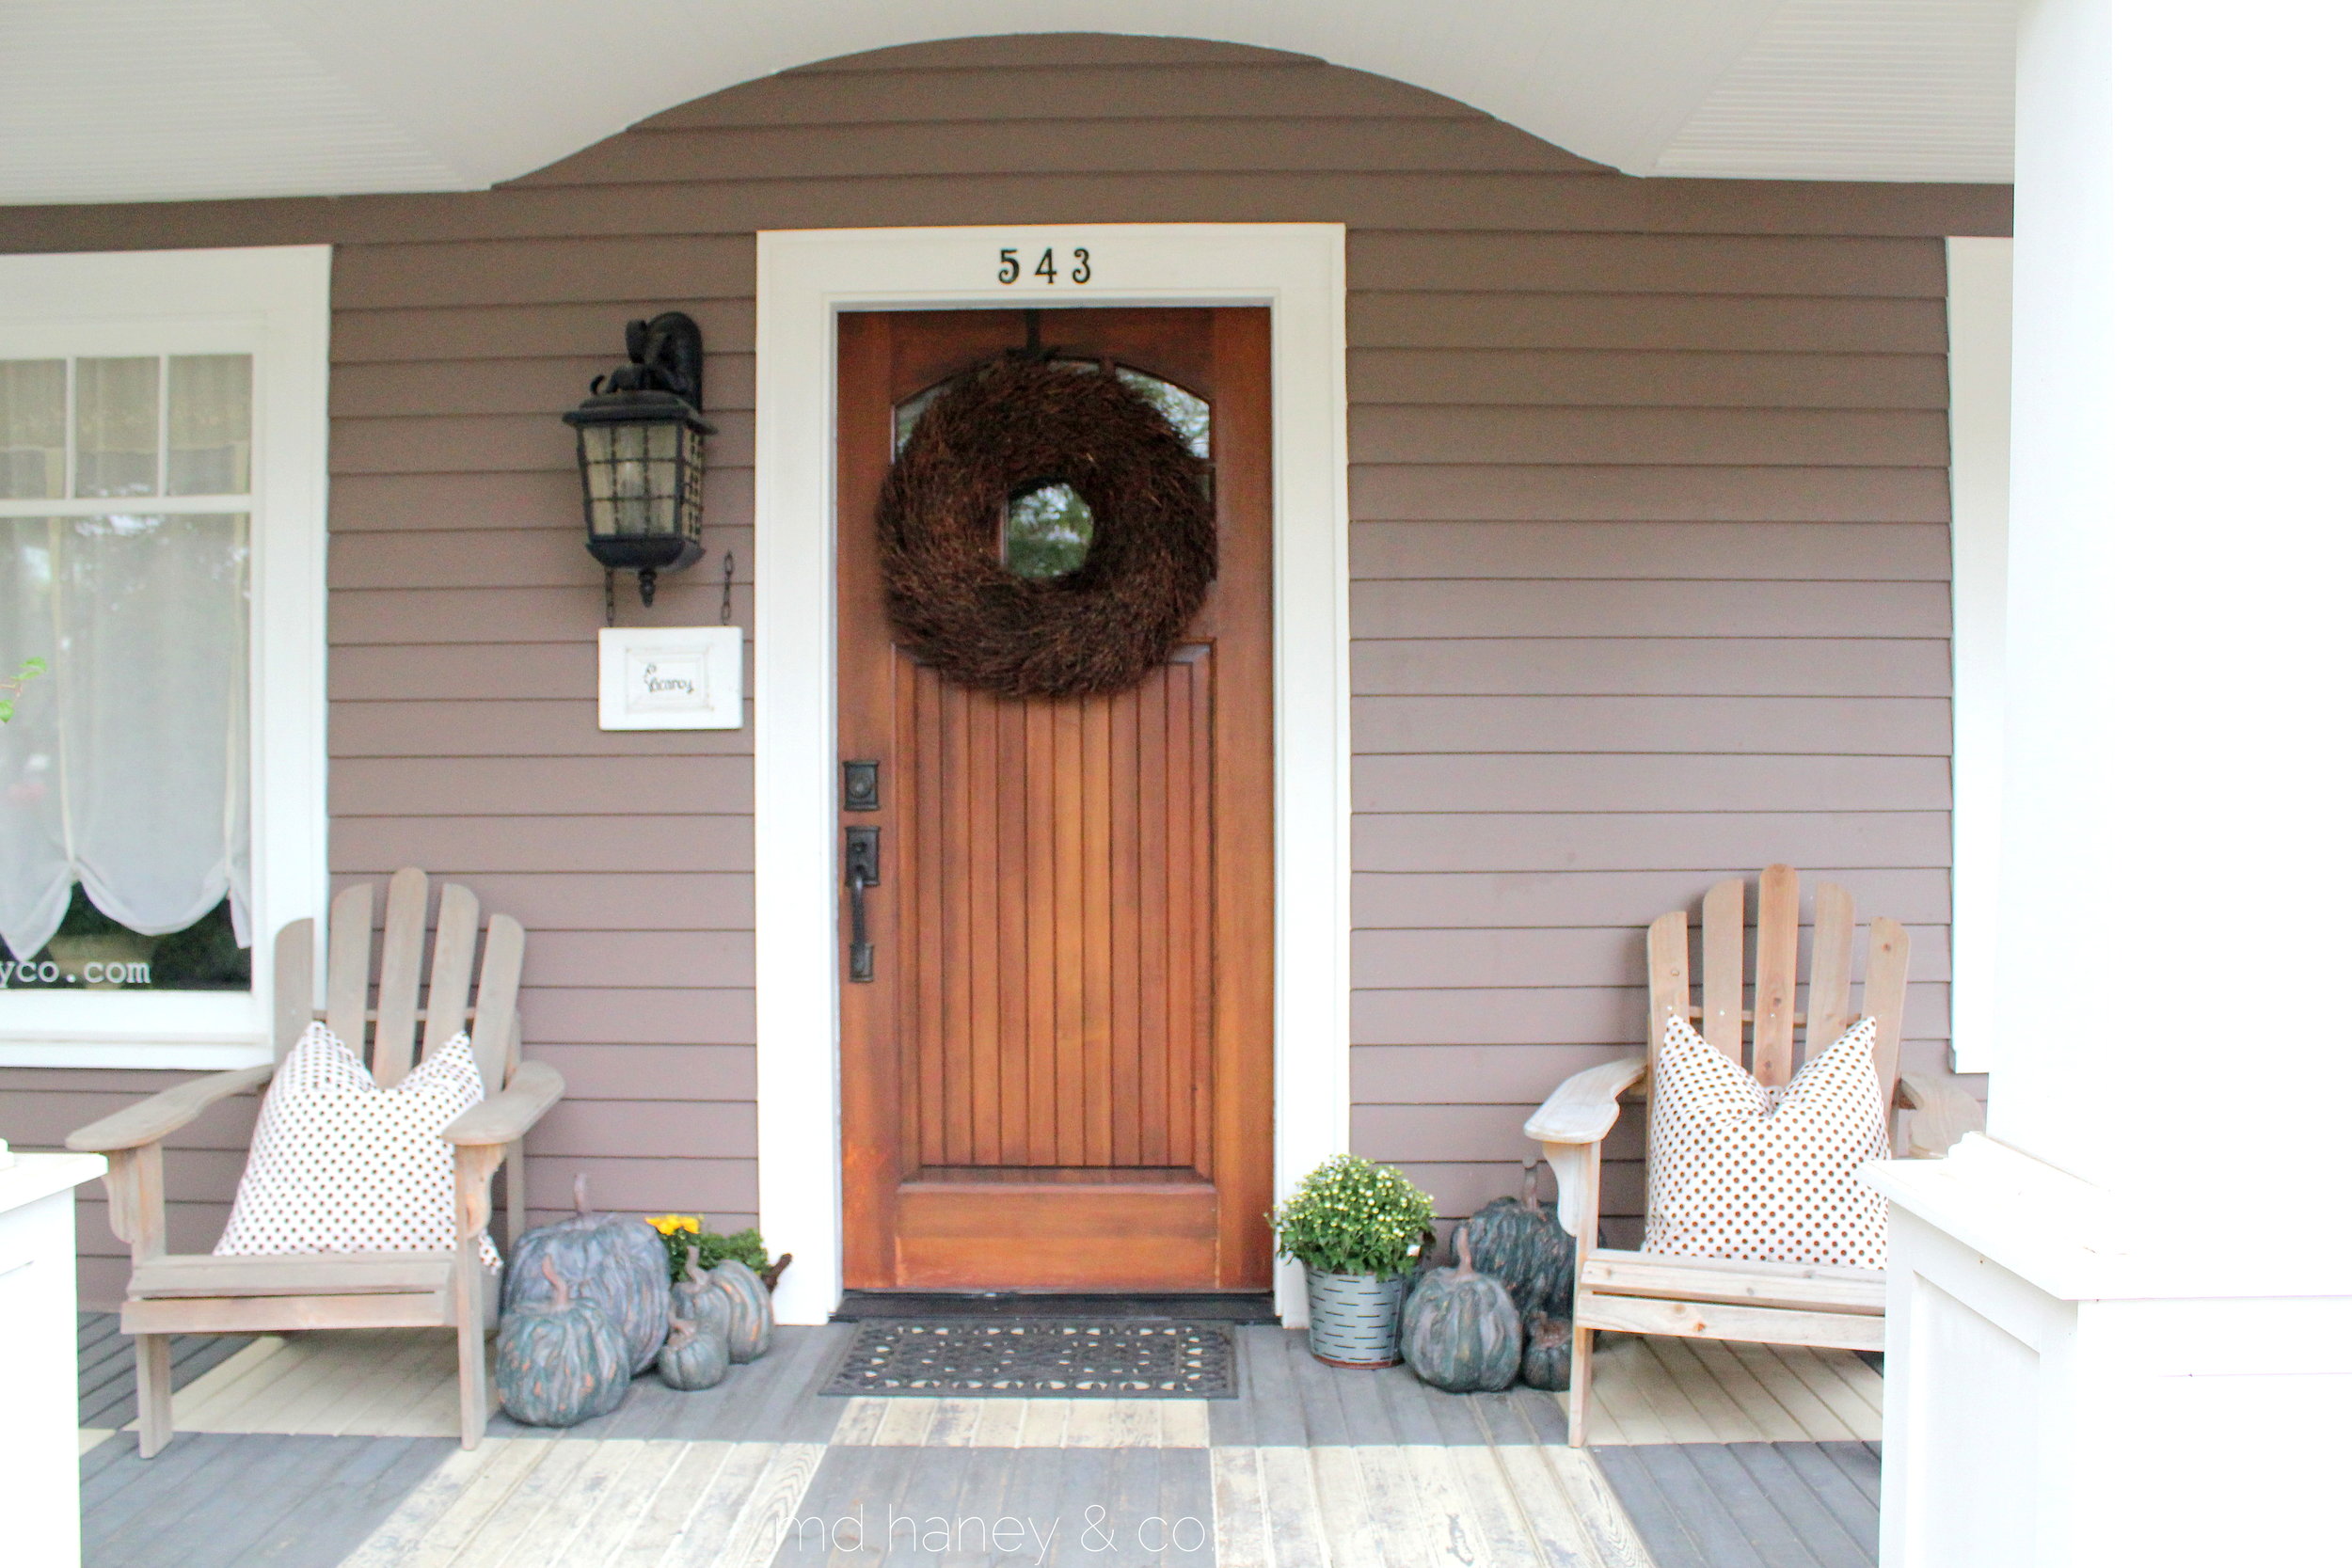
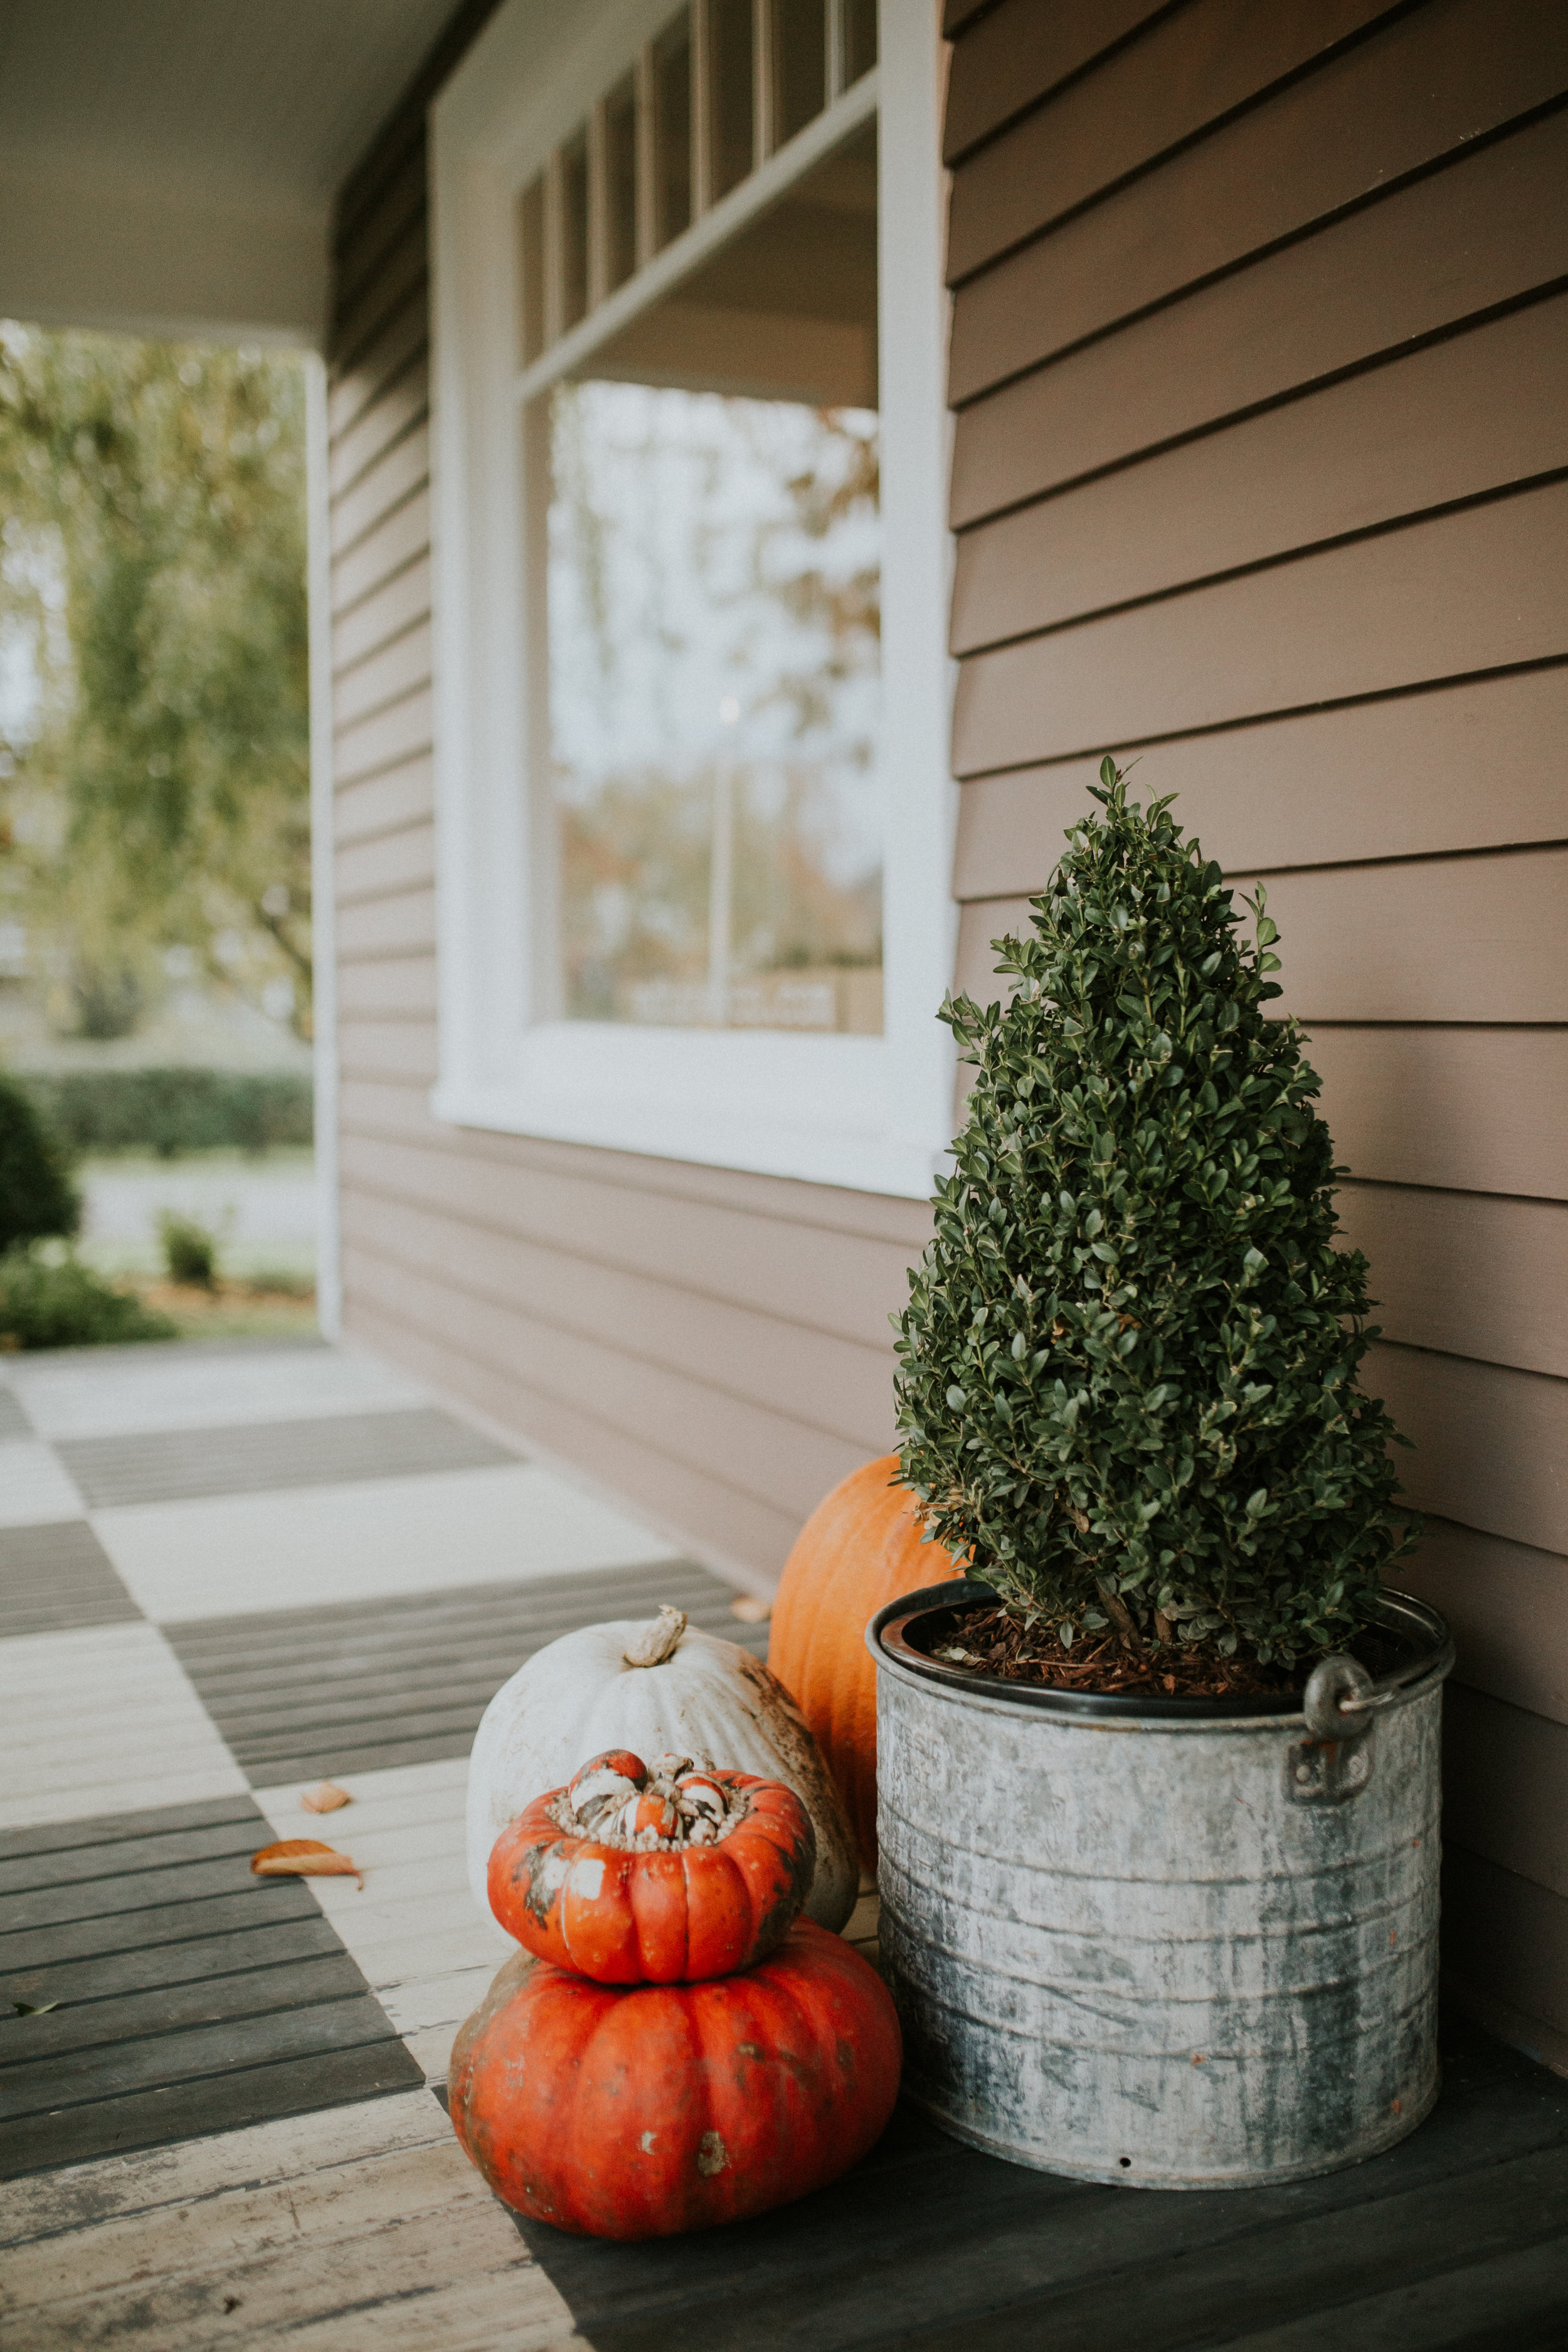
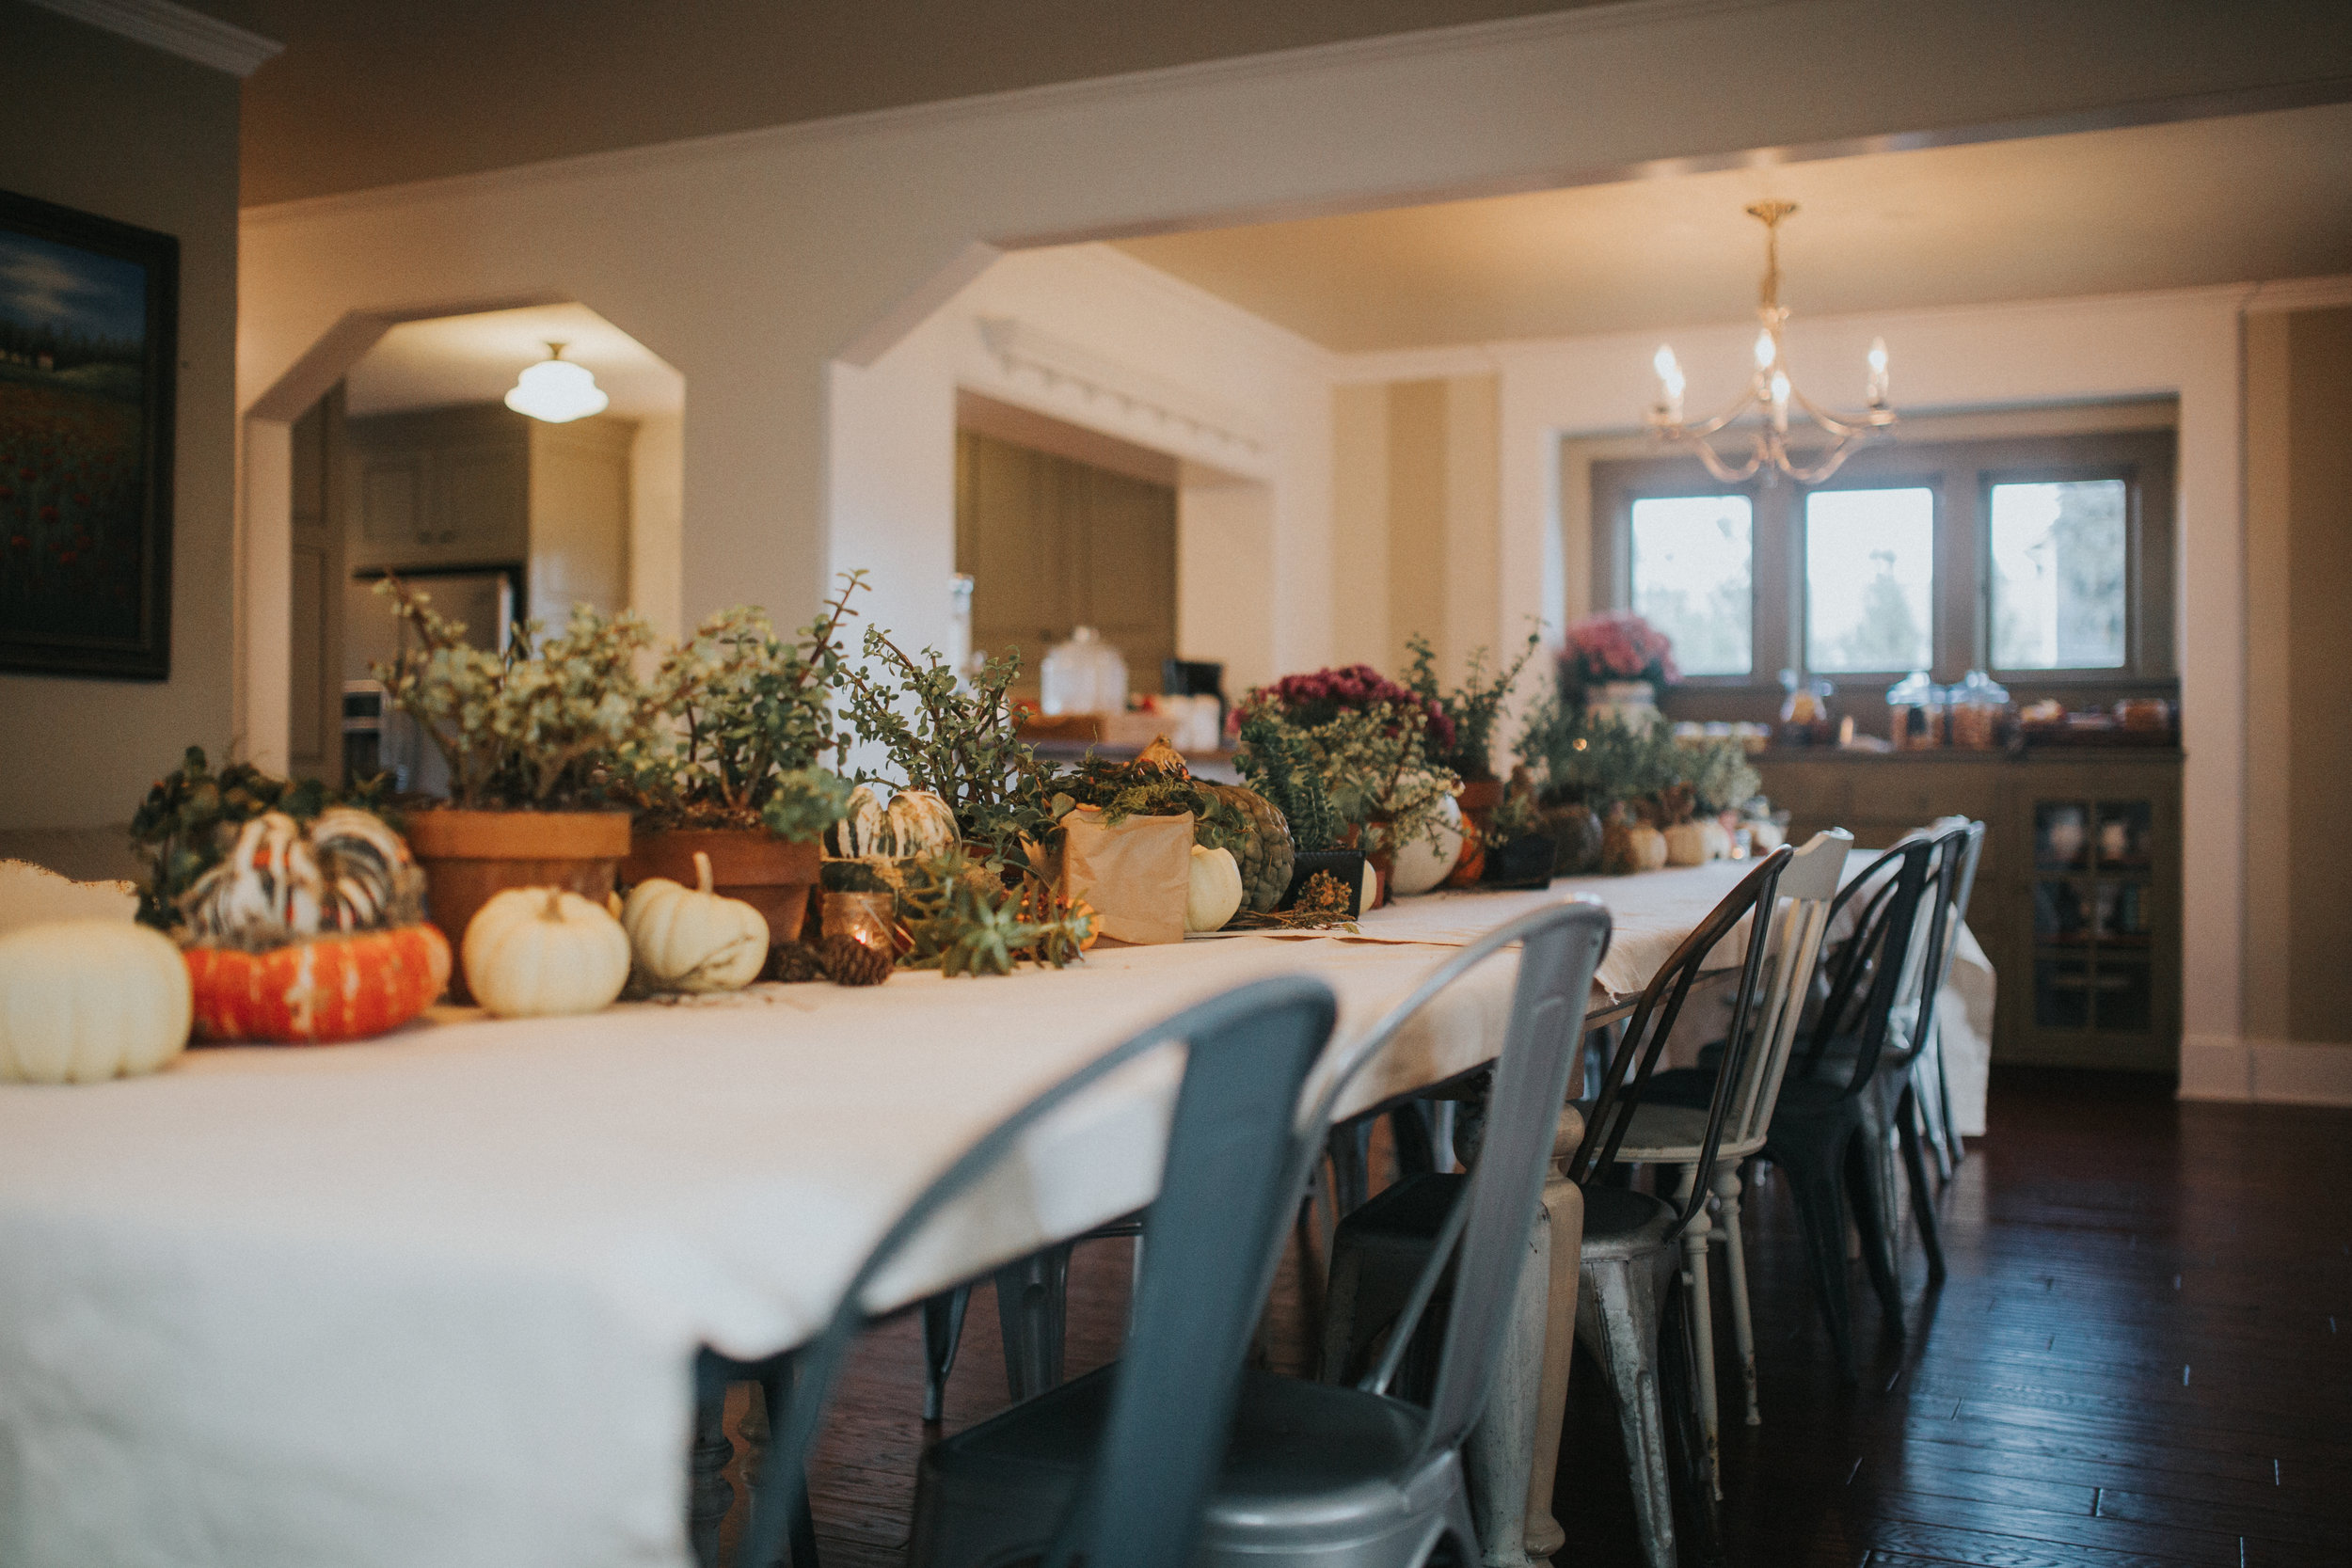
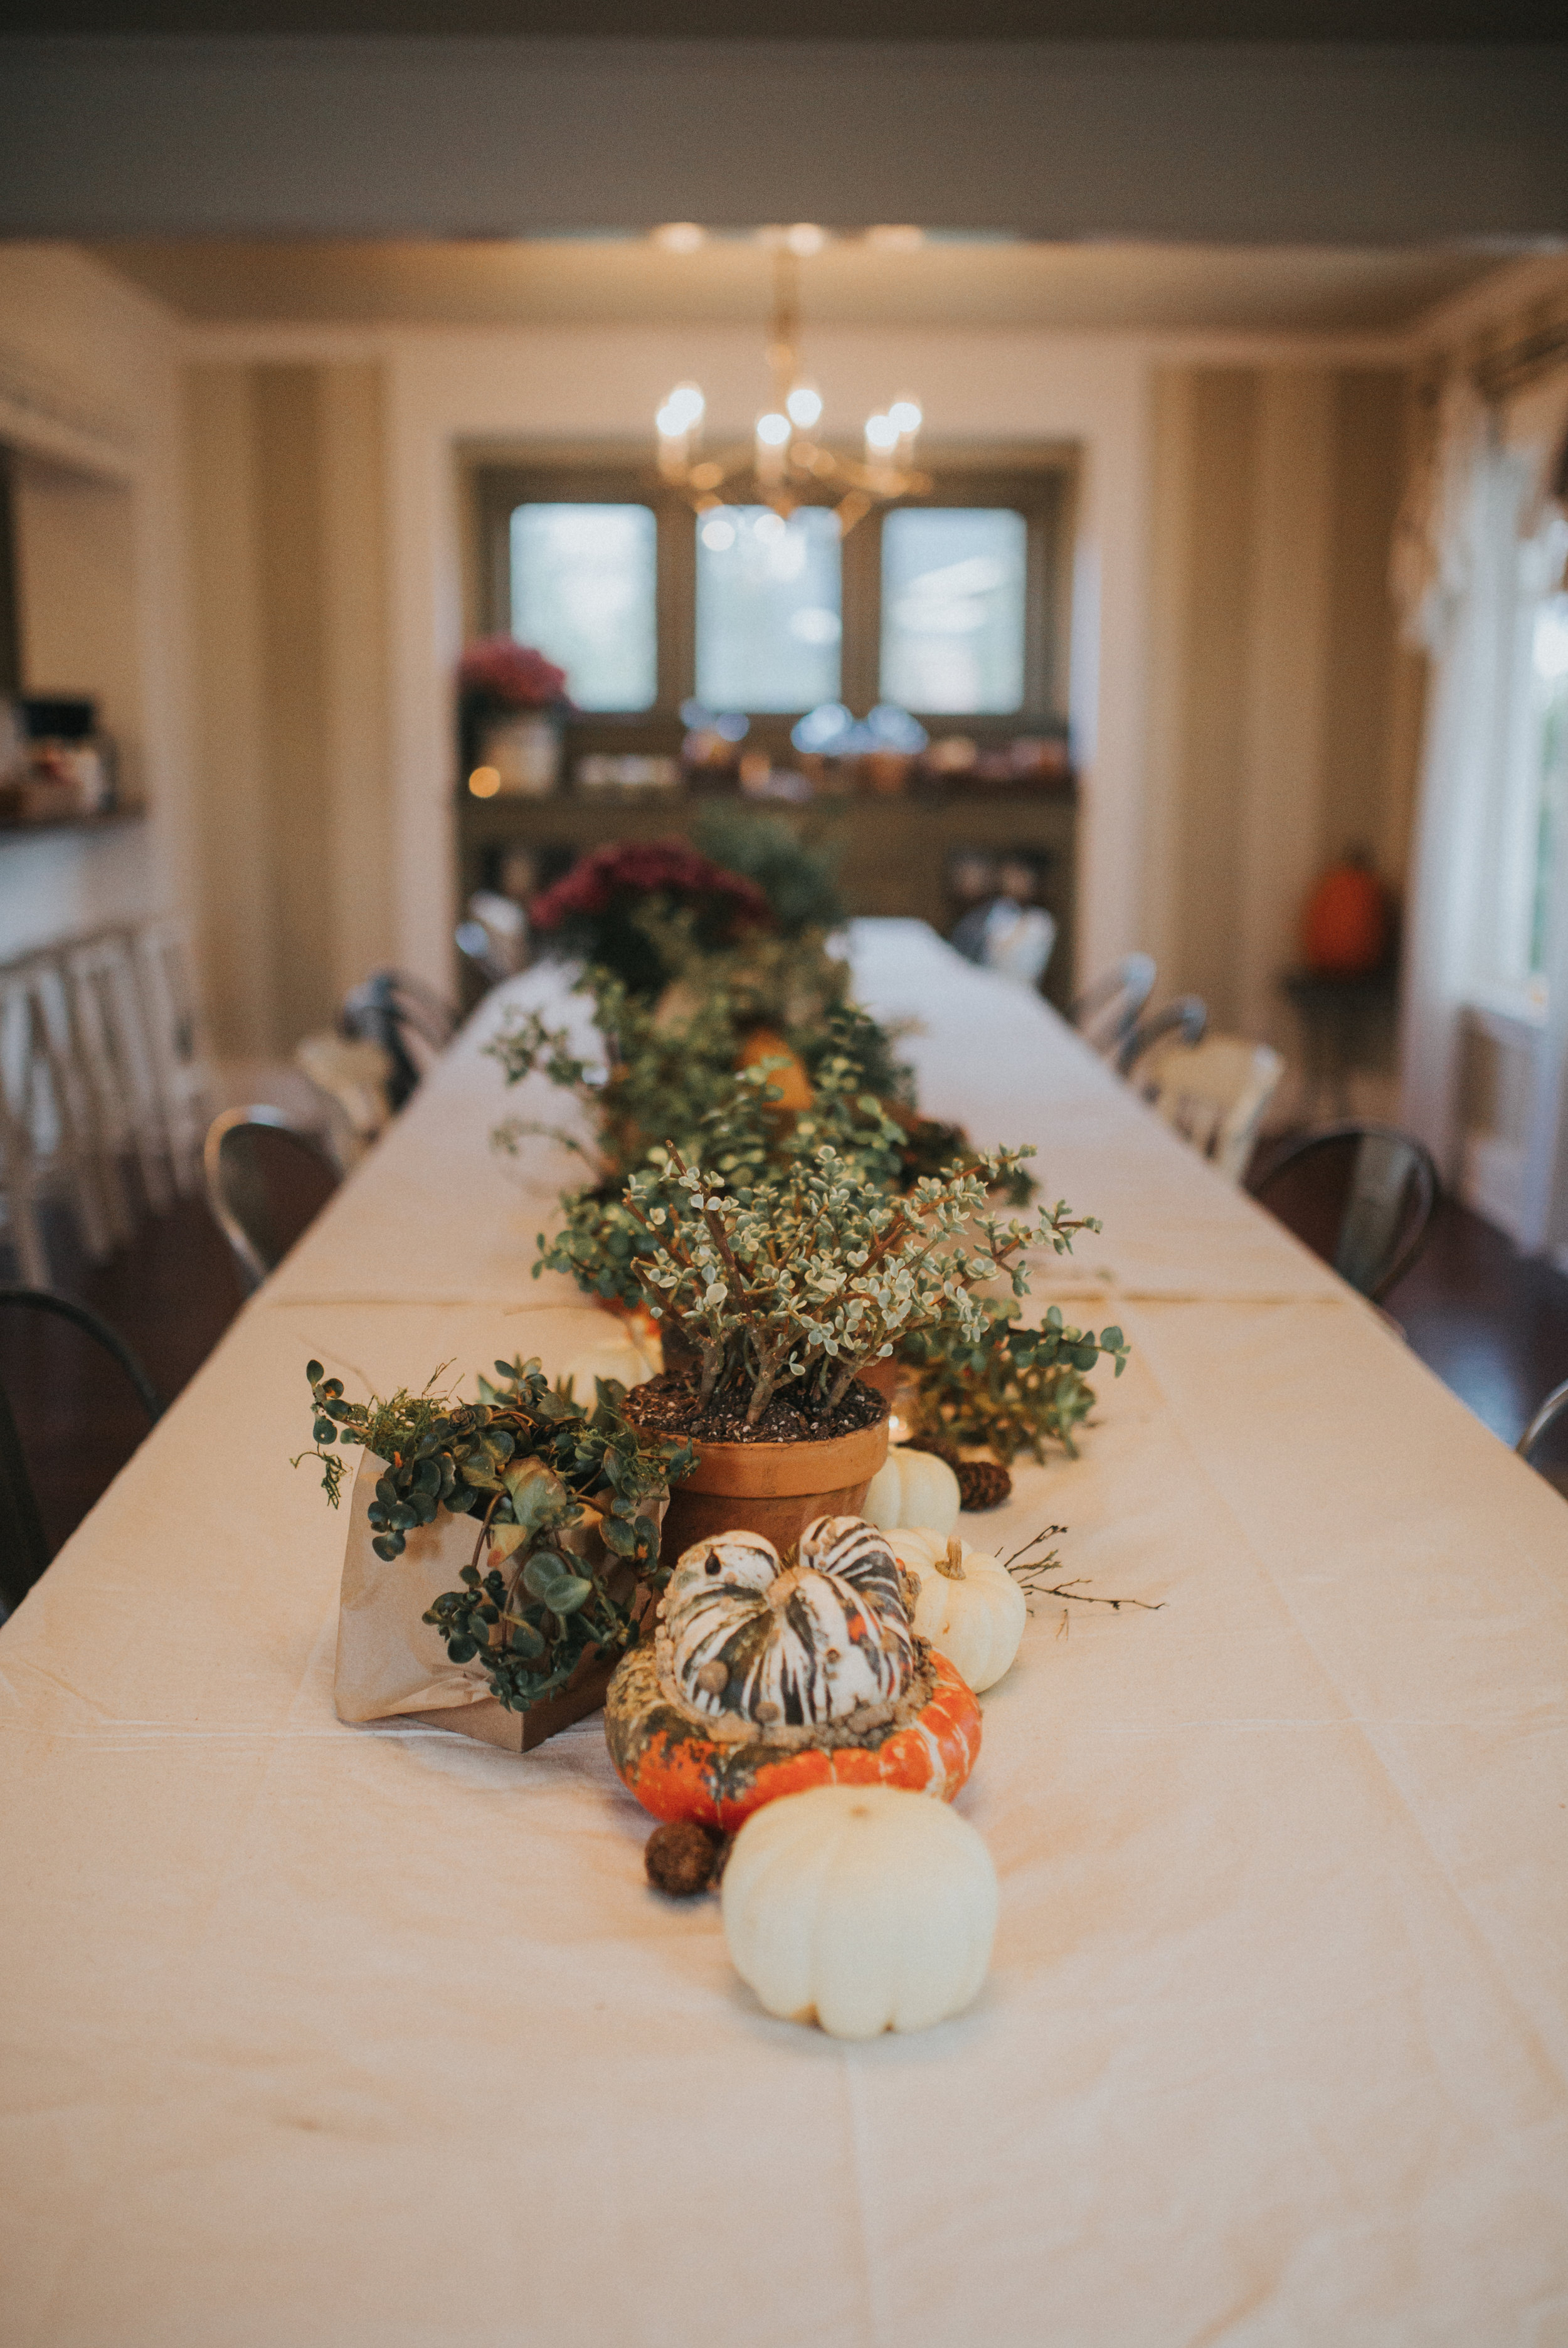
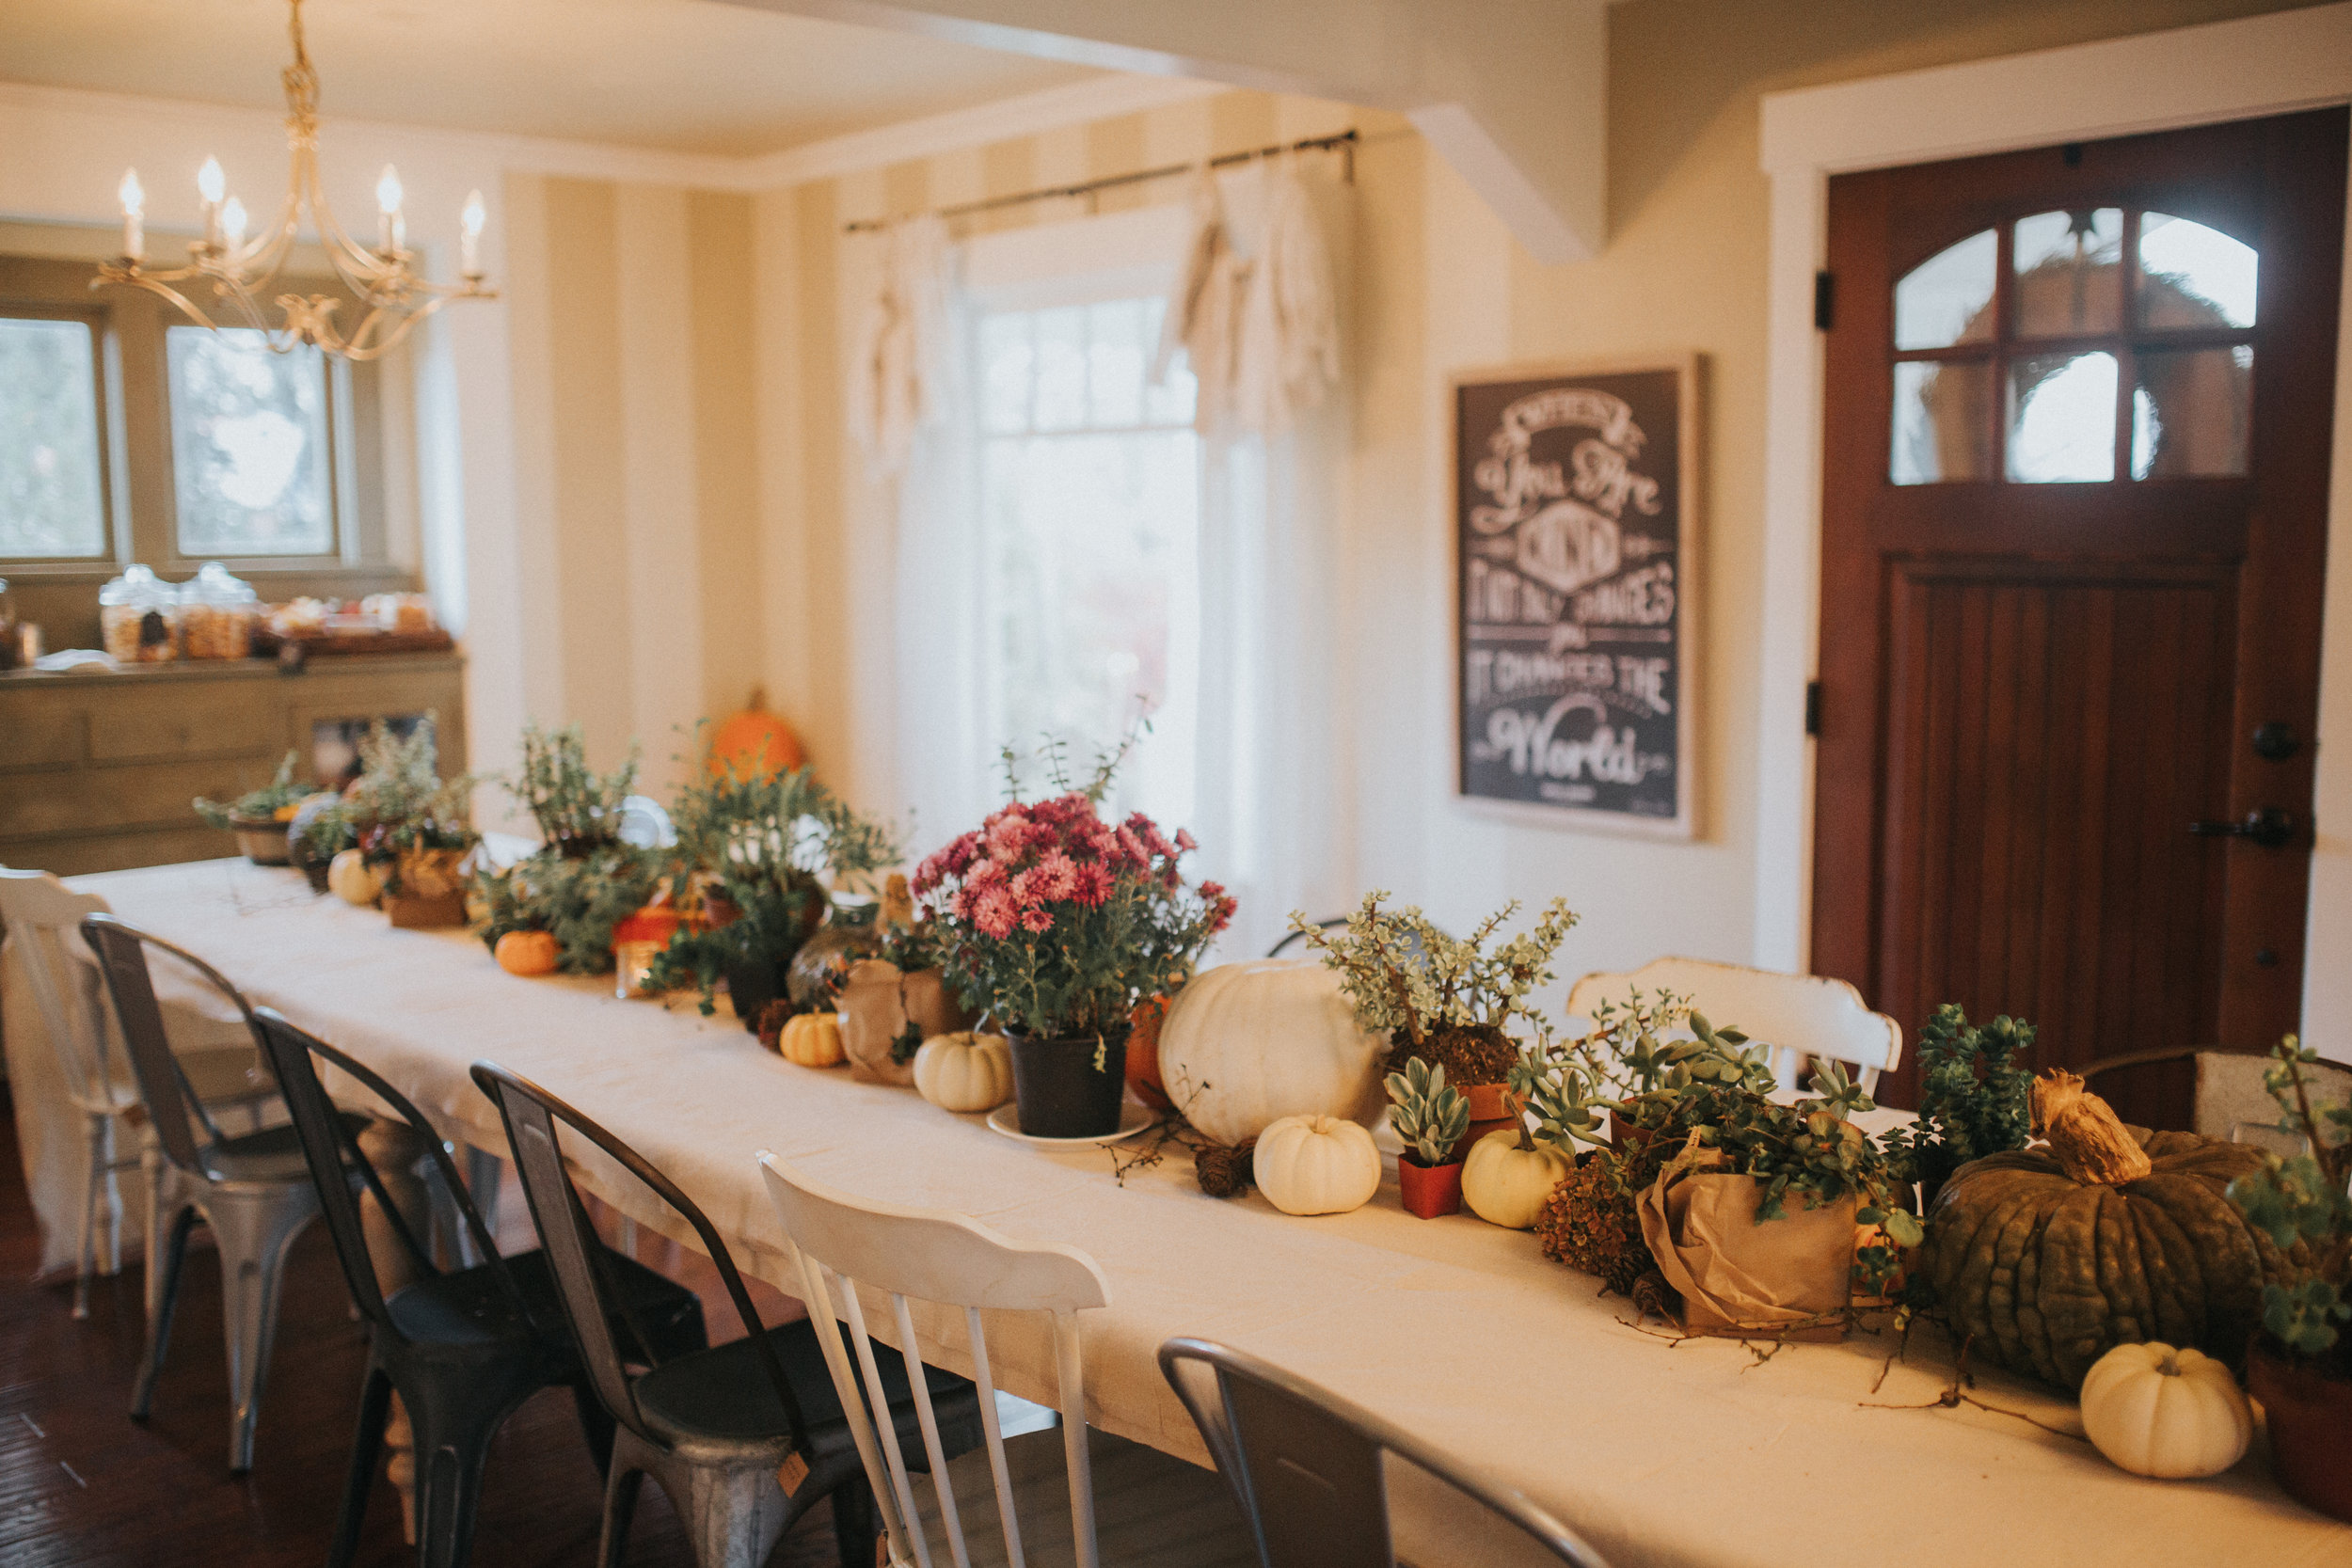
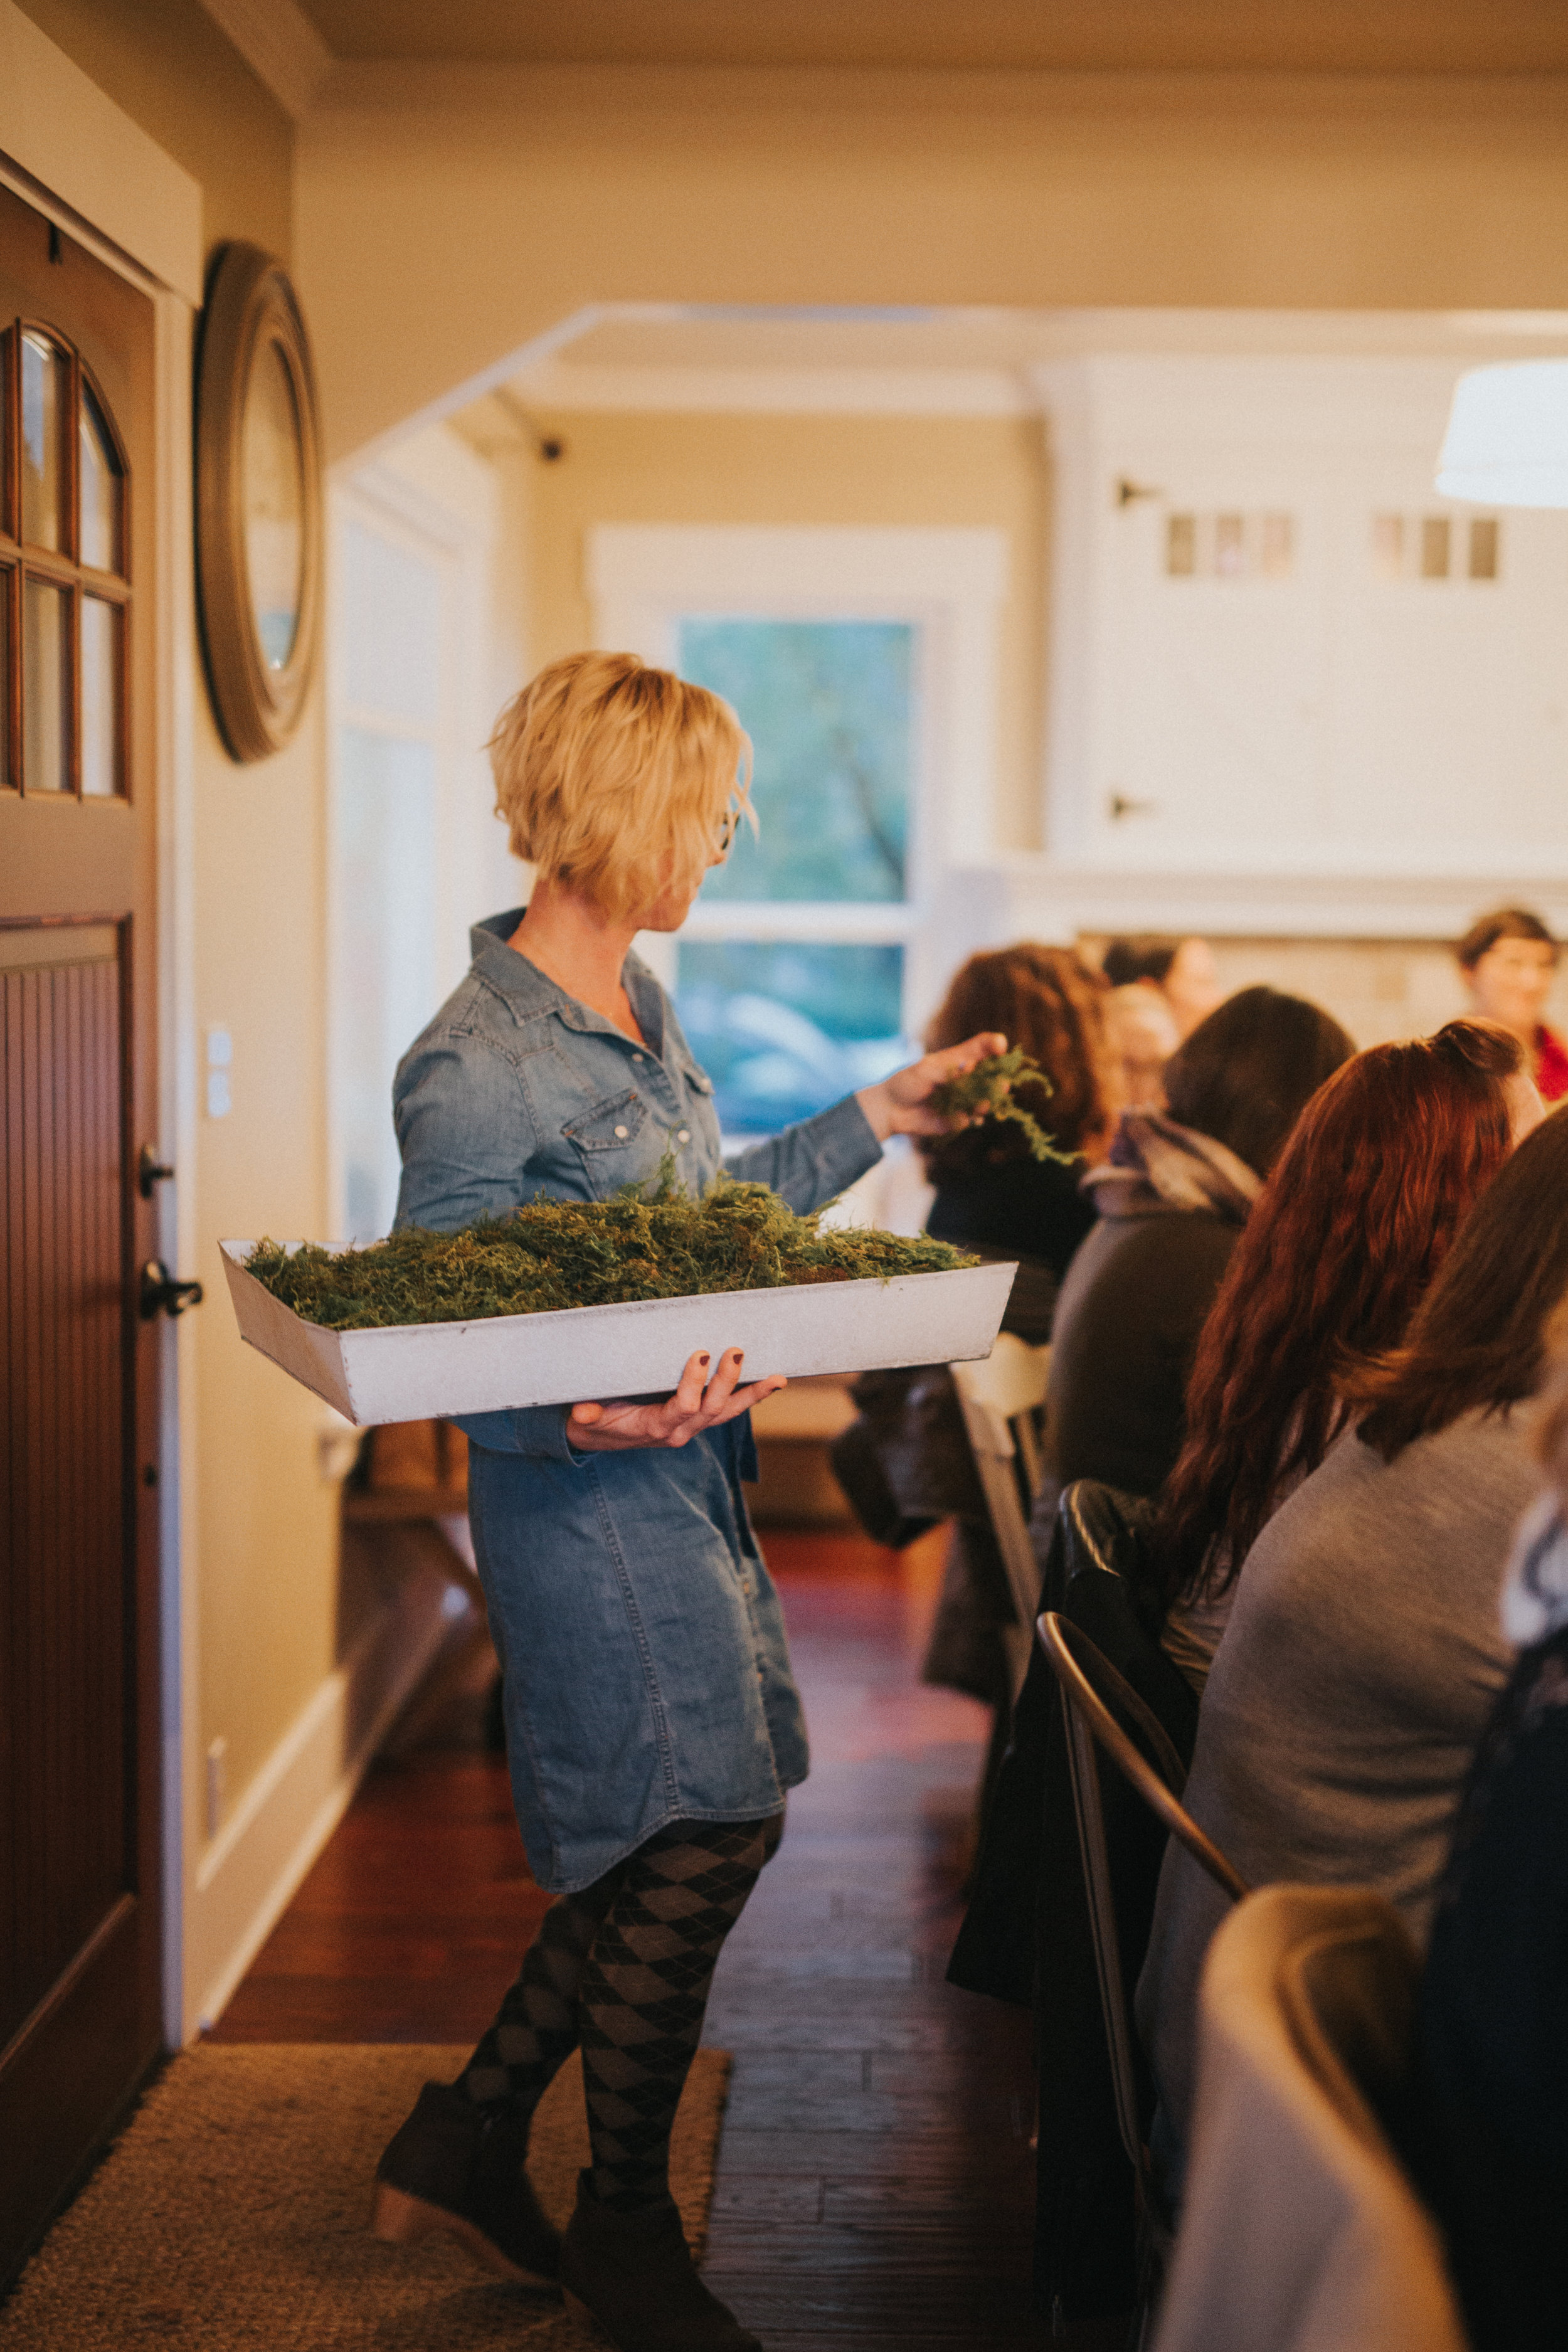
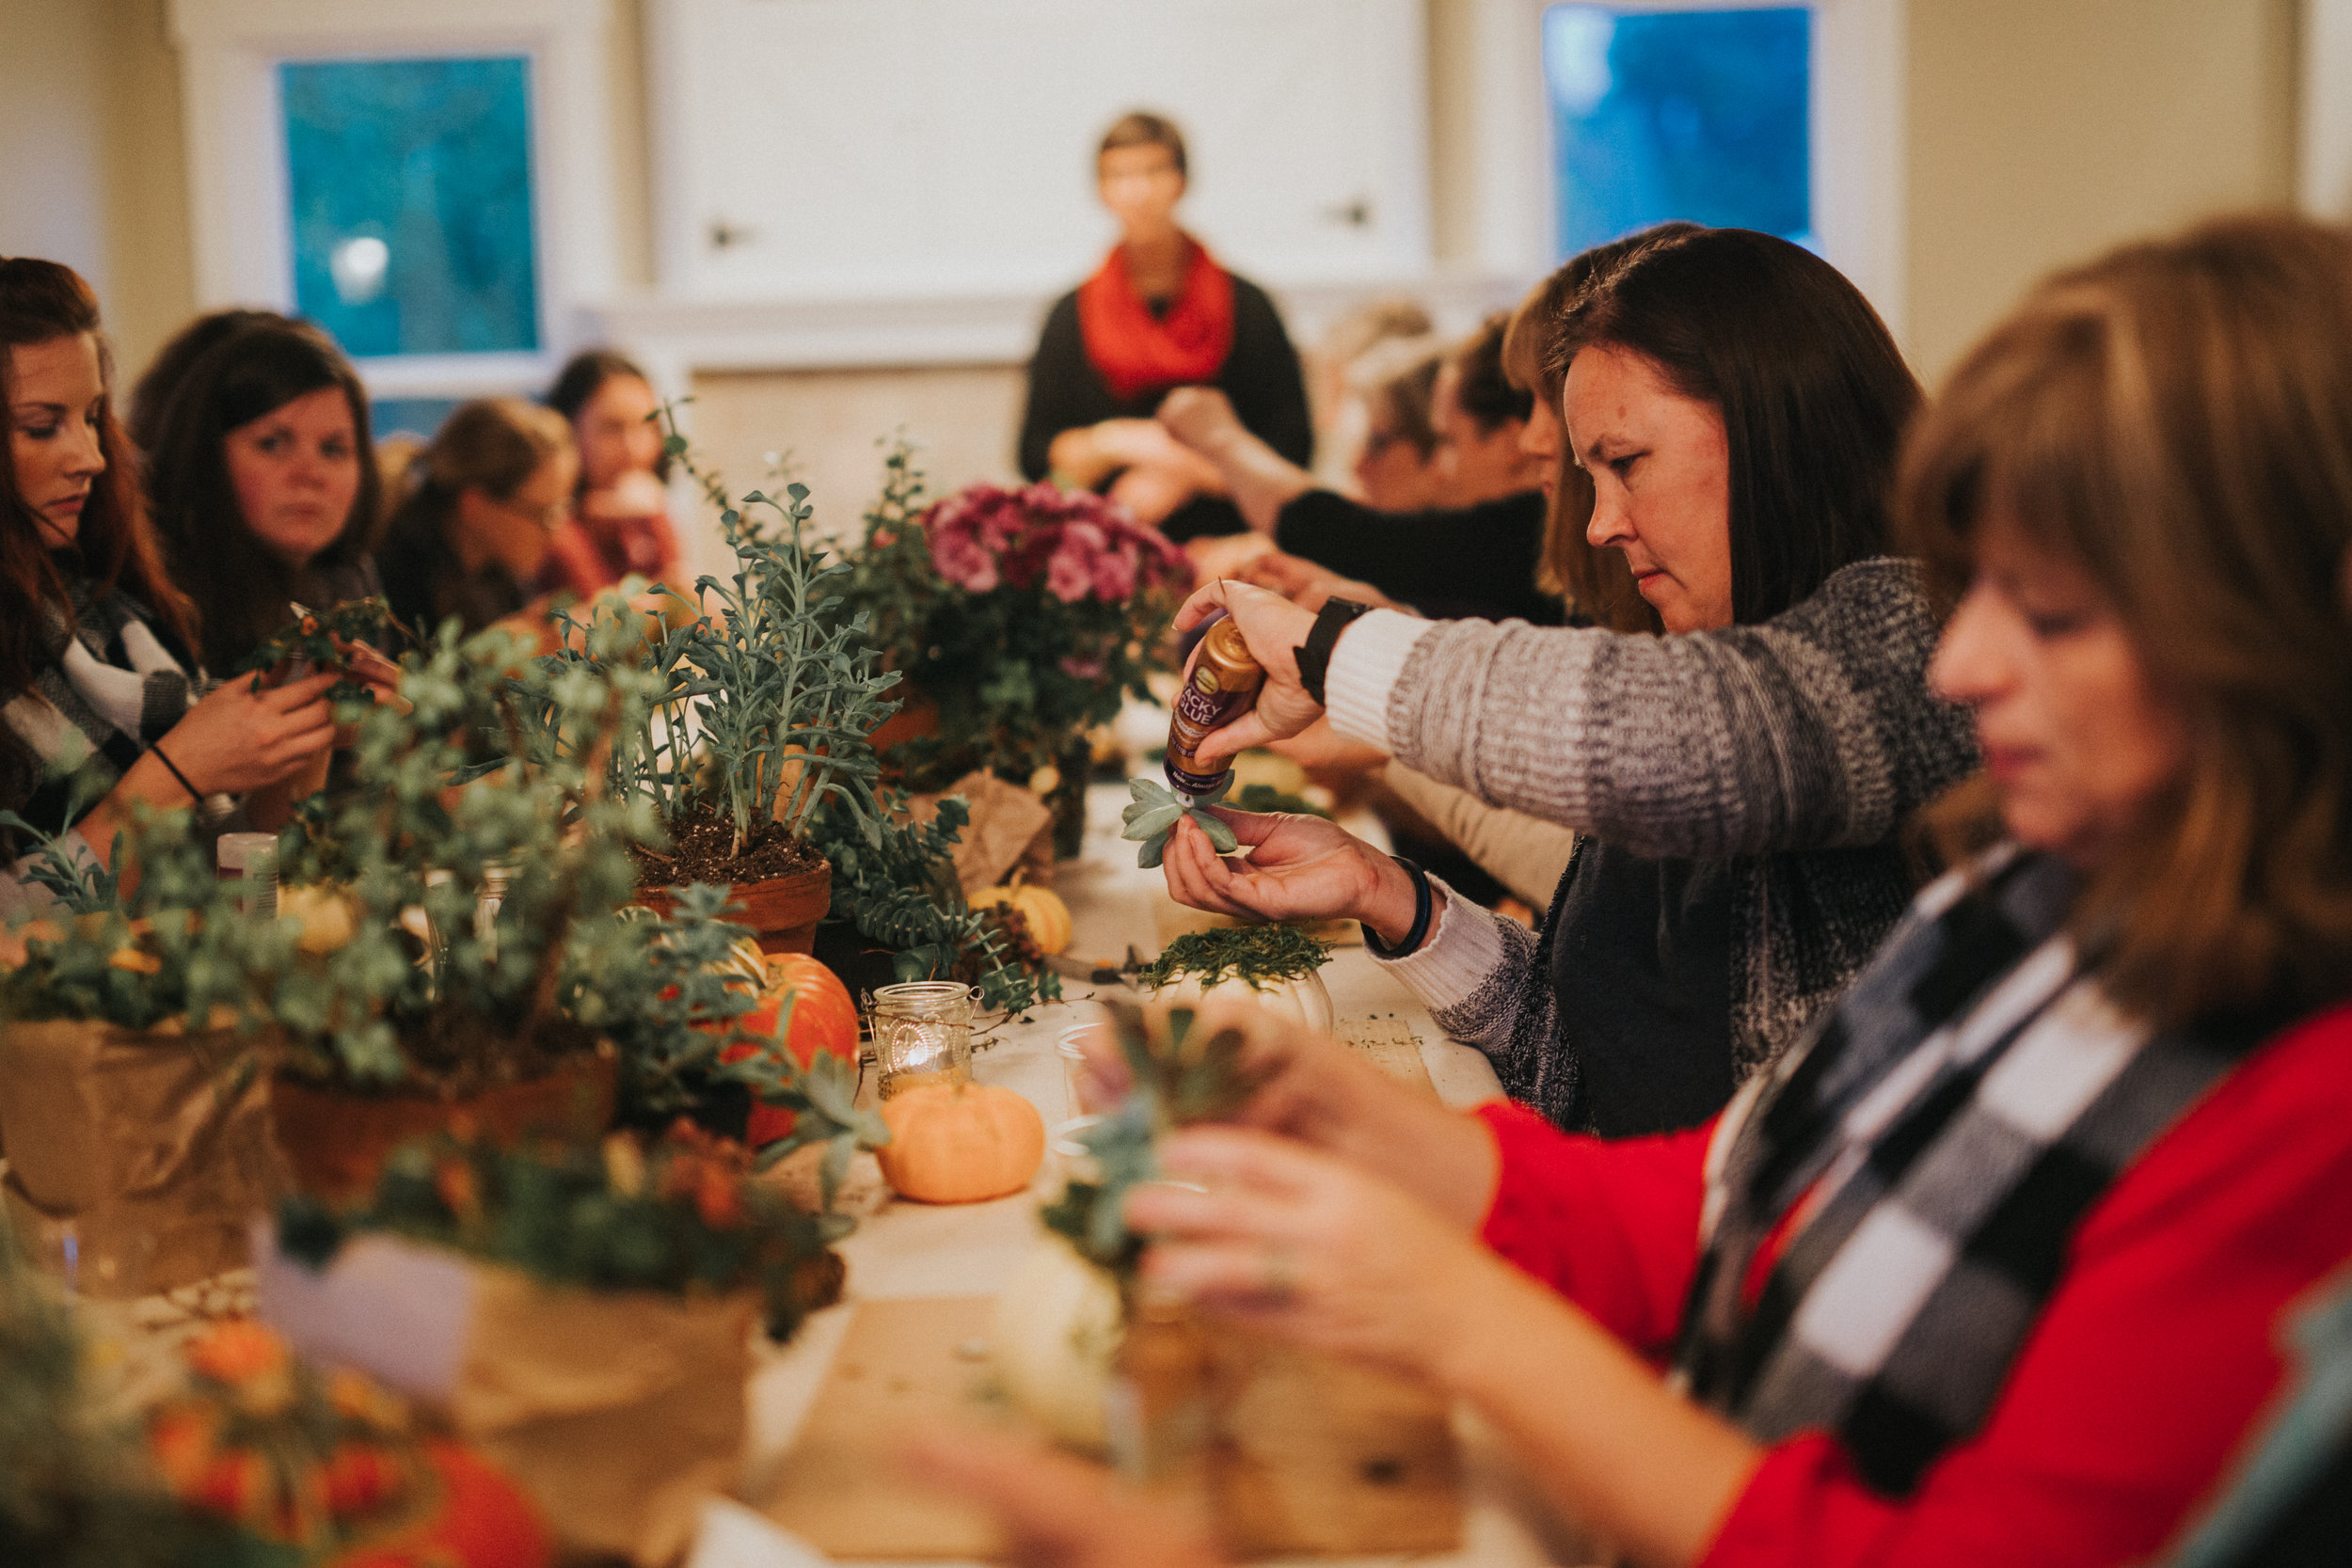
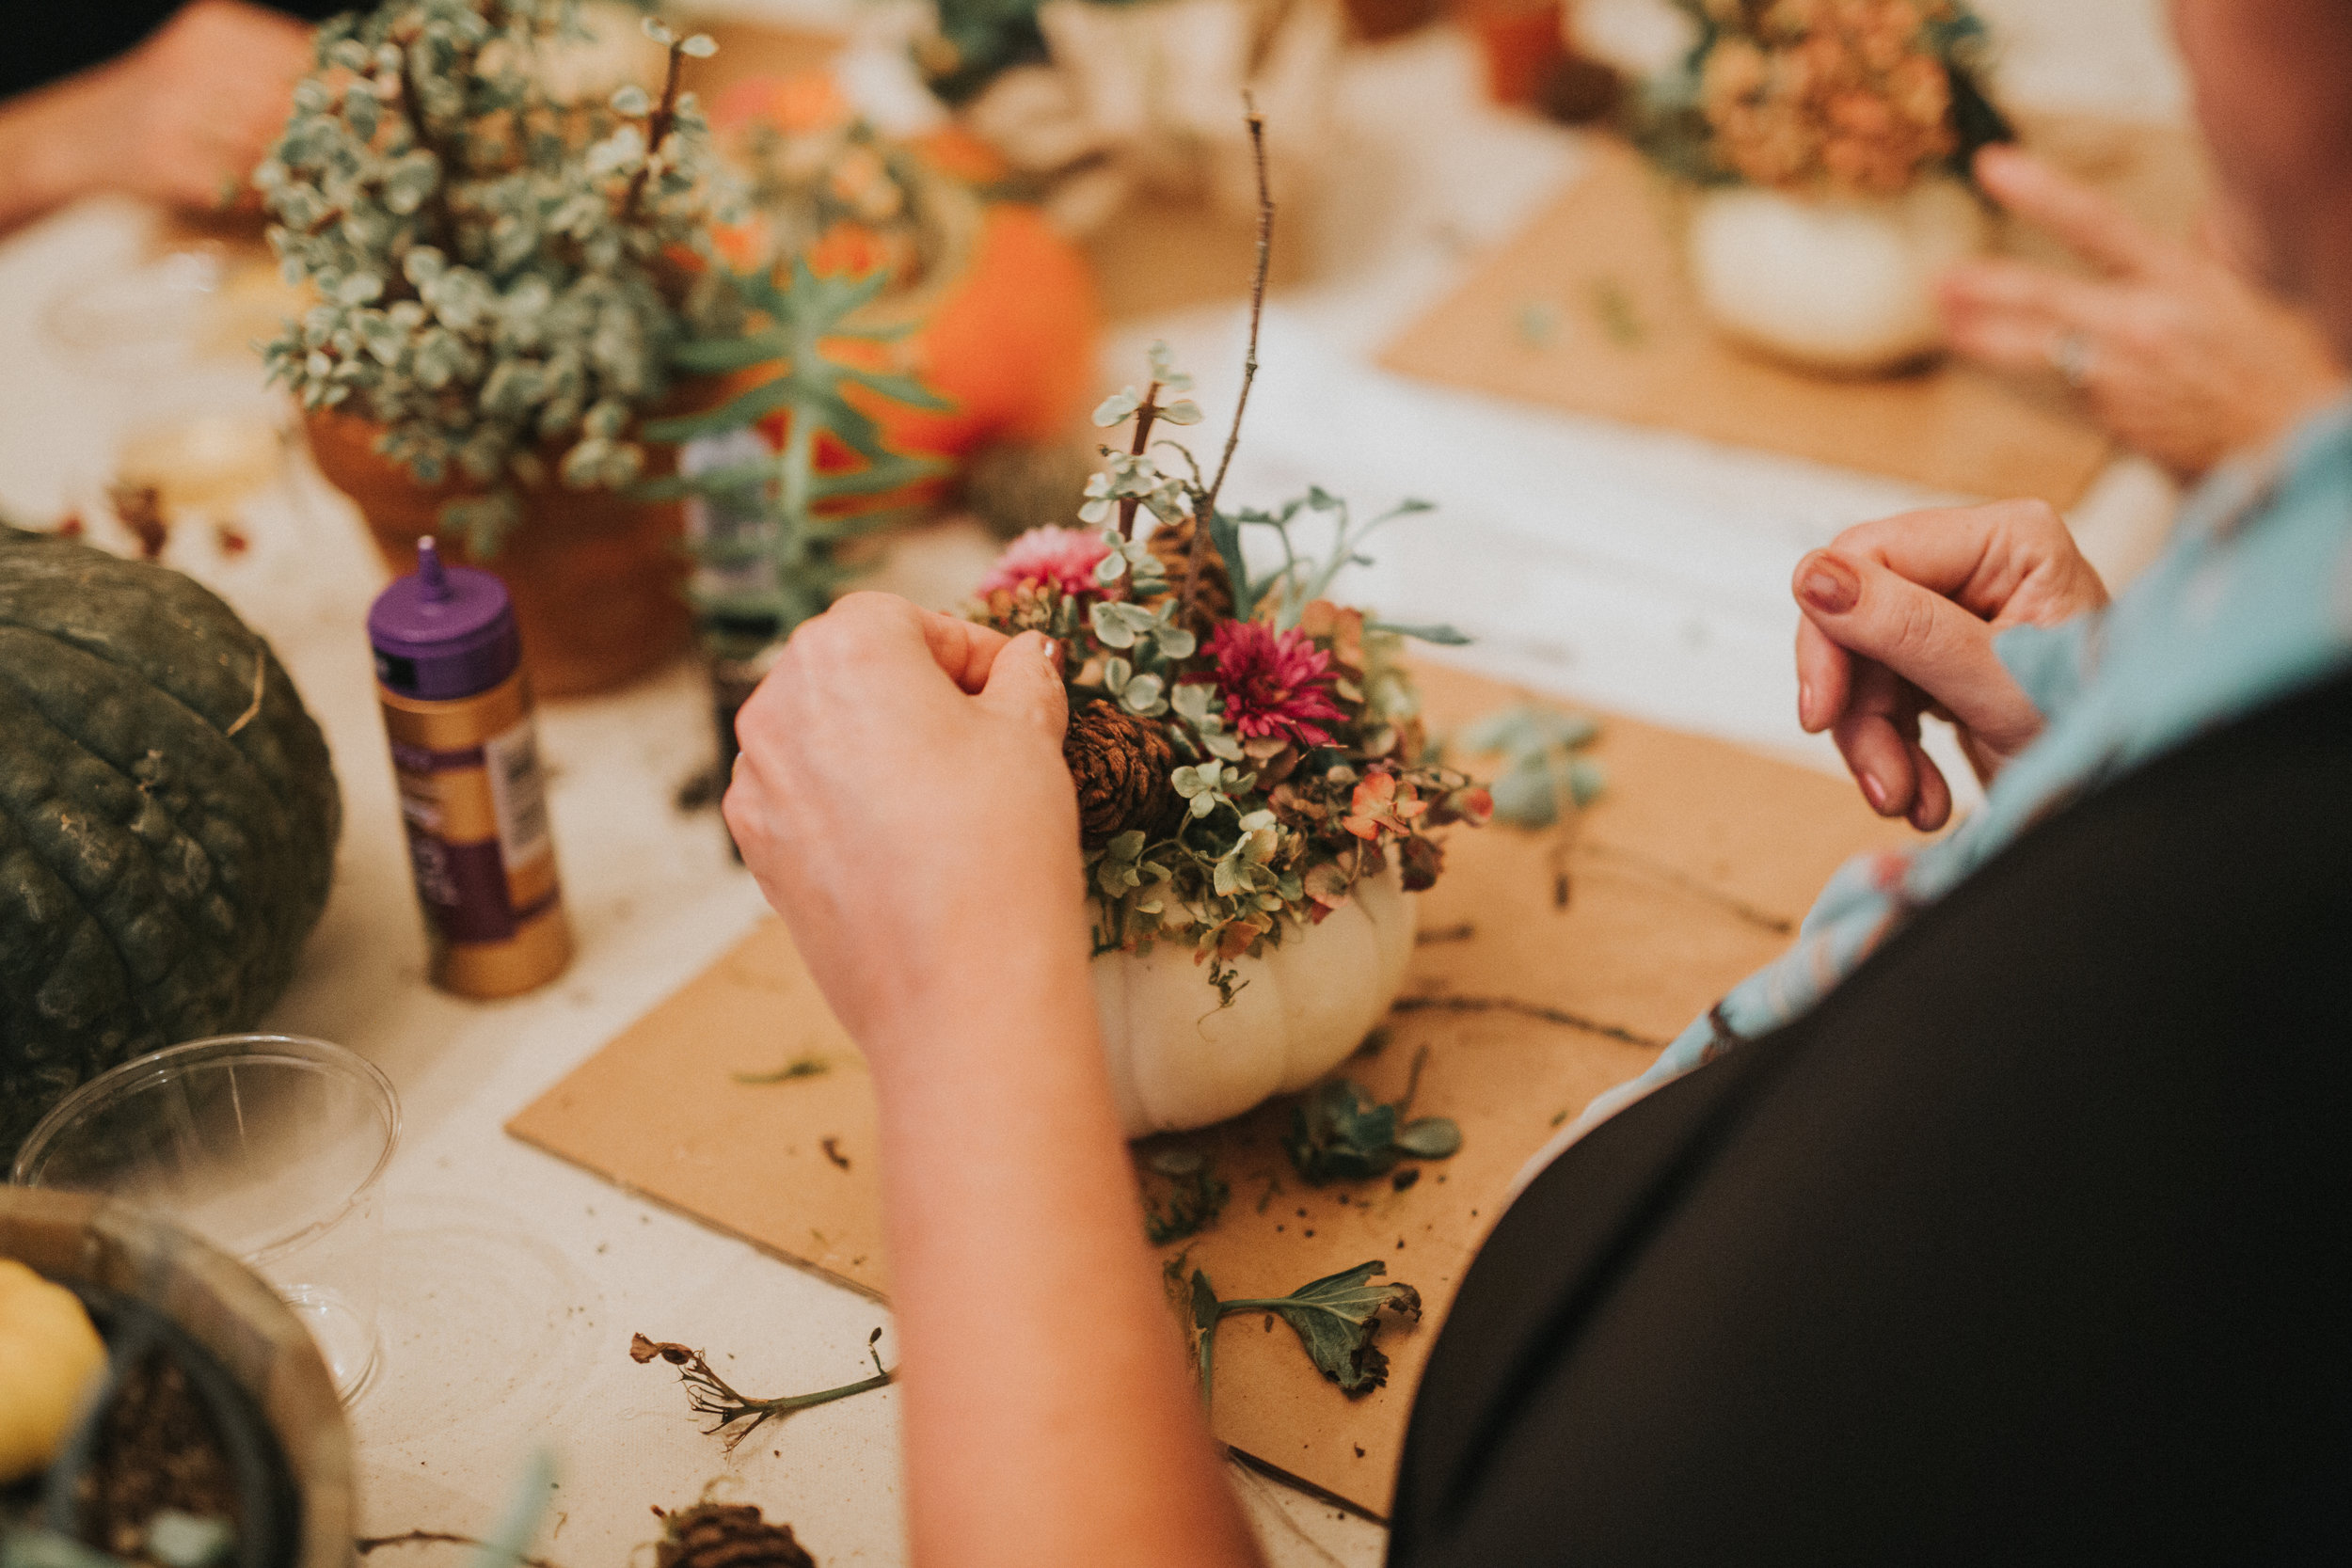
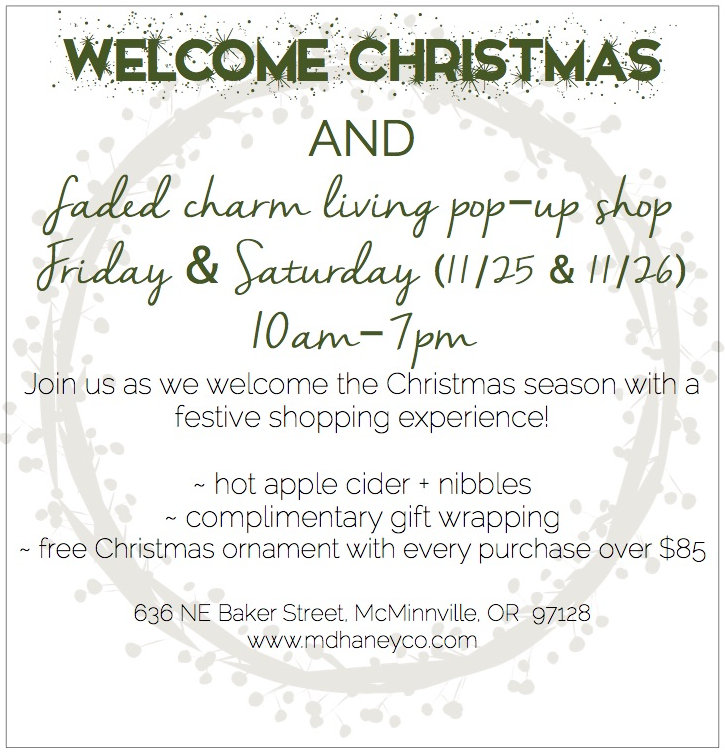
The shop is still enjoying these last few days of Autumn!  We will be closed on Wednesday, November 23rd as we work hard to transform the shop into a winter wonderland.  Kathleen of Faded Charm will be setting up her pop-up shop full of vintage and antique Christmas goodies.  It's going to be such a fun weekend!  More details to come.....

xoxo-Darci

a little fall decorating || at the cottage

I haven't been in the mood yet for Fall decorating. I think it hit me as September approached, that my baby was going to be in school all.day.long.  Of course I have my moments of frustration and exhaustion, but I really enjoy spending time with my girls.  I just wasn't ready for school to start, and in my book that meant not being ready for Fall decorating!  Now we are in the swing of our school schedule and my kindergartener loves school!  Savanna and I are having so much fun, just the two of us!  The weather is starting to change, as are the leaves, and I am finally feeling ready to add a few Fall touches.

img_6755

img_6757

After dropping Addilyn off at school, Savanna and I headed to the cottage to do a little Fall decorating.  We just added things that we took from the shop....pillows, faux pumpkins and mums.

img_6758

img_6760

img_6763

img_6766

img_6765

This was happening the entire time I was taking pictures.  This child is so full of life, energy and just pure crazy!  She was fluffing pillows, re-arranging pumpkins, moving flowers like she was the boss.

img_6780

img_6778

We took a few pictures inside too, I will post those soon.  In the mean time, here are a few details......

-Twig Wreath  | available at the shop, $75

-Faux Pumpkins, various sizes | available at the shop, ranging from $16-$30

-Les Indiennes Pillows | available at the shop

-The wood porch was painted 4 years ago with Chalk Paint®.  It has weathered and aged just perfectly!  We used the color GRAPHITE and COUNTRY GREY.

The andiron deck chairs were purchased 'raw' and we used Miss Mustard Seed Milk Paint (color TROPHY) to make a wash.  They look naturally grayed out and have held up perfectly!

French Country Farmhouse || custom cabinetry

Last year we started to work with the greatest.clients.ever.  Truly, they are exceptional people and it has been an honor to work with them.  They built (actually, it's still under construction) their dream home and Matt was hired to build all of the custom cabinetry.  The clients were working with two sweet and talented designers.  My role was to help with paint colors and technique, as well as paint some of their existing furniture.  It was such a fun and challenging  collaboration! Hopefully we will have a professional photographer into photograph the home when Matt has wrapped up all of the little details.  But, the girls and I went to visit today and I snapped a few pictures.  I couldn't wait to share....

IMG_6695

IMG_6697

IMG_6703

When you walk in the front door, you are greeted by this amazing dining room.  Matt built the cabinetry, as well as the dining room table.  The cabinetry has some custom finishes and is painted with Annie Sloan Chalk Paint®.  The dining room table is made from reclaimed oak.  Can you believe the reclaimed beams in the ceiling?!?  The pictures do not do the space justice!

IMG_6747

The dining, kitchen and living room are all open with large vaulted ceilings and reclaimed beams.  In this picture, you can barely see the cabinetry in the living room.  The cabinets are painted with Annie Sloan Chalk Paint and have a wash over them.

IMG_6732

IMG_6739

Matt is still working on the built-ins for the refrigerator unit so I didn't snap any photos of the other side of the kitchen.  Can you believe he made that ginormous island countertop in just two pieces?!?  The hood is one of my favorite features.  I could brag on my hubby all day!  He doesn't brag on himself, so somebody needs to ;-)

IMG_6713

For the powder room vanity, the designers  showed Matt a picture and wanted something similar....didn't this turn out darling?!?

IMG_6719

IMG_6725

The master bathroom cabinetry is also painted with Annie Sloan Chalk Paint®.  A mix of three different colors with a wash and dry brush technique.

There are more beautiful rooms and more beautiful cabinetry.  I will show more soon, and go into more details on the cabinetry and rooms.

Thanks T & P.....it's been such a dream to work with you!


sea salt hand scrub || home made

I am absolutely loving this Spring weather!  The warm sunny days have me itching to work outside!  The girls are now 5 and 3 and they are at a fun age where I feel we can actually do (and for the most part) enjoy activities together.  One we all enjoy, is working/playing in the garden! IMG_6692

My lavender is just starting to bloom.  This year I want to be intentional about using more herbs and flowers from the garden.  One way to do that is to make home made scrubs!

IMG_6681

IMG_6660

IMG_6661

IMG_6653

Sea Salt Hand Scrub

Supplies

1 cup coarse sea salt 1/2 cup liquid coconut oil 5 to 7 drops lavender essential oil

Equipment Dry measuring cups 10-ounce glass container (I used a canning jar) Fork

Instructions

  1. Grab your supplies. You'll need 1 cup coarse sea salt, 1/2 cup liquid coconut oil, 5 to 7 drops of lavender essential oil, and a 10-ounce glass container.
  2. Add the salt. Pour 1 cup of salt into the empty glass container.
  3. Add the oil. Pour 1/2 cup of coconut oil over the salt.
  4. Add essential oil. Add 5 to 7 drops of essential oil to mixture.
  5. Stir the mixture. Stir all ingredients until well combined.
  6. Seal and gift. Seal the jar and affix a label or gift tag to the top.

Recipe Notes

  • Use scrub sparingly — about once or twice a week — by spooning a small amount into your hands, gently rubbing it in, rinsing it off with warm water, and drying your hands thoroughly.
  • This makes a sweet gift, especially with Mother's Day right around the corner.  You can easily affix a label, add a tea towel and you have a sweet, hand made Mother's Day gift that any lady in your life would like!
  • I adapted this "recipe" from www.thekitchn.com.

lemon thyme shortbread cookies | recipe

It's been a while friends!  We are starting to adapt to our new routine (with the shop) and it feels so good to be back to baking and cooking, tending to the yard and cleaning my home!  Last Friday night I hosted an Herb Gardening Class.  We planted container gardens, shared tips and tricks and enjoyed rosemary + grapefruit water and lemon thyme shortbread cookies. herbclass

The lemon thyme shortbread cookie were so good!  Something about the hint of sweetness with the lemon thyme.....yummy!  I thought I would share the recipe!  And FYI, I made a double batch so that we could enjoy some at home and they freeze beautifully.

cookies

Lemon Thyme Shortbread Cookies

Ingredients 2 c All-purpose flour 1 c Butter, unsalted, room temp. ½ c Powdered sugar 1 Tbsp Thyme, finely chopped 1 Tbsp Lemon zest ½ tsp Vanilla extract ½ tsp Lemon extract ¼ tsp Salt Lemon Icing 1 lbs Powdered Sugar 2.5 Tbsp Meringue powder 1 - 2 tsp Lemon extract ¼ - ½ c Water 3 - 4 drops Yellow food coloring Get Ingredients Instructions Lemon Thyme Shortbread Cookies Preheat oven to 350 °F. In your mixing bowl beat room temperature butter until it is creamy. Add the sugar and mix thoroughly. Add thyme, lemon zest, vanilla extract, lemon extract, and salt and continue to mix until ingredients combine. Add the flour 1 cup at a time until the mixture just starts to come together. Create a ball of dough and flatten it slightly before wrapping it in plastic wrap and chilling it for 1 hour. Remove dough from refrigerator. Lightly flour your surface and roll the dough out to ¼ inch thick. Use cookie cutter to cut out cookies. Place cookie cut-outs on a parchment paper covered baking sheet. Place cookies in the refrigerator for 20 minutes. Remove from refrigerator and bake for 8 - 10 minutes, or until cookies are golden brown. Let the cookies cool completely and then ice them. Let icing harden before serving. Lemon Icing In a mixer combine powdered sugar, meringue powder, and slowly add water while mixer is on low until you reach the consistency you want. Add lemon extract and food coloring and mix thoroughly. recipe from www.homemadeinterest.com

Enjoy!!!

opening the shop || MD HANEY & CO. H O M E

My sweet hubby has been working his tail off to get the new shop space ready for business!  You may remember the BEFORE pictures, the space was dated, dirty and dark.  Now it's light, bright and airy with a lot of really fun features.  I will post soon on some of the work that we did! Anyways, last week was L O N G and we worked H A R D but come Saturday morning, all of the hard work paid off.  I was so incredibly blessed by everyone who came to support us!!!  A sweet friend from church snapped some photos shortly after we opened on Wednesday morning and I think she did a fabulous job!

door

blopic10

blogpic12

We installed new hard wood flooring and Matt added moldings, beams and some really fun architectural features!

blogpic11

blopic9

My sweet hubby also built these fabulous shelves!  We didn't want to block off the windows, the natural lighting in this part of the shop is amazing.  He built these shelves so the view is not blocked from the inside or outside, and I can pile high the inventory!

blogpic8

blogpic7

blogpic6

blogpic3

blogpic2

blogpic1

12924586_506070569580339_6331897073095198959_n

12924586_506070666246996_718204940644928592_n

12794468_506070706246992_2306516969841779869_n

12898395_506070922913637_2483261664671281246_o

Can you believe these walls?!?  That wood is original to the house!  The guys started removing drywall and found this wood.  It's really amazing!  We found it throughout the house.  Again, I will do another post soon on what we did to the building.  We still have a lot to do, but we were able to get enough done to open our doors last weekend.

Thanks again for all of the encouragement and support!  Such a blessing!!  God is good and His timing is always perfect!  The new shop hours are WEDNESDAY - SATURDAY, 10am-5pm.  The address is 636 NE Baker Street, McMinnville.

PROGRESS || an update on the custom cabinetry job

For those of you that I talk to on a weekly bases, or even "here or there", you know that Matt has been working on a HUGE custom cabinetry job for the past six months.  The clients are the kindest, sweetest people and they have really good taste!  I thought I would post some progress photos of the cabinetry. bittner2

Can you believe the kitchen hood?  Matt came up with the design and I thinks it's amazing!  He had the metal fabricated and he made the corbels from the same reclaimed beam that he used to trim out the bottom of the hood.

bittner

These built-ins are in the dining room.  It's hard to tell from the picture, but the glass is seeded and the wood paneling in the black cabinet is all reclaimed wood.

1934442_929100643853414_6630606144380343841_n

This kitchen is truly stunning!  Matt made the kitchen island in two pieces, it's made out of reclaimed wood {or course ;-} and finished with four coats of sealer.

mantel

Matt made this mantel from a reclaimed beam.  This is in their living room and it will get cabinetry on both sides of the fireplace.

12400457_926537860776359_6252045796921532522_n

This guest bathroom vanity is one of my favorite pieces!  It's so simple and yet so classy!!  It's made out of...you guessed it....reclaimed wood!

12552818_926175304145948_6735735982390669500_n

Here is a shot of one of the kitchen walls.  The view out that kitchen window is amazing!!

I hope to get some photos of the finished space within the next month of so.  Matt still has some hardware and shelves to install, and then he will start work on the custom cabinetry in the office and a custom dining room table.  I promise to post pictures soon.....it's a beauty, that's for sure!!