MOVING THE STUDIO :: and the vacation rental

I feel like we are always moving/building/creating/changing.  I love it, wouldn't have it any other way.  But, with sweet little kiddos in the mix now, we don't have the bug to always move/build/change.   You know?!?  We still love all of that, just don't want it to take up all of our time.

IMG_3783

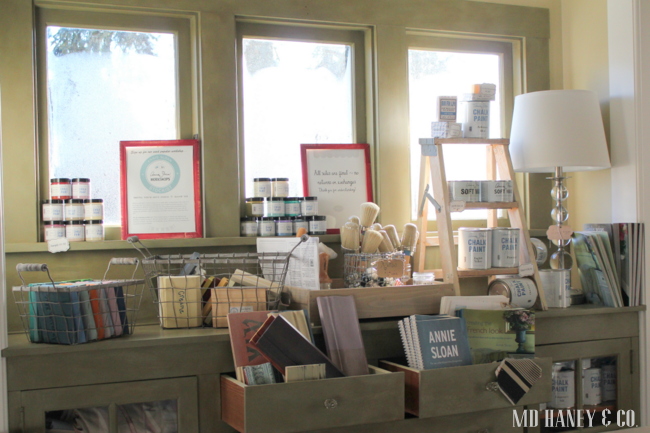
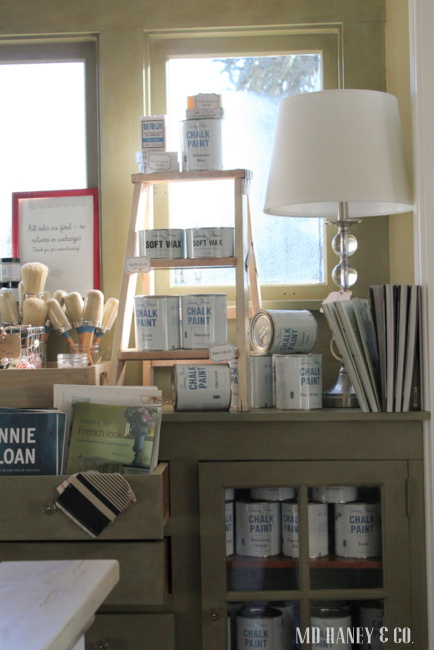
The new house we are moving into has a great detached garage + upstairs office/studio.

I love working at/creating at the studio.  It's my own little creative space and I love the opportunity to meet new people!  But, it's really hard with two little ones.  So moving the studio to our property is going to be awesome!!  I will have more details about the new studio space once escrow closes {next week}.

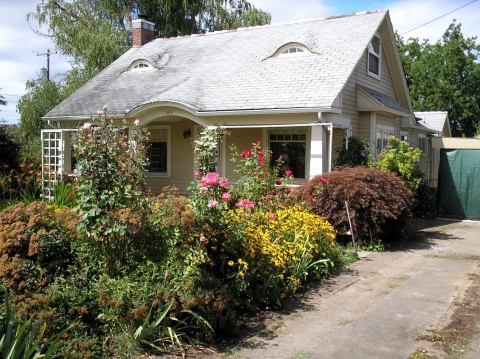
With all of the moving changes, we have decided to turn our Main Street property back into a vacation rental.    We have had vacation rentals in Carlton for 6 years now!  Crazy how time flies! This past week, we have been slowly making the changes to turn it back into a vacation rental.

IMG_3785

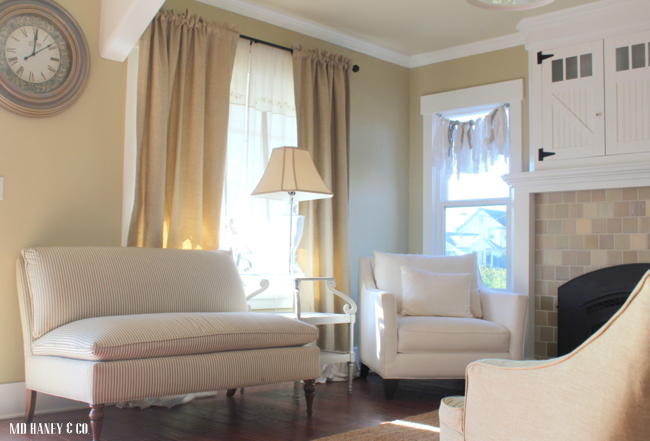
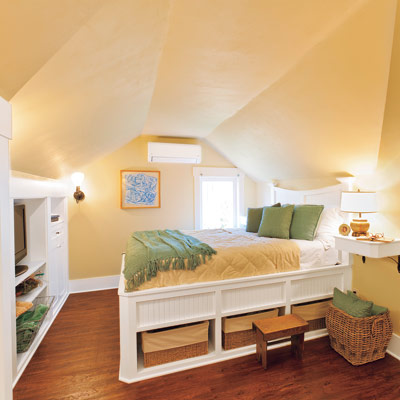
The living room is slowly coming together.

I sold all of furniture last year when we turned this house into a studio {of course}!  So I am buying new furniture and moving things over from our house.

IMG_3791

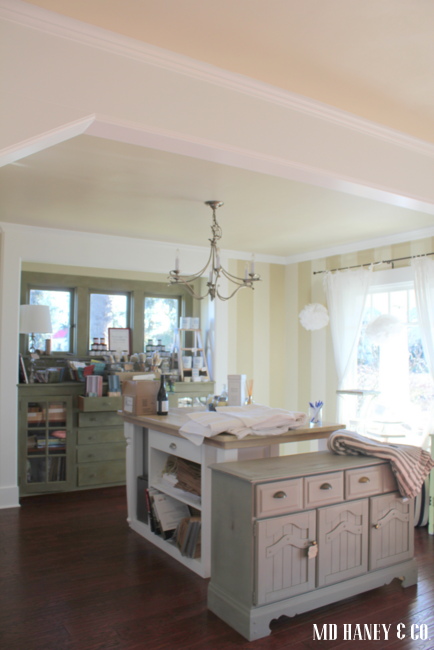
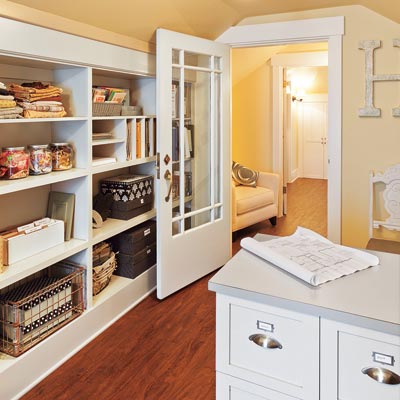
This is what the dining room currently looks like.  Lots of work ahead of us!

IMG_3797

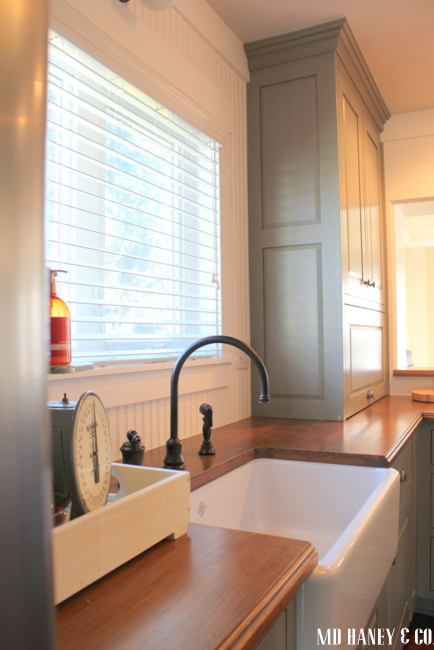
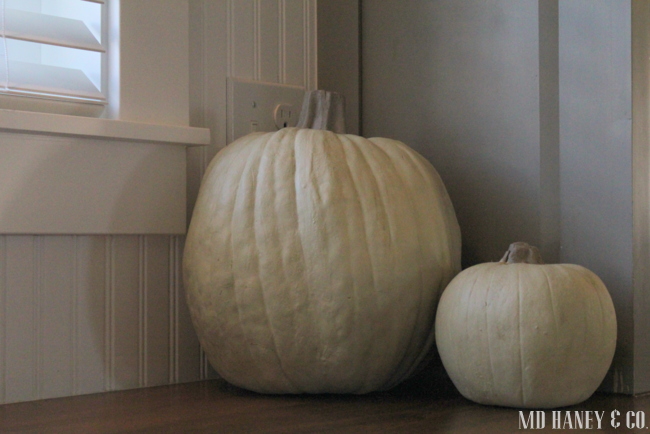
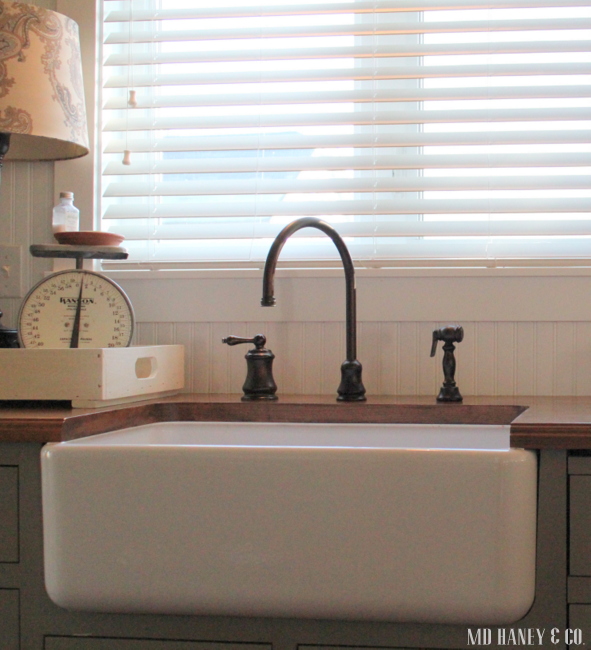
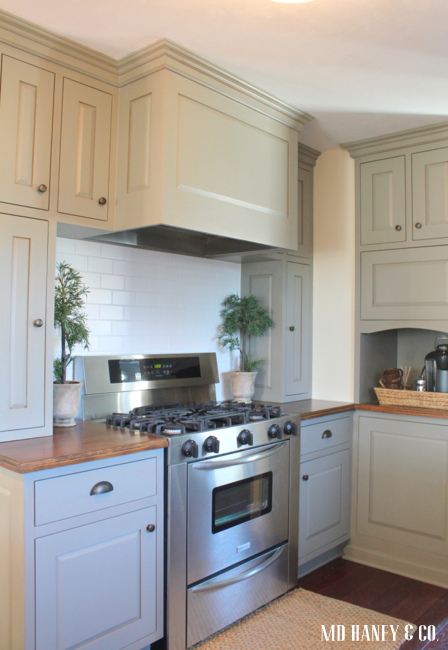
I have the kitchen stocked, cleaned and ready for renters!

IMG_3799

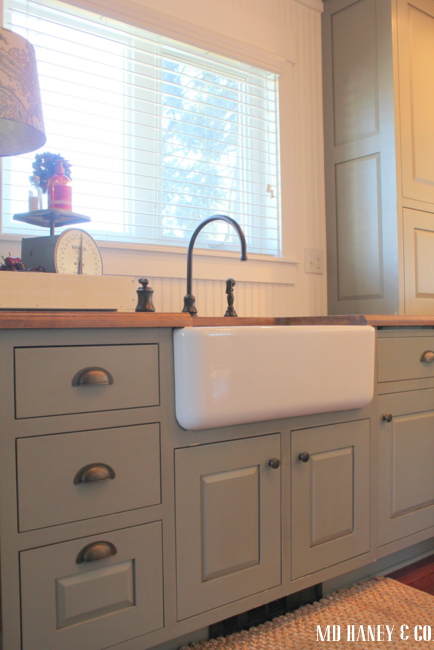
The kitchen takes me the longest to clean after we have had renters….at least 1 hour!  But nobody wants to vacation at a home with a dirty kitchen!!

IMG_3793

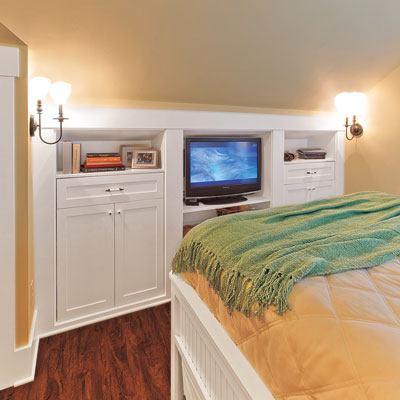
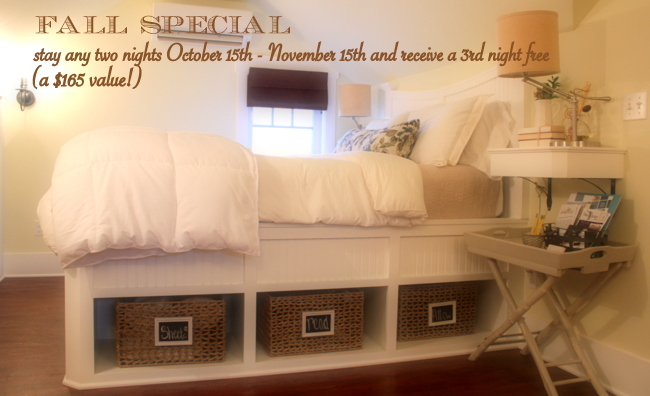
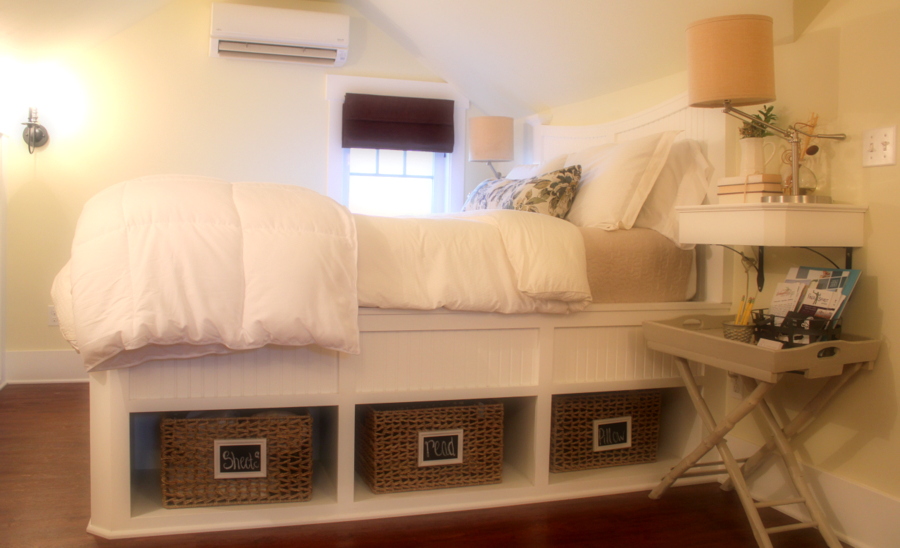
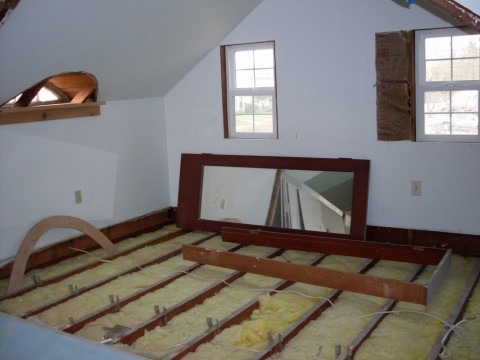
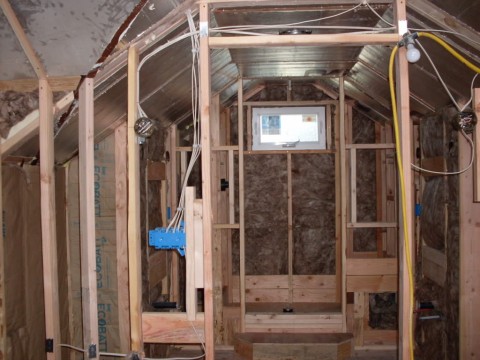
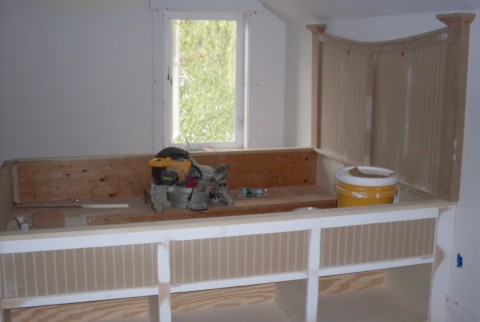
Matt still has to build a bed for the upstairs office, and convert the work room back into a bedroom, I have to make changes to the website, yada yada yada.  Seriously, we are crazy!

But, I know in the long run it will be much easier, and I can be more productive, to have the studio where we live.

Life is good, I am so very blessed.  Hard work just keeps me sleeping good at night and not having to work out!

THE DESIGN STUDIO :: a few Fall touches

I have added a few Fall touches to the cottage, and am just now getting around to posting a few photos.

I would categorize my holiday decorating style as simple.

IMG_3330

I found these 'carve-able pumpkins' at Joanne's Fabric.  They were bright orange, and I wanted something a little more muted.  I slapped on two coats of 'VERSAILLES' Chalk Paint®, buffed them with wax, and called it good.  I think it took less than 30 minutes!

IMG_3328

They sit proudly on the kitchen countertop, next to the sink.

IMG_3343

Last winter we painted the fir hutch 'CHATEAU GREY' {Chalk Paint®}.  It adds a warm touch to the room and looks great with the bold colors of the paint samples.

IMG_3344

This winter I plan on painting the inside of the hutch.  I can't decide if I should add some fun color, or just stick with the 'CHATEAU GREY'.

IMG_3342

I did have cute little pumpkins scattered on this trunk, but I just realized my little helper must have moved them ;-)

1021_514321011998048_1383990635_n

And a few Fall touches outside!

Now I am off to go bake a pumpkin dump cake!  I will post the recipe and photos tomorrow!!

xoxo~Darci

BEFORE + AFTER :: our cottage {the magazine photos}

I thought I would post a few before + after photos of our little cottage on Main Street.  This is what the little cottage looked like when we bought it :: over-grown, in need of repair, but really sweet bones.

232323232fp53243>nu=34568>289>25;456837-236ot1lsi

The back of the house had a funky addition.

We tore it down because we just couldn't figure a good use for the space.

232323232fp53269>nu=3247>259>6;7>WSNRCG=34-6<-62<7327nu0mrj

The upstairs attic had drywall and carpet, but the ceilings were too low for the space to be livable.  We ripped everything down to the studs.

232323232fp53258>nu=3247>259>6;7>WSNRCG=34-7324;83327nu0mrj

Matt had to install load bearing beams downstairs to gain the extra height needed to make the upstairs space livable.

232323232fp53269>nu=3247>259>6;7>WSNRCG=34-7536567327nu0mrj

Four years later, our little cottage was featured on the cover of This Old House magazine.

Mar12-cover

They also did a separate article on our upstairs space.

We turned half of the upstairs space into an office, and the other half into a master suite.

04-attic-remodel

Matt built shelves, file drawers and countertops to fit the space perfectly.

02-attic-remodel

The flooring is a vinyl flooring.

It was in-expensive, easy to install and easy to clean.  I loved it!

03-attic-remodel

We had this funny little space at the top of the stairs, we turned it into a little sitting area.

00-attic-remodel

Matt built everything for the master suite.

The stairs of the house are narrow, and we knew we couldn't get furniture up the stairs.  He sure comes in handy ;-)

05-attic-remodel

The bed is built in and has basket storage underneath.

We really utilized every inch of space upstairs.  Space wasn't a luxury we had with this house, so we had to get creative!

06-attic-remodel

We were able to fit a walk in shower, two sinks, a toilet, two built-in medicine cabinets and a floor to ceiling linen closet all in this little space.

***

I have more pictures to post of the rest of the house, but I will have to add those later as I hear a sweet little toddler is just waking up from her nap!

In the mean time, have a lovely day!!


FALL SPECIAL :: the loft {nightly accommodations in wine country}

I hope you had a wonderful Labor day weekend!!  We sure did....we labored, played and rested....it was just perfect!

addi

We have been trying to soak up these last few days of summer.  We went to the Farmers' Market last week and had rain, crazy winds and beautiful, warm sunshine, all within 15 minutes!!

bannerlinenI have been busy with a few different design projects so I just thought I would pop in to say hello and offer a special for the LOFT.

IMG_2550

The LOFT has been crazy busy this summer.  A huge blessing as I wasn't sure how travelers would respond to renting just one room, as opposed to the entire house.  While it was great having a couple of our homes as vacation rentals, it was A.LOT.OF.WORK.  The LOFT is much easier to clean/manage/maintain.  As a huge thank you to our wonderful guests, we are offering a free night October 15th-November 15th.  Just mention the 'website fall special' when booking two nights, and you will get a third night free!

I plan to take a few more house photos and post them soon!!  I just need to wrap up my design projects and spend my extra time loving on my little family....

xoxo~Darci

'HOMEMADE' CINNAMON ROLLS :: a sweet {breakfast} treat

IMG_3032  

Every Friday morning, I bake a batch of 'homemade' cinnamon rolls.

I make a big pan for our breakfast, and a mini pan for guests staying at the LOFT.  The guests are always asking for the recipe so I thought I would share it.  You won't believe how easy these are!!

CINNAMON ROLLS

2 loaves of frozen bread dough, thawed (I use RHODES, they come 5 to a bag) 6 tablespoons of butter, softened 1 cup of brown sugar 4 tablespoons of cinnamon 1/3 cup of sugar butter icing glaze (recipe below)

Thaw two loaves of frozen bread dough in the refrigerator or on the counter - I just follow the directions on the bag.  Allow the thawed dough to rise for 1-2 hours in a warm area covered with a damp cloth.  Roll the dough out into a rectangle onto a floured surface.  Spread softened butter on the rolled out dough.  Sprinkle sugar, brown sugar and cinnamon over the dough.  Roll up the dough into a log.  Slice into 2-inch thick rolls.  Place into a buttered pan.  Cover with a warm damp towel and allow to rise 2-4 hours (or overnight) in a warm area.  When the rolls have doubled in size, bake them at 350 degrees for 15-18 minutes until they begin to brown.  Top with Butter Icing Glaze.

BUTTER ICING GLAZE

 tablespoons of butter
2 tablespoons of milk
powdered sugar
Melt butter with milk in the microwave for 30 seconds.  Add powdered sugar until the glaze is the right consistancy - it just be perfectly smooth - no lumps.
Enjoy!!
PS ~ I found the recipe here


THE LOFT :: busy season

  IMG_2550


Well, the month of May signals the beginning of the busy season for us in wine country.

The the past five years, the vacation rentals have kept me super busy from May until November.  I am really enjoying just have the LOFT space to rent out, it is quite a bit more manageable than two vacation rentals!

I was thinking this morning of a few of our favorite little weekend get-away places here in Oregon, I thought I would share them with you!

The Inn at Canon Beach

cannon-beach-hotel-inn-at-cannonbeach

Canon Beach is one of my favorite beaches along the Oregon coast.  There are many lovely places to stay, but The Inn at Canon Beach is fabulous.

Camp Sherman

100-2408.JPG.1140x481_0_153_5937

I have great memories of staying in Camp Sherman with dear friends.  I know that wonderful memories make a place seem so much sweeter.  But, Camp Sherman is a beautiful and charming place to stay or camp if you want some Oregon sunshine and fresh mountain air!

Timberline Lodge

timberline_lodge1

It's been years since I have stayed at Timberline Lodge, but it is a beautiful and magical place to stay, especially during the holidays.  When I last stayed, we went snow skiing all weekend, but I know it would be a great place to stay even if you didn't ski or snowboard!

I am sure other fabulous places will come to mind, and there are so many great places all over Oregon!  I would love to hear of other places you have stayed in Oregon!!

THIS OLD HOUSE MAGAZINE :: our attic remodel

Last winter, our cottage attic remodel was featured in the Jan./Feb. issue of  This Old House magazine.

It was such a treat to meet the photographer and stylist.  They were both extremely talented and professional.  All of the photos are courtesy of This Old House/Susan Suebert.

00-attic-remodel

The stylist added added her own little touches to the room.  Don't you like how she added the green?  The way the photographer and her team captured the lighting was incredible!

05-attic-remodel

They spent about 5-6 hour capturing images of just the attic space.  Eventually they moved outside to photograph the exterior.

06-attic-remodel

03-attic-remodel

This is the little sitting area between the bedroom {now the LOFT} and the office.

02-attic-remodel

 This is our office, this is the shot looking from the office into the bedroom {LOFT}.

04-attic-remodel

What a fun experience to get to 'work with' This Old House.  They were so considerate and it is such a joy to watch someone work, when they love what they do!

OUR COTTAGE :: the loft

IMG_2550.jpg

 I thought I would post a little update on our sweet little Main Street Cottage.

Even though this little gem needed a lot of work, she caught our eye about 6 years ago.

We approached the owners, letting them know that if they ever wanted to sell, we would be interested in buying.  They were actually considering selling anyways!  They wanted quite a bit for the house, and at the time, it was just out of our budget.  Fast forward about 1 year....they had listed the house, and were ready to move to Eastern Oregon.  They lowered the price {a little} and we decided to purchase it.

before

 The home had/has charming features.  However, it needed A LOT of work.

We would save up cash, and fix an area.  That cycle took us about 4 years, but we finally got her fixed up!

during

 Below is a picture of the attic space 'BEFORE.'

The space was un-used and had floor joists that were on top of the attic roof.  If I remember correct, there was about 5'5" of head space.  Just fine for a shorty like me, but challenging for anybody over 5'3"!

attic: before

 Matt gutted everything.

We brought the wiring and insulation up to code, framed for a bathroom and just worked away as we had the time and money.

attic: framing

 Matt hung the drywall, then applied a faux plaster finish over the drywall.  It gave the walls an old house look and feel, but with out the mess of lath-and-plaster.

Then he went to work on all of the built-ins.  Since the space was attic space, we had to be creative for storage needs.  We couldn't get a bed up the stairs, so Matt built a bed and then carried the mattress up a ladder and through the tall upstairs office window!

attic: during

 It took about 6 months to complete the upstairs bedroom and bathroom addition.

Now, we are turning into the upstairs suite into a nightly rental.

Instead of guests renting the entire house {as a vacation rental}, they will just be renting the upstairs bedroom/bathroom/seating area.

I am still fine tuning the space, but thought I would post a few pictures.

bed

All of the built-ins make for such a cozy space!

IMG_2555

  Plenty of linen storage.

IMG_2557

IMG_2561

IMG_2567

 Double vanity, linen storage, walk-in marble shower and a water closet.

All that's missing is a huge soaking tub!!  We really considered adding one!!  However, since the new bathroom was built in the existing space of a 1938 cottage, we didn't want to take the chance of adding the additional weight.   Plus, we didn't have an 'un-ending' budget!

IMG_2545

Next week I will post the photos that This Old House took of our upstairs space.  It was so fun to watch them at work and see the amazing images they captured!!  It takes true talent to produce/photograph space for magazines, and they were amazing.  Anyways, more on that later.

Until then, have a lovely weekend!!